Namaste Yogi Sheep Card with The Rabbit Hole Designs

Wednesday, May 1, 2024

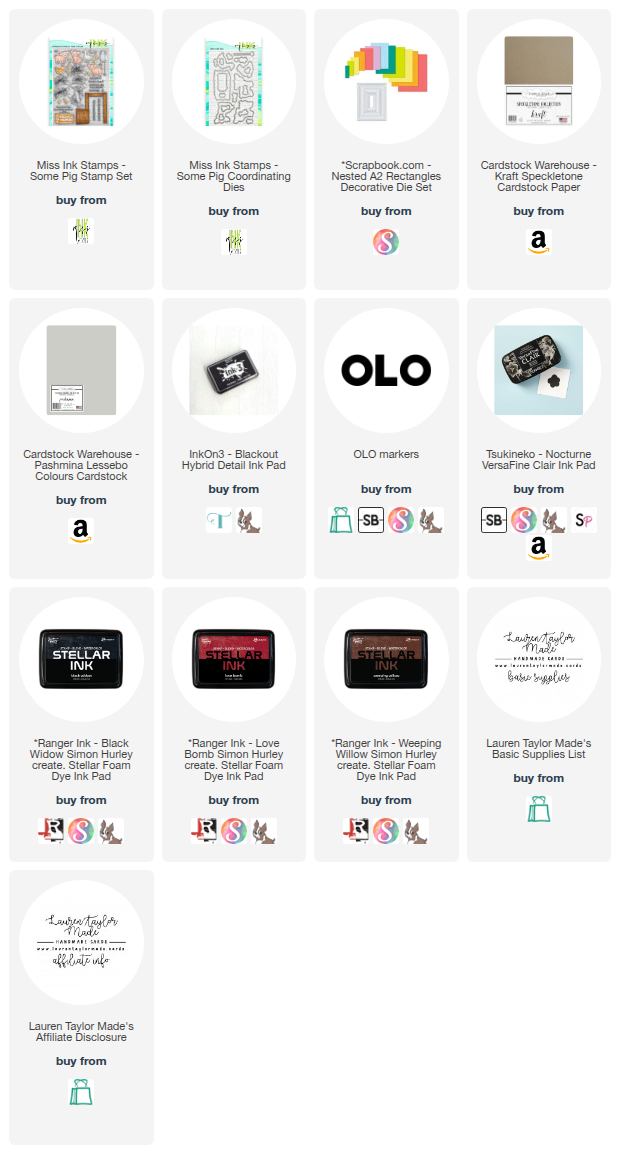
Having some fun with these adorable sheep from The Rabbit Hole Designs today! I made this card for last Friday's episode of Craft Roulette - I have been dying to make a cute card with these critters so I was excited they could work for my project. I started with stenciling my flowers on some white cardstock with Pinkfresh Studio inks. I ink blended additional flowers on a separate piece of paper and use the coordinating die to cut them out.

I die cut the flower scene out with a nested A2 die as well as the kraft cardstock with the largest die. I stamped my sentiment and ink blended on a little bit of green ink to give my flowers a ground. I adhered my two layers together and onto a card base with my tape runner. Then I popped up my flowers with 1mm foam adhesive and then my adorable sheep that I colored with alcohol markers with 2mm foam.

For some final touches, I added some sparkly embellishments to the centers of my flowers and that a finishes off the card! I hope this brought a smile to your face and check out The Rabbit Hole Designs latest release, too.

PIN THIS
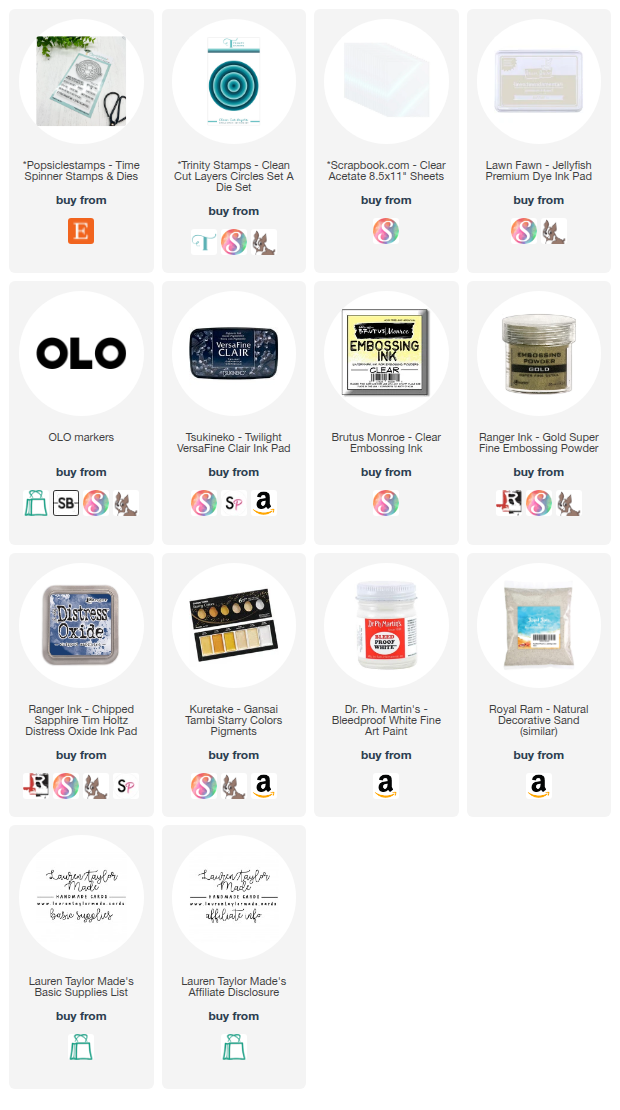
SUPPLY LIST

Read More

Mother's Day Box Card with Pretty Pink Posh

We’re continuing with our box cards - this month for Mother’s Day! I started with stenciling as I’m using a paste that will need time to dry. Using the Layered Argyle Stencils on white cardstock, I used Squeezed Lemonade Distress Oxide for the (A) stencil, Fruit Salad Summer Interference Ink for the (B) stencil, and Rosy Cheeks Lunar Paste for the (C) stencil.

While that was drying, I used the same inks to emboss resist the “MOM” sentiment from the Mom Stamp Set with white embossing powder. When done, I used the Mom Coordinating Dies to cut out the word. I also stamped the floral images with an alcohol marker friendly black ink and colored them in with OLO markers. I used their dies to cut them out and will use these images to decorate the box card.

The Scallop Box Card Dies were cut out of pink cardstock for the base and the scallop dies were used with the stenciled background. I adhered the box card together and created my secondary sentiment with pink glitter and yellow cardstocks with the Sentiment Strips Dies. When my sentiment strips were added to the box card, I added my “MOM” and floral images to the box card.

You can follow along in today’s video and I hope you had some floral fun with me today for the Mother’s Day box card. I’m already brainstorming how to make a Father’s Day box card for next month!

VIDEO TUTORIAL


PIN THIS
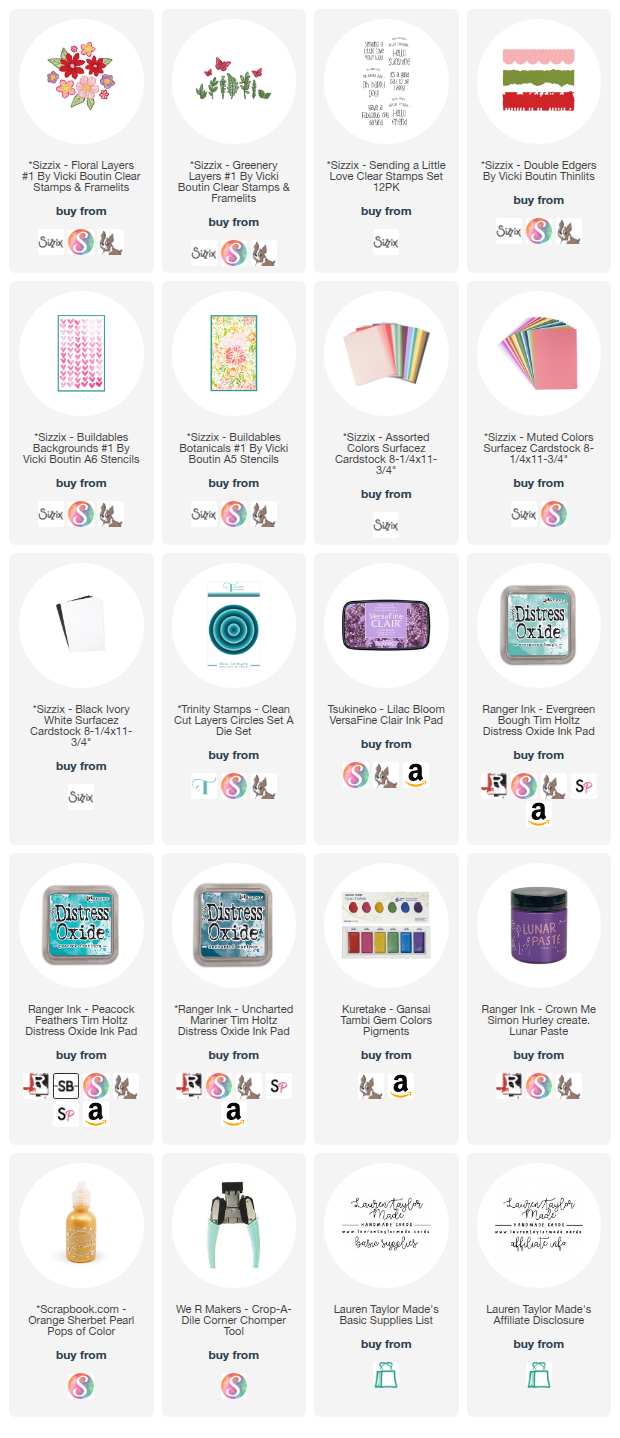
SUPPLY LIST

Read More

Neon Floral Mother's Day Card with Ranger Ink + Simon Hurley create.

Tuesday, April 30, 2024

I am so excited to be back with my next project for Ranger Ink! Start with stamping the floral images from Fresh Cut Flowers with a black, archival ink onto thick, white cardstock. Take a small amount of Lunar Paste and add water with a paintbrush, then use the paintbrush to add color to your images. For these flowers, Dart Frog, Tangent, and Yellowjacket were used. Once the paste is dry, you can optionally stamp the images again with the black ink to bolden the lines again. Fussy cut out the images and set aside to work on the background.

Using a piece of white cardstock cut to 4x5.25” and stencil the Dazzling Diamonds in Guppy, Overzealous and Shooting Star inks. Add the stenciled panel to a piece of black cardstock cut to A2 in size which is adhered to a card base, then arrange and glue the flowers onto the stenciled background. Hot foil in Opaque White, the Mother’s Day sentiment from the Spring Magnolias Press Plate & Die Set and use the coordinating die to cut it out. Adhere to the card with the florals with foam adhesive.

VIDEO TUTORIAL


PIN THIS
SUPPLY LIST

Read More

Talk to my Plants with RubberStamps.com

Sunday, April 28, 2024

Happy Sunday, friends! I was gifted a cute, mini stamp set along with a clear black and black pigment ink from RubberStamps.com and I used them to make this silly plant card. The stamps stamped very nicely and I think they're quite good quality. I'm excited to purchase a few stamps for myself to stamp with different mediums (as there are some cute Mickey Mouse ones I need, haha).

For my card, I started with squishing green Distress Oxides on my glass mat and sprayed it with water to add the ink to mixed media cardstock. I did the same process with orange and did my best to flick on some blue ink to give it a turquoise feel, but it's very muted and can really only be seen close up.

When the papers were dry, I stamped the images with the black pigment ink and set it aside to give the ink some time to dry. I die cut a piece of kraft cardstock and stamped my sentiment with the same ink on the bottom of the panel. I popped the panel up onto an A2 card base then fussy cut out my images. I popped them up onto the panel, doing my best to get them centered and fill in the rest of the card.

For some final touches, I added some embellishments that have a subtle glitter, so they're very pretty in the light. I wanted to make sure the stamps really shined on the card, so that finishes it off! Let me know what you think about this brand and if you see any stamps that are now on your wish list.

PIN THIS
SUPPLY LIST

Read More

Hello Lemon Card with Scrapbook.com

Friday, April 26, 2024

Having some fresh, citrus fun for today's card! I love the new Livestream Deal Bundle from Scrapbook.com that has lots of dies and bright, colorful paper. I used supplies from the bundle plus a few extras to make my card today. If you'd like to see a quick video, I have a YouTube Short but let's talk about how this card came together.

I started with die cutting my citrus background and added some yellow ink to the edges of the die cut. I layered the die cut with vellum and yellow paper that was then added to my A2 card base. I stamped my sentiment in green ink and popped it up to my card with 2mm foam adhesive. Then with a mixture of different foam thickness and liquid glue, I added my lemons, sentiment die cut and leaves. 

For final touches, I added some Pops of Color around the bundle of lemons and sentiment. I tapped the inside of the card to dome them out and that finishes my card. If you like the dies and colorful paper, make sure to shop the Livestream Deal before it's gone!

VIDEO TUTORIAL


PIN THIS
SUPPLY LIST

Read More

Nanny Adventures Cards - New Release from Kindred Stamps

The new release from Kindred Stamps is here! I was able to make projects with the Nanny Adventures Stamp Set and Nanny Paper Pad to bring you inspiration for the release. I made four cards using all but two of the stamps from the 6x8 set! I also incorporated some of the pretty paper designs on my two interactive cards.

For my first card, I used lots of dies to re-create the scene where the Nanny meets penguins! I started with stenciling trees upside down to give the effect of the leaves hanging down and layered the Jungle Scene but cut out some of the trees to just incorporate the look of a single tree. I layered die cuts to make a hill, water, grass and ground, finally adding my images and sentiment.

My next two cards are interactive! I used the mother from this fandom story with the perfect sentiment as a shaker card. I used my favorite pattern as the card back, then some of the grey patterns to make my shaker circle panel with some sequins from my stash. My sentiment is embossed and I added my image to the acetate on top of the shaker panel.

The other interactive card is a pull tab card and it's my favorite of them all! I stenciled on clouds and die cut my slot for the pull tab. I added my trees die cut to the bottom of the panel, making sure not to interfere with my pull tab. I die cut the rest of the pull tab assembly and added my Nanny so she looks likes she's flying down with her umbrella. My sentiment is also embossed and I added my children with foam adhesive.

The last card is our chimney sweeper and I made my own roof! I started with ink blending my night sky and used white splatter to make stars. Using red cardstock, I drew the brick details on my different roof pieces and distressed the edges to darken them up for my dusk scene. I also embossed my sentiment on this card as well and added my roof and chimney sweeper with foam adhesive.

I hope you enjoyed my inspiration with the Nanny Adventures set and that you shop the new release here then let me know what you get in the comments!

PIN THIS
SUPPLY LIST

Read More

Thumpety Thump Christmas Card with The Sassy Club

Thursday, April 25, 2024

It's the 25th of the month... Time for some holiday inspiration! I'm using a new fandom set from The Sassy Club that is perfect for your holiday cards. It's called Hey Frosty and has two snowman stamps to make great scenes. I drew inspiration from looking at a scene from the movie and stenciled my own background of sky, trees and snow. I also used tree dies to create my snowy scene.

After I made my scene, I added glitter and set them aside to dry. I stamped and colored my images using alcohol markers - I did use my Scan N Cut to cut them out and added some white highlights. After I added my sentiment and snowflakes to my background, I assembled my card together. I love how cute these images are and even though there's glitter, the scene is so sparkly and so pretty for the holiday!

You can find my process in my video today - it's a bit on the longer side but we'll catch up a bit during the coloring bit. But you can also skip sections using the chapters in the video!

VIDEO TUTORIAL


PIN THIS
SUPPLY LIST

Read More