Winter Greetings Snowflake Shaker Card with Pretty Pink Posh

Tuesday, November 4, 2025

Today I'm sharing a card I made for Pretty Pink Posh last year - it's a classic and elegant snowflake card. I used the Cascading Snowflakes Stencil with Peacock Feathers Distress Oxide on kraft cardstock. After splattering it with some opaque white watercolor, I trimmed the panel to 4x5-¼” and used it as the back of my shaker panel. I diagonally cut some white cardstock of the same size and added acetate for the front of the shaker and filled it with Snow Days Shaker Beads.

To decorate the front, I cut Stitched Snowflakes Dies out of silver cardstock as well as stamping snowflakes and my sentiment from the Snowflakes Stamp Set and Coordinating Dies with Peacock Feathers Distress Ink to match with my stenciling. I also added a few Pacific Blue Pearls for some extra shine. I hope you enjoyed this shaker card using previously released products!

PIN THIS
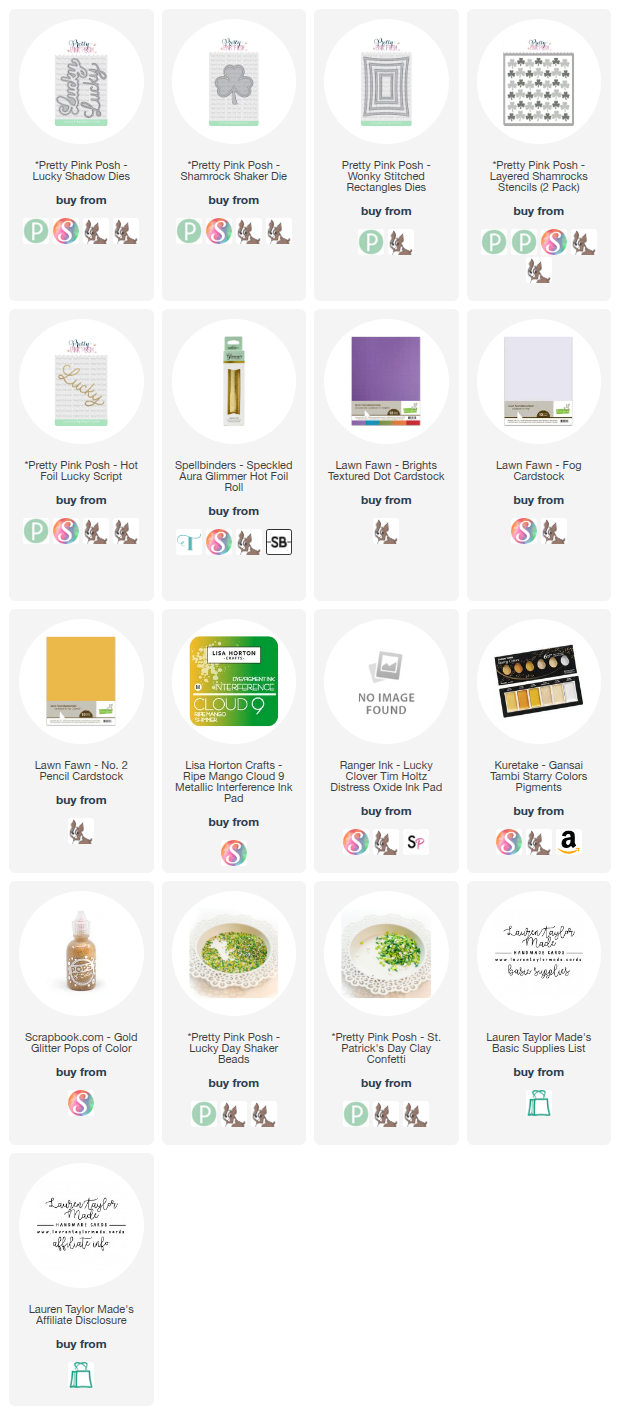
SUPPLY LIST

Read More

A Floral Thank You — November SheetLoad of Cards Hop

Sunday, November 2, 2025

Hi friends, it’s the second of the month, which means it’s time for another SheetLoad of Cards Creative Team hop. This month’s sketch from Call Me Crafty Al is extra special because it’s a collaboration with Sassy’s LLC, and I couldn’t be more excited! I printed the beautiful thank you sentiments from the Emergency Card Kit onto Madero Beach cardstock, and paired them with a few of Crafty Al’s gorgeous printable pattern papers. Using the guide from this month’s SheetLoad, I followed the sketch to assemble my layered strip panels, adding my favorite floral prints to the top for a little extra spotlight. I love how easy this layout makes creating a whole set of coordinated cards — perfect for a quick batch of thank yous or even a small gift set.

Once my patterned panels were complete, I layered them onto Ground Coffee cardstock and added the sentiment with a framed circle die for that scalloped detail from the sketch. A touch of 1mm foam adhesive gave the sentiment some subtle dimension, and I finished the design with Copper Glitter Pops of Color for just a little sparkle and shine. I love how these turned out — classic, cozy, and full of gratitude. Be sure to check out my video below to see my process and hop along with the rest of the SheetLoad Creative Team to get inspired and see how everyone made this month’s sketch their own!

VIDEO TUTORIAL


PIN THIS
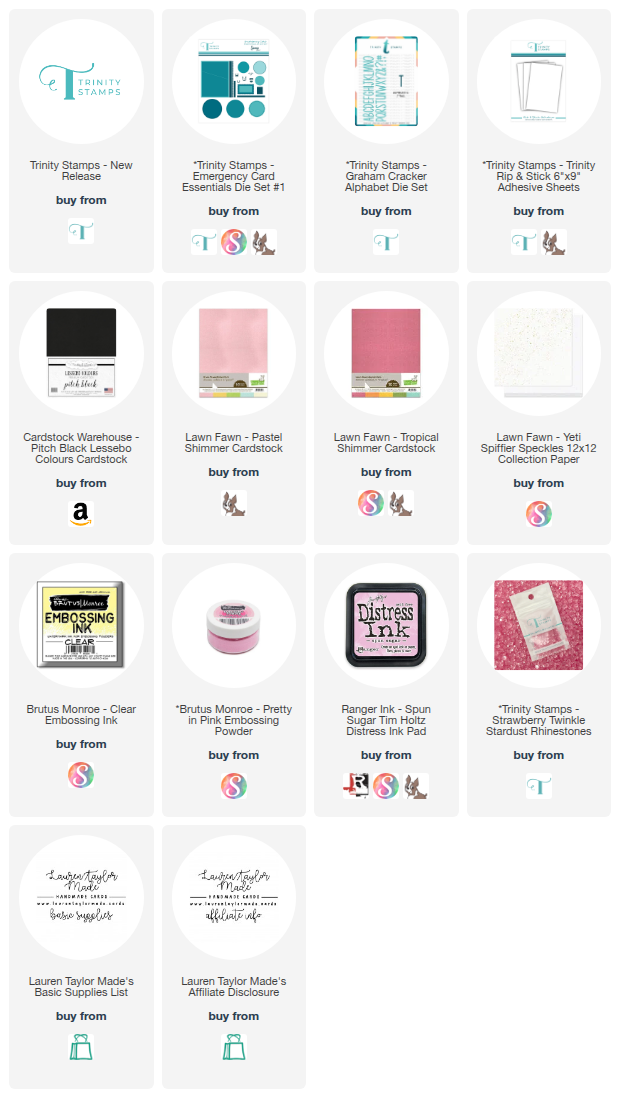
SUPPLY LIST

Read More

Sending a Little Love with Sizzix

Tuesday, October 28, 2025

For this project, I had so much fun creating a soft and elegant card using Sizzix products! I started by embossing a piece of Bright White cardstock with the Serene Sophisticate 3D Textured Impressions Folder and then used the coordinating layering stencils to add color. I used Clear Skies, Pompous, Prom Queen, and Later Gator inks to bring the floral pattern to life with soft blues, purples, and greens. Once the panel was stenciled, I lightly blended the leftover blue ink around the edges for a soft glow and layered it onto a piece of purple patterned paper trimmed to A2 size.

Next, I die cut a pink patterned paper oval from Sizzix, stamped the sentiment “sending a little love your way” in Prom Queen ink, and added it to the center of my card with foam adhesive. I die cut the large flower and leaves from the same starter kit cardstock, deepened the colors with coordinating inks, and layered them beneath the sentiment oval for extra texture. To finish, I added Lavender Luster Glitter Pops of Color to the flower centers for sparkle and mounted everything onto an A2 card base. I love the soft and serene look this card gives — perfect for sending a little love any time of year!

PHOTO TUTORIAL


PIN THIS
SUPPLY LIST

Read More

Sorting Hat Personalities with Miss Ink Stamps

Friday, October 24, 2025

I had so much fun creating this magical card with the brand-new release from Miss Ink Stamps! For this project, I pulled out the witty house from the Personalities stamp sets, the Best Sort stamp set, and the Talking Hat die, plus a few older favorites. I wanted to build a layered background full of words and traits that felt like a nod to the magical world of school sorting, then top it off with a student and that iconic hat to bring the story together.

If you’d like to see exactly how I pulled it all together, I’ve shared a video below walking through my process. From soft stenciled details, to layered stamping in multiple ink colors, to the final die-cutting and assembly, this card came together with a mix of subtle background work and bold focal images. Scroll down to watch, and I hope you enjoy this peek at Miss Ink’s newest magical release!

VIDEO TUTORIAL


PIN THIS
SUPPLY LIST

Read More

Pretty Florals with the Sizzix Big Shot

Wednesday, October 22, 2025

It’s hop day, friends! I’m so excited to be part of the Creator Collective hop, a collaboration of crafty friends coming together to share inspiration, encouragement, and (of course) a ton of creative fun. For this project, I used my brand new Sizzix Big Shot Starter Kit — it comes with everything you need to start die cutting, including cardstock and a die set packed with shapes and florals. I wanted to show just how much you can make using only what’s included in the kit, so I created this sweet floral card.

To make it, I layered three ovals cut from different shades of the included textured cardstock. I added a touch of dimension by popping up the top oval with foam adhesive and arranged my layered florals (cut from textured and shimmer cardstock) in the center. To finish, I used a corner chomper to add scalloped edges, splattered a bit of black ink for contrast, and topped the flowers with Snowflake Glitter Pops of Color for shimmer. This project is a reminder that with a die cutting machine and a few beautiful papers, you can create something bright, cheerful, and full of texture!

VIDEO TUTORIAL


PIN THIS
SUPPLY LIST

Read More

Hello, You are Awesome! with Emily Moore Designs

Monday, October 20, 2025

It’s the 20th of the month, which means it’s time for another Oh So Inspired Collaboration! This month, our team is drawing inspiration from the amazing Carmen of Choose Joy with Carmen, and I was immediately drawn to one of her cards that featured such a beautiful color combination and a clean, layered design. I decided to recreate that energy using products from Emily Moore Designs to bring my own twist to the layout while still keeping the playful pinks and oranges that first caught my eye. You can find the full collaboration linked in my video description, and I’ll also have it pop up at the end of my video if you’d like to see how the rest of the team was inspired this month!

To make my card, I started with some ink blending using the Rainbows and Confetti Layered Stencil Sets to build two different backgrounds with warm, vibrant tones. I then die cut and layered my stenciled panels using several dies from Emily Moore Designs, including the Card Sentiment Dies, Decorative Sentiment Dies, and the Doily Shaker Frame Die. The “hello” sentiment and “you are awesome” banner tie everything together, layered on top of soft vellum details for a light and airy finish. I love how all the layers add visual dimension without adding bulk—perfect for mailing! You can watch my full process video below to see how it all came together and get a closer look at those fun color blends and playful shapes.

VIDEO TUTORIAL


PIN THIS
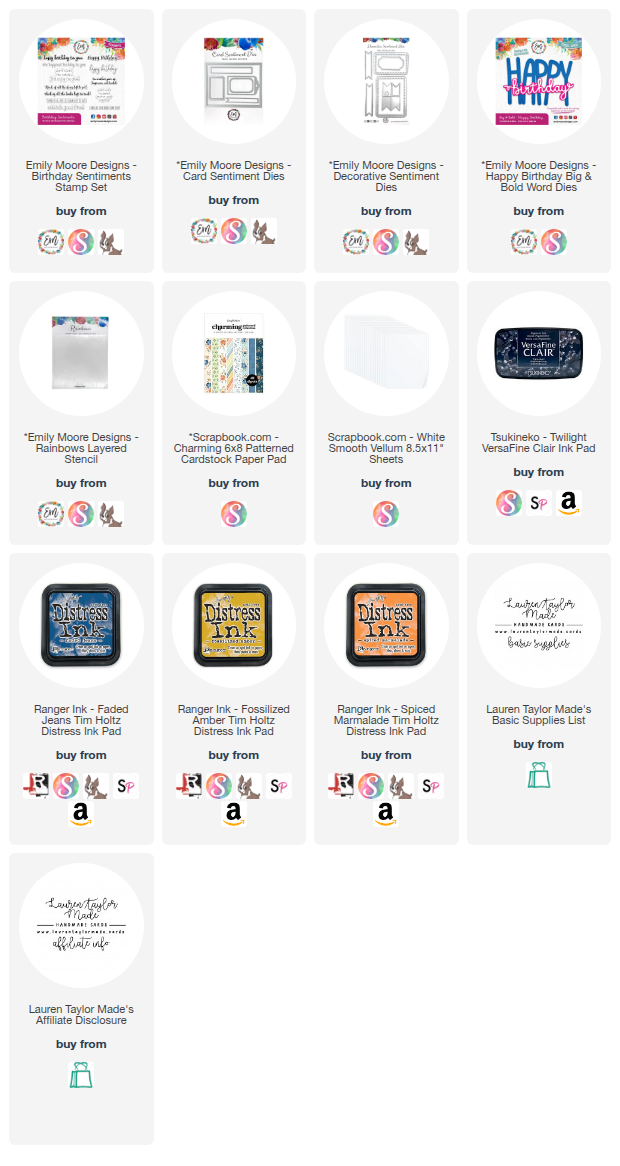
SUPPLY LIST

Read More

A Touch of Shine for Hanukkah with Trinity Stamps

Sunday, October 19, 2025

For this card, I wanted to bring a modern twist to a Hanukkah design using products from Trinity Stamps. I started by warming up the Argyle Stitch Background Die on my Glimmer Hot Foil machine—just enough to make it warm, not hot—and then ran it through my die cutting machine with Polished Brass Glimmer Hot Foil over white cardstock. That light warmth helped transfer just a bit of foil into the stitched lines for a soft golden shine. I used the Retro Diamond Pattern Layering Stencil Set to blend shades of blue ink over the background, lining up the stencils with the stitched pattern for a clean diamond design. I die cut the panel with an A2 rectangle die and splattered it with golden mica spray before attaching it to a top-folding card base for a subtle shimmer.

Next, I created my focal point! I die cut a Dainty Scallop Circle from dark blue cardstock and used the same color for the “Happy Hanukkah” shadow and the tiny wicks for each candle. The candles and wax drips are cut from a speckled off-white cardstock, the flames from pale yellow, and the menorah and sentiment from golden yellow shimmer cardstock. I layered everything together to build the menorah—complete with all nine candles glowing—and then attached it with liquid glue onto the scalloped circle. I used foam adhesive to pop up the sentiment and circle for some extra dimension. To finish off the card, I added a few Sapphire Sparkle Spots to tie in that lovely blue shine.

VIDEO TUTORIAL


PIN THIS
SUPPLY LIST

Read More