Don't Just Fly, Soar! Box Card with The Sassy Club

Sunday, April 7, 2024

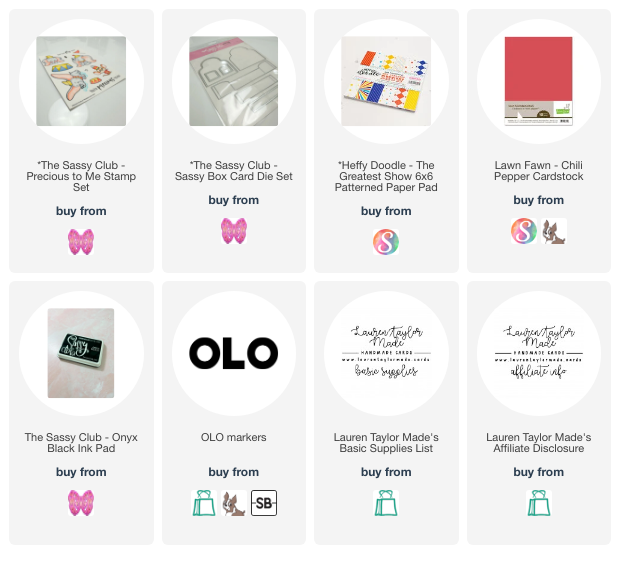
More fandom fun today with another box card with The Sassy Club! I really just wanted to color in these cute characters so I kept my box card pretty simple and used patterned paper that was circus themed. You can follow along in my short video below of the card assembly. I started with all of my die cutting and cut the Sassy Box Card base out of red cardstock and the detail dies out of Heffy Doodle's circus themed patterned paper.

Before adding my patterned paper on the front of the box card, I stamped my sentiment all the way to the right so I had room to add my mouse character to the left. Once my box card was assembled, I adhered my elephant to his little stage and glued him to the "shelf" on the inside of the box card. Finally, I added my mouse on his little stage to the front left of the box card. I think I could have stepped up this card a little with other circus themed items, but I love how simple and fun this card is!

VIDEO TUTORIAL


PIN THIS
SUPPLY LIST

Read More

Ahoy, Matey! Pirate Card with Trinity Stamps

Saturday, April 6, 2024

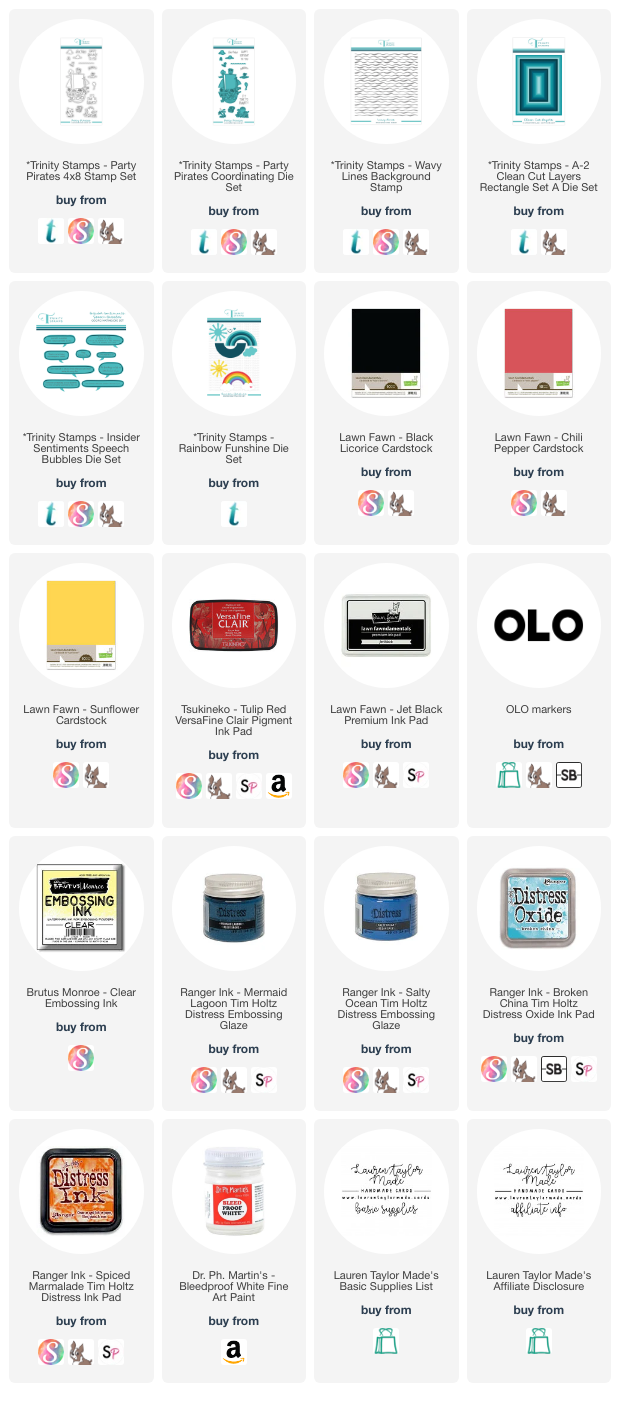
Party pirates out to sea! I love this fun stamp set from Trinity Stamps and the set makes fun birthday cards for younger kids (well, of all ages!) as they don't always want floral cards that I'm currently obsessed with... I have a short video below of how I made my background with the Wavy Lines stamp with Distress Glazes and Oxide that you can check out!

For the rest of my card, I stamped my images and used my OLO markers to color them in. I cut them out with the Coordinating Dies as well as the sun and cloud from Rainbow Funshine. To give my sun a little dimension, I added black cardstock behind the face and a bit of orange ink to the center of the sun. You can see in my short video how I added all of the images to my background. I hope this brings a sunny smile to your face today!

VIDEO TUTORIAL


PIN THIS
SUPPLY LIST

Read More

Each Stitch Floral Card with Spellbinders

Friday, April 5, 2024

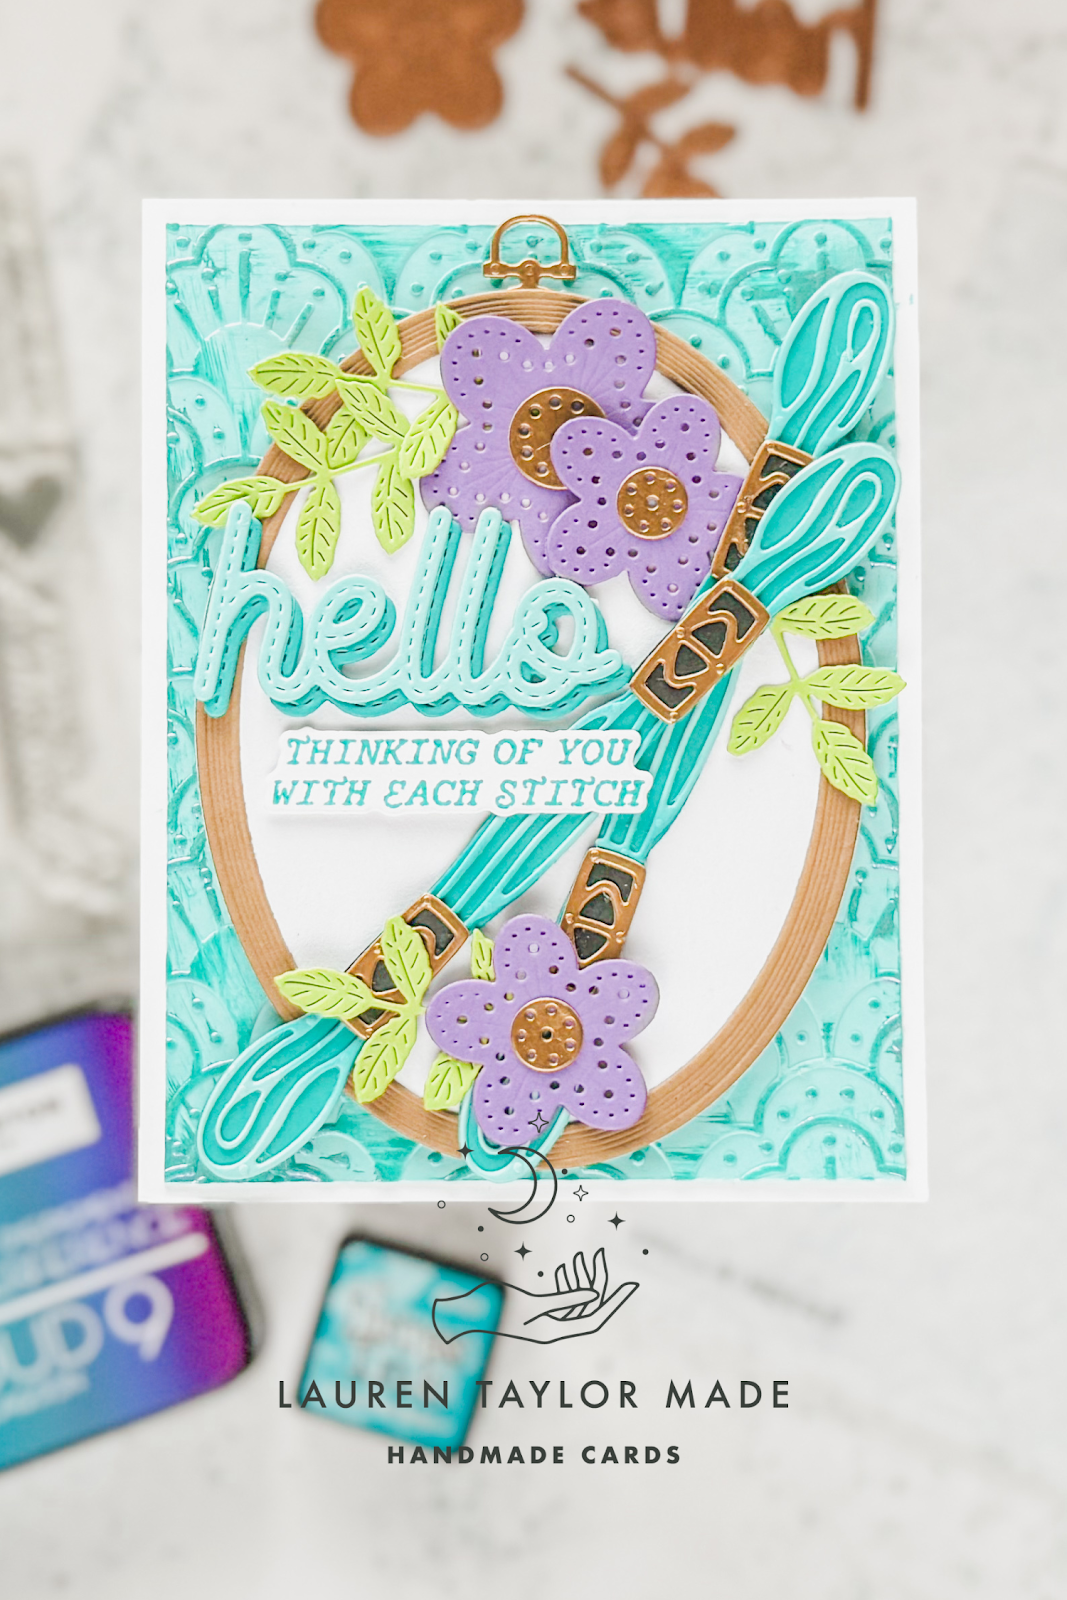
Friends, I just love this month's Spellbinders Clubs! I receive five kits to create inspiration with (my BetterPress Club has not yet come, but hopefully soon) and I used four of them on today's card. You can follow along with my process with my video down below, but I'll talk about how I used each of the kits in today's blog post.

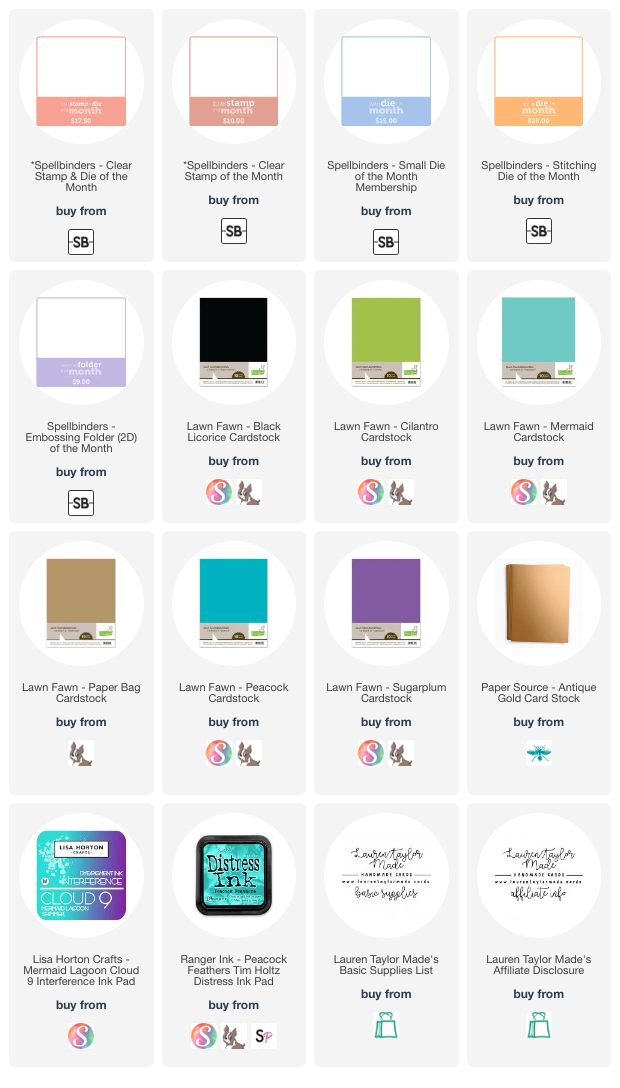
The Clear Stamp + Coordinating Die Club was used by stamping my "thinking of you with each stitch" sentiment, Small Die Club for the "hello" sentiment and the embroidery floss, Embossing Folder Club for the background, and finally the Stitching Die Club for the flowers, leaves and embroidery hoop. Make sure to check out all of the Clubs because they seriously coordinate all so well together! Let me know which product is your favorite from the release, too.

VIDEO TUTORIAL


PIN THIS
SUPPLY LIST

Read More

Lovely Bunches Floral Cards with Scrapbook.com

Thursday, April 4, 2024

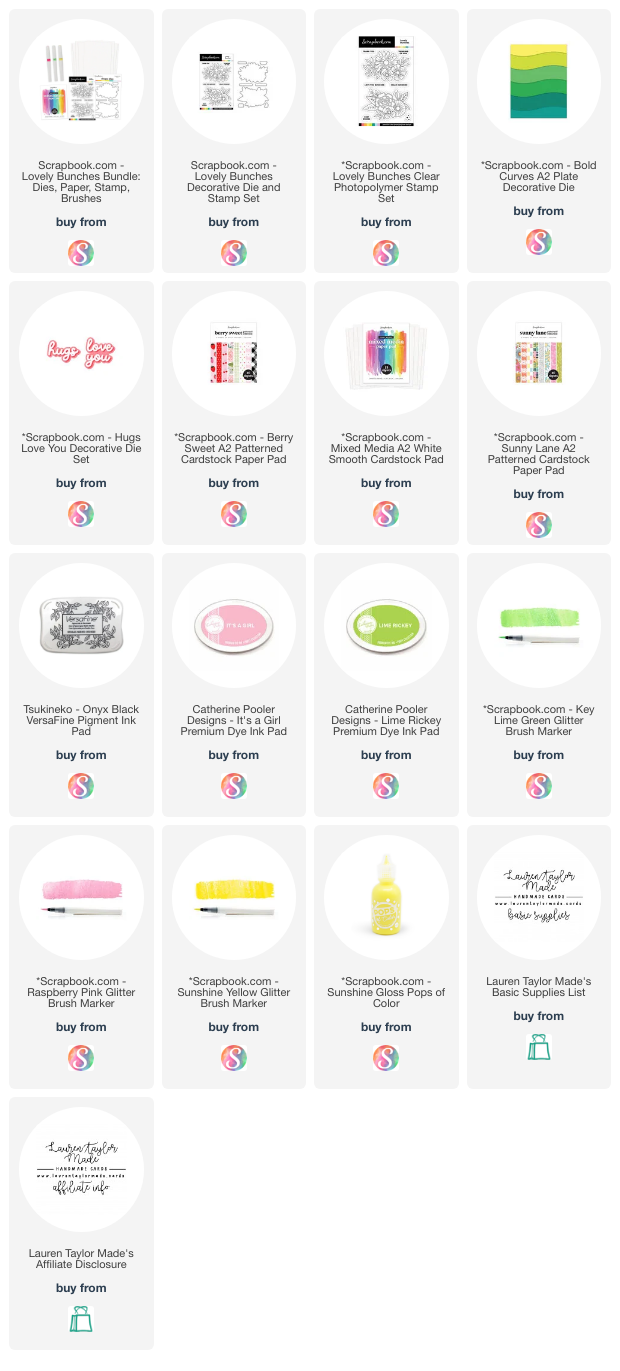
There's a new Livestream Deal today over at Scrapbook.com! It's called "Lovely Bunches" and includes a fun, floral stamp set with its coordinating dies, mixed media cardstock and Glitter Brush Markers. I used all of these products with a few other Scrapbook.com Exclusives to create two cards. I started with stamping my flowers on the mixed media cardstock and used the glitter brushes to color them in. I don't have the dies yet, so I fussy cut out the images.

I used two pieces of patterned paper to make my background and cut them out with the Bold Curves die. I distressed the edges with ink and blending brushes, then alternated them to make two different backgrounds on my card bases. I stamped my sentiments with my MISTI and curved them to fit along the curves of the background.

Next I die cut my sentiments from more mixed media cardstock and used the yellow and pink glitter brushes to color the words. When they were dry, I glued the layers together. I popped up the flowers and the sentiment with 2mm foam adhesive and added some Pops of Color to the center of the flowers and around the card. I hope you like my inspirations with this bundle and don't forget to shop while the deal lasts!

PIN THIS
SUPPLY LIST

Read More

Hooray Balloon Card with Pretty Pink Posh

Wednesday, April 3, 2024

Hi, friends! I was inspired by some birthday patterned paper I had in my crafty stash to make colorful balloons on a birthday card! I started with die cutting the Pierced Stars Plate Die from a piece of confetti patterned paper to be the background of the card. Then I cut out different pieces from the Party Balloons Dies to make six different balloons - the traditional and star balloons. I layered different pieces together to create a striped, star balloon and a balloon with star details. There are also balloons cut from holographic paper to create the look of mylar balloons!

Once the balloons were ready, I also had the balloon strings from the Party Balloons Dies in a dark blue cardstock, I layered them with liquid glue and foam adhesive in 1mm and 2mm thicknesses on to the Pierced Stars background. My sentiment is stamped from the Birthday Train Stamp Set to create “Hooray It’s Your Day”.

I stamped “Hooray” on white cardstock in blue ink and used the Birthday Train Coordinating Die to cut it out. “It’s Your Day” is stamped in the same blue ink on cardstock cut into a banner from the Sentiment Strips Dies. I added the sentiments to the card, under the balloons, with foam adhesive to finish the card! I hope you enjoyed today’s process video for a fun and relatively quick and easy party card.

VIDEO TUTORIAL


PIN THIS
SUPPLY LIST

Read More

For You Stitched Floral Embroidery Hoop Card with Spellbinders

Tuesday, April 2, 2024

Did you catch my first livestream on my YouTube channel? Some of my crafty friends and I were using the April 2024 Club releases from Spellbinders so you could get a sneak of the clubs while you wait for yours to arrive. Or maybe you want to sign up for the Clubs because they're just stinkin' cute! If you are a current Club Member, you can alter your Clubs until the 4th, and if you'd like to start a Club Membership, you can order on the 6th!

Before the livestream, I die cut all of my Stitching Dies of the Month flowers pieces, embroidery hoop pieces and sentiment from cardstock in my stash. During the livestream, I added stitching to my flower pieces and adhered them to my hoop along with the sentiment. Since I didn't get a card completed, after the livestream ended, I added my hoop to a piece of yellow cardstock that has the Embossing Folder of the Month on a kraft card base as well as some Pops of Color.

We hope you liked the live format rather than a video hop this month! I think it's going to be how we move forward with Spellbinders releases and I did have fun with the livestream so maybe it's something I'll do more in the future?

VIDEO TUTORIAL


PIN THIS
SUPPLY LIST

Read More

Sweet Friend Floral Joy Fold Card with Pink & Main

Monday, April 1, 2024

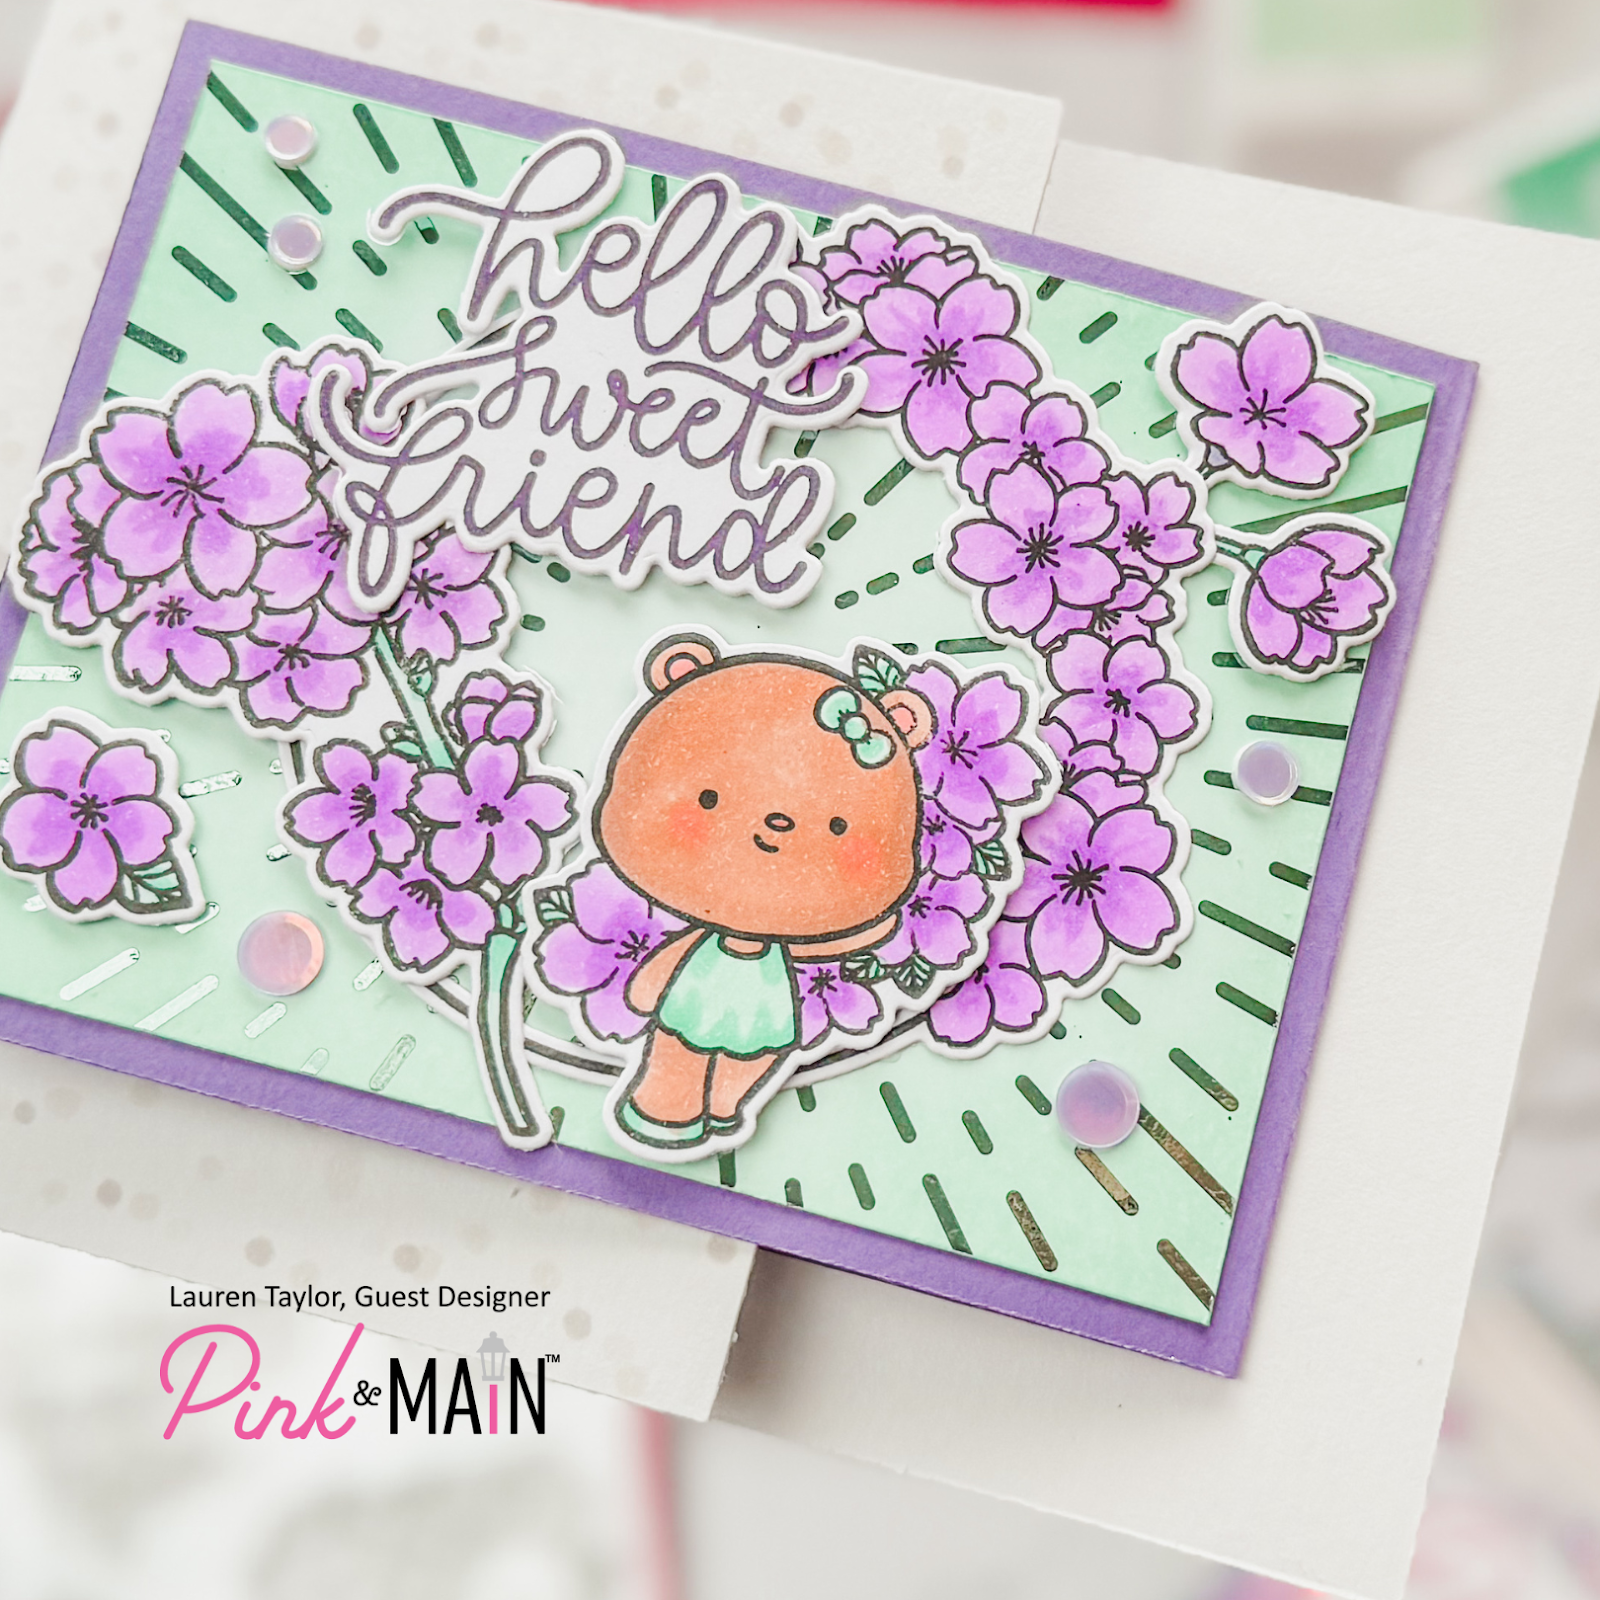
I've got another Pink & Main project to share with you today! (Can you believe that it's APRIL?!) The Sakura Blooms stamp set is so pretty but I decided to color them in purple rather than cherry blossom pink. I brought in some mint colors with the foil and ink blending and I made my own stone looking cardstock to meet the requirements for Craft Roulette this past Friday!

First I stamped and colored my images, then used the coordinating dies to cut them out. I'm realizing now that I'm writing this blog post, I forgot to add my white highlights! I'll probably add them later because those cheeks are just calling for little white highlight dots... I foiled my Foible and with a mint foil from my stash and ink blended green inks to give a pretty, mint background.

I trimmed my foiled background to 3x4" and adhered it to a mini purple card that is 3-1/4x4-1/4" when scored and folded. I have the fold of the card on the right because I'm going to use it as a joy fold card! My grey cardstock is A2 in size and I trimmed the front of the card to be 3-1.2" wide for the joy fold. I glued my purple mini card to the middle of the grey card base.

My images are glued do white card front with liquid adhesive and thin 1mm foam. I have all of the parameters so far except for "stone" so I used alcohol markers to make a stippling pattern to give a stone look to the grey cardstock. I had a lot of fun make this style of card and I hope it brings you some inspiration today!

PIN THIS
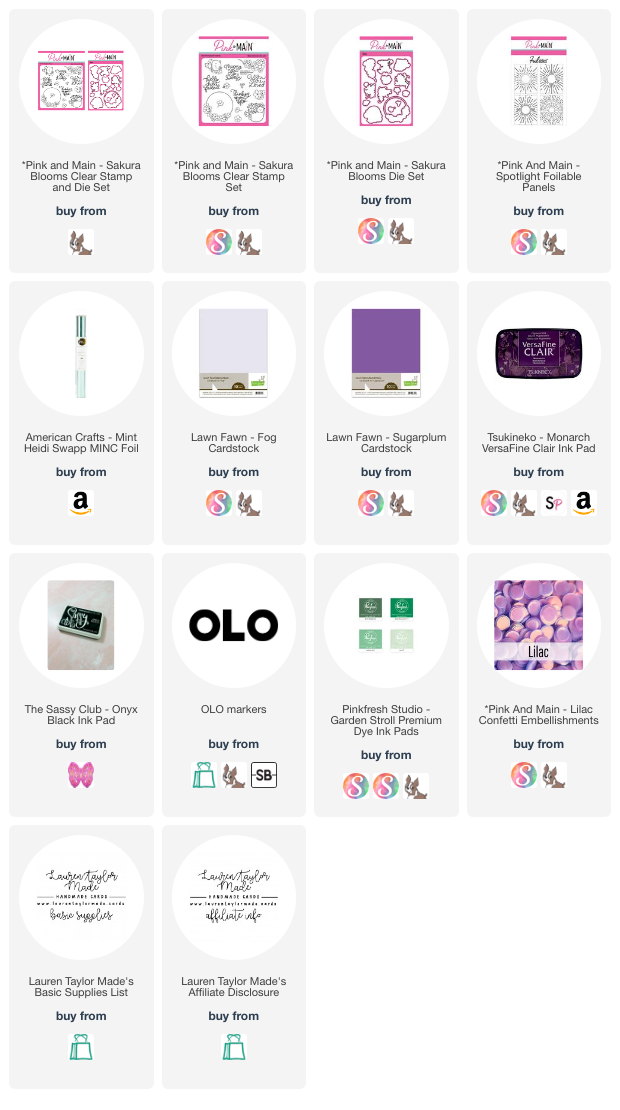
SUPPLY LIST

Read More