Ice Cream Gift Card Bags with Pretty Pink Posh

Friday, December 22, 2023

It's so crazy to believe we're heading into the Christmas weekend and I'm excited to take some time off of work and visit my family. But, because I'm heading out of state, I need to get my ducks in a row to be out of town and away from my craft room. I did not want to take a week away from posting anything, so I'm going to be sharing some of the Pretty Pink Posh projects I made this year that never made into a post! 

First are these little goodie gift bags that are great for birthdays! I started with stenciling my ice cream cones with ink but waited on the last layer for the sprinkles. I die cut my gift card bags (four in total) and glued them together to make a little bag (two for each bag). I then added my stencil paste to the ice cream on one side of the bag and set it aside to dry.

I die cut my sentiments three times and glued them together to make a sturdy piece of cardstock. When the bags were dry, I glued the sentiments and a few clay bits from different mixes to add more fun to the gift card bags. You can slide some money in the bags or a gift card and then tie a bow to keep it closed! I hope this inspires you today to fancy up your gift cards or maybe just for some ice cream money.

PIN THIS
SUPPLY LIST

Read More

Sparkle with the Sizzix Stencil & Stamp Tool and Scrapbook.com

Thursday, December 21, 2023

Have you tried the Sizzix Stencil & Stamp Tool? I knew I needed to get my hands on it when the Cherry Blossom version came out as an exclusive with Scrapbook.com! I have not used this kind of tool before but am excited to share with you my thoughts on this tool. In my video today, I walk you through the unboxing of this tool, stenciling with a layered stencil set and using it for stamping to emboss the sentiment on this card.

I'm pretty honest in the video and I share all of the mistakes I made with using this tool... I probably should have read more directions before using it and my attempt at cleaning. But, we live and learn and I'm here to help you avoid the mistakes I made with using the tool! Please let me know if you have any questions about it so I can include them in my next video. 

My card is a quick and easy one as the video is more about how to use the Stencil & Stamp Tool, but I love the teals and blue together for this winter themed card!

VIDEO TUTORIAL


PIN THIS
SUPPLY LIST

Read More

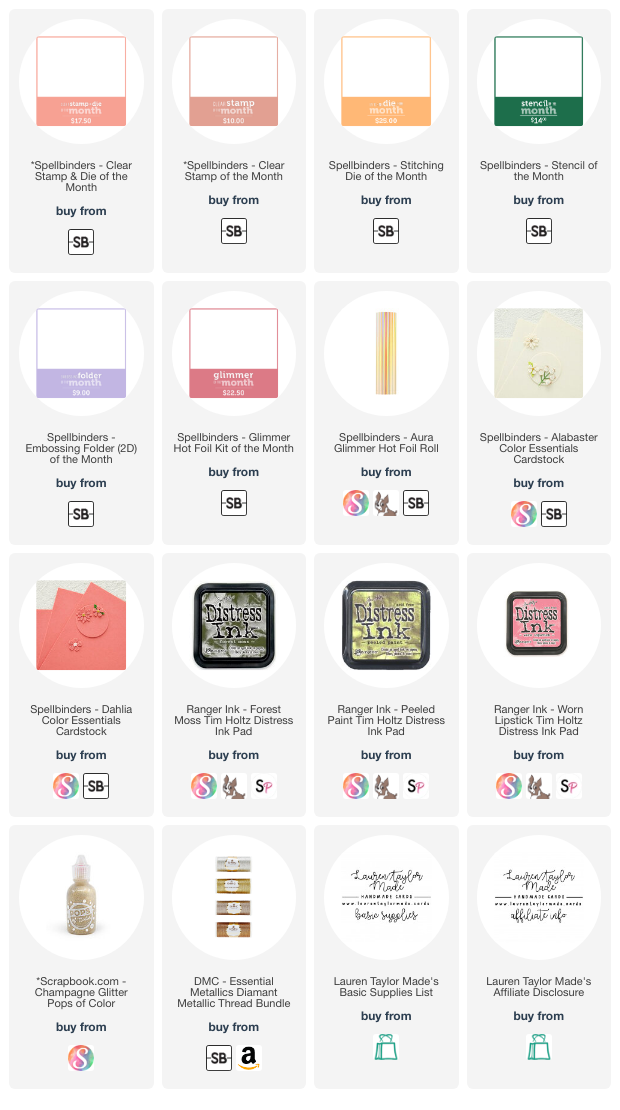
Spellbinders Clubs December 2023 - Valentine's Day Card

Wednesday, December 20, 2023

I love how easily the December 2023 Clubs from Spellbinders coordinate this month! I am using lots of Clubs on this one card - Clear Stamp & Die, Embossing Folder, Glimmer Hot Foil, Stencil and Stitching Die. I used greens, pinks and champagne colors to coordinate the card all together and this was my first time using a stitching die! I might be doing more stitching next year (hint, hint) so I wanted to try this month's out to see how I would use stitched die cuts on a card.

My video today walks through each part of the card and I love that it's a shaped card! I think shaped cards are fun and make receiving a card even more exciting. I would love to know which of the December 2023 Clubs are your favorite and if you have tried stitching before on cards! I'm excited for 2024 - I'll be continuing with the Clear Stamp & Die and BetterPress Plate Clubs and excited to be joining in another Club next year! I hope to bring you lots of fun inspiration into the new year with Spellbinders.

VIDEO TUTORIAL


PIN THIS
SUPPLY LIST

Read More

Enjoy the Journey Square Card with Hello Bluebird

Monday, December 18, 2023

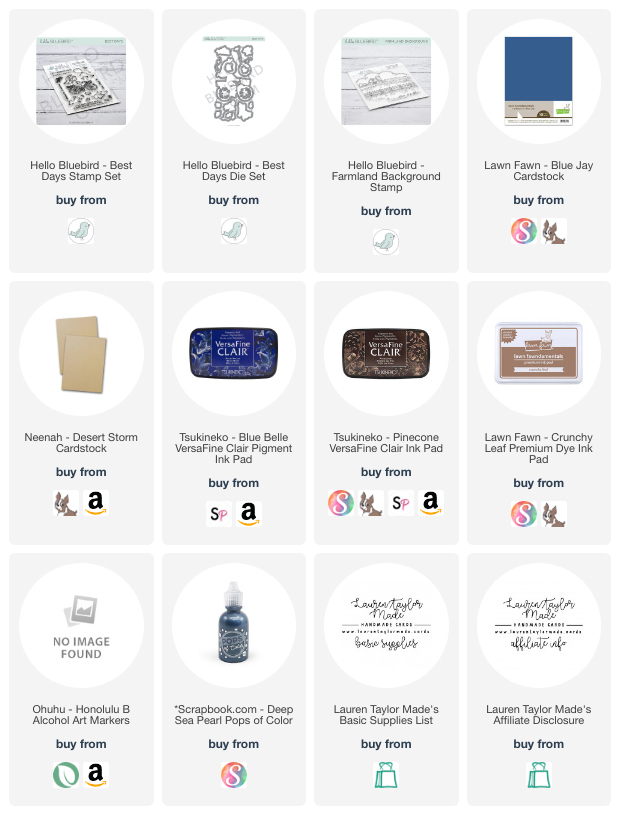
I have been eyeing Hello Bluebird for years, but tried not to buy any products as I just don't need another stamp company to be obsessed with... But there was an amazing sale this year and I finally splurged and bought some sets! I wasn't really sure when I was going to use them, but Craft Roulette helped me make that choice this week. I started with making my square card base (4.25 x 4.25") and added a square piece of Blue Jay cardstock.

Next I cut my kraft cardstock layer to 4x4" and stamped the Farmland Background in brown ink. I picked this for the background as I thought the fence looked like a ladder and I have climbed these fences in my life! I then stamped and colored my images in browns and blue as I found an image of a nest online and used the colors for inspiration. I used the coordinating dies to cut out my girl riding her bike and her cat, layered them with two layers of kraft cardstock and adhered it to the card.

For final touches, I stamped my sentiment in blue ink and added some Pops of Color in a deep blue to match the colors of my girl's outfit. It's a simple card, but I think so cute and I like the monotone background with the color on my image on the card. Have you used Hello Bluebird before? What is your favorite set from them?

PIN THIS
SUPPLY LIST

Read More

Dad You Rock with Pretty Pink Posh

Friday, December 15, 2023

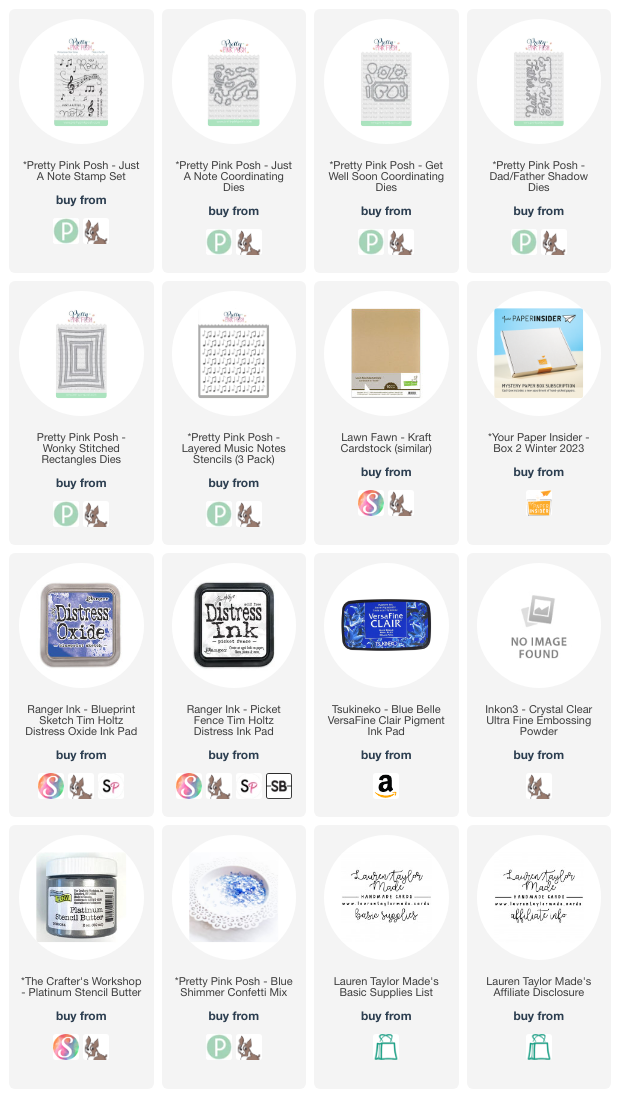
Hi, friends! I am so excited to be continuing on the Pretty Pink Posh Design Team into 2024! It's been a wonderful year and I'm excited to keep sharing more inspiration with you. To celebrate, I'm sharing a card I made earlier this year using the Just A Note Stamp Set and Coordinating Dies. The 3x4 stamp set is so fun for the musically talented people in your life. I have a lot of family members that are so talented and I thought it would be fun to make a Father’s Day card with this set since they’re all fathers!

I started with stenciling my kraft cardstock background cut with the largest Wonky Stitched Rectangle Die since it would need the most time to dry. The Layered Music Notes Stencils are perfect with this stamp set; I used the A stencil with Blueprint Sketch Distress Oxide, the B stencil with Picket Fence Distress Ink and the C stencil with Platinum Stencil Butter from The Crafter’s Workshop.

While the background was drying, I cut a piece of vellum using the stitched label die from the Get Well Soon Coordinating Dies. Using Blue Belle VersaFine Clair Ink, I stamped the “You Rock” sentiment from Just A Note towards the lower right and embossed it with clear embossing powder. I also stamped the staff image and the three smallest musical notes on white cardstock and embossed them, too. Using the Coordinating Dies, I cut out the images and set them aside.

Since this is a Father’s Day card, I cut “Dad” from the Dad/Father Shadow Dies in some holographic cardstock as well as its shadow in white cardstock. Using a fine tip glue, I adhered the two layers together. I layered the “Dad” sentiment towards the top of my vellum label and added the staff image so it would be towards the left of the “You Rock” sentiment.

Once they were in place, I added foam adhesive to the back of the vellum label where white cardstock would hide them and glued it to my now dry background. Finally I added my stenciled card front to a card base with foam adhesive. Using a jewel picker, I added the three music notes and some Blue Shimmer Confetti on the vellum label. I hope you’re as excited as I am to continue seeing more from Pretty Pink Posh with me!

PIN THIS
SUPPLY LIST

Read More

Seasonal Birthday Cards with Trinity Stamps

Thursday, December 14, 2023

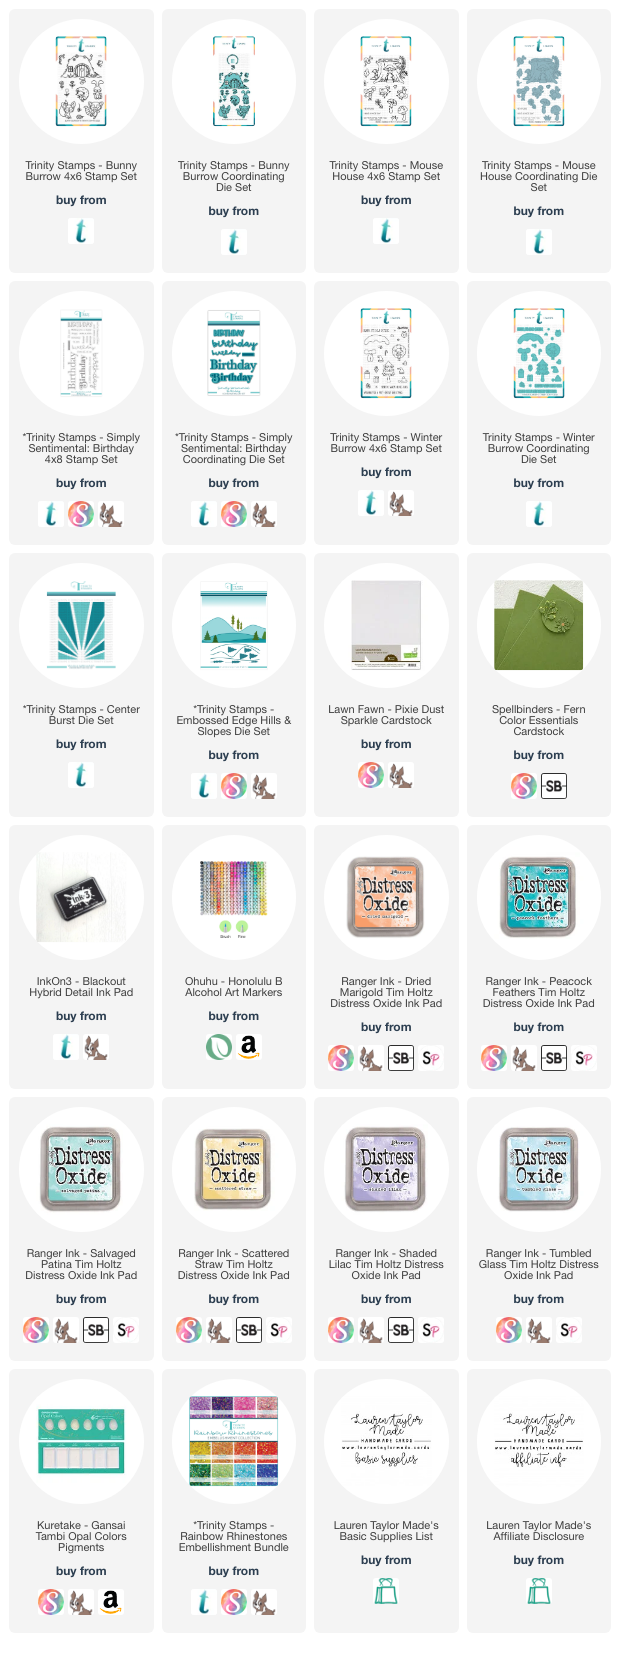
Today's video is a bit of a longer one today, but I'm sharing three adorable birthday cards using Trinity Stamps products! I'm recreating the same style of card for all three of these, but mixed up the critters, their homes and the seasons. I started with lots and lots of coloring... It took me quite a bit of time to color in all of my images, but in the video today I'm sharing each color combination as well as how I colored in the wood stump and grassy hill details on the homes.

After I used their coordinating times to cut the images out, I moved onto ink blending my backgrounds. I used blue and purple for my Winter scene, teal blues for my Spring/Summer, and orange and yellow for the Autumn scene. After adding some shimmery splatter, I used the Center Burst die to create a subtle design into my background. I added these backgrounds to card bases, added in hills (some grassy, one snowy) and my images.

My sentiments are stamped and die cut from the Simply Sentimental: Birthday set and I did the same sentiment for all three cards. I added more shine by adhering some rhinestones in colors that match the overall design of the card with liquid adhesive and that finishes off my three cards! Which scene is your favorite? Do you like to make seasonal birthday cards? Let me know in the comments!

VIDEO TUTORIAL


PIN THIS
SUPPLY LIST

Read More

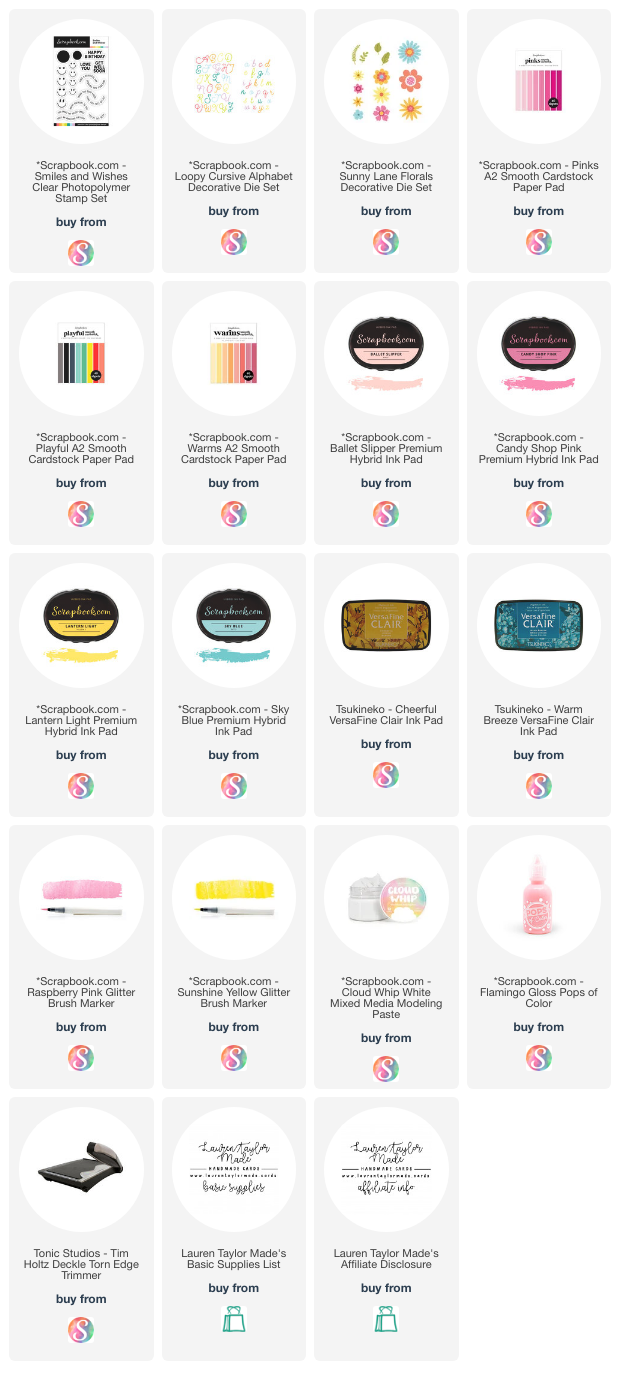
Lover Floral Card with Scrapbook.com - Taylor Swift's Birthday!

Wednesday, December 13, 2023

Happy Birthday, Taylor Swift! We're celebrating today at Scrapbook.com and I made a Lover inspired card using SBC Exclusives. I started with trimming a piece of blue cardstock from my Playful A2 Paper Pad with my deckle trimmer. It was the closest thing I could do to make it look like it's inspired by a postcard stamp. The design on my flower centers could also possibly be inspired by a stamp, too. I added ink to darken the edges a bit with blue ink and a blending brush.

Next I did lots of die cutting! I die cut my Lover sentiment from the Loopy Cursive die set three times and glued them together to create a nice, sturdy sentiment. Out of the same darker pink and a lighter pink from the Pinks A2 Paper Pad, I die cut flowers that look like abstract blobs before I assemble the flowers together. I also die cut the centers of my flower from a yellow piece of the Warms A2 Paper Pad. I stamped a circle (the same shape as a globe) with yellow ink in the centers of the yellow middles.

I played around with my layout and figured out where I needed to stamp my sentiment in a blue ink on the blue background. I also stamped the heart eye smiley faces to the center of my flower centers and glued them to the flowers. Next I glued my pink and yellow flowers to the card with liquid adhesive (top two) and foam squares (bottom three) as well as my Lover sentiment with liquid adhesive to the card.

My final touches were adding pink glitter to the Lover sentiment and yellow glitter to the centers of my flowers as well as making my own splatter. I mixed in Cloud Whip, Pops of Color and a bit of water to create a pastel pink media. Then I used a small paint brush to splatter around the card doing my best to not cover the stamped sentiment. I hope you like my take on this card and that you have some fun dancing to Taylor Swift today!

PIN THIS
SUPPLY LIST

Read More