You're Fabulous Gift Card Holder Card with Scrapbook.com

Sunday, May 19, 2024

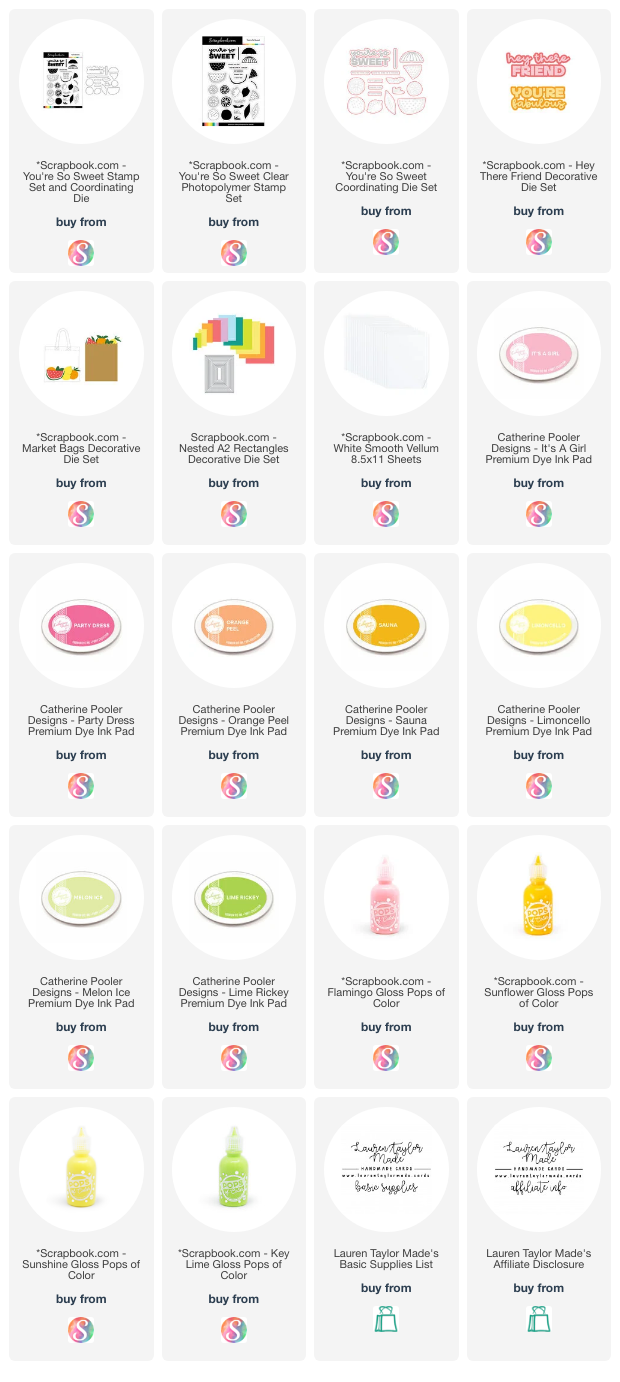
Okay, I'm currently obsessed with the fruit layering stamps from Scrapbook.com! I just love the hand drawn look of the outline stamp and how even cuter they are when I didn't get it lined up perfectly with the solid stamp. For my card today, I started with die cutting a piece of white cardstock with the second largest A2 rectangle from my die set. I put the four solid fruit stamps on clear blocks and used lighter colored inks to create my background. Then I replaced the stamps with their outlines and used a darker colored ink the same color to stamp the outlines of all of the fruit.

I also stamped one of each fruit on a separate piece of white cardstock and used the coordinating dies to cut them out. Using the two pink inks, I swiped them onto some white cardstock and die cut my sentiment. I used liquid glue to get them all lined up with each other on the shadow die - the grapefruit was my favorite on the card, so that's why I went with pinks!

Next, I die cut my vellum bag and used a gift card I swiped from my kiddo to add double sided adhesive to the flaps of the gift bag to adhere it to the center of the card. It looks a little off center, but that's just because the gift card will be a bit taller than the vellum bag. I adhered the four fruits to the bag and popped up my sentiment with foam adhesive.

For some fun, final touches, I added Pops of Color in coordinating colors on the fruit around the gift card bag! I love the tone on tone look for each of the fruit on this card and it's a great birthday or thank you card. I adhered my panel to a white card base to complete the card and it's ready to be sent to someone special!

PIN THIS
SUPPLY LIST

Read More

Tropical Hello with Spellbinders

Saturday, May 18, 2024

I finally had some time after a crazy busy week at work to use the Spellbinders May 2024 Small Die of the Month! I also was inspired by Call Me Crafty Al's May 2024 SheetLoad of Cards sketch. I used mostly items from the May 2024 Clubs from Spellbinders, but I did use some retired patterned paper from my stash. So if you like the colors of this card, definitely shop what you already own, but I'm sure you can find some cute tropical paper out there!

I won't go into too much detail about putting the card together since you can get the sketch from Crafty Al, but I did use the Embossing folder of the month for the center piece and popped it up with 1mm foam adhesive. I used patterned paper to die cut my parrot and tropical details - I just love how fun my bird looks with all the different patterns. The bird, sentiment and some of the floral pieces are also popped up with 1mm foam adhesive.

The eye of the bird was die cut from the white patterned paper, but I used a black pen to darken it up as I didn't like the white eye near the white feather details. I hope you had fun with me using the May 2024 Club Kits (Stitched Pineapple, Watercolored Cards) and I cannot wait to show you June's products!

PIN THIS
SUPPLY LIST

Read More

May the Force be with You Light Up Card with Pear Blossom Press

Friday, May 17, 2024

Hi, friends! Thanks for coming over to my blog today. I'm sharing a project I made earlier this month for Star Wars day on the Pear Blossom Press YouTube Channel! I just love making fandom cards, and this adorable penguin set is just amazing. I just love how they turned out! You can follow along in my video down below to see my card process, but let's talk a little about it here.

For my card, I started with stamping and coloring my images before I recorded. I fussy cut them out as well as prepped my background die cut and patterned paper. Next we'll assemble the background, stamp and emboss the sentiment, and use these as a guide along with my Penguin Luke with a lightsaber to attach the One Light. Finally, we'll assemble the card and add our adorable fandom characters. I hope you have fun with this card today!

VIDEO TUTORIAL


PIN THIS
SUPPLY LIST

Read More

Floral Mother's Day Card with Pretty Pink Posh

Tuesday, May 14, 2024

We're still celebrating and having fun with the latest release from Pretty Pink Posh! Last week we had a blog hop and this week it's over on Instagram. Make sure to head over there to get all the details of how you could win a gift certificate and see the amazing inspiration from so many talented creators. I kept my card simple today as I really wanted to show off the beautifully detailed Floral Semicircle Dies.

I found a piece of floral patterned paper in my stash and added some ink around the edges after cutting it to A2. I adhered it to my card base and die cut the Floral Semicircle Dies - the solid out of yellow cardstock and the floral design out of white cardstock. Using greens and yellow ink, I used my Paper Pouncers to add some color to the die cuts. I adhered it to the left side of the card.

While I was working on my die cuts, I warmed up my Glimmer Hot Foil Machine and glimmered my "Mother" sentiment and used the Shadow Dies to cut the word out as well as in green cardstock to create a drop shadow look. My sentiment was attached to my card with foam adhesive. Click on the photo below to head over to my Instagram and let me know which of the new products you are most excited about!

PIN THIS
SUPPLY LIST

Read More

Mother's Day Craft Roulette

Sunday, May 12, 2024

Abi and I were the guests on this past Friday's episode of Craft Roulette! We had some very interesting parameters and I really had no idea what we were going to do. I was able to help Abigail with what she wanted to do with just a couple items (a die, paper and stamp set), but I was just at a loss! I wanted to use Sassy Club products as she is a sponsor this month, so I settled on using the Dishing Stamp set.

You can check out last Friday's episode down below to see how we meet the parameters. I think we did a pretty good job and of course you may have to use some stretchy pants to see how we meet them, but that's the fun of Craft Roulette. I hope we entertain you - I get so nervous on lives and then making sure Abi had what she needed... I was so exhausted by the end! I hope Mary will have me back!

VIDEO TUTORIAL


PIN THIS
SUPPLY LIST

Read More

Timeless Collection from Spellbinders

Saturday, May 11, 2024

Spellbinders released a new collection this month - Timeless. There are some beautiful and elegant new products - from dies to press plates, and even butterfly stickers. I received the Timeless 5x7 Cardfront Etched Dies from Spellbinders along with the Always You Timeless Sentiments Press Plates and I created two cards with these new products.

For my first card, I wanted to use the basic shapes from the 5x7 die set and add some florals with a birthday sentiment. I started with pressing my floral background and on white cotton cardstock; this press plate has a coordinating stencils set I used with dye based inks to color in the images. I also pressed the sentiment onto the same white cotton cardstock and used the smallest die from the die set to cut out. 

I layered the sentiment to the center of the oval that was cut out of grey cardstock and used some cardstock in different colors to make flowers. I glued those around the sentiment onto the grey oval as well as some pretty rhinestones. This was then popped up onto the floral background that was adhered to a card base.

My second card is a big one! I wanted to use the complete 5x7 die set so I cut out the largest die out of purple cardstock and adhered it to a soft grey cardstock that matches the Pebble cotton cardstock. This was attached a 5x7 card base. I added some adhesive sheets behind my dark pink cardstock and used the large intricate dies so I could adhere to the purple background as a sticker.

I repeated this process with the oval dies and my sentiment was pressed into the grey cotton cardstock and die cut with the smallest die. I popped the sentiment up onto the oval and the oval popped up to the center of the card base. I added lots of blush pearls around the card and it just feels so classy! I hope you like my take on the new Timeless Collection. Which card is your favorite?

PIN THIS
SUPPLY LIST

Read More

Thank You Floral Card with Trinity Stamps

Friday, May 10, 2024

I received my latest box from Your Paper Insider and there are a lot of bold colored cardstocks in this latest box! I thought it would be fun to bring them together on a floral card using the new Garden Flowers die set from Trinity Stamps. I started with die cutting the flowers and leaves from different paper and my sentiment from the cream cardstock in the box. This is a previously released cut and foil set called Big Thanks.

You can watch my video down below to see how I layered the flowers together! I figured out my arrangement of flowers and leaves but didn't like how white my background paper was... So I added some Distress Oxide to the edges of the A2 piece of white cardstock before gluing all of my die cuts onto the card. I also layered three die cuts of "Thanks" before adhering it to the card. For some final touches, I splattered a bunch of gold watercolor all over the card!

VIDEO TUTORIAL


PIN THIS
SUPPLY LIST

Read More