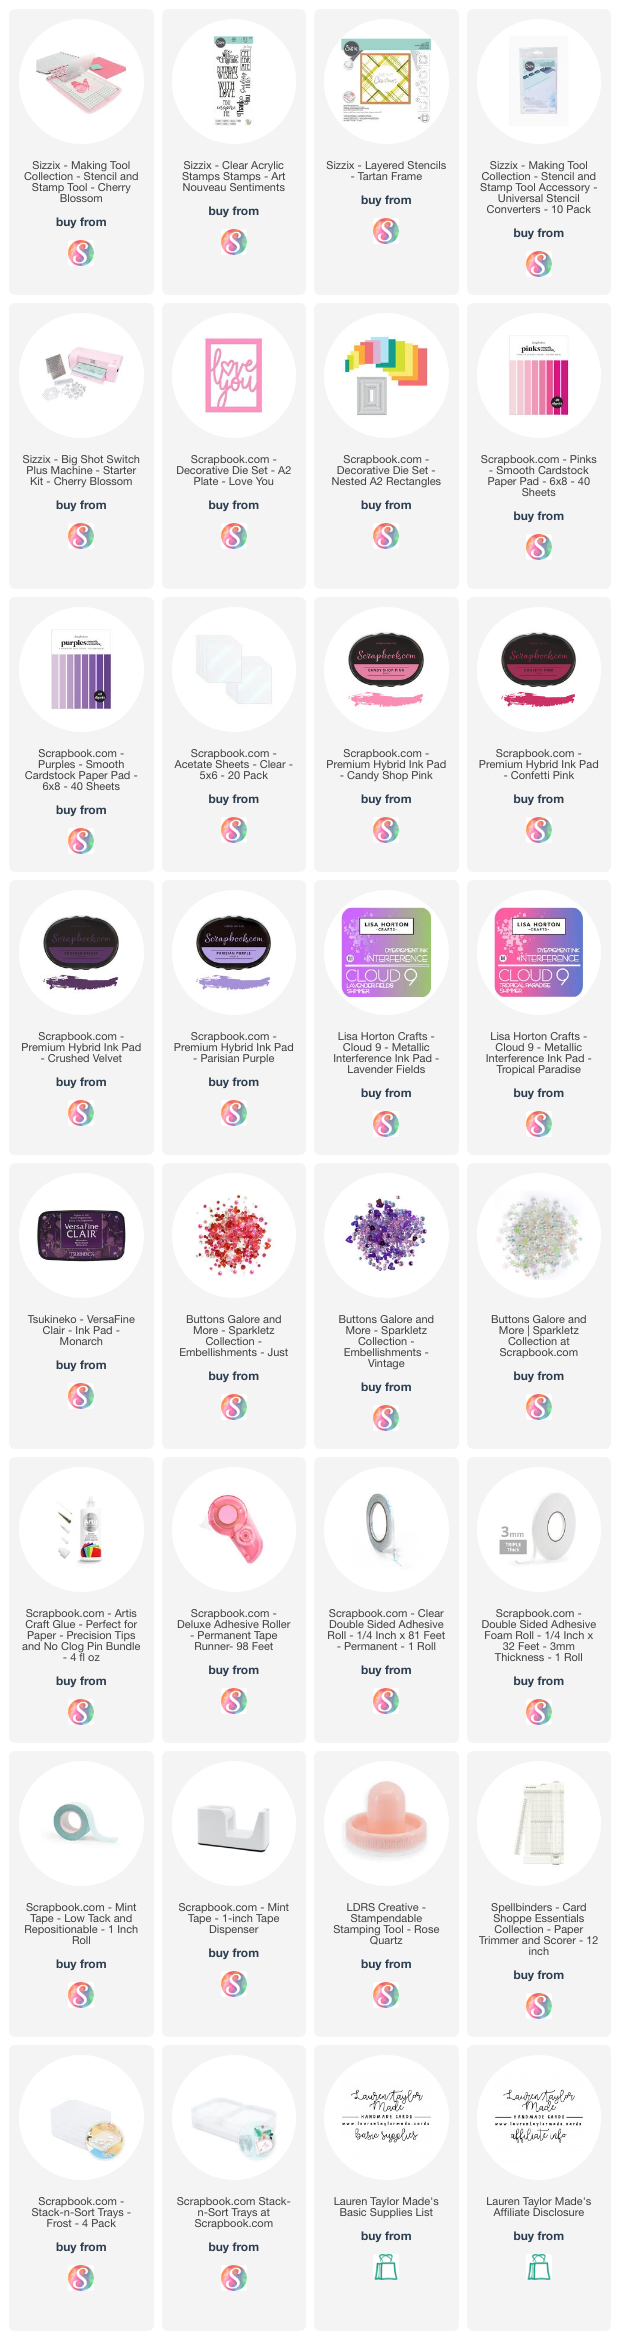
Did you see my video last month unboxing the Sizzix Stencil & Stamp Tool along with the snowflake card that I made? If not, you can check it out on my blog post here. I'm excited to have a better understanding of how it works and I've got two more cards that I made using the tool... This time on the Scrapbook.com YouTube channel!
I'm sharing how I used the Stencil & Stamp Tool to make the backgrounds for my pink and purple shaker cards. I just love the mixes from Buttons Galore & More - they coordinate with my different ink pads and paper pads just perfectly. Check out the video tutorial below and make sure to leave me some love in a comment over on the SBC channel! Which card is your favorite? I think I'm leaning towards the pink...
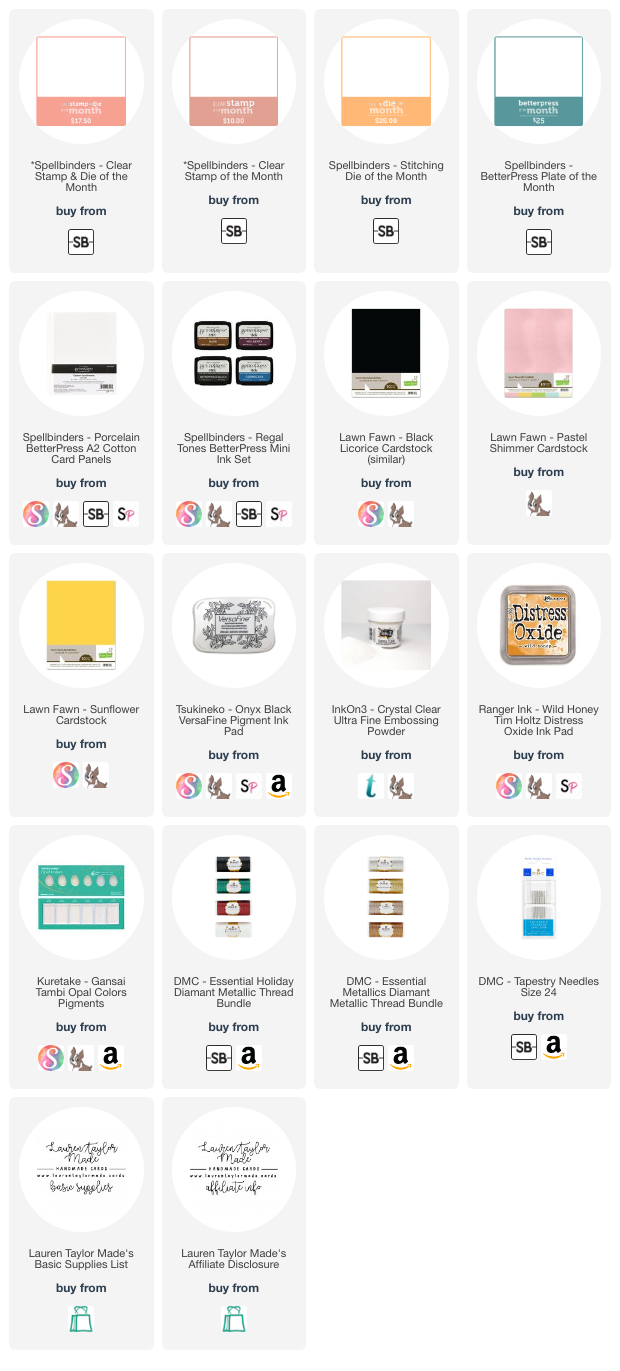
It's the sixth of the month - time for the new Spellbinders Clubs! I am continuing on the Influencer Team with Spellbinders with the Clear Stamp & Die of the Month, BetterPress Plate of the Month and now the Stitching Die of the Month! Still waiting to be on the Glimmer Hot Foil and Stencil Clubs... hehe! I'm excited that I have a little bit of each type of product on this card! I love when the Clubs coordinate so well together and I just had to put them together on a card for you today.
Which of the Clubs are you most excited for? You can get a taste of different Clubs with our Spellbinders YouTube hop today! I'm crafting along with some of my Spellbinders Influencers to show you different ways to use different Clubs and I'm so excited to see what everyone has created. (Just a reminder that our hop is not sponsored or has a giveaway - just some crafty fun!)
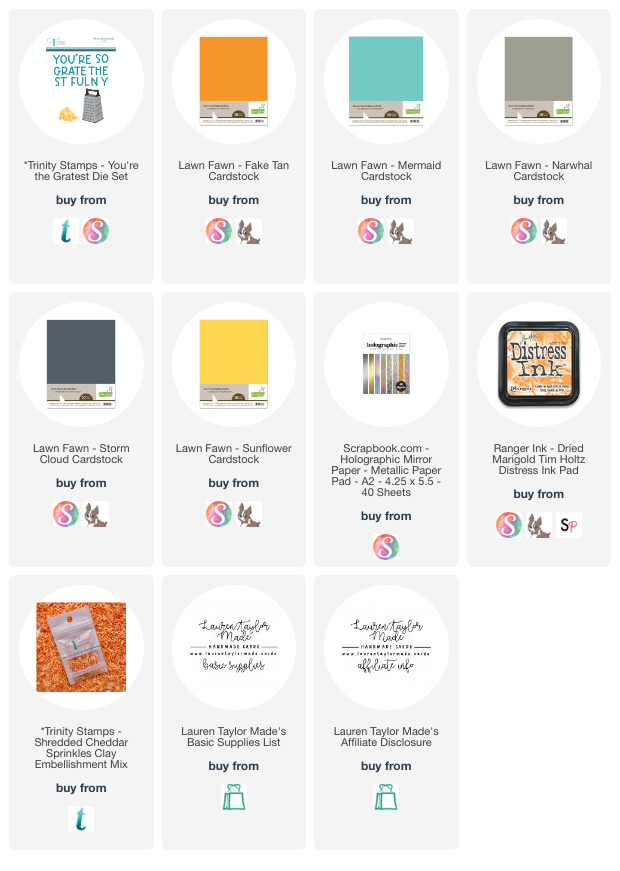
The new food dies from Trinity Stamps are just phenomenal! This punny cheese die set called You're the Gratest Die Set is the feature of this interactive card. I created my own cheese background and layering the three pieces together and you can see how I added them to a piece of white cardstock in video linked below.
I also die cut my cheese grater and sentiment out of grey and metallic cardstocks - I love how you can customize so many different pun sentiments with die set. I love the shine of the metallic on the grater and that it peeks from behind the grey letters of the sentiment. The shaker bits are new, too! It's called Shredded Cheese and it's literally the best name for this embellishment mix.
Let me know what you think of this cheesy card! I am excited to gift it as a thank you card.
I'll only be making pizza cards from her on out, guys. Okay, not really but I'm LOVING these two new products from Trinity Stamps together! When I saw the Circle Shaped Card Die Set, I was sold on making donut cards... but the Every Pizza Me Coordinating Dies make it so you can make a pizza card and that just brings me so much cheesy joy!
Make sure you check out my video below to see how I added some ink to my crust and cheese, learn why I stamped with a red ink, and how I tucked in my pizza toppings on this card. I started with die cutting all my pizza pieces and my favorite is the bell peppers! I just love that cute die cut. After inking up some of the edges, I stamped my sentiment and started assembling the card. What is your favorite pizza topping?
The Trinity Stamps January 2024 Release is live! We have some amazing news products to that are so much fun and even YUMMY! Help us celebrate by hopping along with us on YouTube and on Instagram, too. You can hop along with us for your chance to win a $25 gift card to Trinity Stamps store. Hop ends 1/11/24 at 11:59 PM PDT. Winners will be announced on the Trinity Stamps Instagram and Facebook page a few days later. Happy shopping!
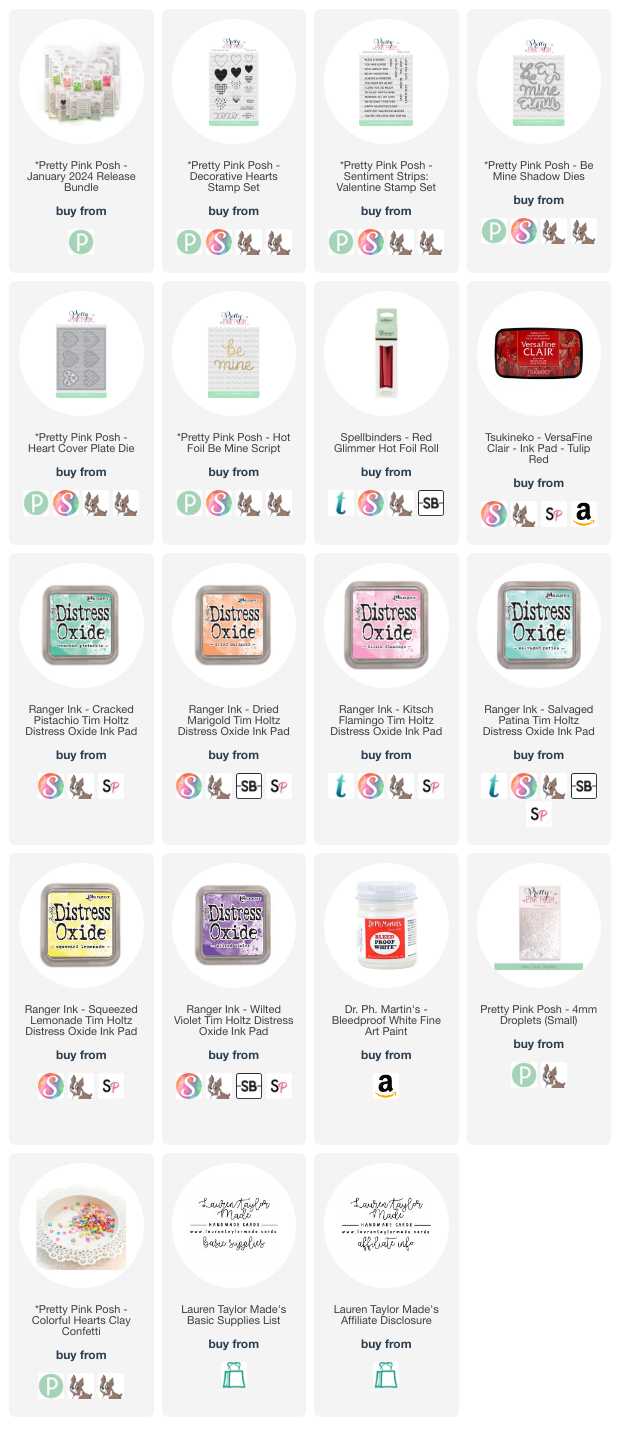
I am so excited to be celebrating the new Pretty Pink Posh release today! We're getting into the holiday spirit with Valentine's Day and St. Patrick's Day products. There are so many pretty new things, but I'm using new stamp sets, hot foil plate, dies and confetti mix for this card. It's giving conversation heart vibes and I just love it!
Below is my video sharing how I made the card, but I started with ink blending my rainbow background and used the Heart Cover Plate to die cut it out to make a shaker panel. I stamped different sentiments to be the words on my hearts to the background and added the Colorful Hearts Mix for the shaker bits. My hot foiled sentiment is also in red and finished off the card.
Make sure to check out the rest of the Product Release Blog Hop for more inspiration using the new products from Pretty Pink Posh! There are three (3) $30 gift certificates up for grabs (one winner each day). Winners will be picked randomly along the blog hop. Comments must be left by 11:59 PM PST on 1/11/2024. Winners will be announced on the PPP blog!
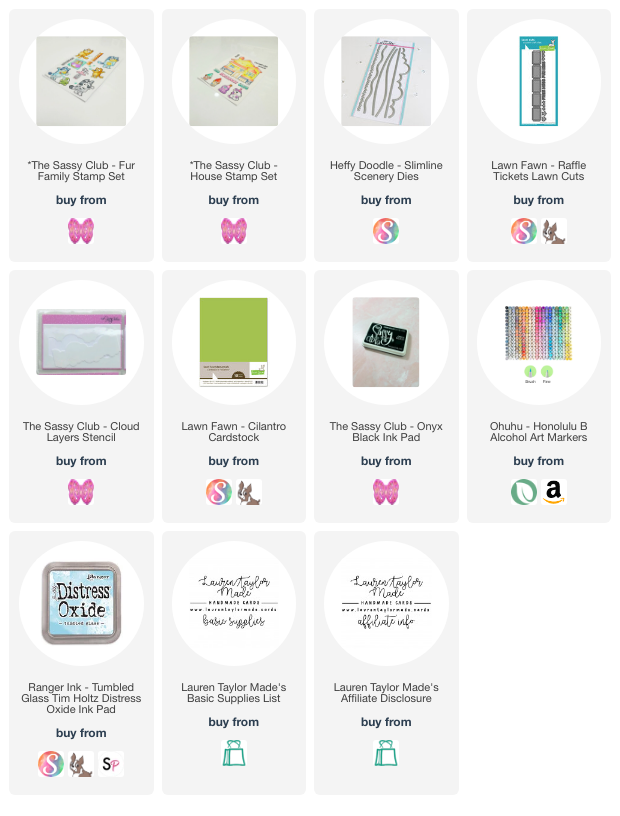
I finally colored in these adorable characters from The Sassy Club! My card layout is inspired by this last weekend's episode of Craft Roulette and I did my best to give this house and characters justice with my coloring. I started with stamping all of my images (house, pups, stuffed animals) and colored them in with alcohol markers. I chose these characters (and therefore colors) because my daughter loves this show and I find the voices very calming.
All of the images were fussy cut out, mostly because I wanted to make sure there was a very thin line around the images as it was going to be a busy card. Next I grabbed my cloud stencil and using Tumbled Glass Distress Oxide, I created my sky. I also die cut some grass from green cardstock and added it to the bottom of my panel. This panel measures slightly smaller than A2 - 4 x 5.25".
I stamped my sentiment on the bottom (I think of "oh biscuits" as someone who needs a word of encouragement) and I colored it in a bit with alcohol markers and added white highlights to all of my images and sentiment. To make the back panel of the card base, I die cut tickets out of white cardstock and layered them so they would peek out from behind the image panel.
After gluing the tickets in place, I popped up the sky/grass panel with foam adhesive. I adhered the house to the scene with tape runner and then layered my pups and stuffed animals (although according to my daughter, I should have switched their placement) with foam adhesive as well. I hope you like today's card and make sure you check out The Sassy Club for all the awesome fandom products!
It’s hard to believe we’re moving now in 2024 and I’m so excited to continue sharing inspiration with Pretty Pink Posh products with you. After gathering some colored cardstock, I added an A2 piece of dark green cardstock to my card base. I used the largest Eyelet Rectangle Die to cut a piece of dark blue cardstock and adhered it to the center of the card base.
The next layer is a piece of cream cardstock and I stenciled Distress Oxides in Aged Mahogany, Tattered Rose and Victorian Velvet with the Layered Music Notes Stencils. I splattered on some champagne gold watercolor to give it some shine and when it dried, I used the second largest Stitched Torn Rectangle Die to cut it out. Before attaching this piece to my card base with foam adhesive, I embossed the “Happy New Year” sentiment in gold from the Happy New Year Stamp Set.
Using the Happy New Year Stamp Set and Balloon Numbers Stamp Set, I stamped my images with an alcohol marker friendly black ink. I used Ohuhu Art Markers to color my images; you can watch the video today to see the colors I used as well as how I added some white colored pencil and glitter markers to turn my balloons into mylar balloons! I used the Happy New Year Coordinating Dies and Balloon Numbers Coordinating Dies to cut out the images.
My balloons were added to the card base with liquid adhesive and I layered on the champagne bottle, champagne glasses and party horn with foam adhesive. For some final touches, I added sequins from the Matte Gold Confetti Mix around the card. I hope you’re having a had a wonderful holiday season and I wish you a Happy New Year!