Best Wishes with Pretty Pink Posh

Friday, August 9, 2024

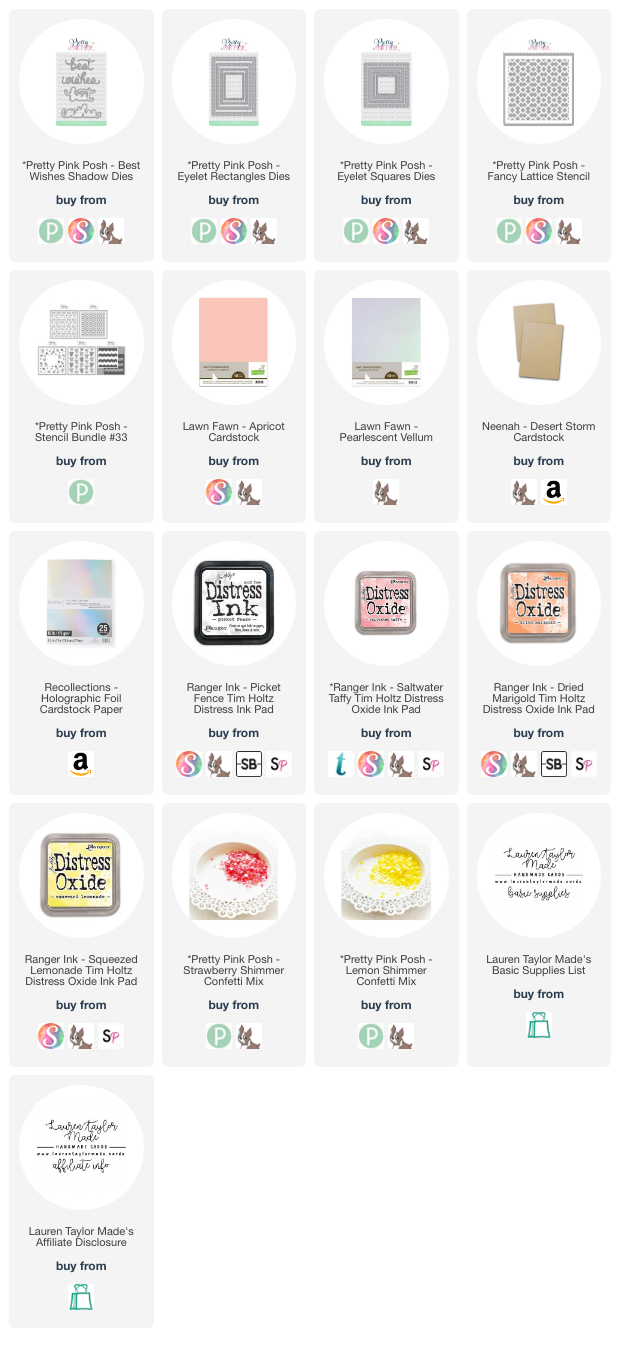
Sharing a card I made for the May 2024 release from Pretty Pink Posh featuring the Fancy Lattice Stencil! I used it with a 6x6” piece of kraft cardstock and first stenciled on Picket Fence Distress Ink. I cleaned off the stencil, then shifted it then inked a blend of Distress Oxide inks in Saltwater Taffy, Dried Marigold and Squeezed Lemonade. When the ink was dry, I cut it with the largest Eyelet Rectangle Die and adhered it to an A2 white card base. I then cut the third Eyelet Square Die out of pearlescent vellum as well as trimming down a piece of white cardstock to 2x2” to fit behind the square.

I finally cut out the Best Wishes Shadow Dies out of holographic cardstock and apricot cardstock for the shadows. I adhered my words to their shadows, then to the pearlescent vellum with liquid adhesive. Using the words as a guide, I adhered the white square to the back of the Eyelet Square so the glue would not show through. I then popped it up to the card base with foam adhesive along with a few Strawberry and Lemon Shimmer sequins to the card. I hope this card brings you joy today and that the end of your summer is going well!

PIN THIS
SUPPLY LIST

Read More

Not 2 Shabby Enjoy This Life - Stamping on Watercolor

Thursday, August 8, 2024

It's hard to believe that the Not 2 Shabby Enjoy this Life retreat will be here next month! Last month I shared creating watercolor inspired backgrounds and this month I wanted to show how you can stamp on the watercolor backgrounds. My first card has a repeating pattern of the leaf stamps (I used my Sizzix Stamp & Spin) and I kept the card very simple. I like having cards that are simple to mail for holidays!

My second card I stamped the sweater stamp and used the coordinating die from the kit to cut them out and create a repeating background on my card. I made my background with blues and a splash of orange... But with the sweaters stamped and die cut... It kind of looks a little like blood. Whoops! But I still like how the card turned out.

I hope you've purchased your kit, but if not you can still sign up by clicking on the retreat image down below in my supply list, or click here.

SUPPLY LIST

Read More

To The Moon Box Card with The Sassy Club

Tuesday, August 6, 2024

I'm typing this in the airport as I am off traveling this week for work! But I knew before I left, that I needed to get my Craft Roulette project done. I wanted to make today's project into a Short, but I still needed to pack my suitcase when making my box card today... So it's just a post. But since I was in a bit of a pinch with not much time, I kept things simple for my Craft Roulette project. I spent most of my time coloring in my adorable imaginary friend from the To The Moon stamp set frmoo The Sassy Club. I stamped him in alcohol marker friendly black ink and colored him and the rainbow in with my olo markers.

Next I die cut my box card from blue cardstock and the detail panels out of patterned paper and white cardstock for my sentiment. I die cut my "shelf" out of acetate as I wanted my imaginary friend to look like he's flying to the moon! I assembled my box card together, stamping one of my sentiments onto the white cardstock panel. I then die cut out my moon and stamped the other sentiment in black ink. While my card is simple, I think it turned out super cute!

PIN THIS
SUPPLY LIST

Read More

Party Animal Birthday SheetLoad of Cards with Rabbit Hole Designs

Monday, August 5, 2024

There is a fun new release from The Rabbit Hole Designs today! I was gifted the Balloon Animals stamp sets and I just LOVE the balloon dog and rabbit and wanted to use them on some birthday cards. I used the August 2024 SheetLoad of Cards sketch and I have a video of how I put the cards together. If you'd like to get the sketch yourself, head over to Call Me Crafty Al's YouTube Channel!

I mostly focus on coloring my images and how I add my sentiment but I wanted to share how fun these sets are. The patterned paper is from my stash, so it's retired, but I like to use paper I've been hoarding for SheetLoad cards. Make sure to check out the new release and let me know what your favorite balloon animal is from the two sets! They have coordinating dies as well if you like having dies for your stamp sets.

VIDEO TUTORIAL


PIN THIS
SUPPLY LIST

Read More

Colorful Birthday BetterPress Card with Spellbinders

Saturday, August 3, 2024

I was so excited to be back live on YouTube with some of my crafty friends! We started doing a monthly live featuring Spellbinders Clubs on the first of the month back in April, but I had to miss out in June and July due to other things going on, but it was nice to be back this month. It was just three of this month, but hopefully soon we'll have the whole gang back together!

For the live, I used the BetterPress Plate of the Month to create my splattered background and birthday sentiment, I also used the Clear Stamp & Coordinating Die of the Month for the "for you" sentiment, and the standard Embossing Folder of the Month for my back panel so you can see just a peek of the design around the edge of the card. If you missed the live, you can watch the replay down below! Then save the date for 9/1 for the next one!

VIDEO TUTORIAL


PIN THIS
SUPPLY LIST

Read More

Wild Ride Fandom Cards & Memory Keeping with Kindred Stamps

Friday, August 2, 2024

It's a new Kindred Stamps release day! I'm so excited to share with you a few project using lots of new products in this release. I started with stamping all of the images from the new stamp set in a brown, alcohol marker friendly ink and colored in my images using olo markers. I left my stamps in my MISTI, so I stamped them again with a VersaFine Clair ink so they would have bolder, crisper lines. I then fussy cut out all of the images, even getting into some of the smaller areas under the train.

For my birthday card, I started with stenciling my background with Distress Oxide inks and the Desert Scene Stencils. I then cut my brown ground with a die from the Desert Scene Craft Dies and added a little Distress Ink. I built my scene and adhered them together with a mix of liquid and foam adhesive then embossed my sentiment on brown cardstock. The sentiment was added to the open corner of the card to finish it off.

I was also so excited to see that Kindred Stamps is releasing a Box Card Die Set! I love box card dies and I love the details of the back of the box card - so unique! I stared with die cutting all of my pieces and stenciled a scene using the Desert Scene Stencils. I put the box together and added my stenciled pieces and images. My sentiment is stamped on the front and of course has that cutie goat to match.

My final project is the start of my Memory Book of when I was an Engineering Intern at this magical theme park in Southern California. Before I finished my internship, I went around and tried to get photos in all different locations so of course I had to add a few photos with this new Wild Ride stamp set! I also love the new Saloon Doors Album Die and thought it would be so fun to use as a little add into my album.

You can see more photos over on my Instagram post today, but let me know what you think of these new products! Which ones are you going to pick up and which project was your favorite from my three? Let me know in the comments!

PIN THIS
SUPPLY LIST

Read More

Charming Characters Celebration Card with Scrapbook.com

Thursday, August 1, 2024

There is a new Livestream Deal with Scrapbook.com today! The bundle includes a new patterned paper pack in an A2 size called Charming that has beautiful florals and basic patterns. There is also a rub-on set with adorable critters and birthday images that look watercolored. Finally, the bundle includes a sentiment die set that has banner dies to create some fun sentiments on your projects.

I started with die cutting green and white cardstock with my Nested A2 Rectangles. The green cardstock is from the paper pack and I stenciled the Flutter butterflies with Astro Paste and set it aside to dry. I then used a rub-on image on the white panel and added some soft pink ink around the edges of the panel. My card has an A2 card base and I adhered the floral patterned paper to the base. When my stenciled panel was dry, I adhered it to the center of the card base.

The white panel was popped up with 2mm foam adhesive and I used liquid adhesive to add my die cut sentiment above the image. I thought the card needed a little more, so I fussy cut out some of the floral images from the paper pack and tucked them around the banner. This card is so sweet and I just love the new floral paper! Let me know if you get the bundle - it's such a great price for paper, dies and rub-on transfers.

PIN THIS
SUPPLY LIST

Read More