Fandom Camping Card with The Sassy Club

Sunday, February 9, 2025

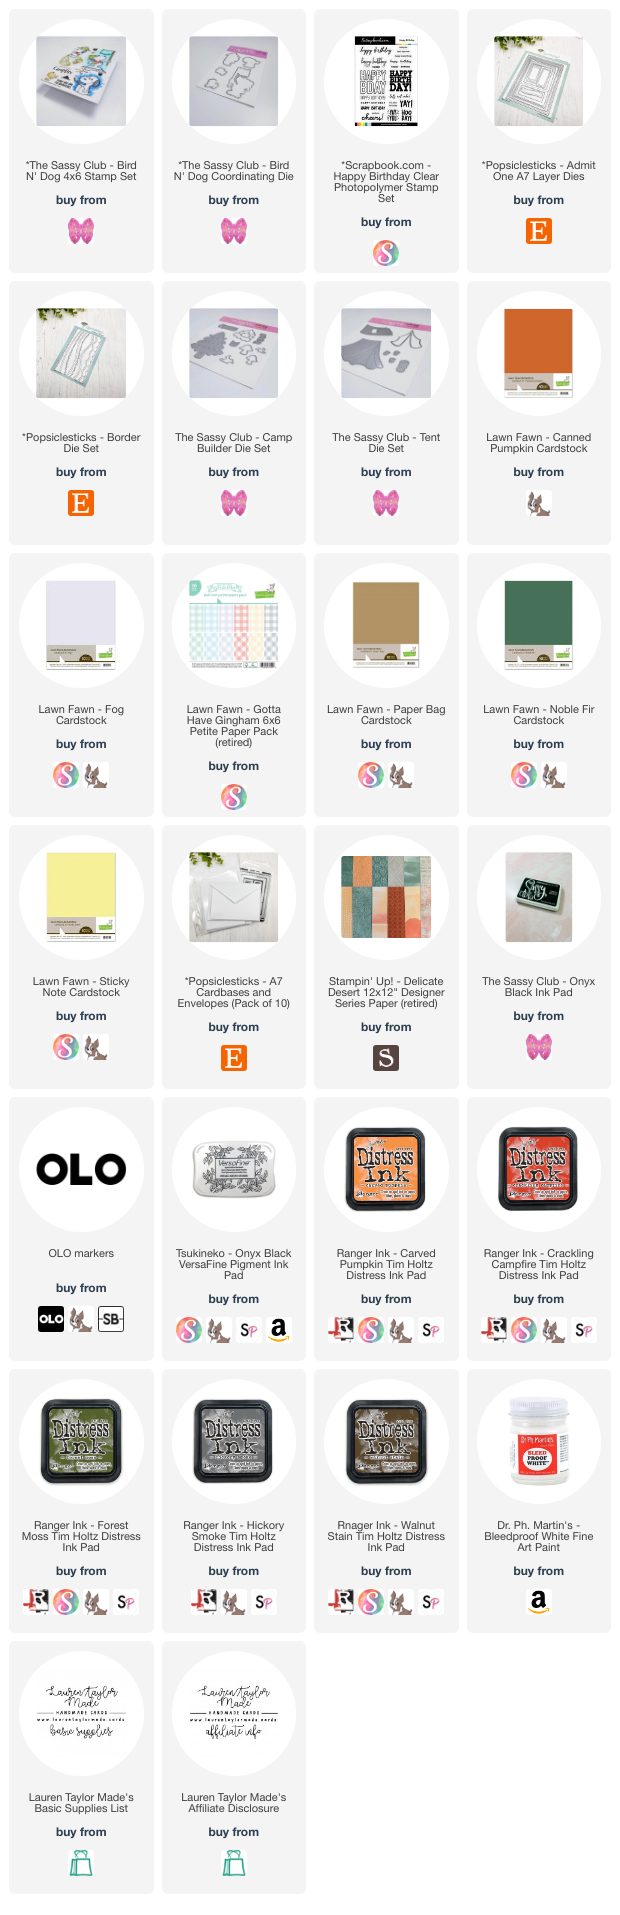
I had so much fun creating this adorable camping-themed birthday card featuring the Bird N’ Dog stamp set from The Sassy Club! I wanted to capture that cozy, outdoor adventure vibe with layered die cuts and a warm color palette. To start, I stamped and colored the dog and bird images with OLO markers, then die-cut all my pieces: a tree from green and brown cardstock, a tent from grey cardstock and grey gingham, and a sky background from grey-blue patterned paper using the Popsiclesticks A7 die. I also cut a grass border, firewood, log benches, and a vibrant fire from various cardstock colors. To bring everything to life, I added Distress Ink blending to the edges of the die cuts and splattered Dr. Ph. Martin's Bleedproof White paint onto the sky for a dreamy, starry-night effect.

Once my pieces were prepped, it was time to assemble! I layered the tree, fire, and tent first, then placed my stamped images onto the log benches to make them the stars of the scene. Everything came together beautifully on a crisp white A7 card base. To finish, I stamped a sentiment in black ink and "Happy Birthday" on the inside, tying everything together with a fun, celebratory feel. I love how this card turned out—it’s perfect for any outdoor enthusiast or camping lover! Let me know what you think in the comments, and happy crafting!

PIN THIS
SUPPLY LIST

Read More

Year of the "Snake" Magical A7 Card with Popscilesticks

Saturday, February 8, 2025

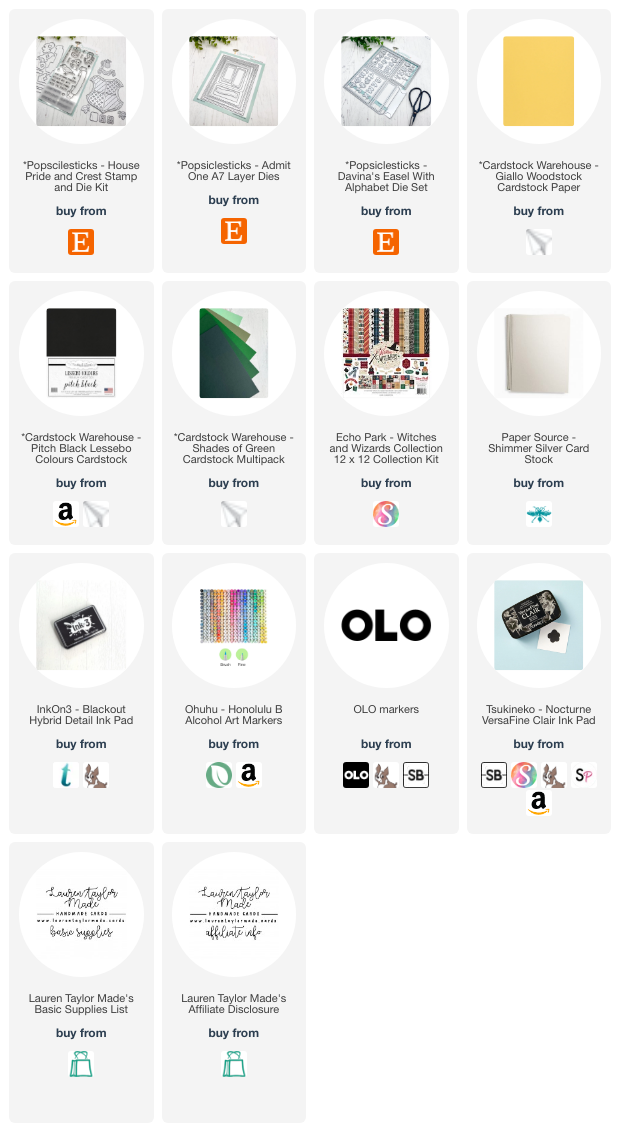
Hey friends! Thanks for stopping by my craft room today. I’m so excited to share some amazing new products from Popsiclesticks! I know this would usually be in my Fandom Friday video, but it’s been a wild week, and with Davina dropping so many of these fantastic products in her shop today, Saturday, it worked out perfectly! I’m using the House Pride and Crest Stamp and Die set, which includes a beautifully designed stamp set with different words and elements. Today, I’m making a larger card—about 5 x 6.5 inches—using the Admit One A7 layering dies, which I absolutely love. These dies are slightly smaller than a standard 5x7, making them a great addition to your collection if you want to layer with A2-sized dies. I’m also incorporating the alphabet die set for some extra die-cutting fun!

To start, I stamped the banner on yellow cardstock and added the word snake house's name along with the snake image using alcohol marker-friendly black ink on white cardstock. I colored the snake with cool grays to give it a silvery look rather than green, making it feel more like the house crest. I did a ton of die-cutting with the crest die, sentiments, and background layers, using black, green, and shimmery silver cardstock. For my background, I used green plaid paper from Echo Park’s Witches & Wizards collection. After assembling the crest with alternating green and silver stripes, I added some flourishes and a knight’s helmet piece for extra detail. The final touch was the die cut sentiment, "Year of the" and adding the banner and snake with foam adhesive for dimension. I had so much fun making this card, and I hope it inspires you! For more details, watch my full video linked below. Let me know in the comments—what color crest would you choose for your card?

VIDEO TUTORIAL


PIN THIS
SUPPLY LIST

Read More

Skating By Birthday Box Card

Thursday, February 6, 2025

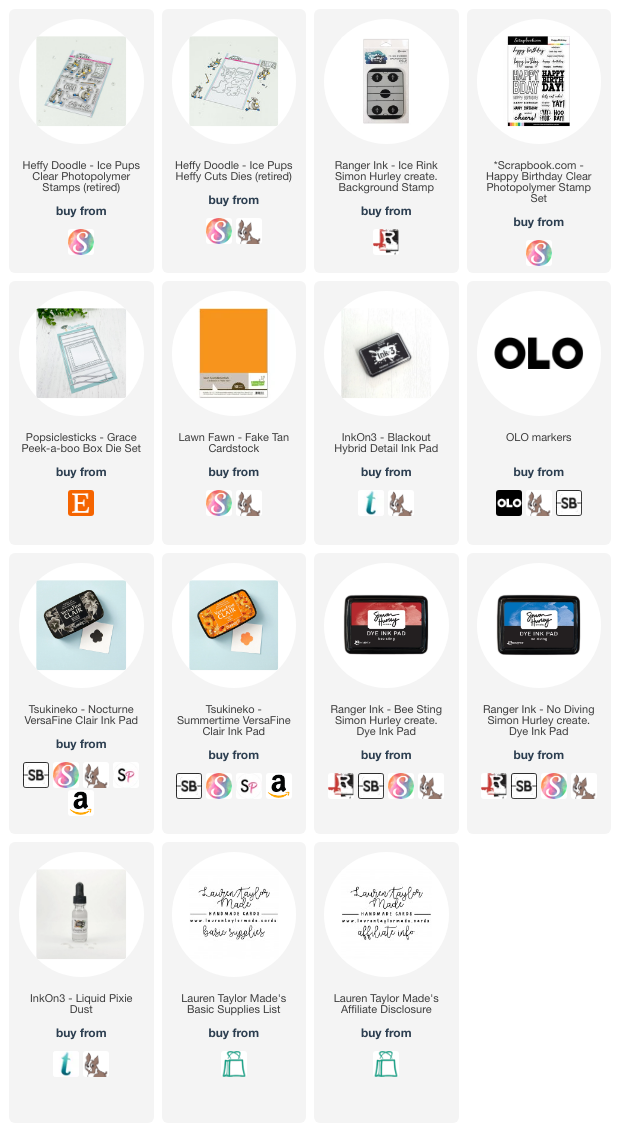
I just wanted to do a quick share of the birthday card I made for my daughter this year! She had specific requests and oddly enough, it was perfect for Friday's episode of Craft Roulette. I made a box card using Popsiclesticks dies because she wanted the card to be able to put on display in her room. I used some hockey stamps that I had in my stash that she picked out for me to use, too.

While this card is simple and kinda of random (the orange and black are for her favorite hockey team, Anaheim Ducks), I love that I can make something that she imagines in her head and be able to put it to paper. The critter playing hockey is from Heffy Doodle and retired, but it's one of her favorite sets so it was fun to still use it. If you want to wish her happy birthday, you can buy or donate some Girl Scout cookies in her honor - SHOP HERE!

PIN THIS
SUPPLY LIST

Read More

Can I Keep You? Fandom Ghost Mini Backpack Card

Tuesday, February 4, 2025

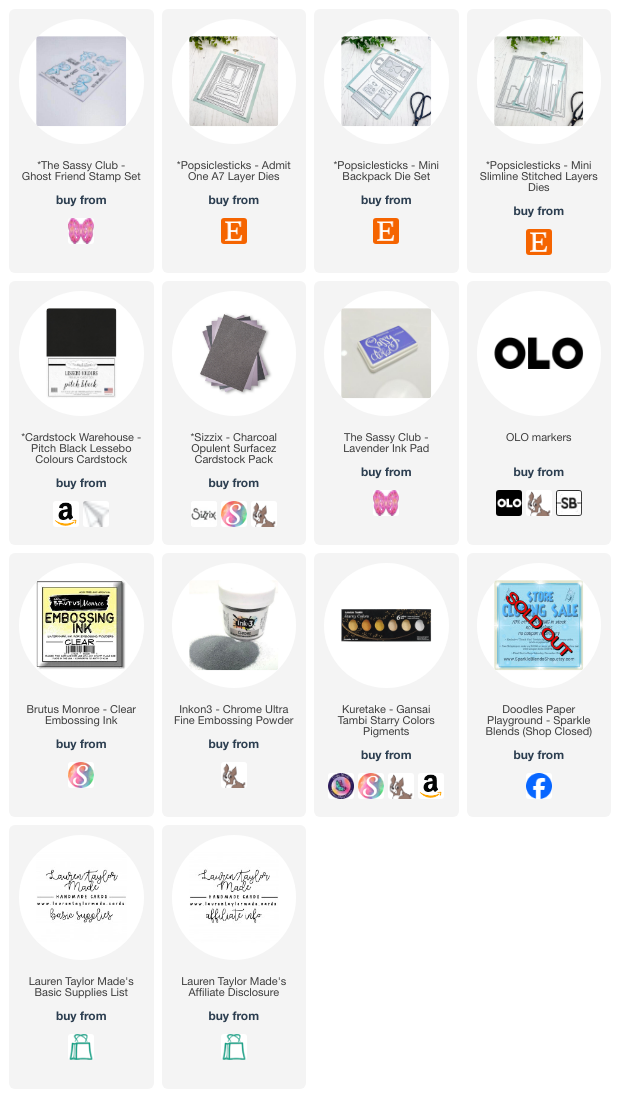
Hi friends, I'm so excited to finally share my Halloween card with you! If you’ve been keeping up with my Fandom Friday videos, you know I’m a bit behind on editing, but better late than never, right? I absolutely love Halloween, and this project was my first time using the mini backpack die set from Popsicle Sticks. I started this card as a way to experiment with the die, play around with the design, and figure out how everything comes together. While there are a few things I would tweak next time—like changing up the background—I had so much fun creating this card, especially with these adorable ghost images from The Sassy Club. Instead of a traditional black or gray outline, I stamped my ghosts using a lavender ink pad, which is alcohol marker-friendly and gives a fun blue-violet hue. I used a range of BV olo alcohol markers to shade them, adding depth while keeping their ghostly glow.

Once my ghosts were colored and cut, I moved on to the mini backpack itself. I die-cut all the pieces from charcoal opulent cardstock by Sizzix and embossed spider webs and bats onto the black cardstock using chrome embossing powder. To add even more texture and shine, I splattered on some white gold watercolor. I couldn’t resist turning the front pocket of the backpack into a shaker element! Using acetate and foam adhesive, I created a little window and filled it with Halloween-themed sequins in black, white, green, and lavender to match my ghosts. I even added one of my ghost images inside the shaker for extra fun! The backpack details, like the zipper and tassel, came together beautifully, and I love how interactive they are. After assembling everything, I placed the backpack onto a custom-sized card base, stamped my favorite sentiments—"You are faboolous" and "Can I keep you?"—and added a few extra sequins for sparkle. I hope you enjoyed this project as much as I did! Let me know in the comments what character you'd love to see on a mini backpack. Happy crafting!

VIDEO TUTORIAL


PIN THIS
SUPPLY LIST

Read More

Love You Berry Much Shaker Card with Pretty Pink Posh

Monday, February 3, 2025

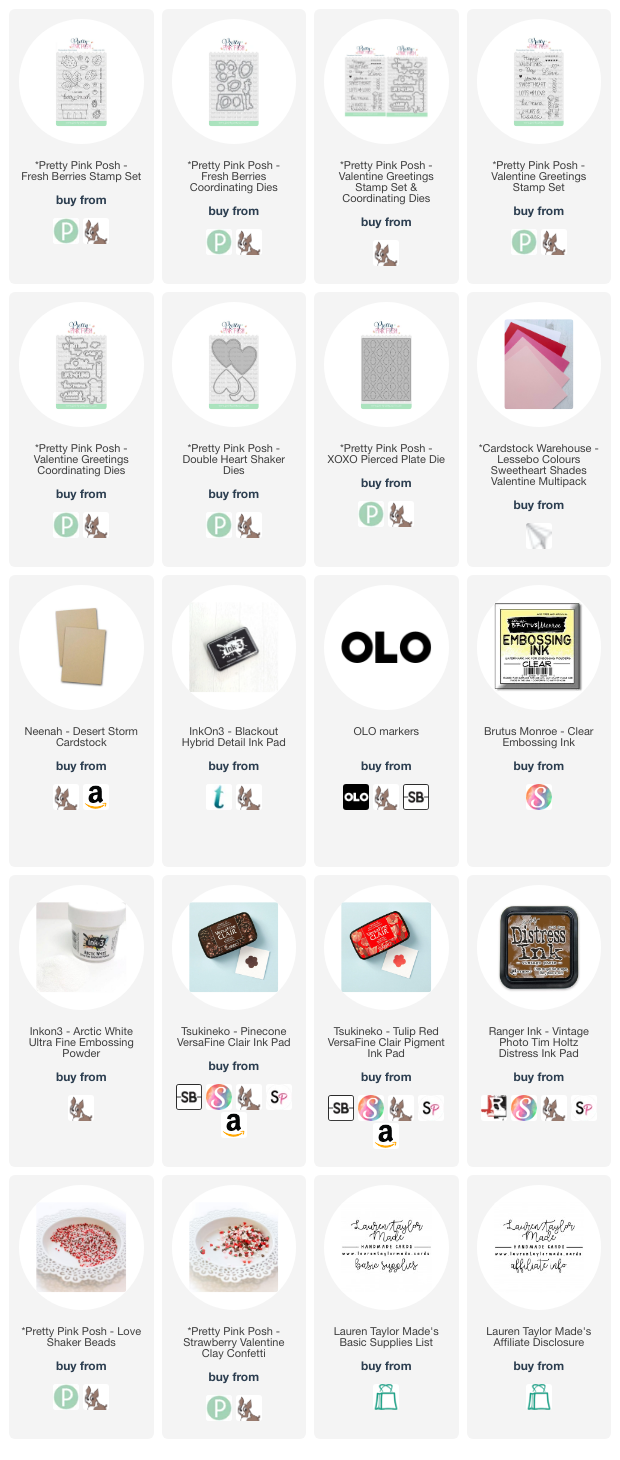
Hi, friends! I’m so excited to share a step-by-step guide to creating a sweet Valentine’s Day shaker card. For this project, I’ve combined the adorable Fresh Berries Stamp Set and Coordinating Dies with the newly released Valentine-themed products, including the Valentine Greetings Stamp Set, Coordinating Dies, Double Heart Shaker Dies, and the XOXO Pierced Plate Die. The centerpiece is a double heart shaker element, filled with the lovely Love Shaker Beads and Strawberry Valentine Mix. These vibrant accents inspired me to bring back the strawberries from the Fresh Berries Stamp Set—don’t they pair perfectly?

I began by stamping the images from the Fresh Berries Stamp Set in alcohol marker-friendly black ink on white cardstock. Using my OLO markers, I carefully colored the strawberries with three shades of red for dimension and shine. I added brown tones to the seeds and green tones to the leaves, finishing with subtle highlights using a white gel pen. The flowers were kept white with pale yellow centers for a delicate touch. For the berry basket, I stamped it on kraft cardstock and shaded it with Vintage Photo Distress Ink to create a textured, dimensional look. Once everything was colored, I used the Fresh Berries Coordinating Dies to cut out all the pieces.

Next came the heart-shaped shaker frame, created using the Double Heart Shaker Dies. For the window, I used acetate, hand-trimming it to fit the heart frame. After adhering the acetate with liquid glue, I added foam adhesive strips to the back to build the shaker compartment. Filling it with the Love Shaker Beads and Strawberry Valentine Mix was so fun! The mix of strawberries and clay hearts added just the right festive flair. After securing the shaker to my card base, I assembled the berry basket with its charming strawberries and flowers, layering them with foam adhesive for added dimension.

To finish, I added the sentiment "XOXO" from the Valentine Greetings Stamp Set, embossed in white for a crisp, elegant look, and cut it out with the Valentine Greetings Coordinating Dies. I adhered it to the heart shakers to tie everything together. This card was a labor of love, but seeing it come together made every step worthwhile. I hope you enjoyed crafting with me and feel inspired to pair Pretty Pink Posh's new Valentine products with older favorites for your projects. Thanks for joining me, and stay tuned for more creative inspiration. Happy crafting!
VIDEO TUTORIAL


PIN THIS
SUPPLY LIST

Read More

Big Pug Hugs with Simon Hurley create.

Friday, January 31, 2025

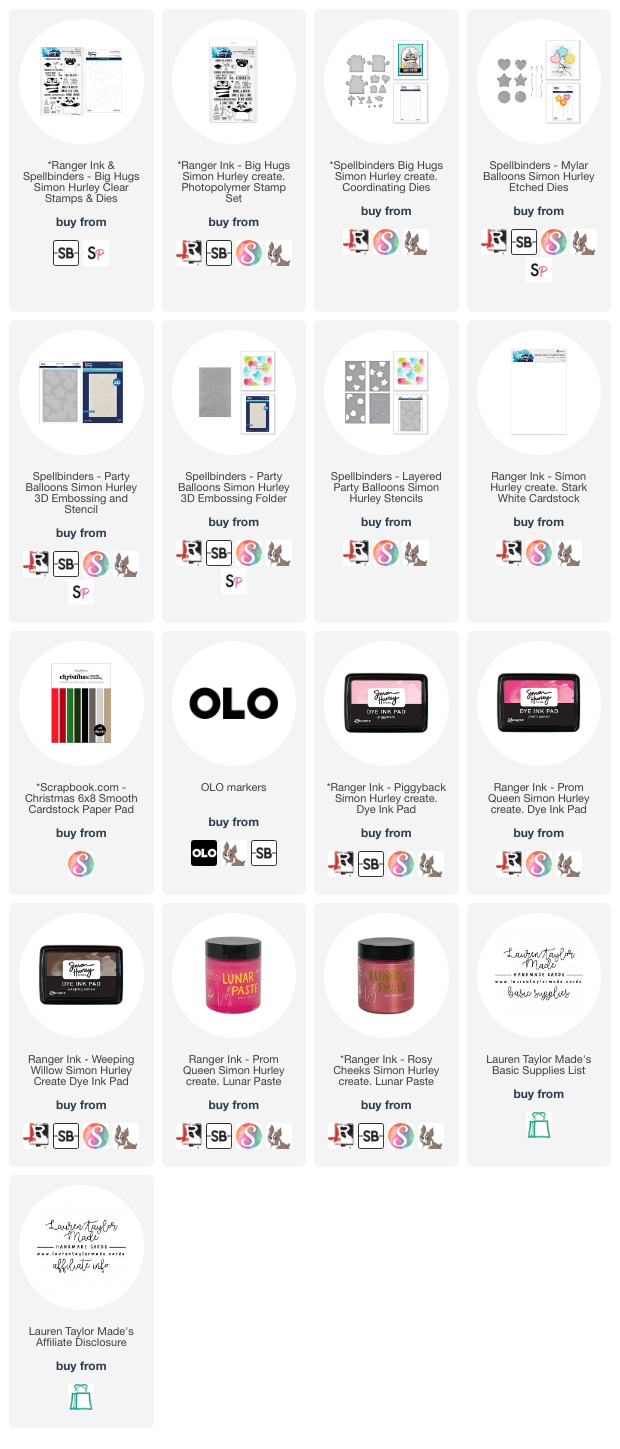
I had so much fun creating this adorable balloon-filled card featuring the cutest little pug from the Simon Hurley Big Hugs collection! To start, I embossed a piece of Stark White Cardstock with the Party Balloons 3D Embossing Folder, adding so much fun texture. Using the Layered Party Balloons Stencils, I blended Piggyback ink onto the heart balloons and Prom Queen ink onto the circle ones. To make the balloons shine, I added details with Rosy Cheeks and Prom Queen Lunar Paste, giving them a gorgeous shimmer. Next, I die-cut the Mylar Balloons and colored them with Rosy Cheeks Lunar Paste and Piggyback ink using a Mini Ink Blending Tool. For the strings, I simply cut them from grey cardstock and layered them together once they were dry.

The little pug stamp stole my heart! I stamped him with Weeping Willow ink on brown cardstock and used the coordinating die to cut him out. To make him extra sweet, I added a little pink to his tongue with a pink marker. For the sentiment, I stamped “sending big pug hugs” on a strip of Stark White Cardstock using Prom Queen ink, then placed everything onto a card base. As a finishing touch, I stamped “I love you” inside the card in Prom Queen ink—because who wouldn’t love to receive a hug from this adorable pup? This card was such a joy to make, and I hope it inspires you to create something fun and heartfelt, too!

VIDEO TUTORIAL


PIN THIS
SUPPLY LIST

Read More

Woodland Adventures Cards with Kindred Stamps

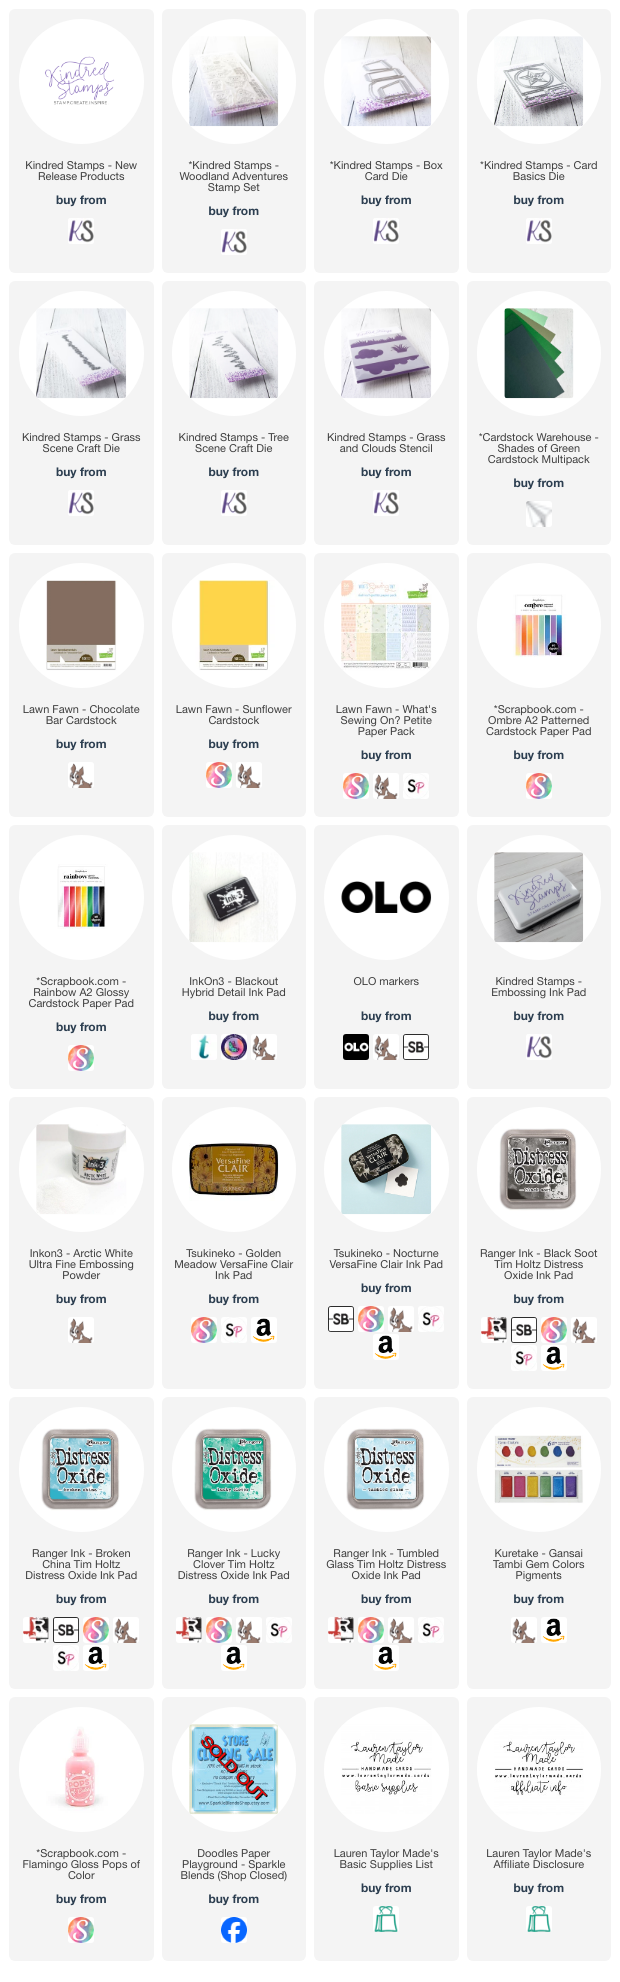
Hi, friends! Life has been busy this week (traveling for work). But I am FINALLY getting my Fandom Friday video up (even though I'm editing this blog on a Saturday night)... I walk you through my coloring process of all the characters from the Woodland Adventures stamp set. Then we'll go through my process of making a huge, slimline card so all of the adorable images will fit on the card!

I did also make a cute shaker card featuring the adorable donkey stuffie from the set. I used an old sequins mix from a company that is unfortunately not around anymore, but they made the most adorable mixes so still trying to use them up. I kept the card simple and am letting the sequins do the work behind the sweet image.

My last project was a box card and I used the honey pot to create my own patterned paper. I kept the same scene dies to create a scene within the box card and featured the cutest stuffie duo to put on the card. I love the unique shape of Kindred's box card and creating scenes is so easy with their dies. 

Let me know which card is your favorite and what you snag from the latest release. Make sure to check out my video down below if you'd like to see details on how I colored these adorable images. It's a bit of a longer video, but I just wanted to keep in all of my coloring!
VIDEO TUTORIAL


PIN THIS
SUPPLY LIST

Read More