Tea-riffic Mom Card with Pretty Pink Posh

Tuesday, June 17, 2025

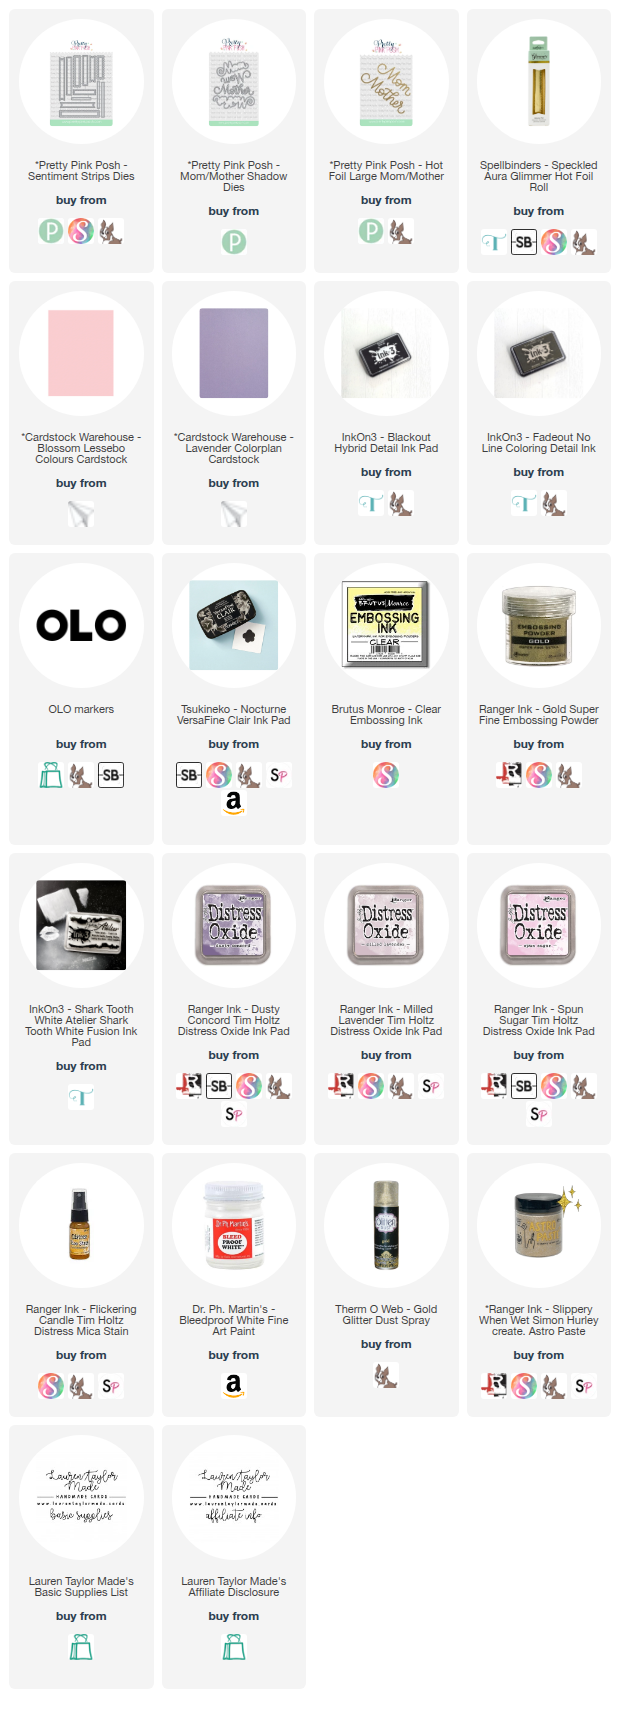
Hi, friends! Lauren Taylor here and get ready to steep yourself in creativity because I've brewed up a delightful handmade card featuring the new and absolutely charming products from Pretty Pink Posh! If you're anything like me, you adore adding a touch of elegance to your creations, and the latest release from Pretty Pink Posh is overflowing with just that. Today, I'm sharing a card I crafted using the Tea Time Stamp Set and Coordinating Dies, the Layered Teacups Stencils, and the versatile Notched Squares Dies. Trust me, these products are a game-changer for anyone who loves crafting heartwarming cards.

To begin this tea-riffic creation, I first stamped several images from the Tea Time Stamp Set using a mix of black and fadeout ink, perfect for no-line coloring. Inspired by the beloved Mrs. Potts and Chip from Beauty and the Beast, I colored my teapot and teacup with alcohol markers, envisioning their iconic charm. To add a touch of luxury, I re-stamped their outlines with clear embossing ink and heat-embossed them with gorgeous gold powder. Once cooled, I die-cut all the images using the Tea Time Coordinating Dies. For the background, I took a piece of lavender cardstock and, using the first layer of the Layered Teacups Stencils, applied white pigment ink through it. To give it a subtle shimmer, I spritzed it with a glitter dust spray – the effect is simply magical!

Next came the intricate details using the second layer of the Layered Teacups Stencils and a beautiful gold glitter paste. This adds a wonderful texture and shine without the mess of loose glitter. While that dried, I die-cut a notched square from pastel pink cardstock and created a soft ombre effect using Distress Oxide inks in Milled Lavender, Sponge Sugar, and a touch of Dust Concord. To enhance the visual interest, I splattered the inked square with water, gold mica spray, and white acrylic paint, creating lovely textures and dimension.

Finally, the assembly! I adhered the stenciled background to an A2 card base, leaving a thin white border. Then, I arranged my die-cut teapot, teacup, and floral elements onto the notched square, using liquid adhesive. I even added a sweet Large Mom Hot Foil Plate sentiment, hot-foiled in a shimmering gold and cut with the Mom Shadow Die, and a die-cut Sentiment Strip that reads "You’re Tea-rrific." This card is a celebration of all things lovely, perfect for Mother's Day or just to your Mom you care. For a more in-depth look at the stenciling techniques and step-by-step directions, be sure to watch my video! You won't want to miss all the sparkly details and helpful tips. Happy crafting!

VIDEO TUTORIAL


PIN THIS
SUPPLY LIST

Read More

Rainbow Birthday Texts with Trinity Stamps

Sunday, June 15, 2025

This retro-inspired card is full of bold color, playful shapes, and a shiny sentiment that makes you say, "Hi!" I was inspired by Craft Roulette Episode 270, which called for an A7 card, ‘80s colors, an exclamation, and arches. I also followed the June 2025 Show Us Your SheetLoad sketch for the layout. Want to see it come together? Be sure to watch my short video for the full assembly!

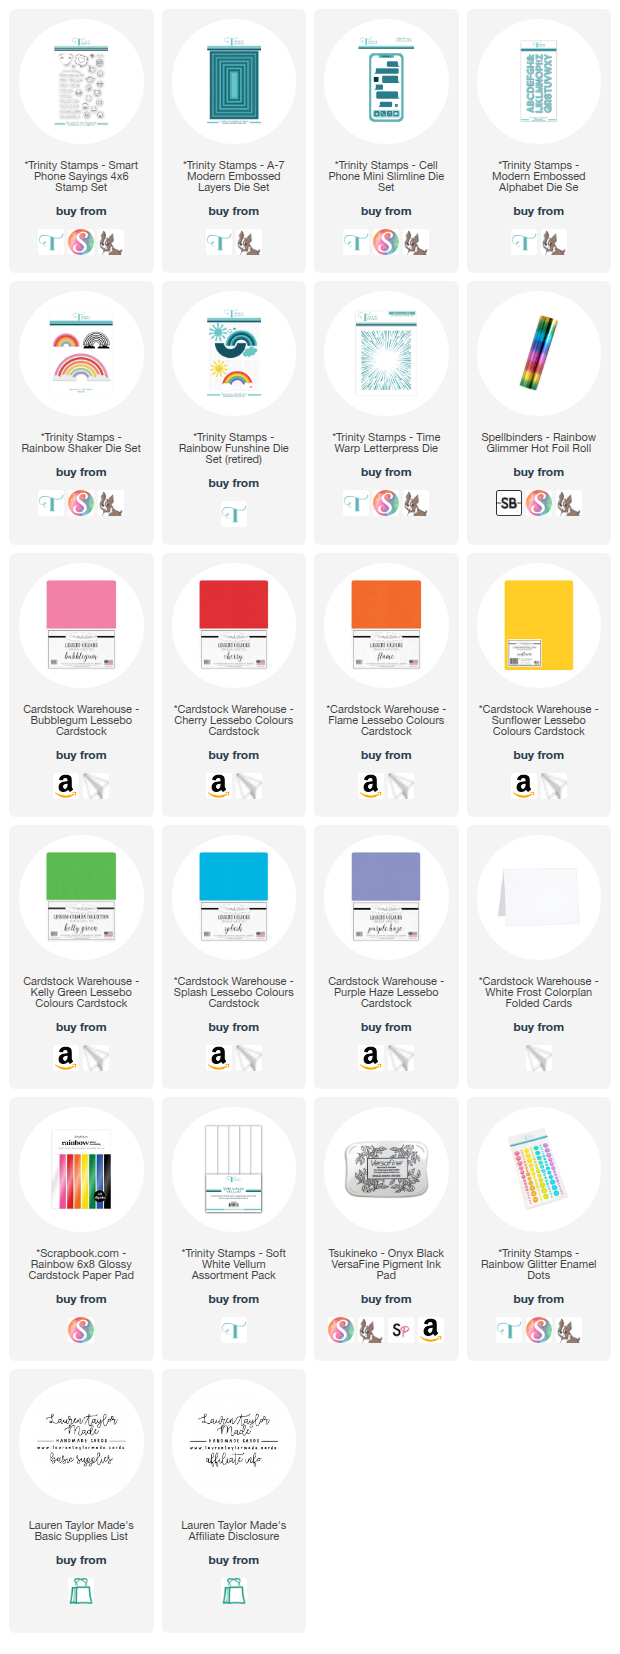
I started by cutting a 4" x 6" panel using the A7 Modern Embossed Layers Die Set and foiled it with the Time Warp Letterpress Die using rainbow foil for a seriously cool background. After mounting it to an A7 card base, I followed the SheetLoad sketch to layer in bold black cardstock accents. The star of the card is the adorable cell phone made with the Cell Phone Mini Slimline Die Set, complete with a stamped sentiment from Smart Phone Sayings and a die-cut “Hi!” from the Modern Embossed Alphabet Die Set. I added a pop of rainbow using the Rainbow Funshine Die Set (now retired, but the Rainbow Shaker Die Set is a great alternative!) and backed the phone with vellum for a soft contrast. A sprinkle of Rainbow Glitter Enamel Dots finished it off with sparkle—just the right mix of modern, nostalgic, and fun!

VIDEO TUTORIAL


PIN THIS
SUPPLY LIST

Read More

Heart Cherries Shaker Card with Scrapbook.com

Saturday, June 14, 2025

Today's card was inspired by the Show Us Your SheetLoad sketch from May 2025, created by Call Me {Crafty} Al. I followed the layout (with my own adjustments) and had so much fun putting a sweet and fruity twist on it using all Scrapbook.com Exclusive products! With a little shimmer, a lot of hearts, and some adorable cherry accents, this card turned into a total treat.

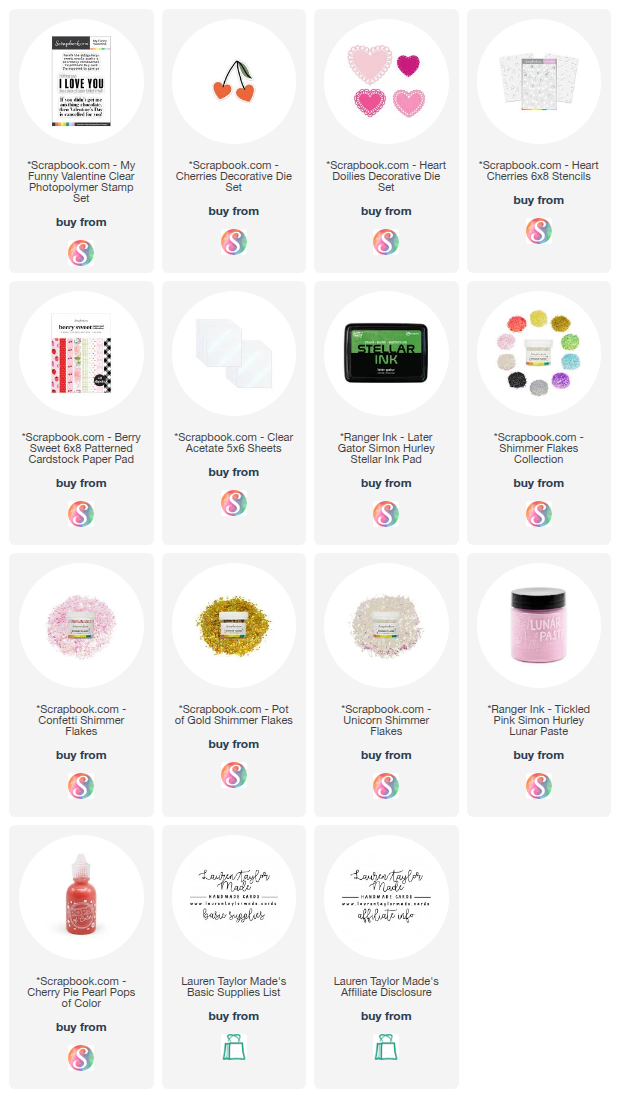
To start, I grabbed papers from the Berry Sweet 6x8 Paper Pad and used the Heart Cherries Stencil on black polka dot cardstock. The first stencil layer was inked with Later Gator Simon Hurley ink, then I layered the cherries using Tickled Pink Lunar Paste for a dimensional pop. I followed the sketch layout to add pink gingham and green strips from the same paper pad across the background. For the focal point, I made a heart shaker using the Heart Doilies Decorative Dies, filled with a sparkly mix of Unicorn, Pot of Gold, and Confetti.

I die cut a large cherry with the Cherries Decorative Die, blending Later Gator on the stem and leaves and adding more Tickled Pink Lunar Paste on the cherries themselves. After stamping and fussy-cutting a sentiment from the My Funny Valentine stamp set, I finished the card with Cherry Pie Pearl Pops of Color to tie in more red. This card is a cherry-filled celebration of color, shine, and Scrapbook.com exclusives!

PIN THIS
SUPPLY LIST

Read More

Curse a Lot Baddie Fandom Friday Card with Miss Ink Stamps

Friday, June 13, 2025

Hey there, fellow fans and crafters! I'm so excited to kick off another Fandom Friday with a card that's pure magic. We're diving deep into the enchanting world of a beloved magical series, channeling a bit of that shadowy street charm and the powerful presence of a certain dark witch. For this project, I'm featuring incredible products from the Magical Collection by Miss Ink Stamps, and I'm thrilled to show you how to bring a touch of that fantastical vibe to your handmade cards. Get ready to grab your supplies and join me on a creative adventure that's perfect for any fan!

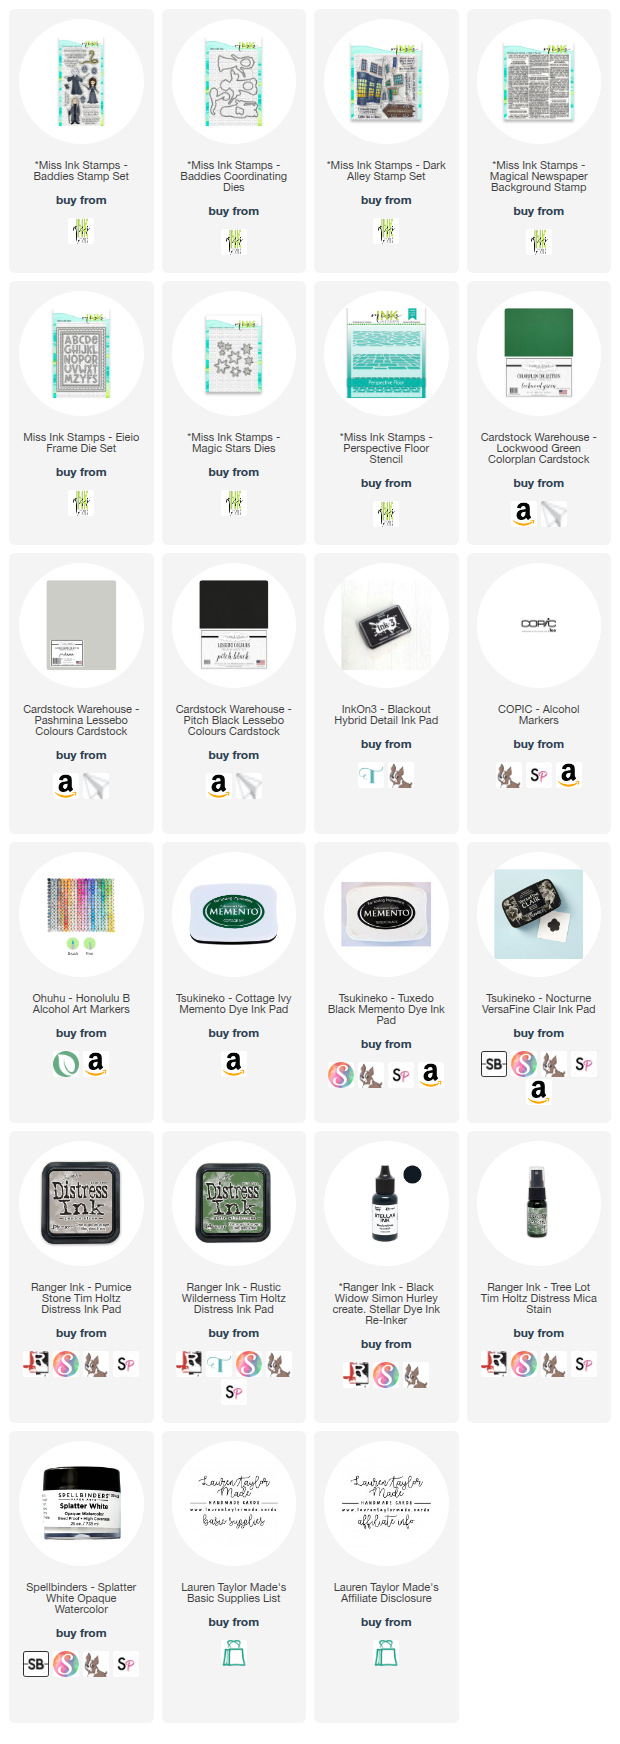
In my latest YouTube video (linked below!), I'll guide you through crafting this spellbinding, tone-on-tone card. We'll start by stamping the Dark Alley stamp set to create a moody backdrop, then use the Perspective Floor stencil for realistic ground detail. I'll share how to master the Magical Newspaper background stamp to set the scene, and we'll add a touch of humor with a sentiment from the Dark Alley stamp set that reads, "I solemnly swear I curse a lot." Finally, we'll bring in the fabulous "baddie" from the Baddie stamp set and accent our card with stars from the Magic Star die set. This card is packed with techniques and tips, so hit play on the video to see all the magic unfold, and let's craft something truly extraordinary for your next fandom project!

VIDEO TUTORIAL


PIN THIS
SUPPLY LIST

Read More

Summer Living Beach Scene Card

Ahoy, paper crafting enthusiasts! Get ready to ride a wave of creativity with me today as we dive into a fun and sunny card-making project featuring the amazing products from Cardstock Warehouse! There's nothing quite like crafting a little piece of paradise, and with the right supplies, you can transport yourself (and your lucky recipient) straight to the beach. I used Scrapbook.com's Beach Vacation die set and a delightful array of Cardstock Warehouse cardstock, and the result was a vibrant, textured beach scene that I can't wait to share with you. The quality and variety of papers available at Cardstock Warehouse truly elevate any project, and this card is a perfect example of how their selection can bring your creative vision to life.

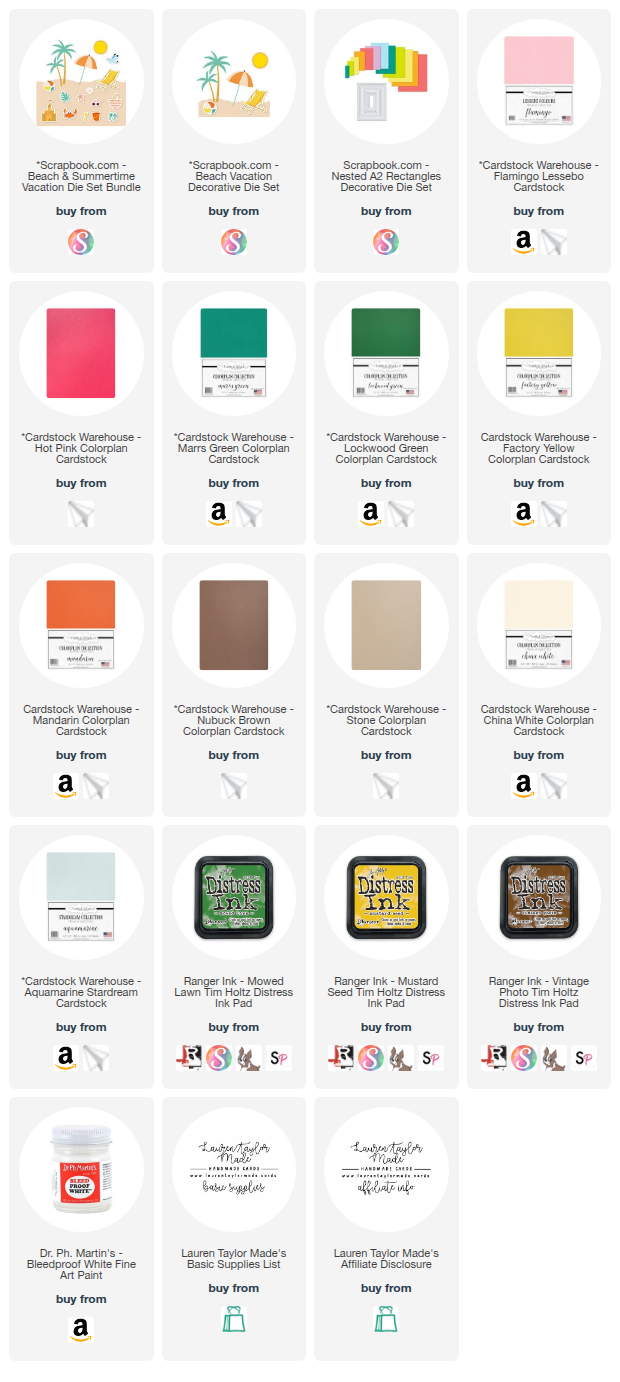
To create this little slice of seaside bliss, I started by gathering a beautiful mix of Cardstock Warehouse papers. For the sky, I chose the shimmering Aquamarine Starre cardstock, which instantly evokes the sparkle of the ocean, cutting it with an A2-sized die. Next, I selected Stone Colorplan cardstock for the sand and used a border die from the "Beach Vacation" set to create a fun, textured edge. I also die-cut the adorable palm trees, beach ball, sun, beach chair, and umbrella from various brightly colored Cardstock Warehouse papers. To add depth, I assembled the chair, umbrella, and beach ball, but for the sun and palm trees, I first added Mustard Seed Distress Ink to the sun and Mowed Lawn Distress Ink to the palm fronds. 

To give the sand a realistic, textured feel, I distressed the bottom half of the Stone cardstock with Vintage Photo Distress Ink, letting the color gradually fade towards the top. Then came the fun part—splattering! I squished some Vintage Photo ink onto my glass mat, spritzed it with water, and used a paintbrush to flick splatters onto the sand, repeating with white paint for even more dimension. Once dry, I adhered the shimmering Aquamarine sky to a card base, then glued the textured sand panel in place. Finally, I layered all the die-cut elements onto the scene using a mix of liquid glue and foam adhesive for added dimension, trimming any pieces that extended beyond the card edge. The result is a charming and tactile beach scene that perfectly captures the joy of a sunny getaway, all thanks to the fantastic selection at Cardstock Warehouse!

PIN THIS
SUPPLY LIST

Read More

Dear Mom Square Shaker Card with Scrapbook.com

Friday, June 6, 2025

I had so much fun creating this square shaker card inspired by Craft Roulette Episode #269! The parameters this week were square card, butterfly colors, cloudy, and something tied—and it all came together beautifully with some of my favorite Scrapbook.com Exclusive products. I started with a 4.25" square orange card front and layered on butterfly-patterned paper trimmed to 4"x4". Those butterfly colors became my palette for the entire design! To build my shaker element, I die cut nested octagons from yellow, orange, and floral patterned paper. The yellow served as the shaker backing, the floral was die cut in the center, and the orange became a framed layer topped with acetate and foam adhesive. I filled the shaker with shimmer flakes that give a dreamy, cloud-like effect in front of the flowers.

For the embellishments, I stamped and die cut flowers and sentiments, giving the “dear” sentiment a mini arch shape with some clever die cutting. I added blue-inked layered letters for “mom” cut from white and patterned paper, and even reused the heart center from the sentiment as a sweet accent. Twine wrapped around the flower cluster added the perfect touch to meet the “tied” prompt, while fussy-cut butterflies flutter around the design to bring those colors to life. Everything came together in a vibrant, dimensional card full of texture, sparkle, and heart—just the kind of creative play that makes Scrapbook.com products such a joy to use!

PIN THIS
SUPPLY LIST

Read More

You Rock Construction & Street Signs Card with Pretty Pink Posh

Tuesday, June 3, 2025

Today we’re heading into a construction zone with the Pretty Pink Posh Layered Street Signs Stencils. I used masking tape to include lots of color detail with this stencil set using Distress Inks and Distress Oxide Inks to create the street signs in different colors. I added a little bit of black splatter and trimmed the panel to A2 in size and attached it to the card base.

To finish the card, I cut a black strip of cardstock with the Stitched Borders I Dies and embossed my sentiment in white before adhering to the center of the card. I stamped and colored images from the Construction Additions Stamp Set and cut them out with the Coordinating Dies. I layered the images onto the card base with different foam adhesive thicknesses so they really pop off the card.

I think this are is perfect for kids who love playing with construction toys or maybe you know someone who works in construction!

PIN THIS
SUPPLY LIST

Read More