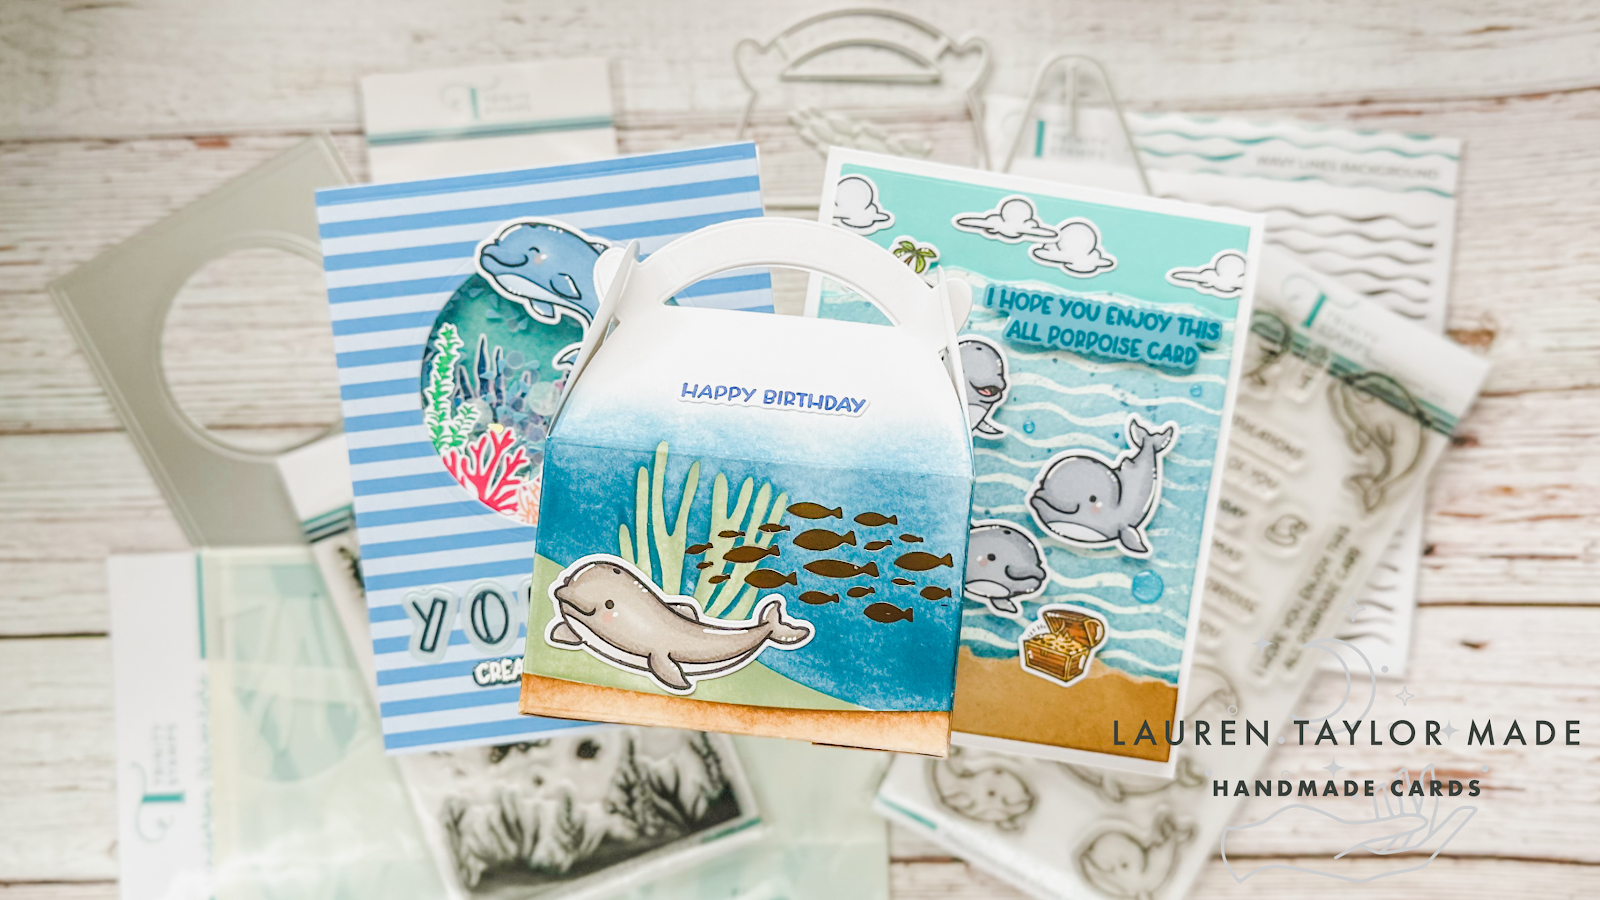
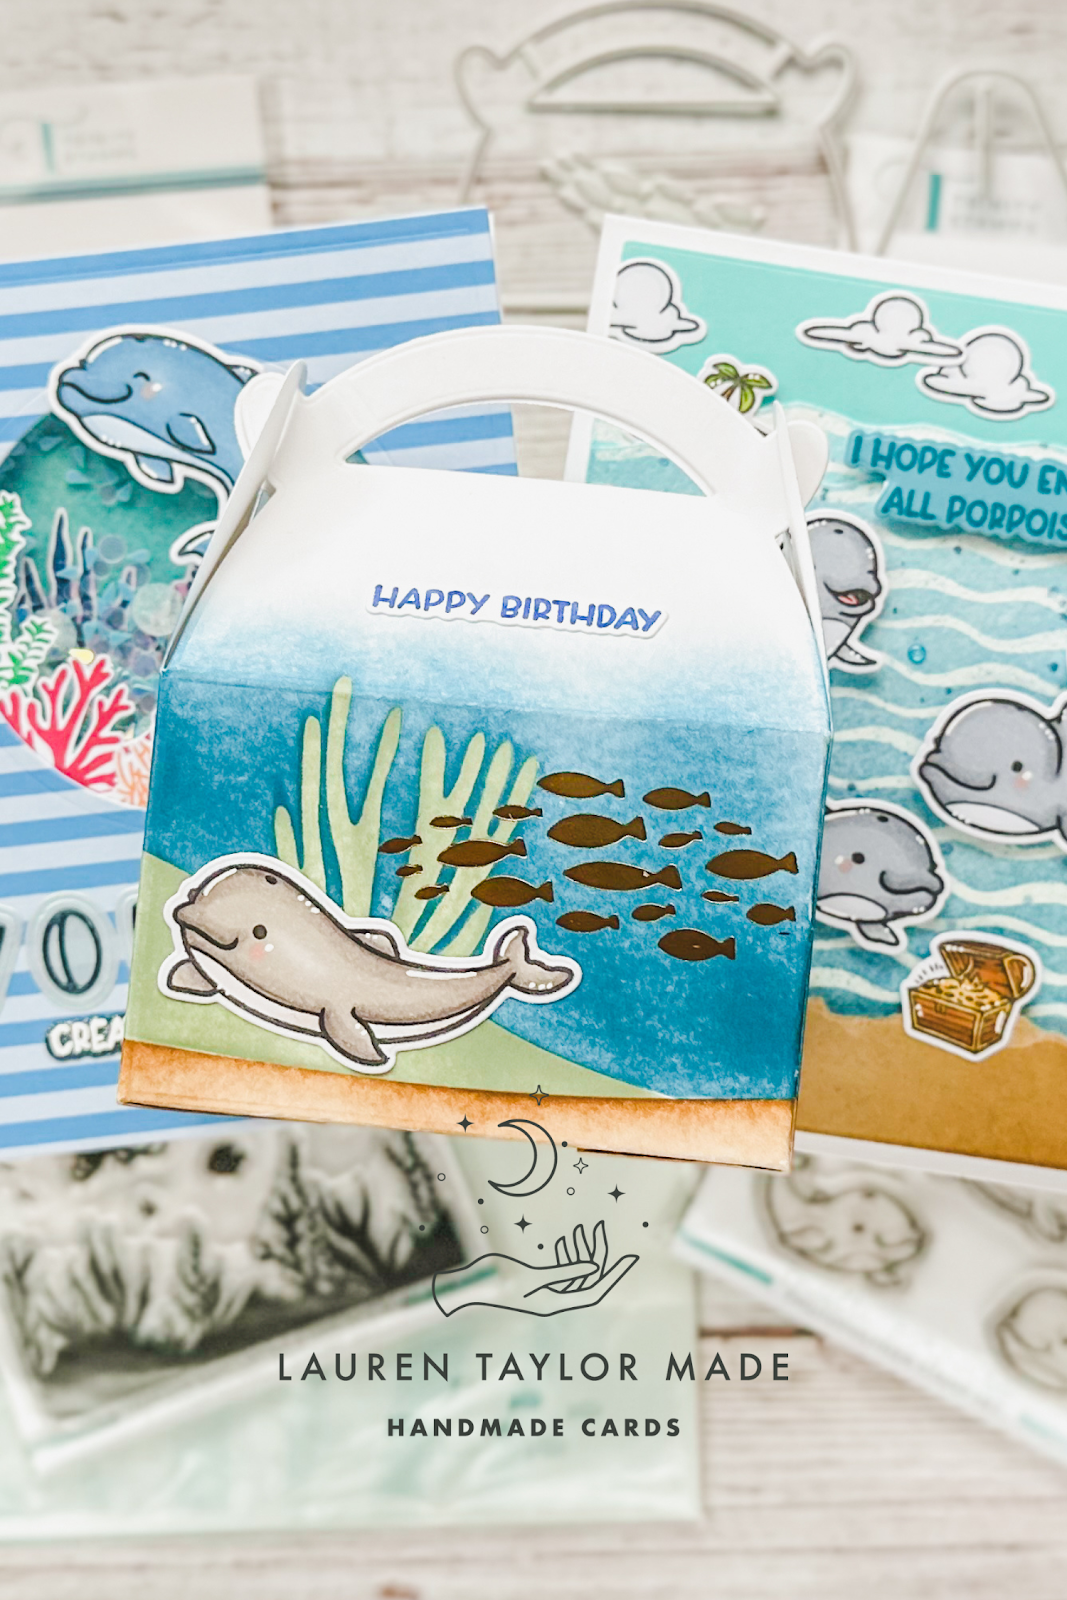
Multi-Porpoise Stamp Set from Trinity Stamps - 3 Different Ways to Use the Stamp Set!

Monday, June 19, 2023

I'm so excited to share my first big project with Trinity Stamps! I have a video sharing how I used one stamp set, three different ways. When I first saw the Multi-Porpoise set, I knew that had to be my first project for Trinity Stamps. I was obsessed with dolphins growing up and thought it would be a good set to start with on this new adventure!

We start with creating a scene card - the one above on the left. We use Distress Inks to create a wavy water background and even add in some touches from the Party Pirates stamp set. Next is creating a shaker card and the scene inside the shaker window was simple as the new Sea Life Silhouettes help to create wonderful background images! I personalized my own sentiment by mixing a stamped sentiment and die cut letters.

The final project is a treat box and we added some lovely touches of gold with foiling! I just love how simple the treat box is to assemble and will be excellent goodie bags for future parties/events/Girl Scout things. If you use Ohuhu Art Markers, I also have a coloring guide above that you can save use in the future for different (and a couple fun colors) dolphin/porpoise projects. I hope you enjoy this first project for me and I can't wait to share with you my next video of three ideas!
VIDEO TUTORIAL


PIN THIS
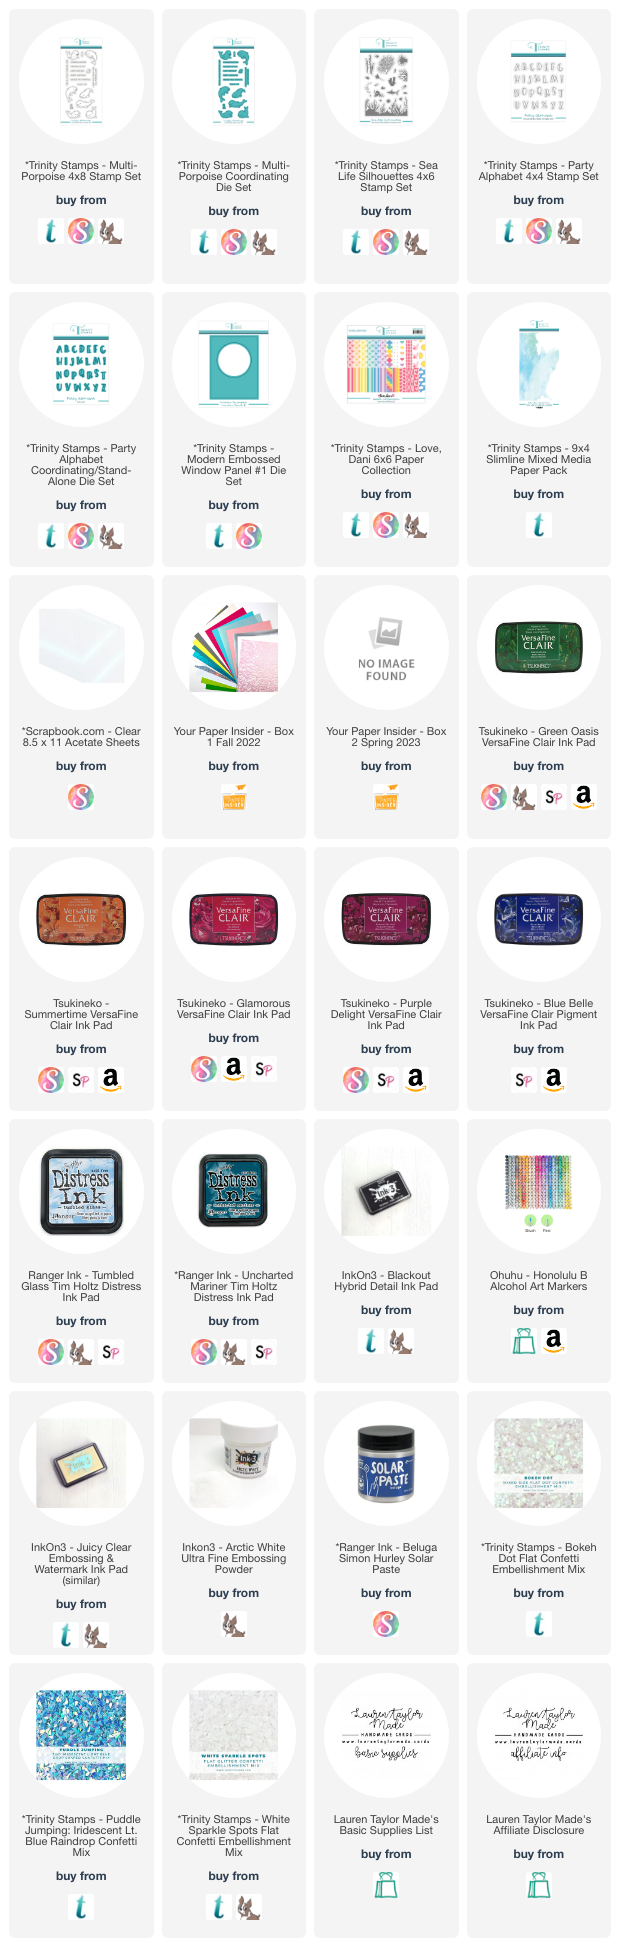
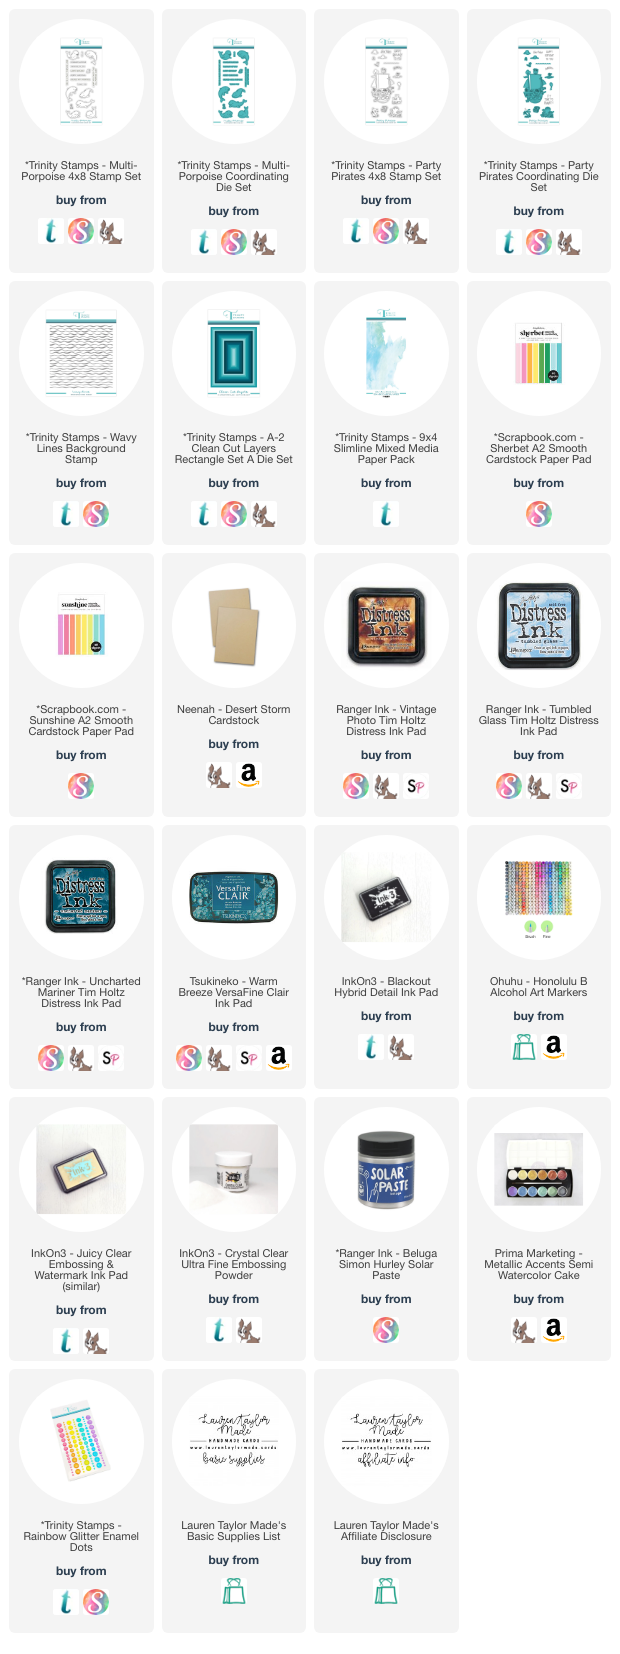
SUPPLY LIST - SCENE CARD

SUPPLY LIST - SHAKER CARD

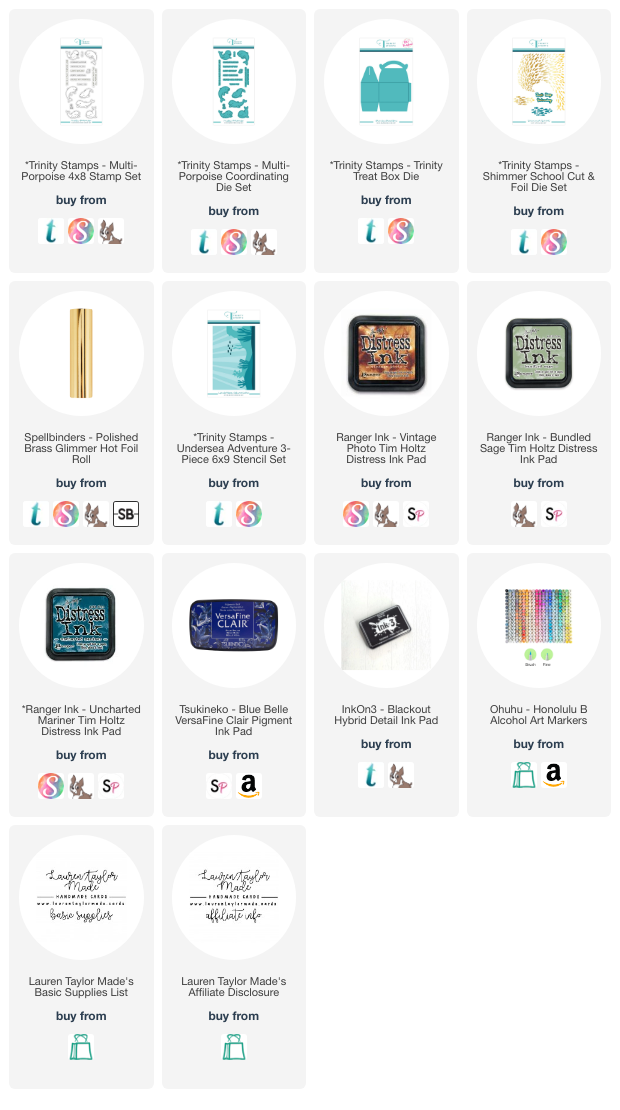
SUPPLY LIST - TREAT BOX

Read More

Punny Fruit Mini Cards with Pretty Pink Posh

Saturday, June 17, 2023

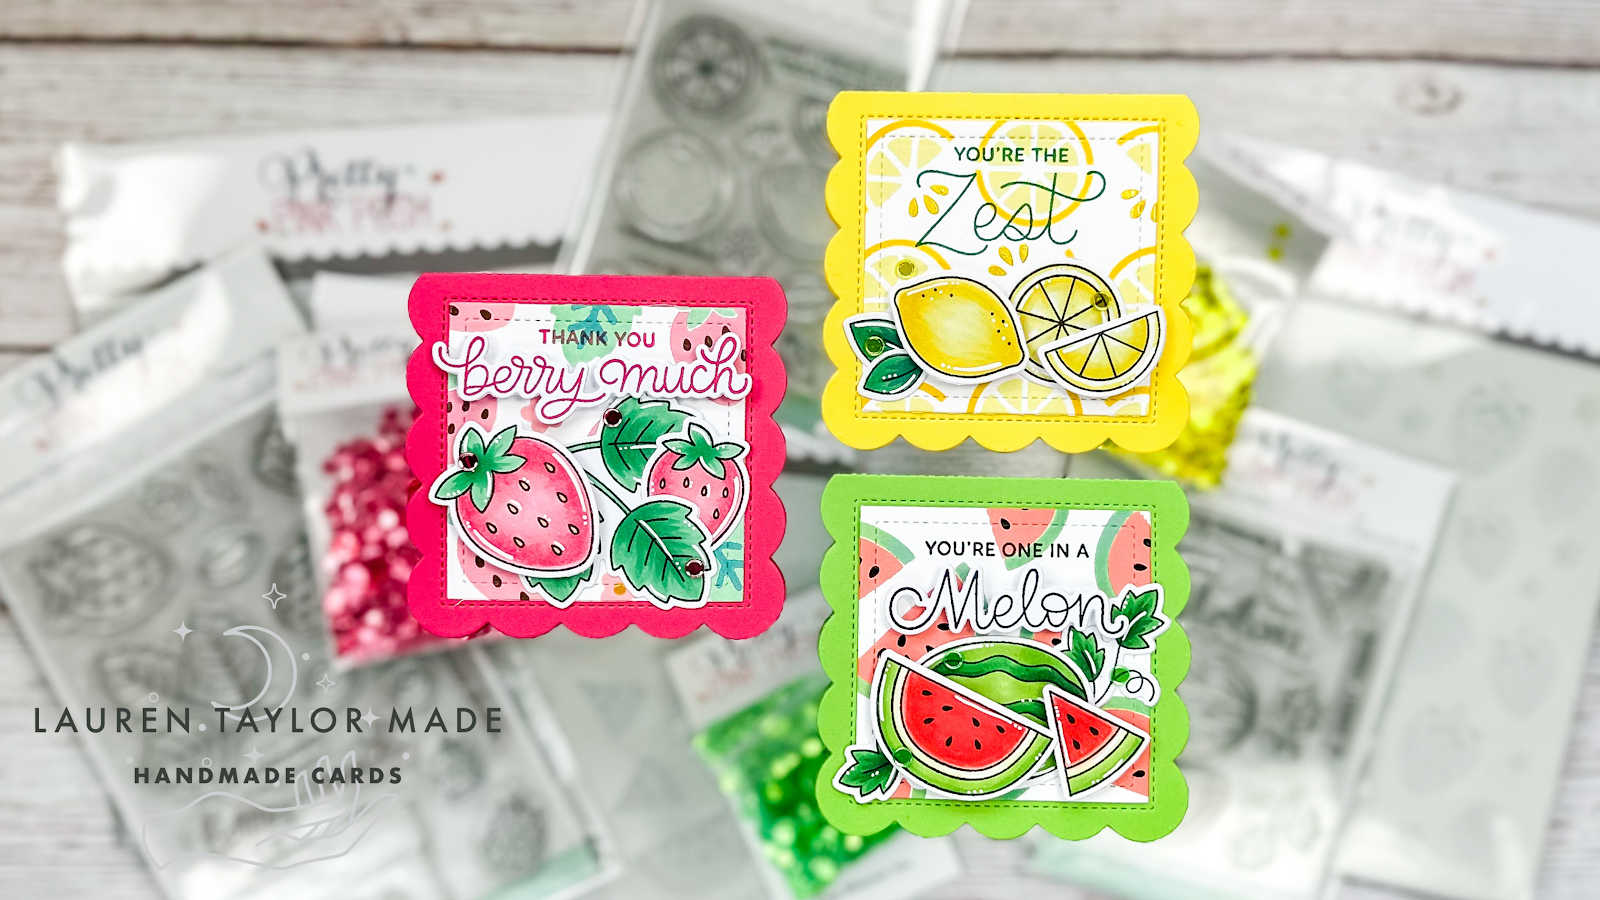
I just love the new fruit themed products from the recent Pretty Pink Posh release and when I saw the Mini Scallop Card Dies, an idea popped into my head to make little cards that I think would be so cute as a gift.  

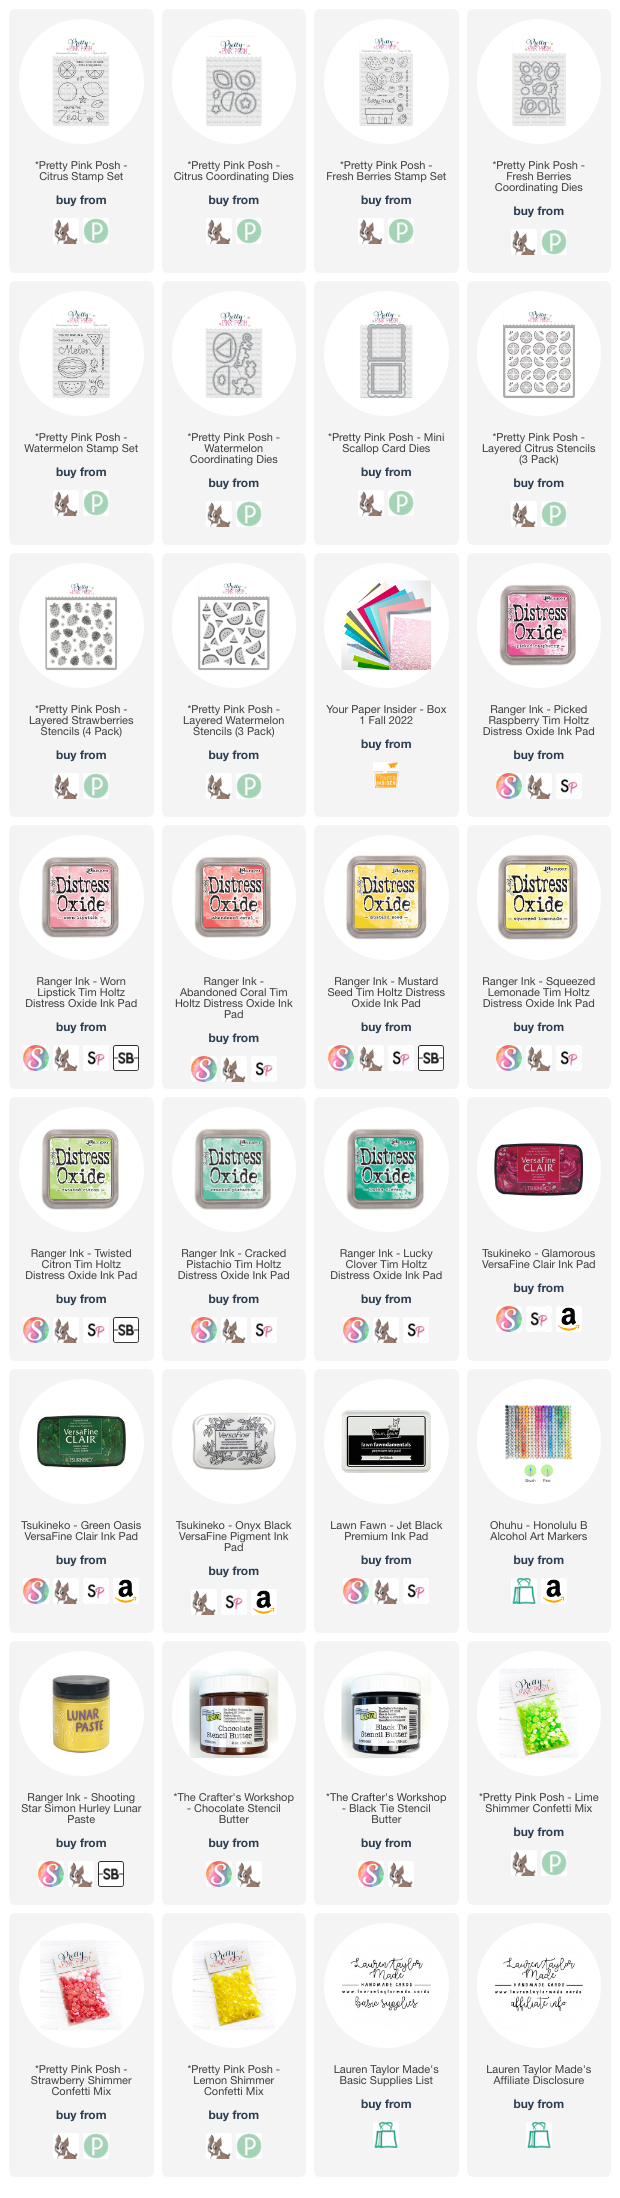
To prepare for my video, I stamped and colored images from the Citrus Stamp Set, Fresh Berries Stamp Set and Watermelon Stamp Set. They have been stamped in alcohol marker friendly black ink and colored in with Ohuhu Art Honolulu Markers. I have a coloring guide if you would like to see what I used to color in each of the fruits and different leaf combinations! I also used their Coordinating Dies (Citrus, Fresh Berries, Watermelon) to cut out the images and added highlights with a white gel pen.
Using the colors I used for my fruit as inspiration, I picked colored cardstock and cut the Mini Scallop Card Dies base in the three colors for each card. There is a stitched rectangle die in this set as well so I cut white cardstock for the inside of my cards for a sentiment. I will also use this stitched rectangle to cut the background for the front of the card, but that will come later.

In my video I begin with creating my stenciled backgrounds to coordinate with the stamped images. I started with Layered Citrus Stencils with (A) Squeezed Lemonade Distress Oxide, (B) Mustard Seed Distress Oxide, and (C) Shooting Star Lunar Paste. The next background was created with Layered Watermelon Stencils with (A) Abandoned Coral Distress Oxide, (B) Twisted Citron Distress Oxide, Lucky Clover Distress Oxide, and (C) Black Tie Stencil Butter. Finally, the last background was Layered Strawberries Stencils with (A) Worn Lipstick Distress Oxide, Picked Raspberry Distress Oxide, (B) Cracked Pistachio Distress Oxide, (D) Lucky Clover Distress Oxide, (C) Chocolate Stencil Butter, and Shooting Star Lunar Paste.

When the backgrounds were dry, I brought back the stitched square from the Mini Scallop Card Dies and die cut as many backgrounds I could fit so I can save these for future projects! After assembling the Mini Scallop Cards together, I added in some extra shine with new Shimmer Mixes in Lemon, Lime, and Strawberry. I hope these mini cards bring you inspiration today!
VIDEO TUTORIAL


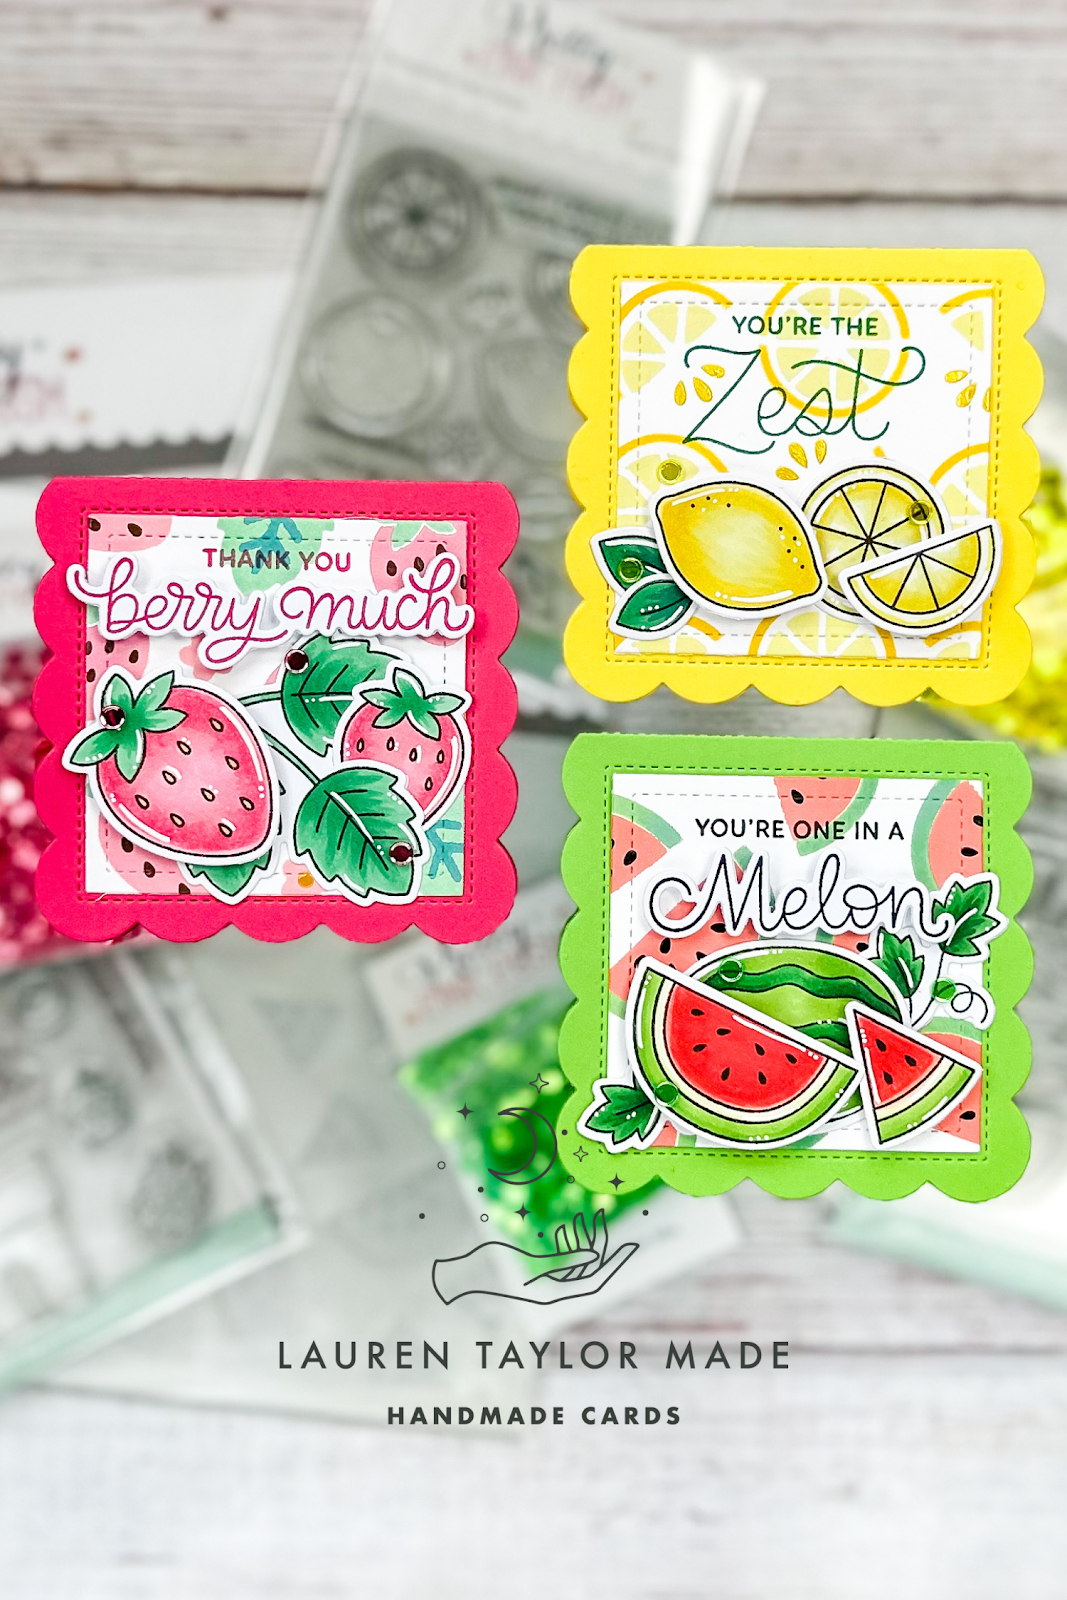
PIN THIS
SUPPLY LIST

Read More

Toucan of Appreciation Thanks Card with Lawn Fawn

Thursday, June 15, 2023

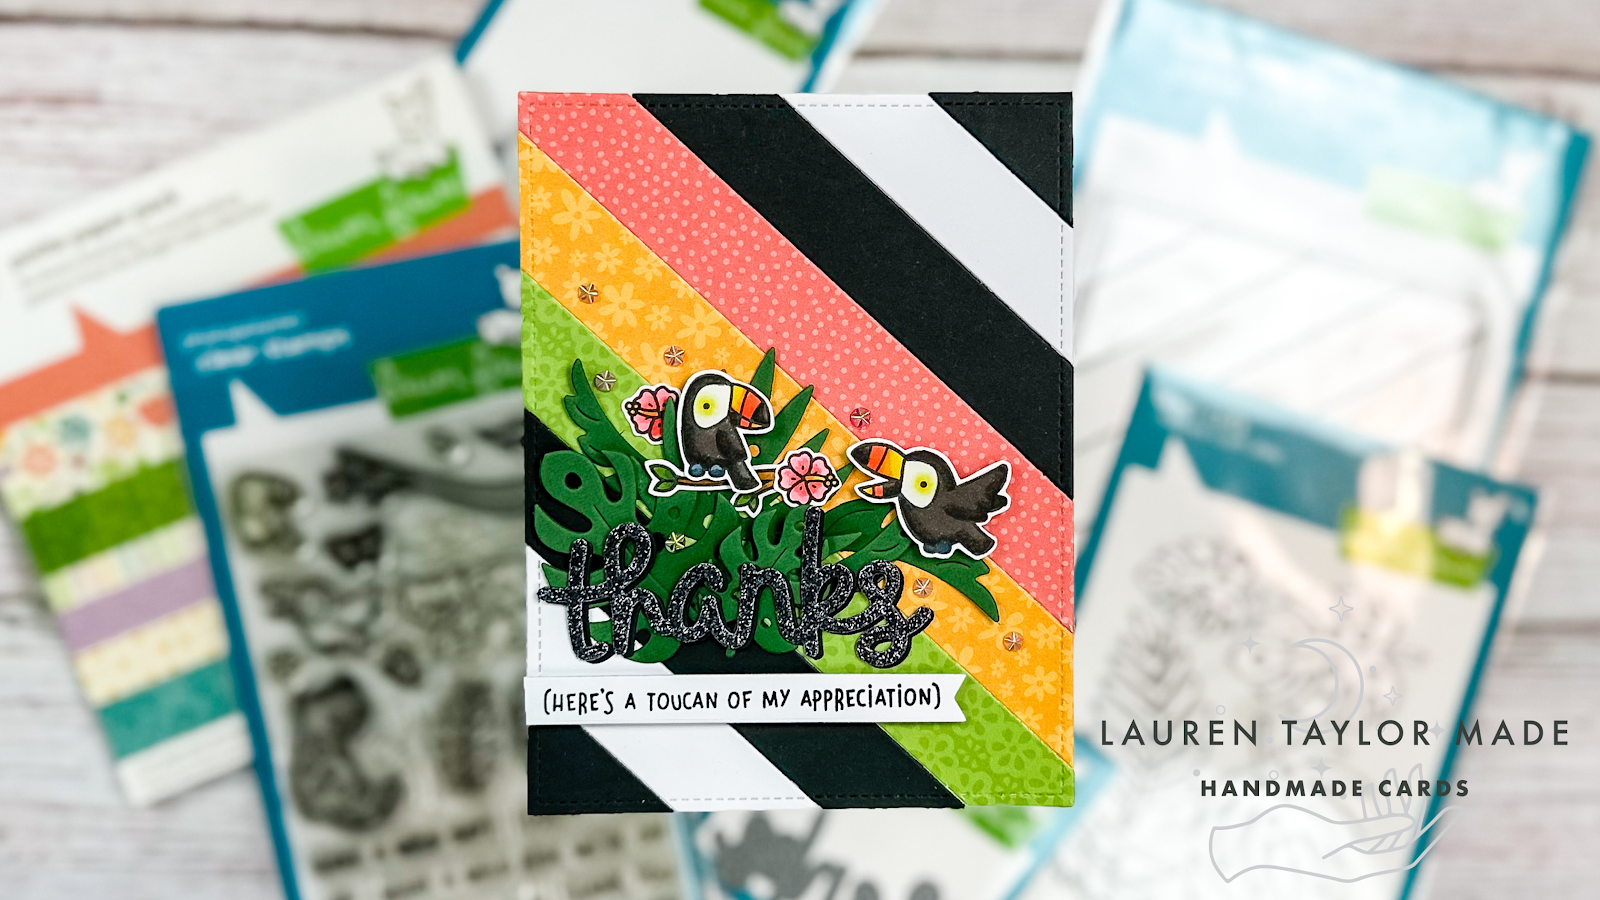
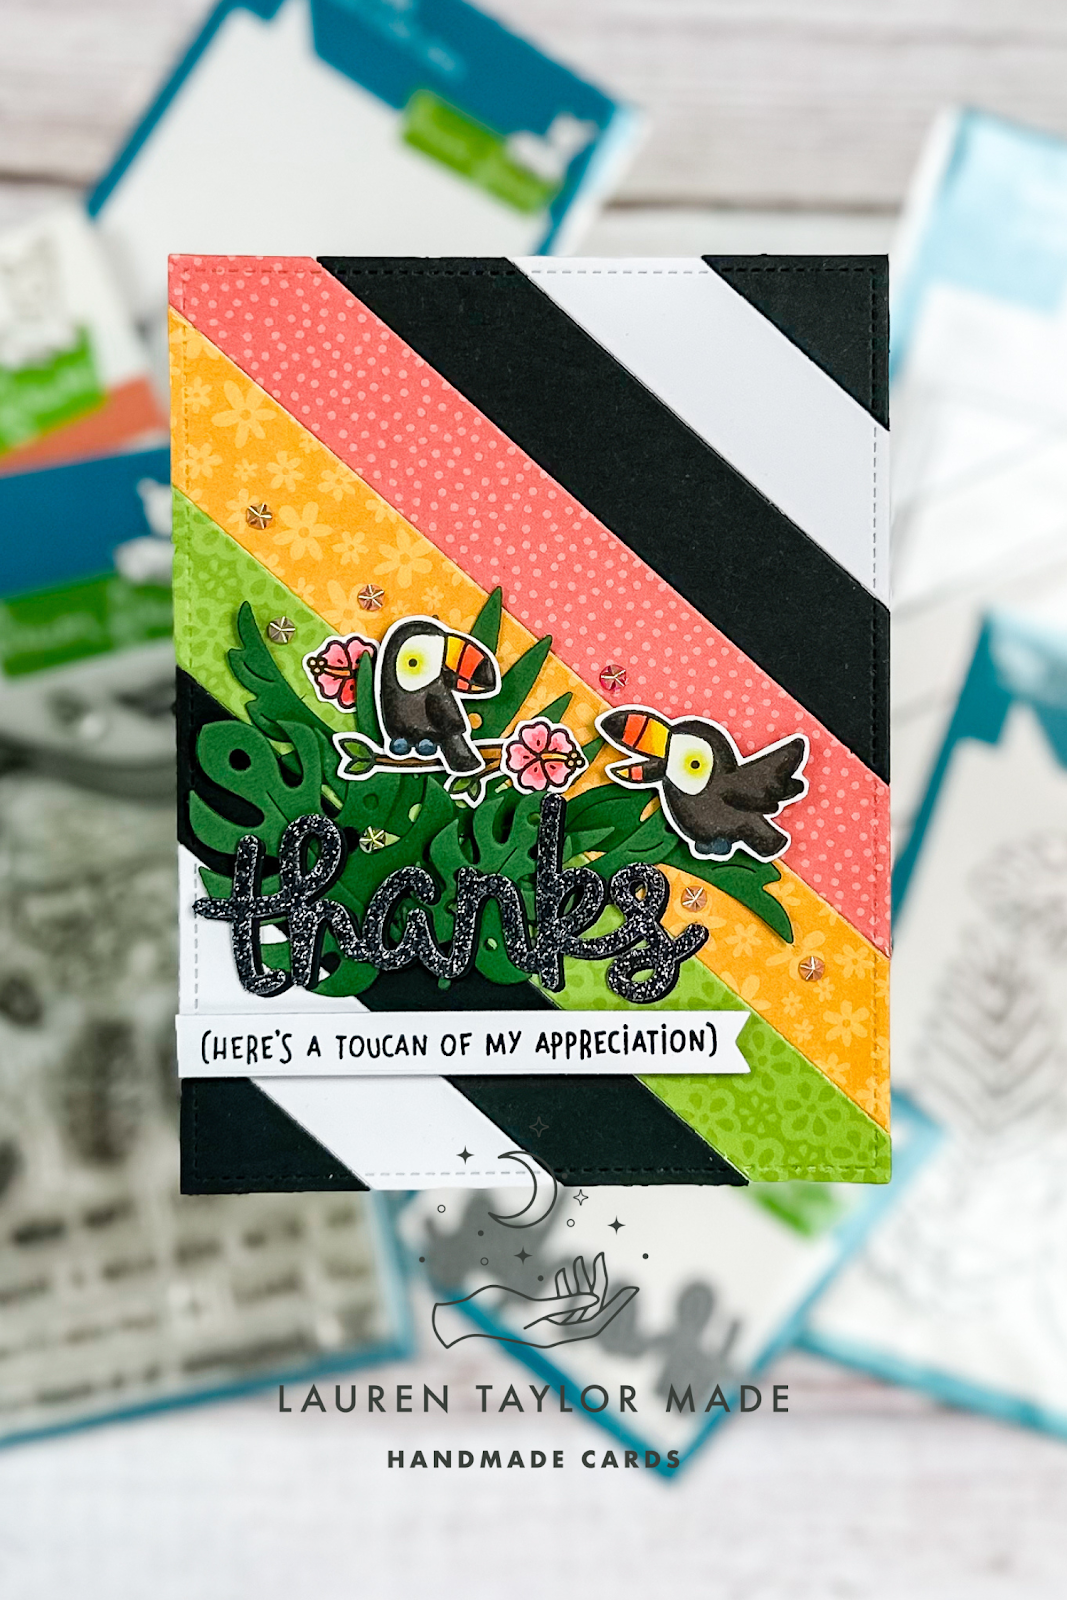
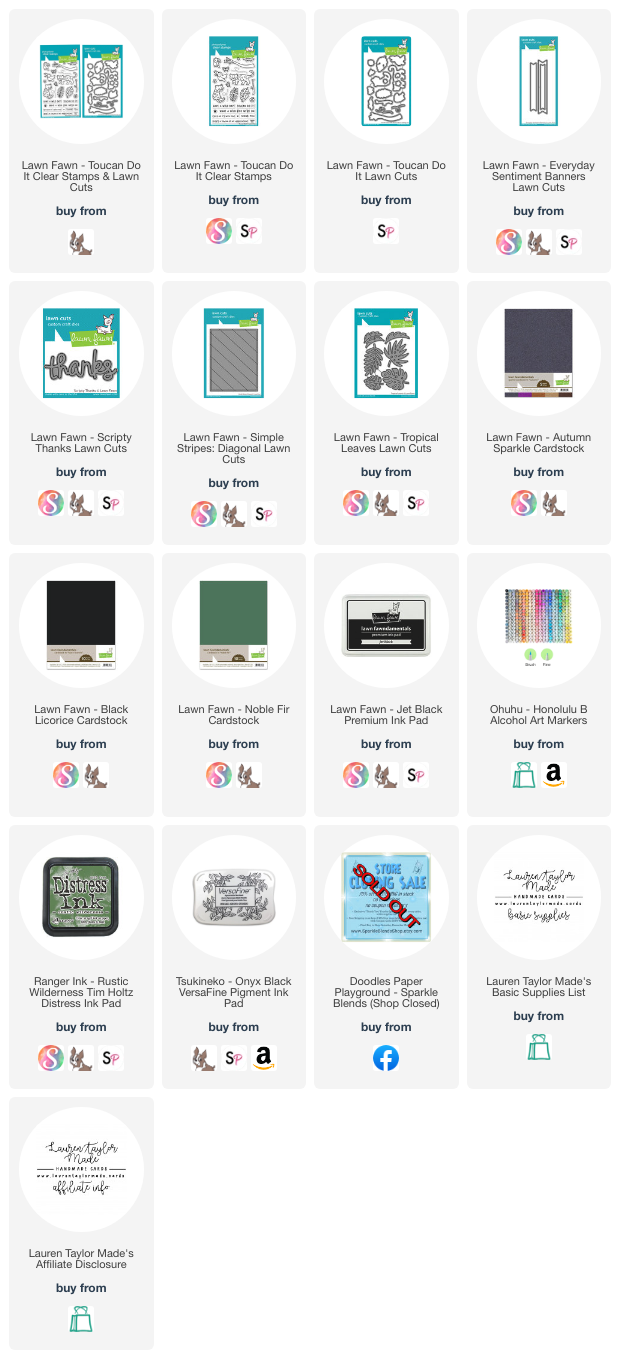
Getting creative today with some Lawn Fawn! Inspired by the latest episode of Craft Roulette and the recent Lawn Fawnatics Challenge, I'm getting tropical with this thank you card. I started with die cutting strips of paper with my Diagonal Die and I have three (rhymes with "bee") colorful stripes of patterned paper. I added them to an A2 card base that is top folding and then continued die cutting some tropical leaves in green cardstock.

Using my Paper Pouncer, I added some Rustic Wilderness to my leaves and arranged them on the background. I also die cut my thanks sentiment out of black and sparkle black cardstocks and adhered it on top of the leaves. The other part of my sentient (with punctuation) is stamped on a die cut banner and I used foam adhesive to adhere below my "thanks."

My sentiment and other stamped images are from the Toucan Do It stamp set and I colored in my images with Ohuhu Art Honolulu Markers. I added them to my scene using a mix of liquid and foam adhesive to give some dimension to my card. My final touches are adding some rhinestones in pink, orange and yellow to match the colors on the card. I think it turned out so cute! And it was overall a pretty quick card to make thanks to all of the die cutting.

PIN THIS
SUPPLY LIST

Read More

Baddies Box Card with Miss Ink Stamps

Wednesday, June 14, 2023

Another Baddies card, but this time they're on a box card! I love this set from Miss Ink Stamps and the expanding Magical Collection. Before my video starts, I stamped all of my images with alcohol marker friendly black ink and colored my images in with my Ohuhu Art Honolulu B Markers. I also used a white tel pen to add some highlights.

I used the mirror stamp to create a stone arch so I colored it in with warm grey and then used the darkest shade to create lines across the archway to give a stone look. I am really pleased with how it turned out and am excited to have another way to use this stamp set. I hope you enjoy today's video and process and let me know in the comments which baddie is your favorite!

VIDEO TUTORIAL


PIN THIS
SUPPLY LIST

Read More

Fruit Tree Backyard Card for a Friend with Pretty Pink Posh

Monday, June 12, 2023

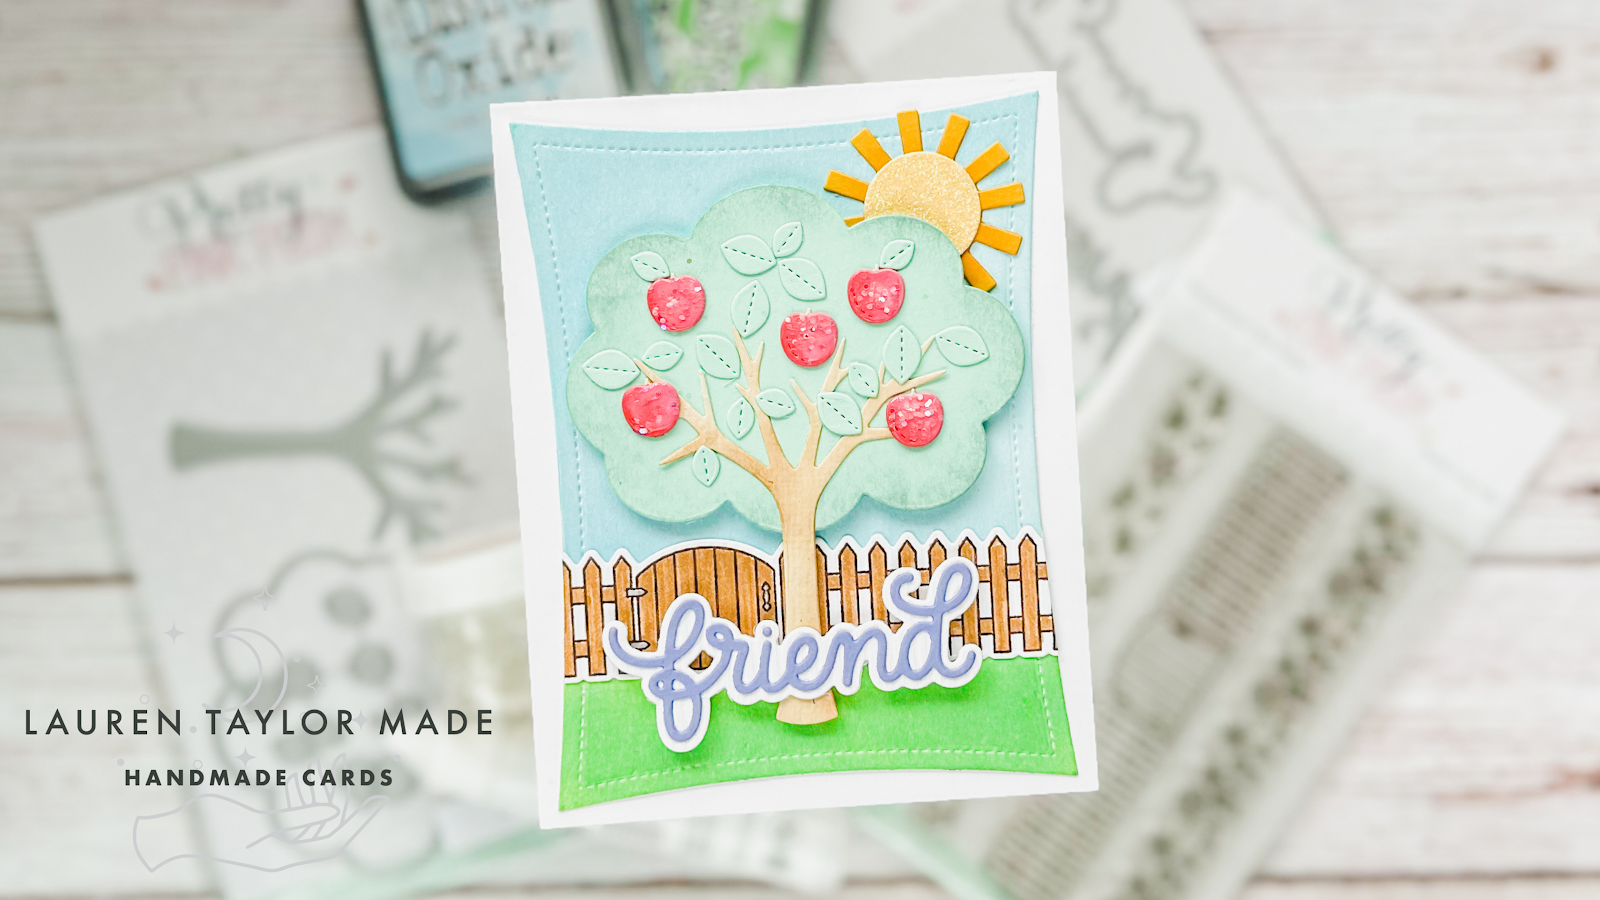
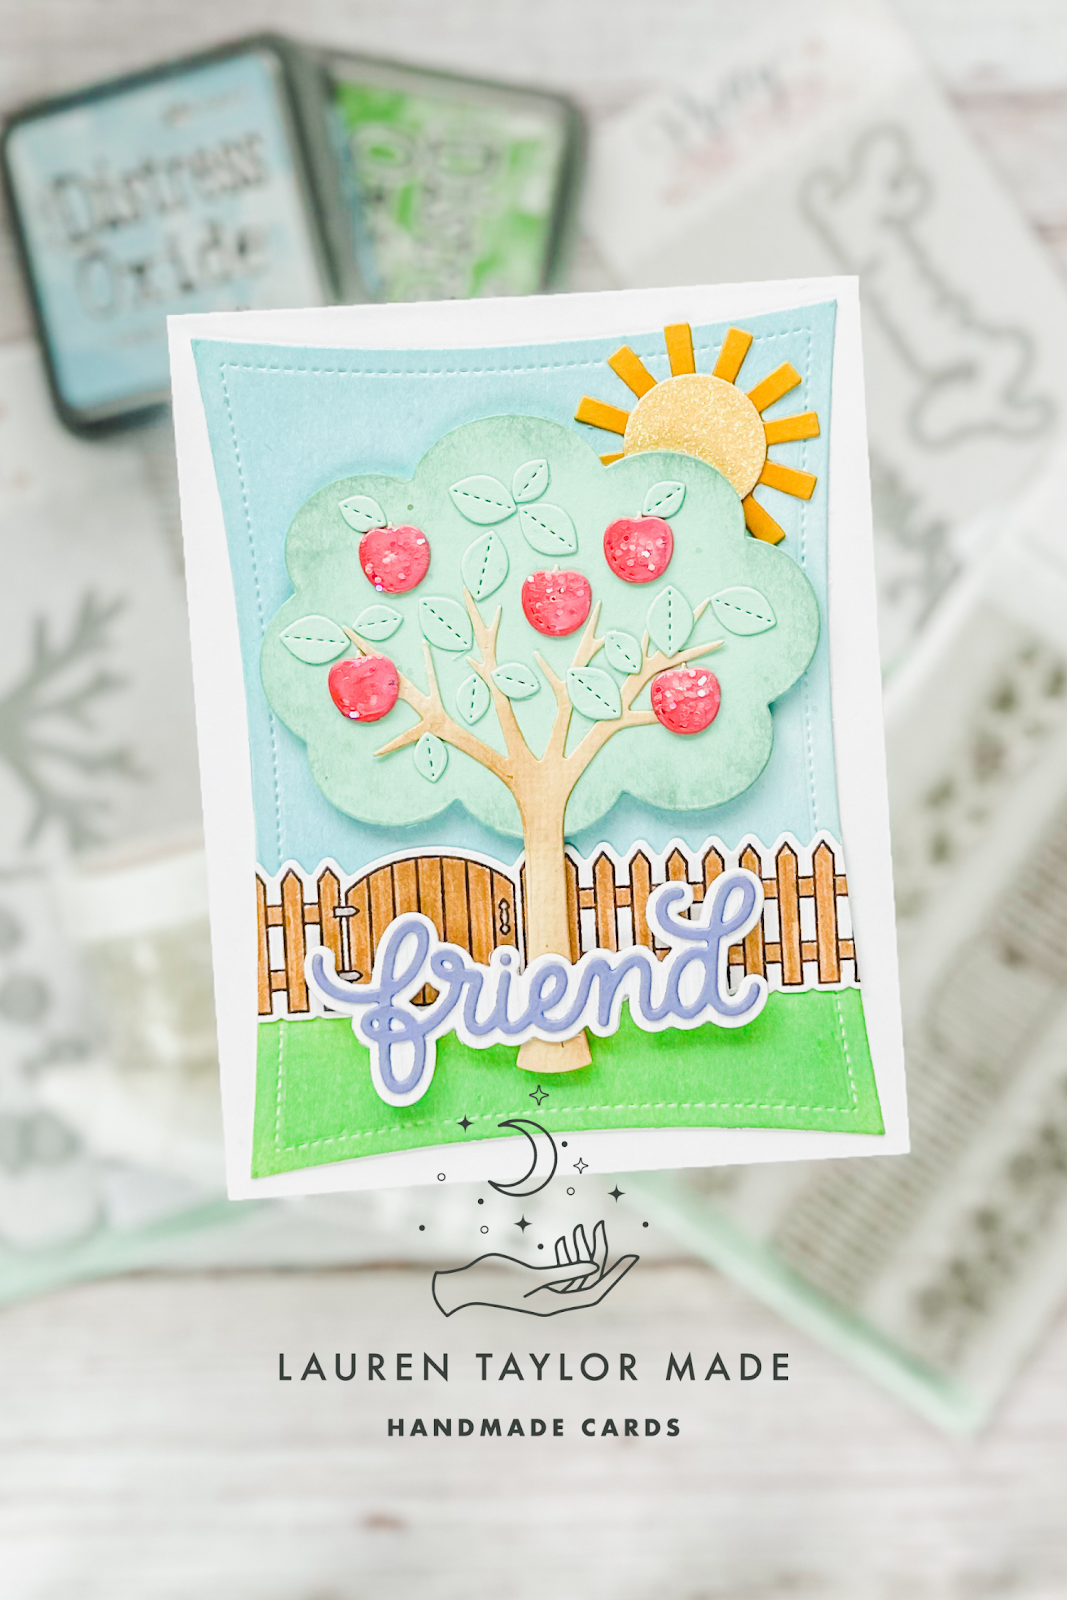
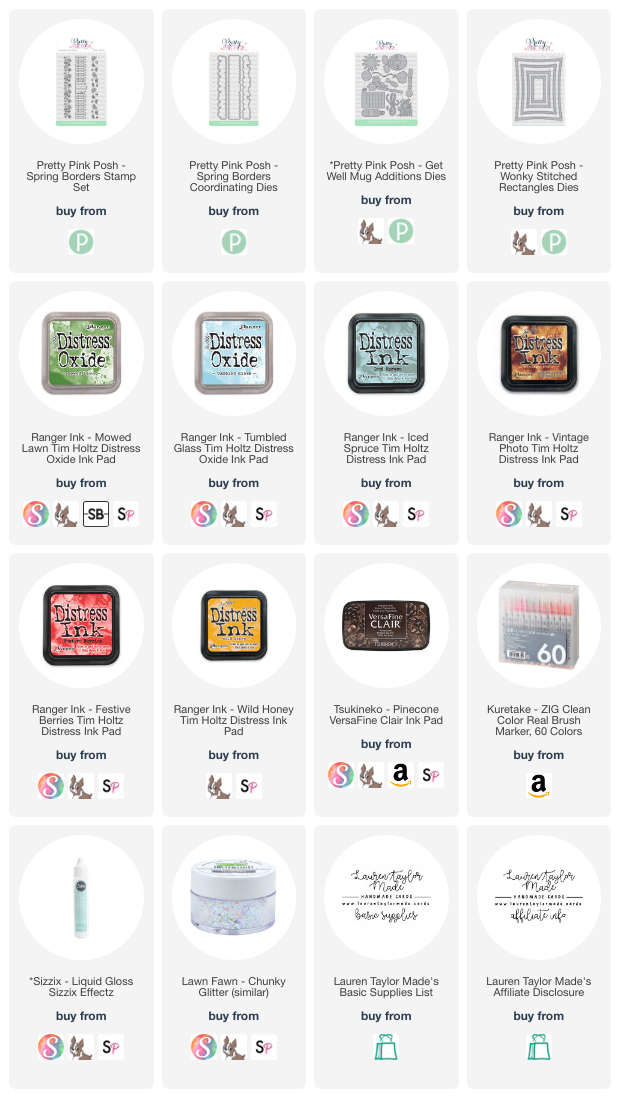
Have you had a chance to check out the new products from Pretty Pink Posh? I made a card some of the new dies that have been recently released - the Fruit Tree Dies and Friend Shadow Dies. I'll explain how I assembled this card in my post today, but make sure you read the whole post to learn more about the Instagram Hop I am a part of today!

I started with die cutting my elements from the Fruit Tree Dies from different colored cardstocks from my Your Paper Insider Box 2. The different pieces (except for the leaves) have some Distress Ink to give them a little bit of texture and depth. I assembled the tree together along with the apples and leaves, added some liquid gloss to the apples and sprinkled a little bit of chunky glitter to give them some shine.

Other die cuts are the sun pieces from the Get Well Mug Addition Dies and Friend Shadow Dies. I layered the "friend" script onto its shadow and the two sun pieces together. I added a little bit of Distress Ink to darken the sun rays towards the center before gluing the sparkle yellow cardstock to the center. I wanted to create a scene inside of a yard, so I stamped the fence from the Spring Borders Stamp set and used its coordinating die to cut it out. I stamped it with a brown VersaFine ink, so I used a watercolor brush pen to color in the fence.

To complete the scene, I die cut the largest Wonky Stitched Rectangle out of watercolor cardstock and ink blended my sky and grass with Distress Oxide Inks. My fence and sun are glued directly to the wonky rectangle and I trimmed off the fence down to sit the edge of the rectangle. This piece was glued to a top folding A2 card base. I decided to pop up the fruit tree and friend sentiment die cut pieces to have some dimension to the card!

Make sure to check out the Product Release Instagram Hop for more inspiration using the new products from Pretty Pink Posh! There are four (4) $30 gift certificates up for grabs (one winner each day), all you need to do is leave a comment by 6/20/2023 on each stop for a chance to win each day of the Instagram hop. Winners will be chosen randomly from the comments left on each participating designer’s Instagram post. Winners will be announced on the Pretty Pink Posh Instagram account!

PIN THIS
SUPPLY LIST

Read More

New from Simon Hurley - Lunar Pastes!

Friday, June 9, 2023

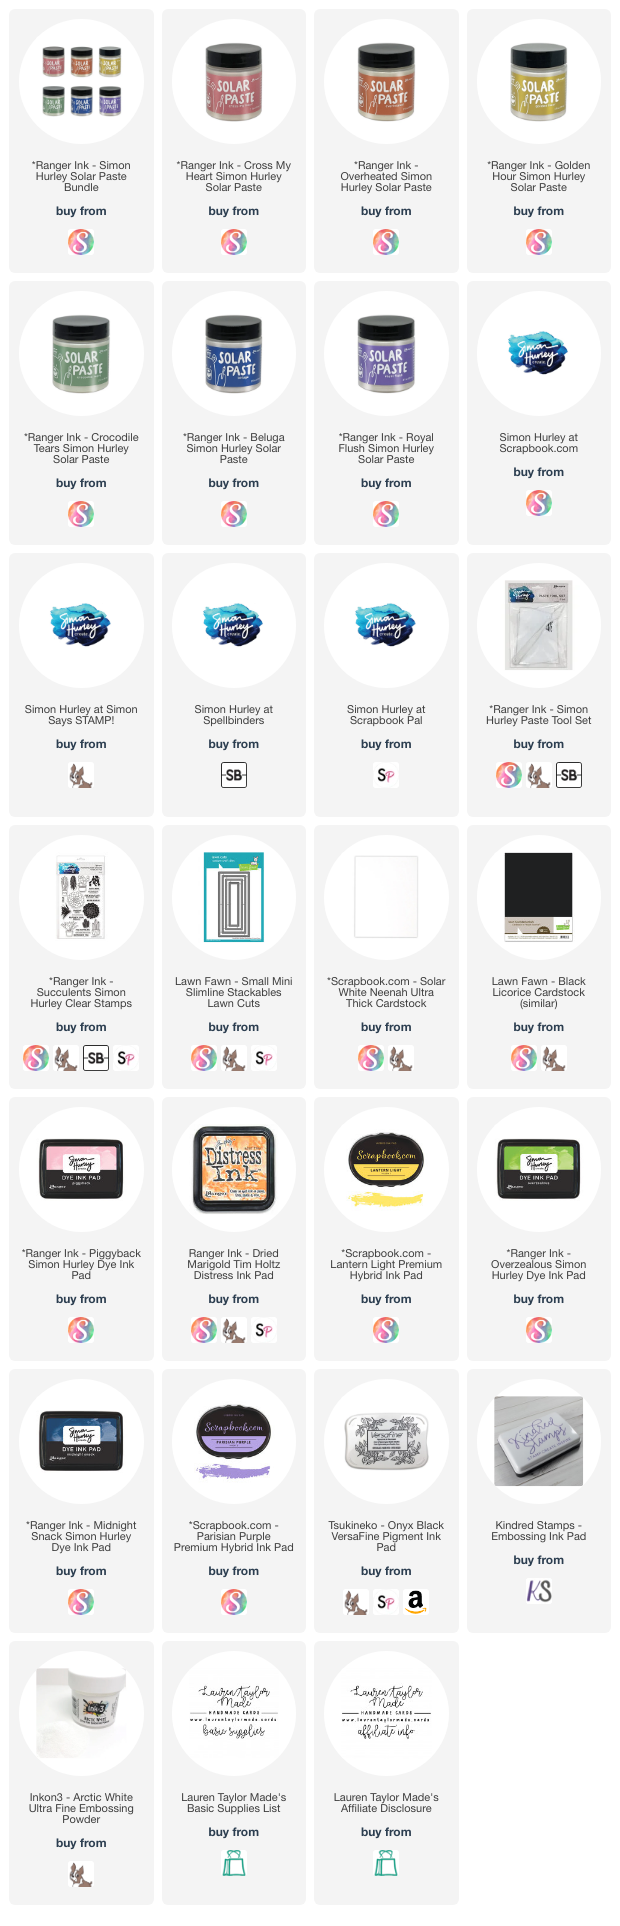
The next best thing from Simon Hurley + Ranger Ink is here... ☀️ SOLAR PASTE! I was gifted these six new (and stunning) colors: Cross My Heart, Overheated, Golden Hour, Crocodile Tears, Beluga and Royal Flush. I started with swatching all of the colors on different mediums and you can see what they look like in my video today. See what these colors look like not only on black cardstock, but on white and white with dye inks. It's so fun to see what these colors look like on different backgrounds!

At the end of my video, I made two super simple cards because I really just wanted my rainbow of colors to be the stars of the card and get all the attention they deserve. I made half inch strips of each color and adhered them to a mini slimline background. I hope you'll check out my video below so you can get a taste of each color, and then head over to your favorite shop that has Simon Hurley products to get yours!

VIDEO TUTORIAL


PIN THIS
SUPPLY LIST

Read More

Smile! New Release from Pretty Pink Posh!

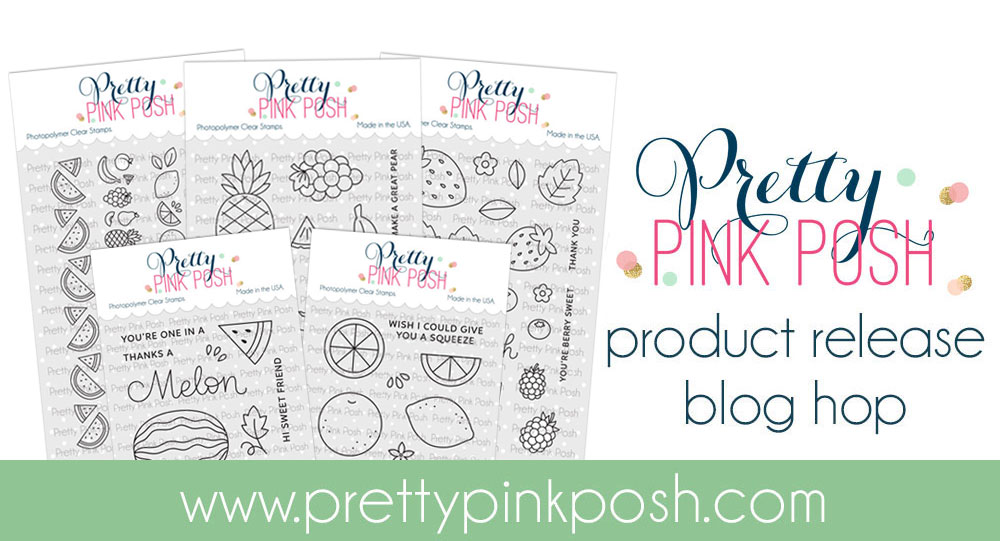
I am so excited to be celebrating the new Pretty Pink Posh release today! All of the new fruit products are just so fun (I love food themed stamps) and a really fun way to start the Summer season. I hope you caught my sneak peak over on the Pretty Pink Posh blog last week, too.

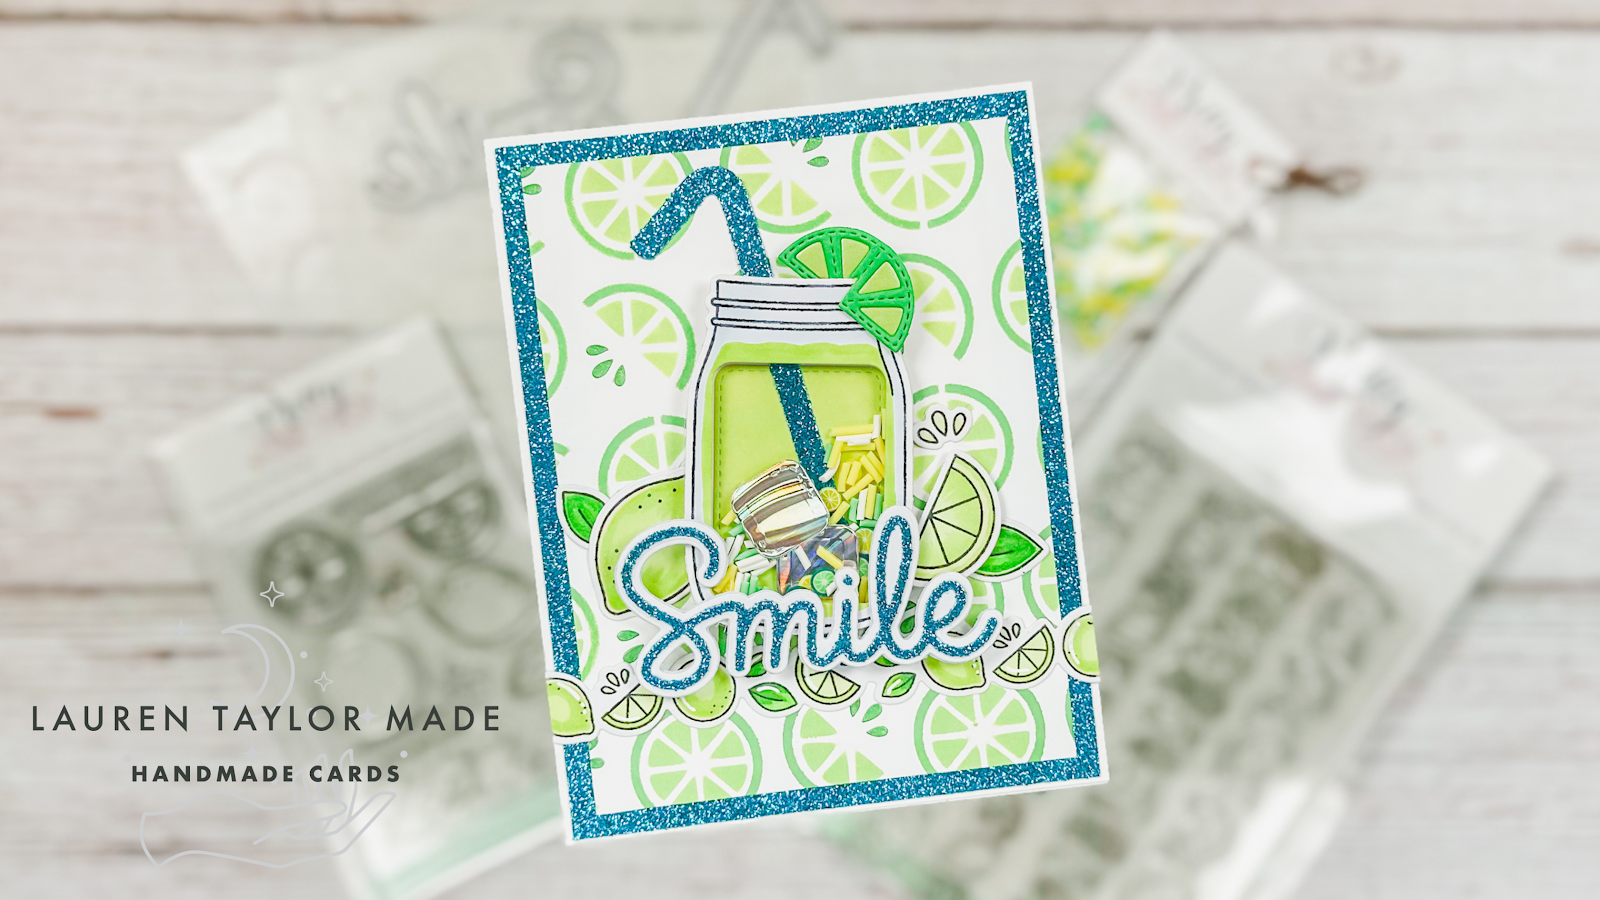
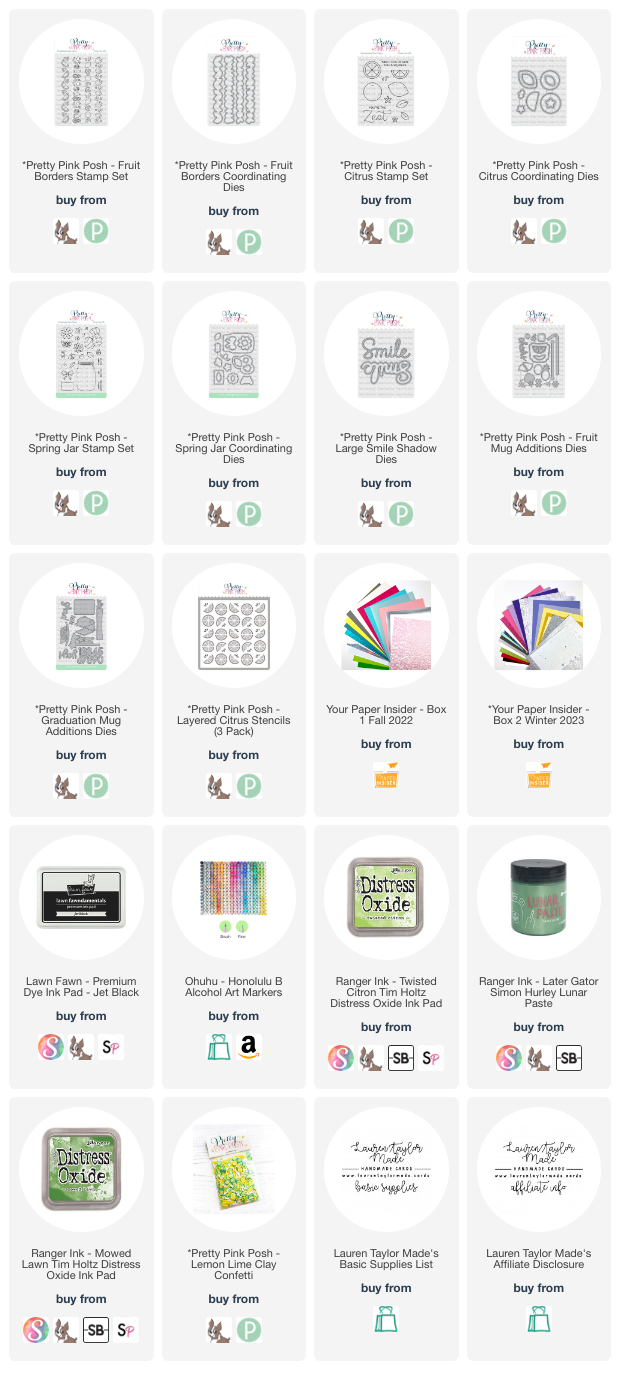
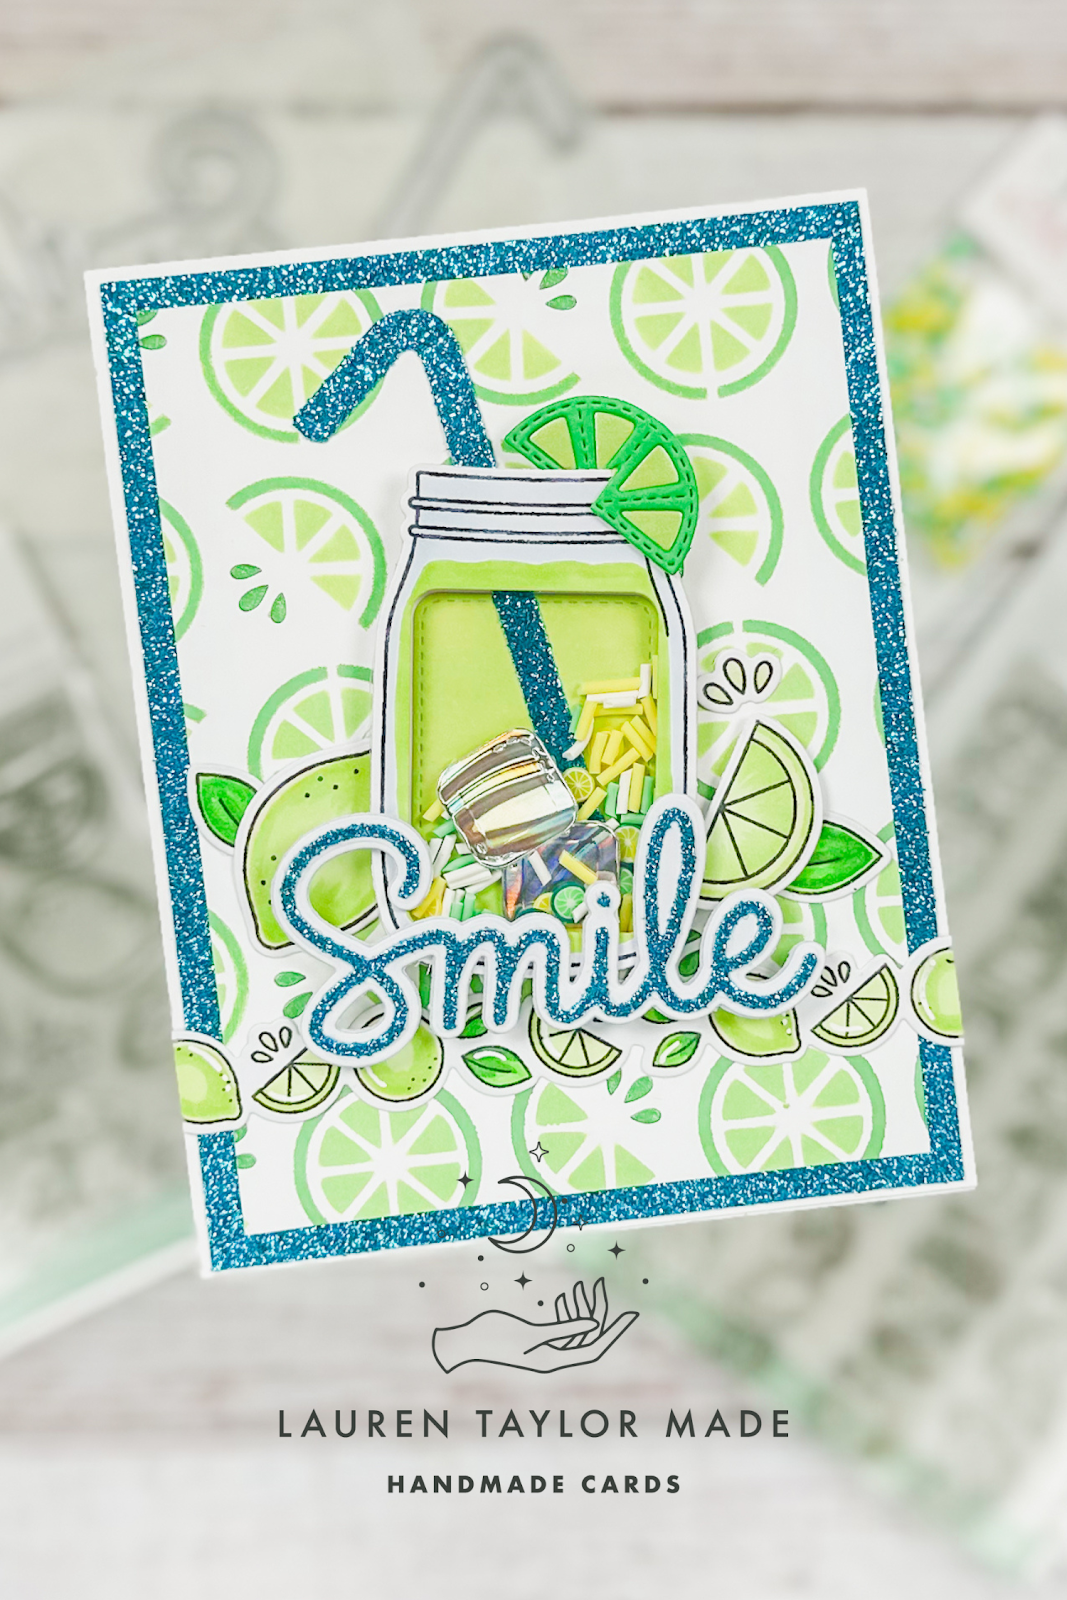
My video today is sharing how I made my margarita shaker card! Or maybe limeade if tequila isn't your thing. 😉 You can see all of the details in today's video, but I started with stenciling the new Citrus Layering Stencils with Distress Oxides and Lunar Paste on white cardstock. Next I worked through the steps of assembling my Spring Jar repurposed as a mason jar for drinks on a summer day!

My drink also includes a bendy straw, lime and two holographic ice cubes that are used as shaker bits inside with the new Lemon Lime Clay Confetti mix. My sentiment is also from a new die set - Large Smile and it even has a matching Hot Foil Plate to add to your collection. I think this card is going to be a fun one to send to a girlfriend to just say hello... Or maybe invite them out for a girls night!

Make sure to check out the rest of the Product Release Blog Hop for more inspiration using the new products from Pretty Pink Posh! There are three (3) $30 gift certificates up for grabs (one winner each day). Winners will be picked randomly along the blog hop. Comments must be left by 11:59 PM PST on 6/14/2023. Winners will be announced on the PPP blog!

BLOG HOP DAY 3 LINEUP

Pretty Pink Posh Blog

Raquel Arribas

Wanda Guess

Lindsey Larsen

Marine Simon

Jeanne Jachna

Lauren Taylor (here now!)

Zsofia Molnar

VIDEO TUTORIAL


PIN THIS
SUPPLY LIST

Read More