Bee-utiful Day Floral Card with Spellbinders Clubs from January 2024

Monday, January 22, 2024

My Spellbinders Club subscriptions were delivered and I was so excited to play with them for today's card! I am so excited to have a coordinating Glimmer Hot Foil Plate and Stencil to create a beautiful flower background for my bees. Creating the background was so quick and easy because the outline is done with hot foil and lining up the stencils to color was so easy and fun.

In today's video, I'm going to show you how I used the Embossing Folder, Glimmer Hot Foil, Stencil and Clear Stamp & Die of the Month Clubs to make this card. Now, I'm still debating if I like the two rounded edges at the top of the card... Let me know what you think. Should I have rounded all of the corners? Or just left them alone? Or maybe you like having just two corners rounded? Let me know your thoughts!

VIDEO TUTORIAL


PIN THIS
SUPPLY LIST

Read More

Thanks A Watt Set of Cards with Trinity Stamps

Sunday, January 21, 2024

I am back with a new video featuring my latest Design Team projects for Trinity Stamps! This will be my last longer video - I'll be transitioning to doing more Shorts for them instead. Which is one of my favorite ways to share how I make cards! Of course you'll still see Trinity Stamps project on my blog/channel, but let me know if there's a product you would like to see in a future Short in the comments.

My video has three cards with the same die set - Thanks A Watt. I started in my video with a light up card! I am using a Halo Light from Pear Blossom Press to make a thank you card with some bold colors. I like how it looks like my bulb lights up under the vellum and the cute font from the sentiment. My second card is a shaker card with cool colors. I used it with stamp sets to make my sentiment, but my favorite part is definitely the heart in my bulb!

The last card is using the dies to add a pretty element to a card - it's not interactive. But I did make my own stenciled background and I love the color combination to make an elegant anniversary card! Let me know in the comments which one is your favorite. I think mine is the shaker card - I love the heart and the color combination I used to make it!

VIDEO TUTORIAL


PIN THIS
SUPPLY LIST

Read More

Make A Splash - Oh So Inspired Collaboration Card!

Saturday, January 20, 2024

Being on design teams means I'm using a lot of certain brands and almost always, what is new. Which means a lot of my stash that I buy because I like them and think they're so cute can be a bit neglected. When I was asked to join the Oh So Inspired Collaboration Team, I was so excited! I love the idea of creating a project inspired by a fellow crafter, but also a great way to use products in my stash that need some love and affection.

For this month, we were inspired by a card with hexagons and fishtails by Fiona from Oakfield Crafts (blog, Instagram). I used the hexagons to add my cute sea critters to my card and a banner with a fishtail cut for my sentiment. You can see my video down below for my process but also make sure to watch over on YouTube so you can get the details of today's hop!

VIDEO TUTORIAL


PIN THIS
SUPPLY LIST

Read More

New Release from Simon Hurley - Big Batch of Cards!

Friday, January 19, 2024

Simon Hurley released an amazing new collection today! Partnering with Ranger Ink, there are two new Lunar Pastes, Stencils, Background Rubber Stamps and Clear Stamp Sets with coordinating dies partnering with Spellbinders. I was so wonderfully gifted a few of the new products and I had such an easy time making cards because the images and stencils were so darn cute! I ended up making four cards with thew new products and I hope you like them - but let me know which one is your favorite.

When I saw the adorable Panda in the Big Hugs stamp set, I knew I had to use it. Just look at how darn cute he is!! I stamped him in black ink and embossed him with holographic embossing powder. I colored him in with alcohol markers and used the coordinating die to cut him out. There are also a few hearts stamped in pink ink also cut out with their dies. I stenciled the background with pink ink and the new Love Struck Lunar Paste with the Happy Hearts layering stencil set. The sentiment is from Big Hugs as well and I used the banner die from Easter Bunnies set to cut it out.

Hopping into the Easter cards (pun intended), I stamped all of these adorable Easter Bunnies in a brown ink and colored them in with alcohol markers. The coordinating die sets just make cutting out the images so perfectly! My sentiments are all stamped in brown ink on different cardstock to match the themes of the cards. After coloring, I worked on all the different backgrounds with the new stencils and I just love the different looks you can get with these new layering sets!

For the Polka Dot stencils, I used green, blue and yellow inks with the new Breakup Blue Lunar Paste. I actually flipped the stencils to get a more filled in look with the stencil set! I used the same Lunar Paste along with pink and yellow inks for the In Bloom layering stencils. I really wanted to have soft colors for my Easter Bunnies and the final card really embraces the pastel look! I added blue, green, yellow and blue inks to stamp the Bitty Botanicals background stamp and I just love how soft the floral design looks.

I'm so in love with this new collection and I want to make all the Big Hug Panda cards, but you should see the other adorable animals! There is a cute pug and cat, too! Let me know which card is your favorite from this set and what new product you're most excited for in the comments.

PIN THIS
SUPPLY LIST

Read More

Birthday Celebration Card with Scrapbook.com for the 100th Livestream!

Thursday, January 18, 2024

It's the 100th Livestream at Scrapbook.com and it's an amazing Birthday Celebration Bundle! I'm so excited for everyone to get their hands on the new A2 paper pads - Birthday Patterned Collection and Sprinkles Smooth Cardstock. I'm using some new dies with my card along with the Happy Birthday Stamp Set that is perfect for all those birthday cards!

I started with die cutting my patterned paper and pink cardstock with the (coming soon) Thick and Thin Stripes A2 Panel Die. I adhered the thick strips of the patterned paper with the thin strips of pink to an A2 card base. Next I stamped my Happy Birthday sentiment in blue link and did lots of die cutting. I die cut three balloons from light pink cardstock and the strings from the same pink cardstock as the background. The Happy sentiment was cut six times from yellow cardstock and I doubled up the Happy's to add more stability.

Using pink and yellow inks, I added a little bit of ink to the hearts and sentiment die cuts, respectively. I also used coordinating Glitter Brush Markers to give them some shine. The heart balloons were adhered to the card with liquid adhesive and I used my foam strips to attach the Happy die cuts to the card. For some final touches, I added White Gloss Pops of Color around the card. I hope you love this bundle as much as I do and get to shopping before it sells out!

PIN THIS
SUPPLY LIST

Read More

Love You Chatty Shaker Card with This Calls for Confetti

Wednesday, January 17, 2024

I'm so excited to share that I am on the This Calls for Confetti team and to share some of their amazing mixes and confetti with you! My first project is using quite a few new products and I hope you're as excited for their latest LOVE release as I am. For this interactive card, I'm using the Chatty A2 Cover Plate Die, LOVE 6x6 Paper Pad, LOVE Polymer Clay Mix and three Opaque Iridescent Mixes in Blush, Pink and Scarlet.

My video down below shows how I added ink to cardstock, made individual shaker windows with the Chatty A2 Cover Plate Die and assembled my shaker card. Let me know if you've heard of This Calls for Confetti before and what items are on your wish list! You can click any of the pictures of their products below to take you over to their shop.

VIDEO TUTORIAL


PIN THIS
SUPPLY LIST

Read More

You Are Awesome Winter Bear Card with Scrapbook.com

Monday, January 15, 2024

We're having some crafty fun today as I wanted to make my Craft Roulette project today! My Galentine's Crop was on Saturday and I was so exhausted as I'm an introvert and I wanted to be social... I literally slept all day Sunday and then had to spend today getting everything put away (plus I still had to put away Girl Scouts stuff from this week)! So I'm behind on my project deadlines (yikes!) but I decided to just have some fun and make Craft Roulette project instead... I'll get back to it tomorrow! (Tomorrow Lauren is going to be upset with today Lauren...)

You can watch most of my card process in my YouTube Short below, but I did all my stamping, coloring and die cutting before filming. I colored my images with Scrapbook.com Glitter Brush Markers! I made a card with two tags, my adorable bear has claws with sharp nails, I used happy pastel colors with the new Scorched Timber Distress ink, and when I colored my images I made sure to color a little outside the lines. I hope you enjoy the short video and now I'm off to get ready for bed!
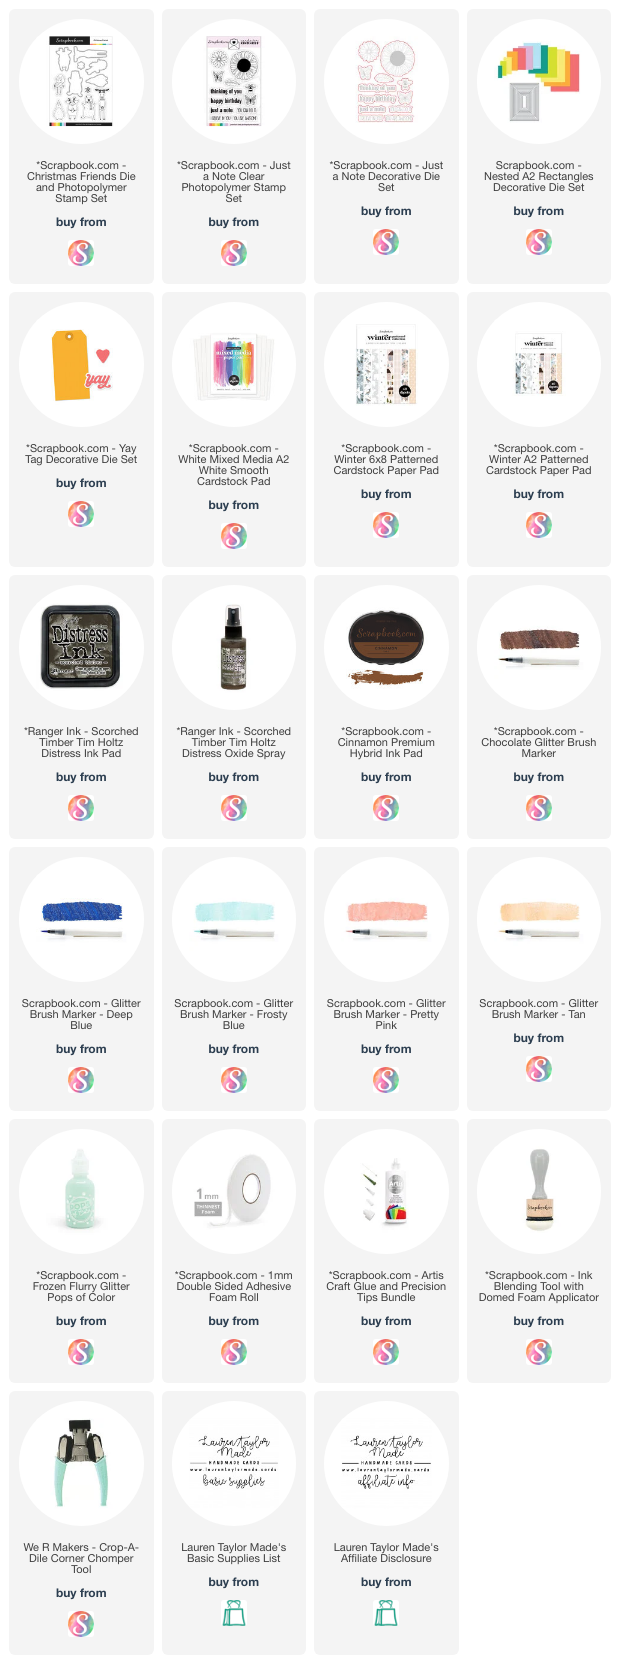
VIDEO TUTORIAL


PIN THIS
SUPPLY LIST

Read More