Professor Sprout and Mandrakes Card with The Sassy Club

Saturday, November 19, 2022

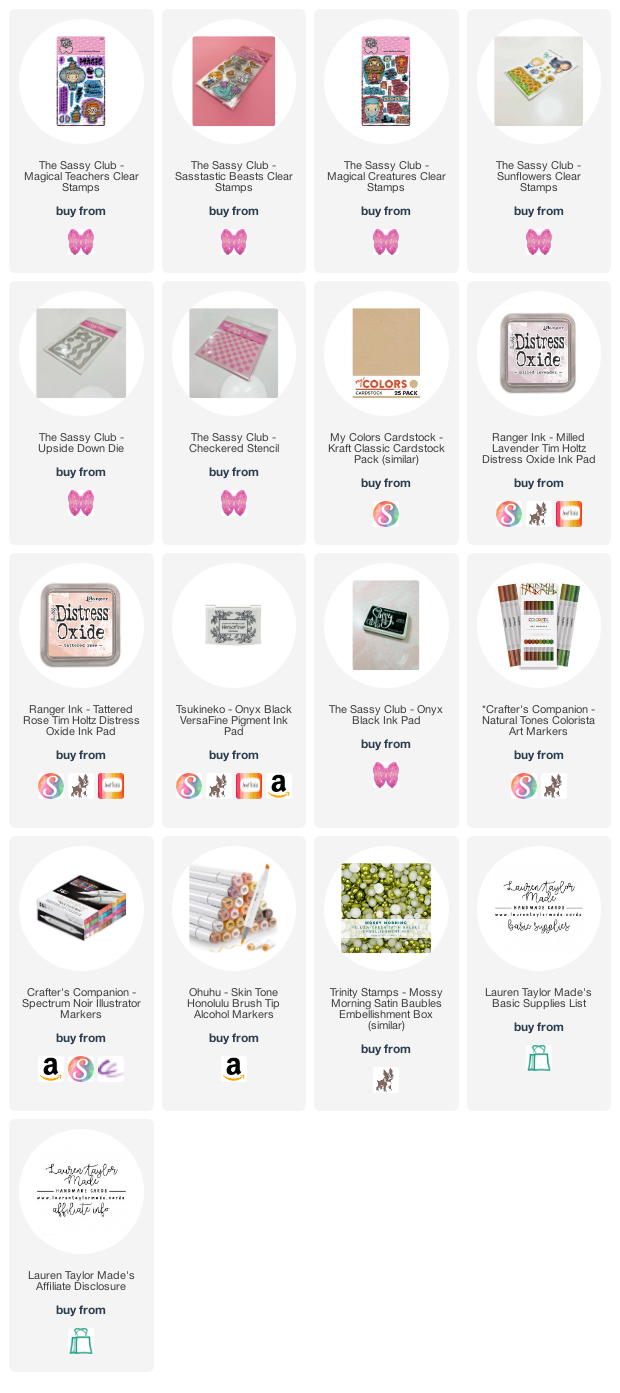
The Craft Roulette wheel was my bestie this week! I will say I used one parameter a little leniently... But here's what the wheel gave us this week: birthday card; 3 bright and cheery colors; pot(s), pan(s) or bowl(s); and block(s). When I was watching the live, I was feeling thrown off by the pot/pan/bowl parameter. But I went searching through my Sassy Club, found my Magical Teachers stamp set with potted mandrakes and I knew I could make my card with this set!

I started with making my block background with the Checkered Stencil and purple and pink Distress Oxides. I die cut my border out of kraft cardstock and layered different vines together to give it a Herbology Class vibe. I stamped my sentiment where I knew it would fit in the border and above Professor Sprout. Then I tucked in all my stamped images with a mix of foam and wet adhesives.

I colored in my images with a mix of Ohuhu, Spectrum Noir and Colorisita markers. Once they were colored, I added some white gel pen and fussy cut them all out. I added a few final touches of these olive green pearls scattered around the vine border so there would be something with shine - there has to be a little of something shiny on my cards, of course!

This card turned out so sweet and I'm so happy with how this card turned out. I had a lot of fun coloring and figuring out how I wanted the border! It's going to be hard to ever part with this card. How do you think I did with the parameters this week?

PIN THIS
SUPPLY LIST

Read More

Rainbow Arch Shaped Card with Scrapbook.com

Friday, November 18, 2022

I get excited when I get a new Creative Team package from Scrapbook.com and this latest box was filled SO MANY amazing products. Some of them are still very new and not yet available to purchase, but don't you worry... They'll be up soon and you can sign up to be notified when you can get the products yourself.

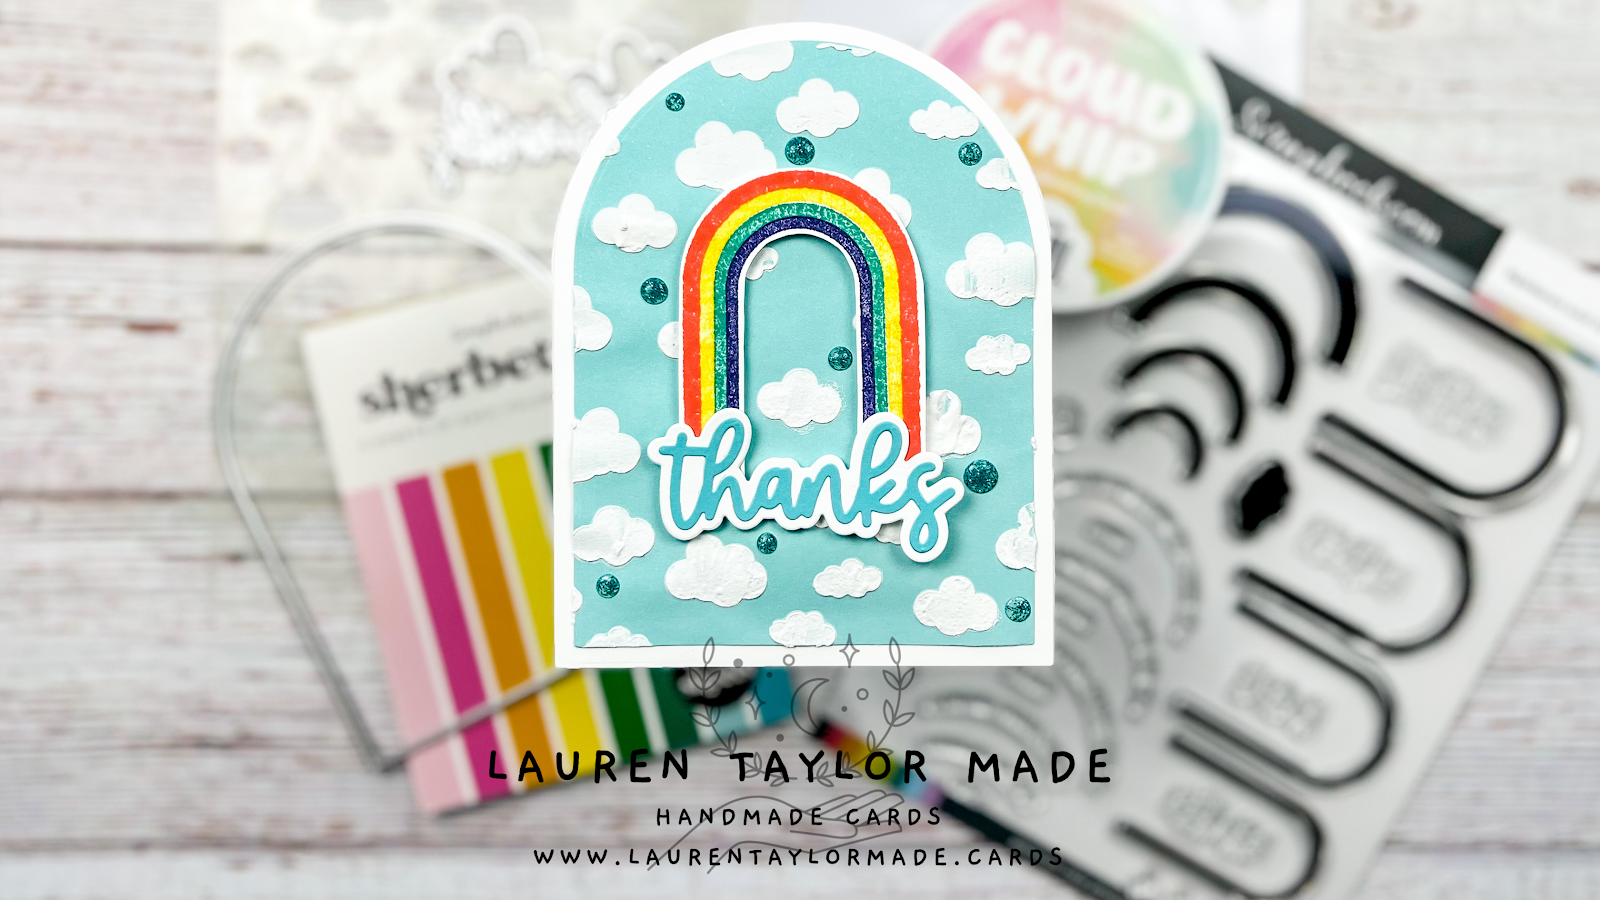
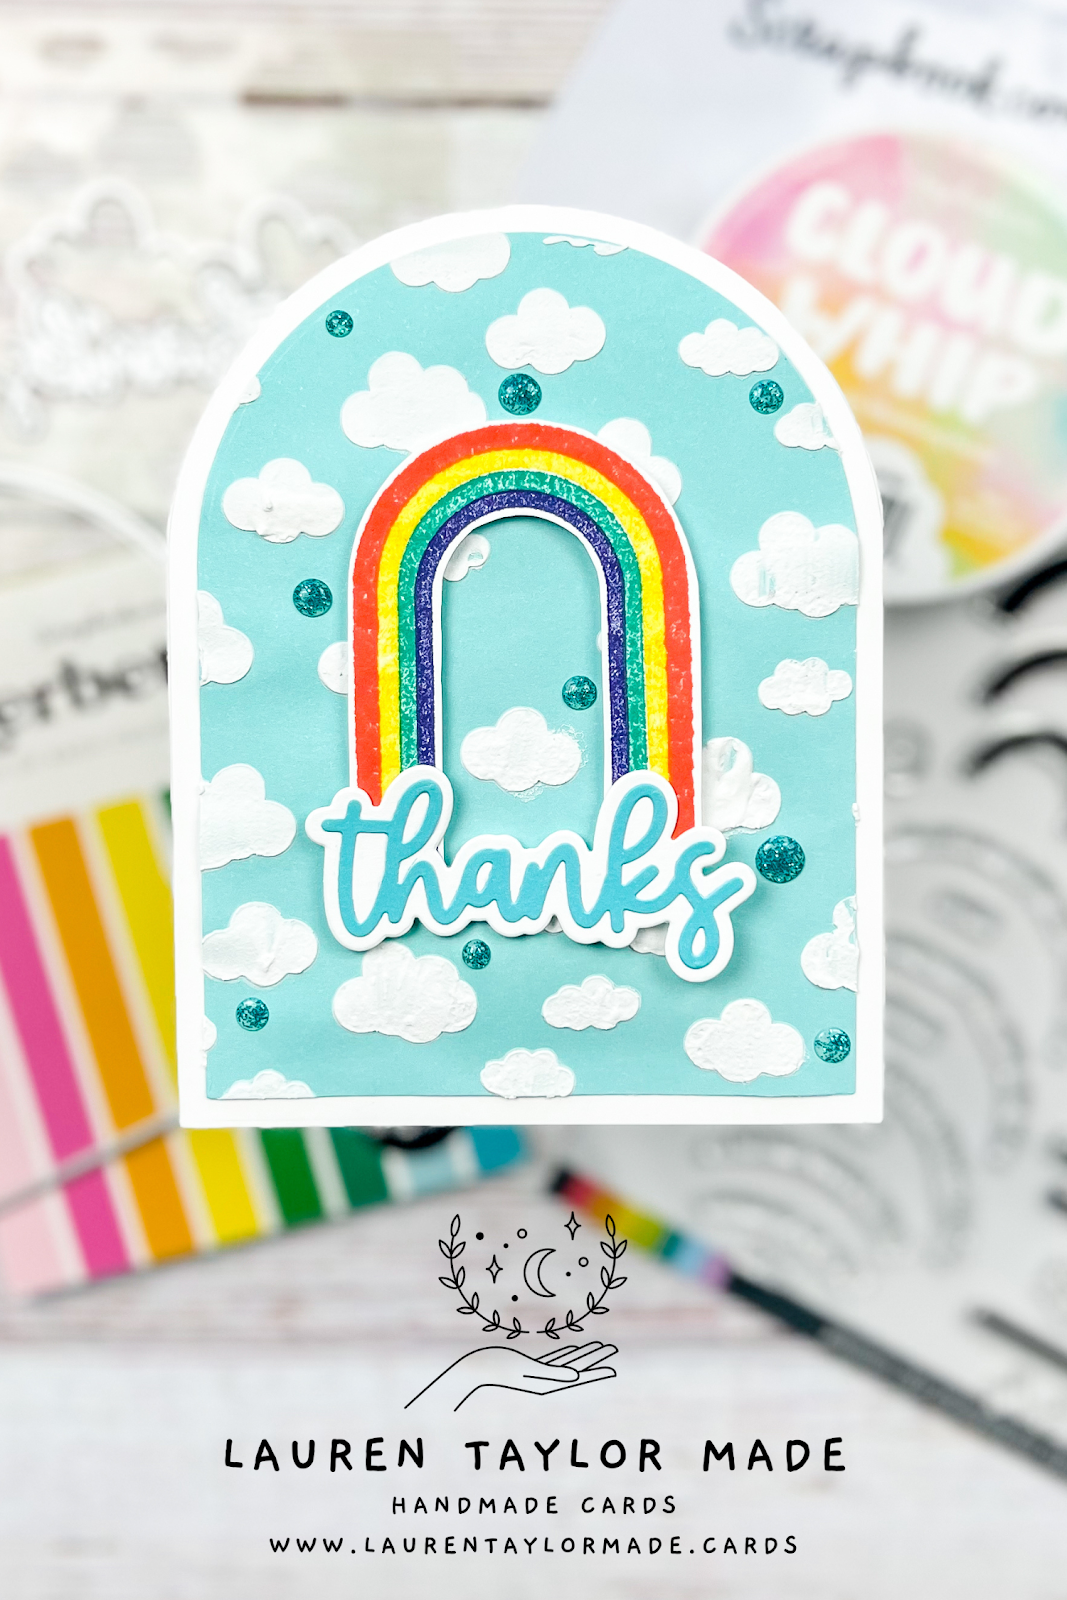
One of the new die sets is a Nested A2 Arches and I thought it would be fun to make a shaped card! I created the base using the largest arch and the Little Clouds Stencil and new Cloud Whip to make a vibrant, cloudy background.

The rainbow was stamped and fussy cut out and I used my "thanks" sentiment to cover the ends of the rainbow as I didn't get them quite lined up perfectly (which is fine, but it helps when it's covered). Of course, gotta add some shine so I used some Glitter Pops of Color as a finishing touch.

You can see how the card comes together down below (or a slowed down version on TikTok). Do you like to make shaped cards, too?

VIDEO TUTORIAL


PIN THIS
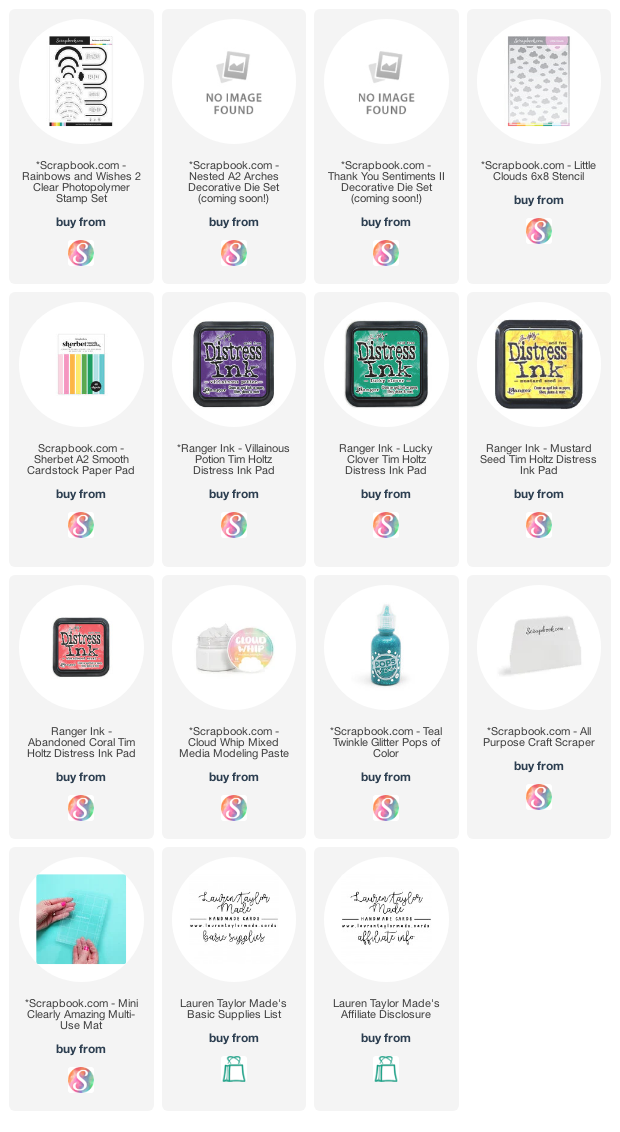
SUPPLY LIST

Read More

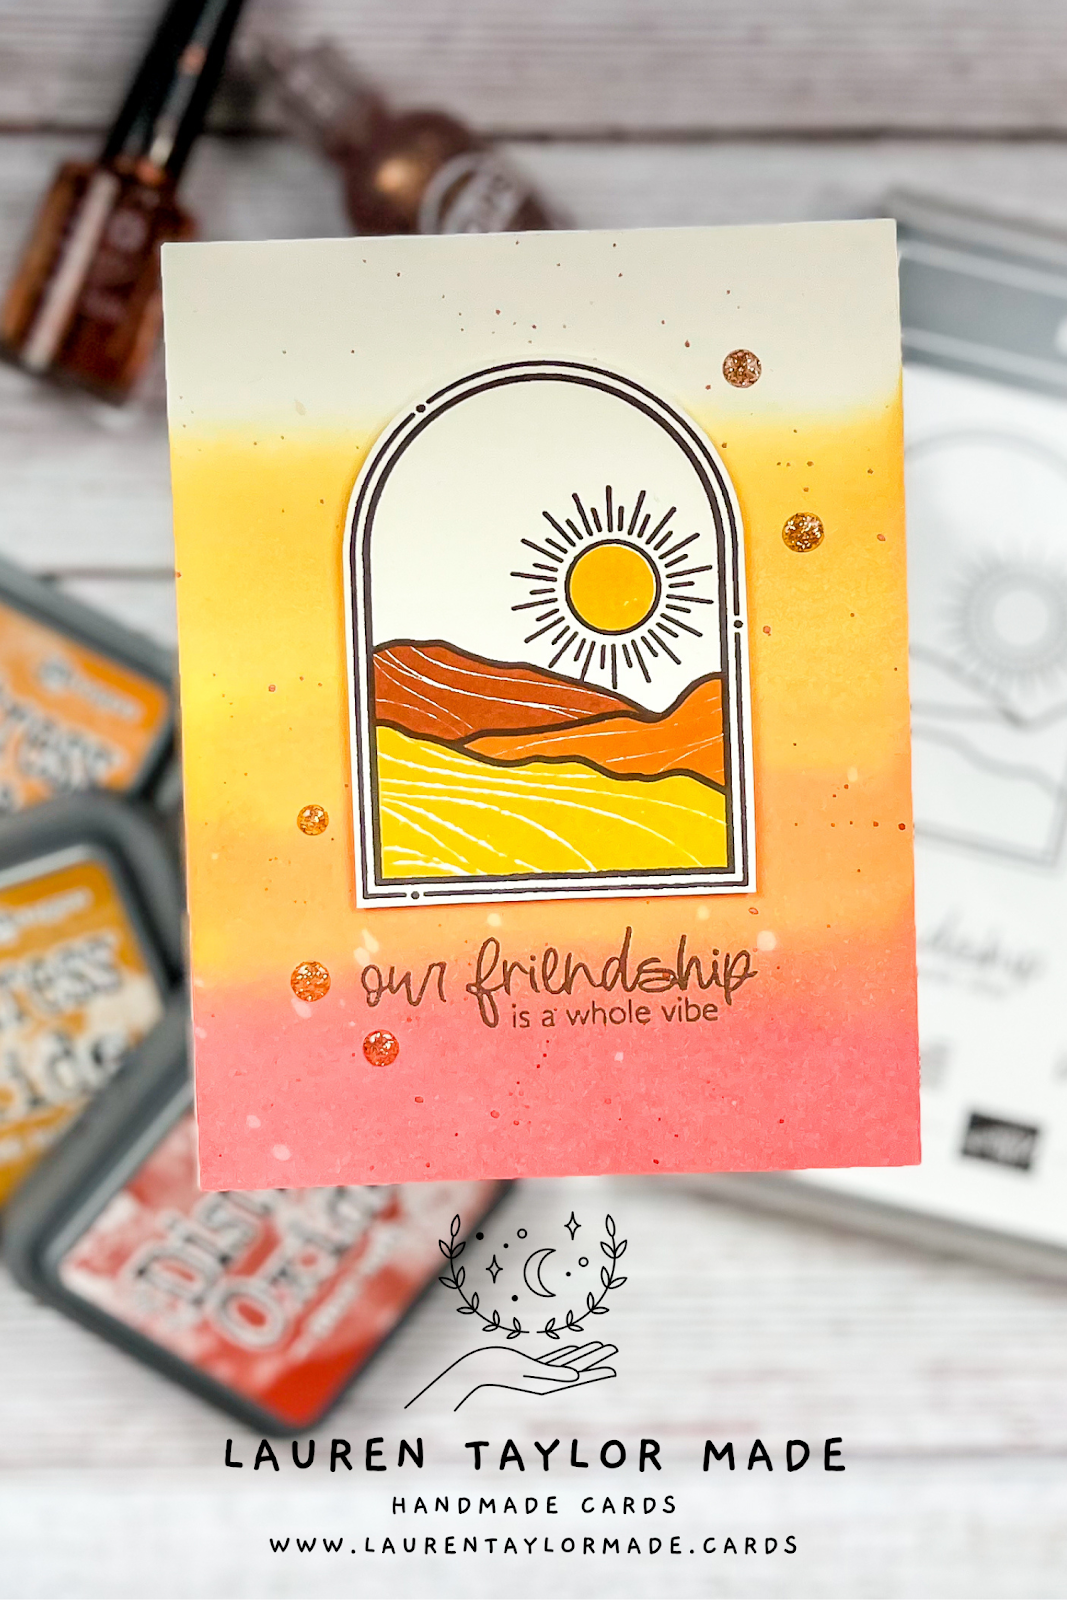
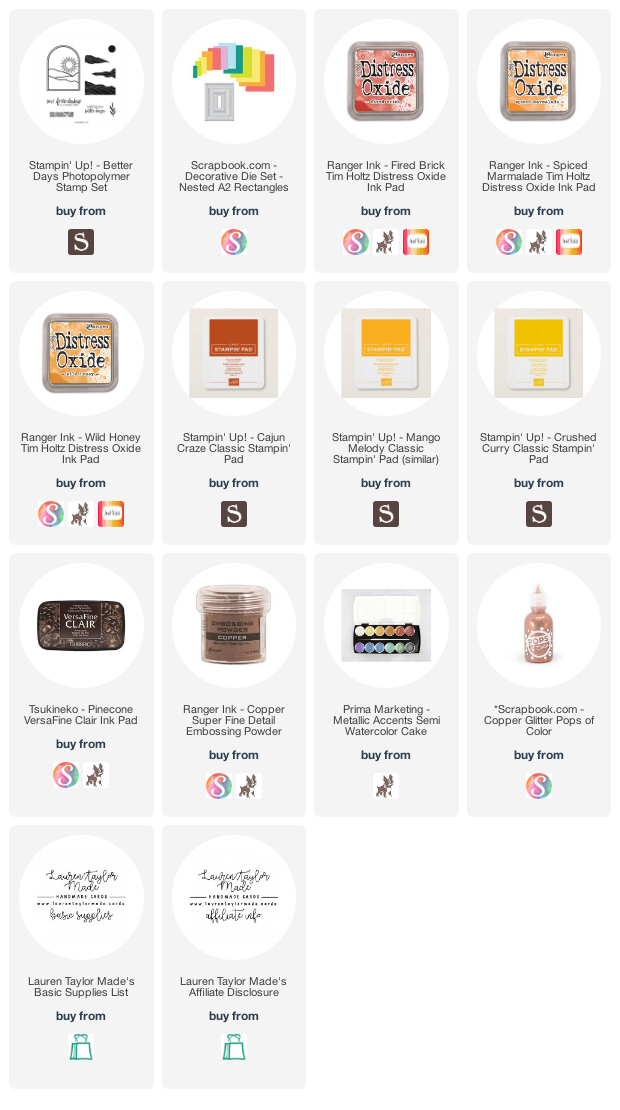
Friendship Vibe with Stampin' Up!

Wednesday, November 16, 2022

After a weekend of travel and then two days of being sick in bed... I'm finally back in the craft room and of course I had to make my weekly Craft Roulette project! This week, the parameters were to have a window card; colors of red, yellow + 1; 3 circles; and November.

The parameter that threw me for a loop was November - what does that even mean? 😅 So I decided to use this stamp set from Stampin' Up! called Better Days and used colors that inspired me for the month of November here in the US. Maybe not so much in Southern California... but I've seen trees turn beautiful colors in November in Boston!

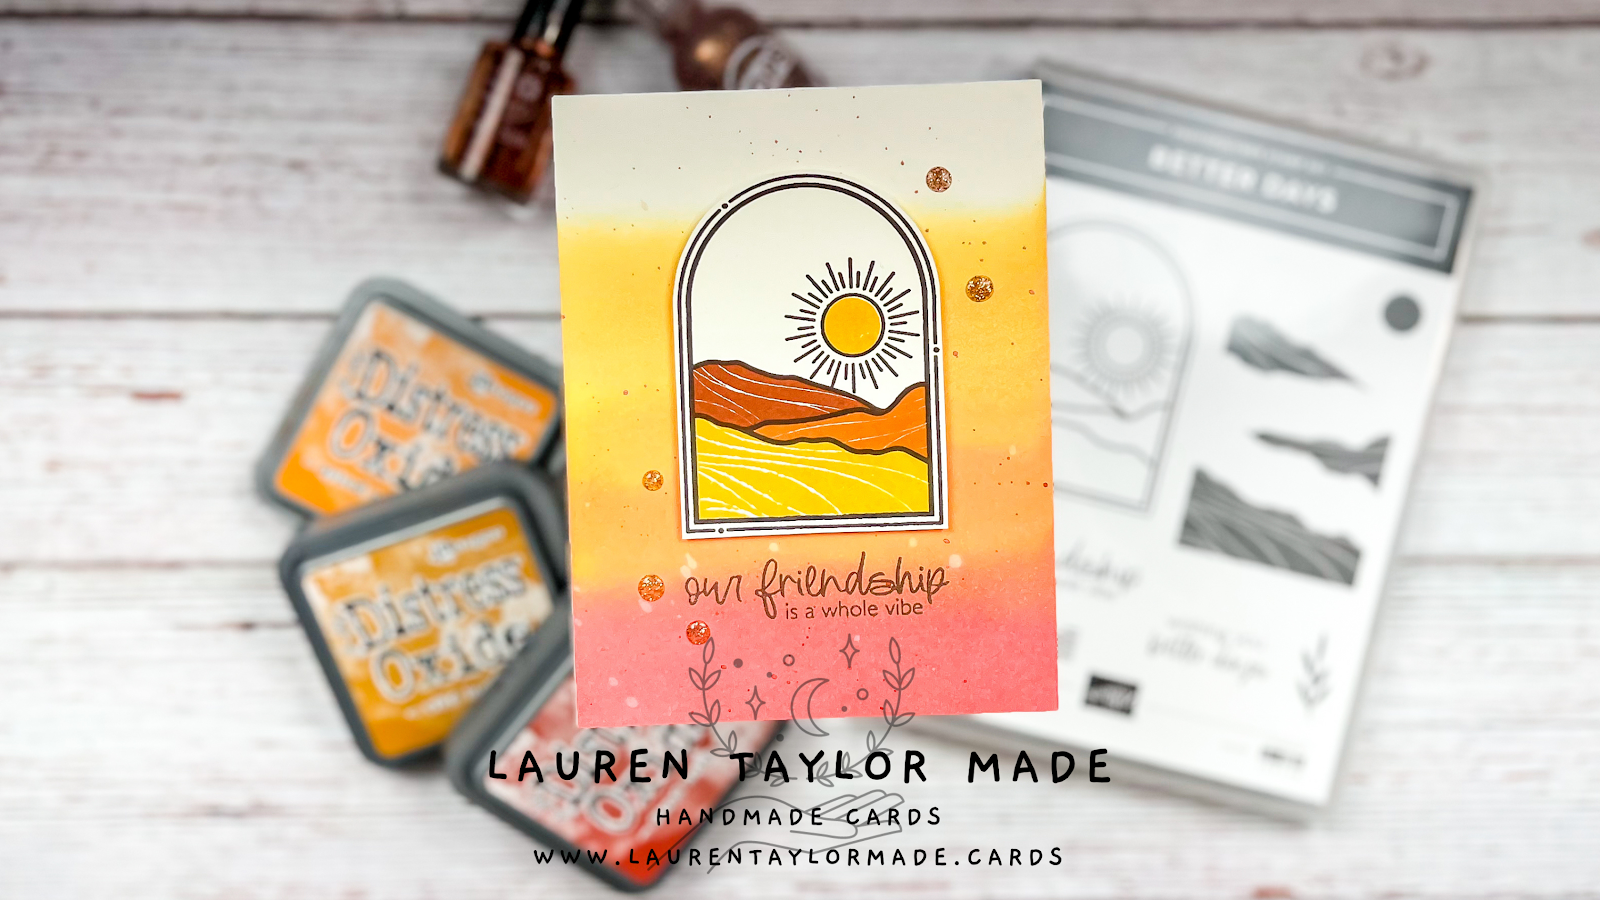
I started with stamping the outline of the image on some cream colored cardstock with brown ink. I stamped each part of the solid stamps with red, orange and yellow inks and then fussy cut around the image. On an A2 piece of the same colored cardstock, I stamped the sentiment and embossed it with copper. I used Distress Oxides to create the same color order in reverse and wiped the ink off gently over the sentiment. Next, I splattered some water and bronze metallic ink onto the background, popped up my window scene and added some glitter Pops of Color. 

So I have a window with the stamped image on the front of the card with colors of red, orange and yellow which are also the colors of November. I also have three circles the line design from the stamp around the window/image. How do you think I did? Did you also play along this week?
PIN THIS
SUPPLY LIST

Read More

Penguin Pals + Snowflake Shaker Card with Pretty Pink Posh

Sunday, November 13, 2022

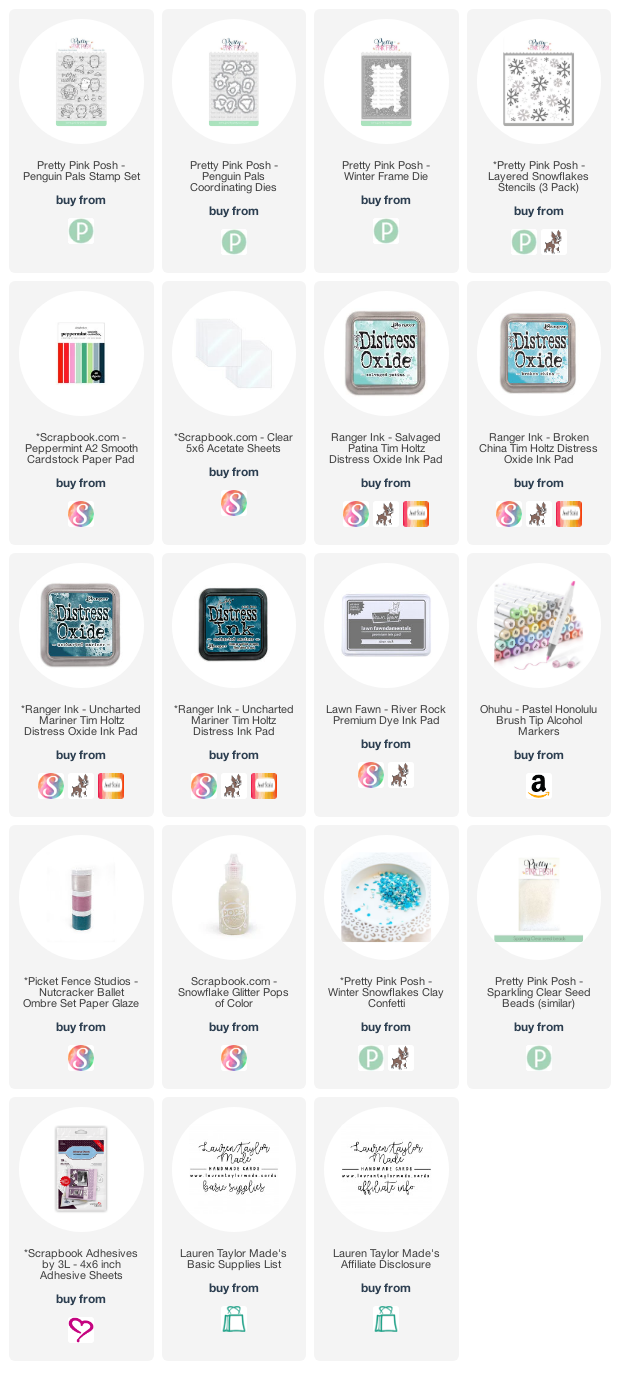
Have you seen the adorable Penguin Pals from Pretty Pink Posh? I think they are just SO CUTE! I love that you can add beanies to them and I did some masking for my sweet penguins in today's video. I am also mixing some older released products with the new Layered Snowflakes Stencils and the Winter Snowflakes Clay Confetti Mix.

Check out my video down below to see how I created my snowflake background, added color to a frame die cut, created the full panel shaker card and even a little bit of penguin coloring! What's even more on theme... as I am typing this, I can see some light snow fall as I'm in South Dakota and will be making my way into Iowa to visit my sister. A perfect compliment to this sweet card!

VIDEO TUTORIAL


PIN THIS
SUPPLY LIST

Read More

Peppermint Forest with Pretty Pink Posh

Saturday, November 12, 2022

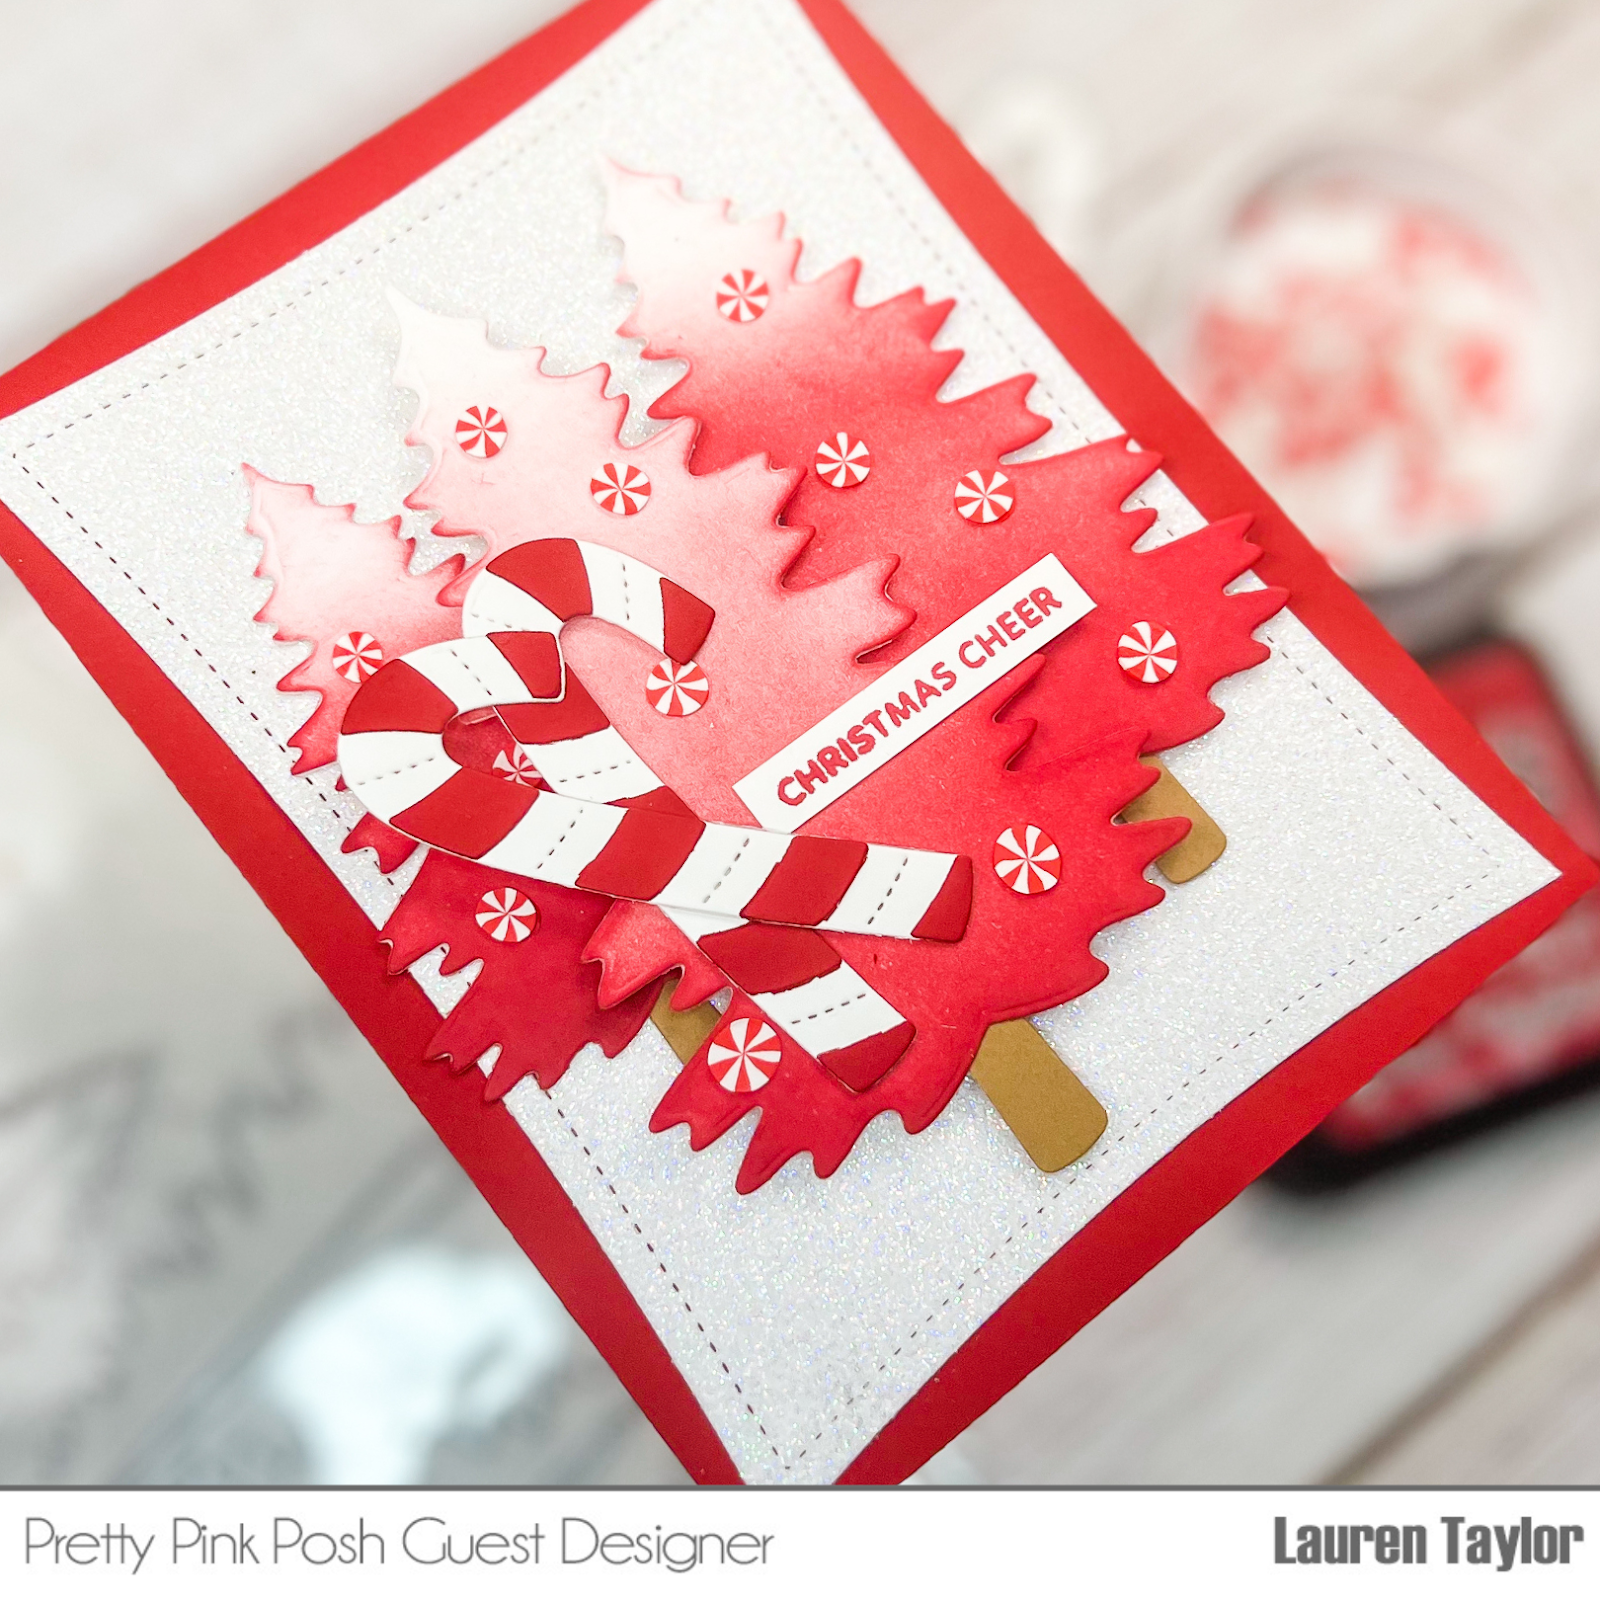
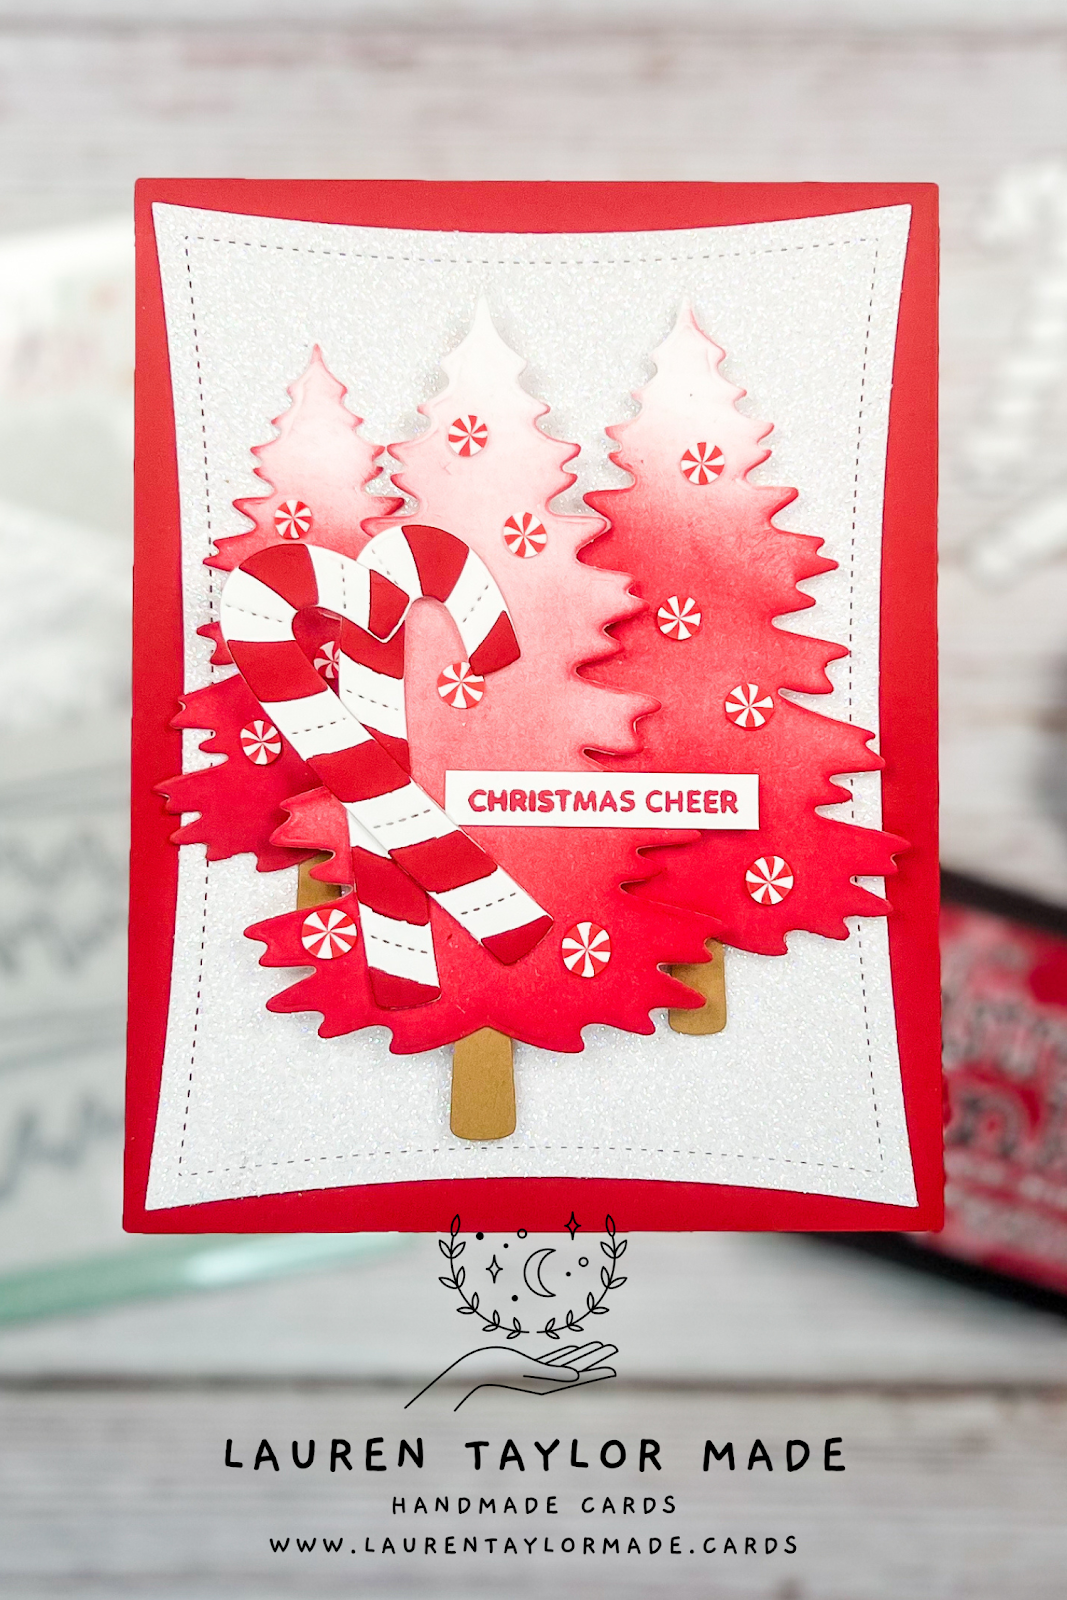
Peppermint trees! They remind me a bit of what you would find in Peppermint Forest from Candy Land and I'm here for it. I am not a very big mint person, but my Grandmom used to make homemade ice cream with crushed up candy canes and I just loved it!

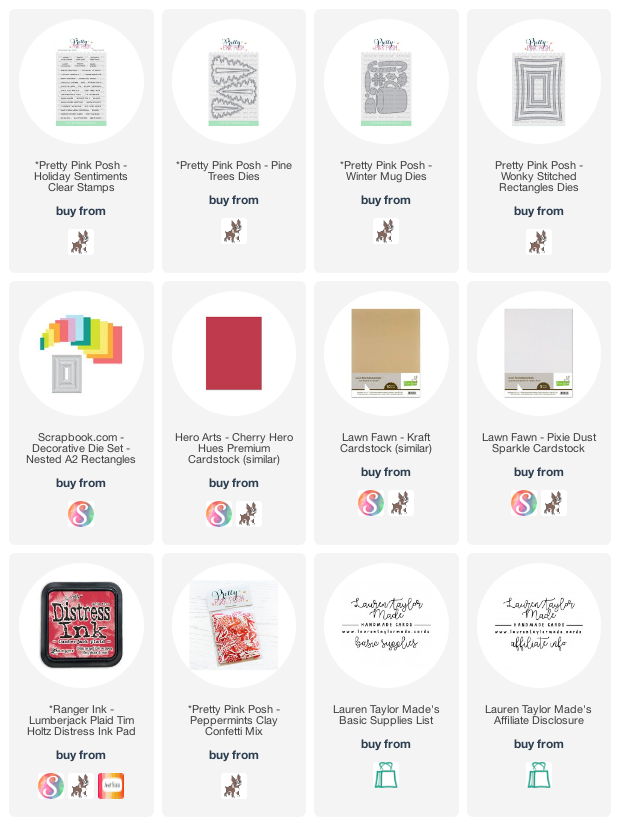
What I love about the Clay Confetti Mixes from Pretty Pink Posh is that they don't just have to be used for shaker cards; you can use them as embellishments, too. I die cut all three sizes of the trees from the Pine Trees dies and used Lumberjack Plaid Distress Ink to create an ombre look of color on the die cuts.

I added some tree trunks in Kraft and then layered them onto my background - the smallest is glued down to the background of red and sparkly white, the medium is popped up with one layer of foam adhesive (I used Therm O Web's big roll as it's a little thinner than traditional foam adhesive) and then the large is popped up with two layers of foam adhesive.

Finally, I added two candy canes from the Winter Mug die set and sprinkled peppermint candy's from the Peppermints Clay Confetti Mix. I stamped a sentiment and adhered it to th ecard as I really wanted those candy canes to be the focal point over the sentiment. I hope you enjoyed this card and let me know in the comments if you love candy canes and peppermints, too!

PIN THIS
SUPPLY LIST

Read More

Scrappy Tails + Pear Blossom Press Collaboration Hop!

Friday, November 11, 2022

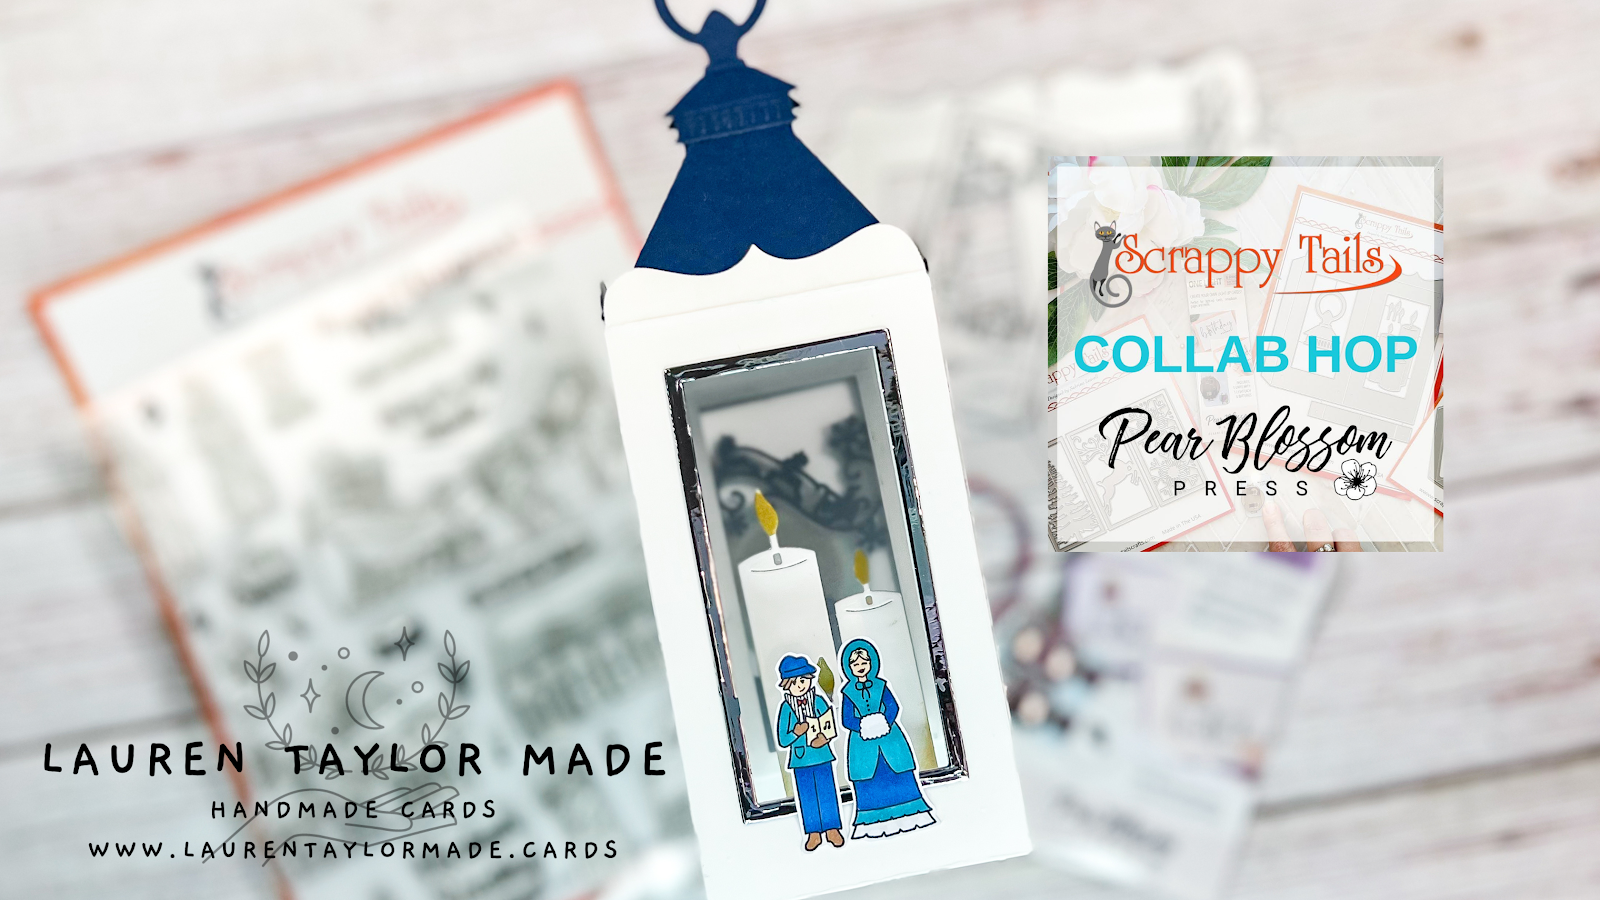
Welcome to the Collab Hop with Scrappy Tails Crafts and Pear Blossom Press! As you hop along with us, you’re going to see some of the prettiest light-up holiday cards, all featuring your favorite stamps and dies from Scrappy Tails Crafts, and lights from Pear Blossom Press. Get ready for lots of inspiration, and be sure to comment as you hop along, for your chance to win a $25 store credit!

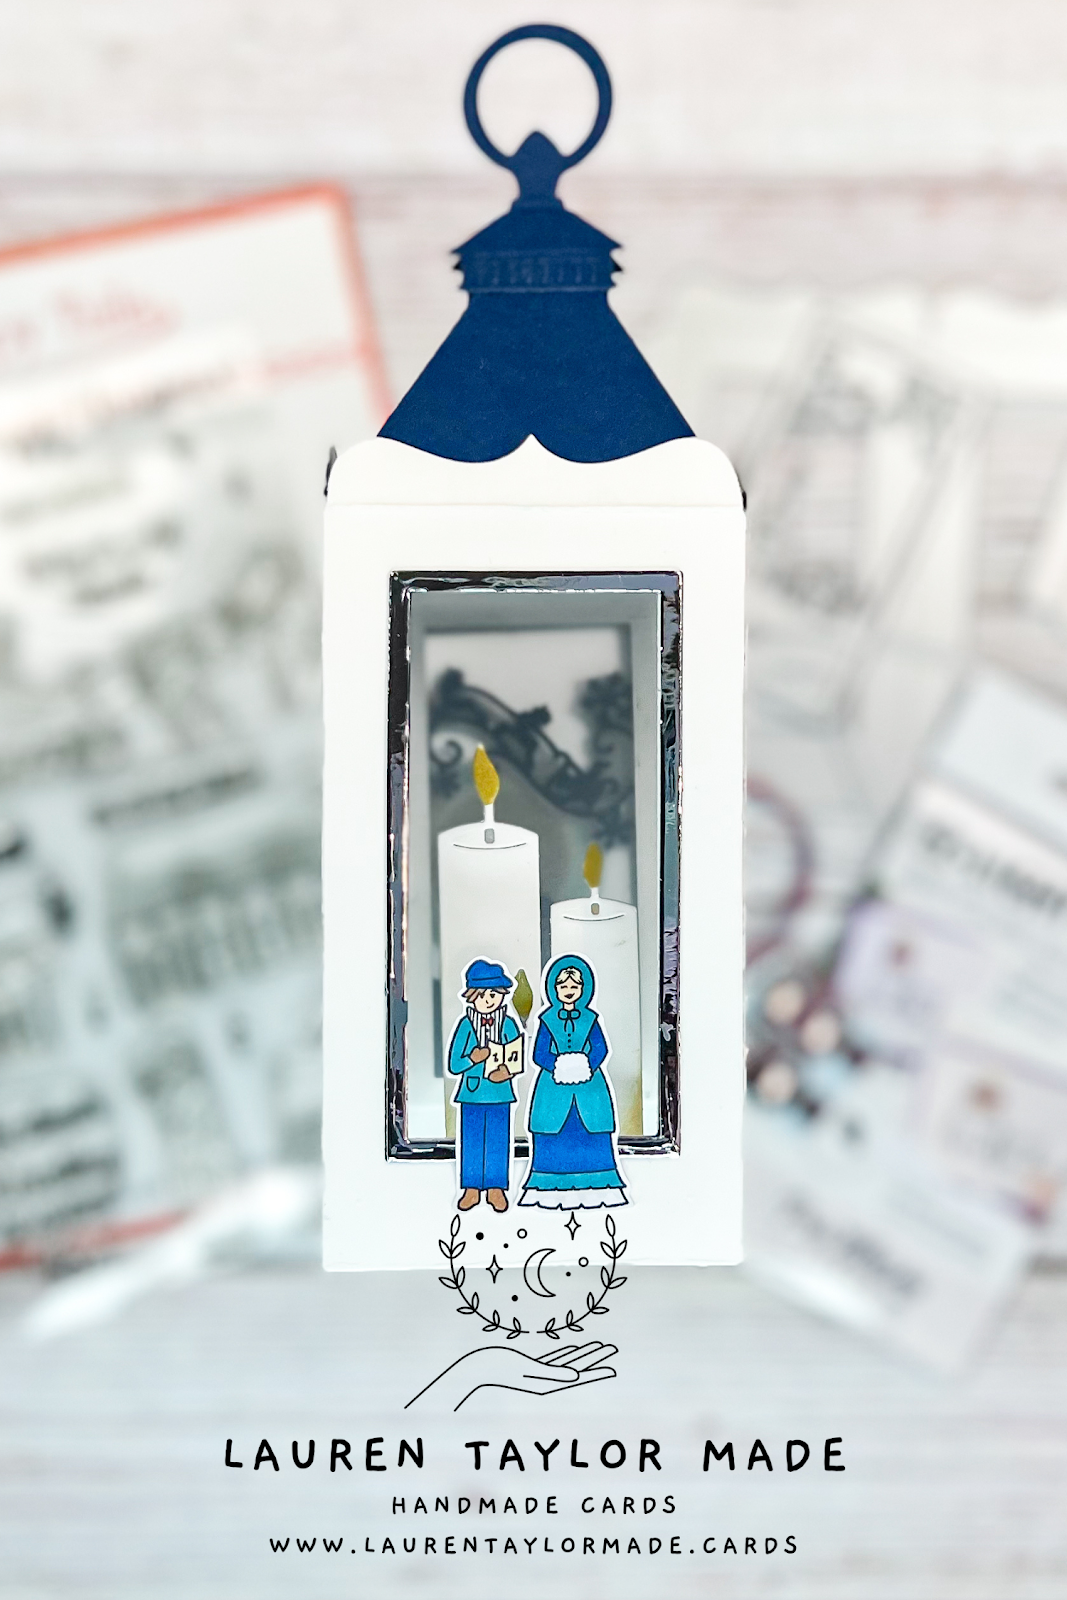
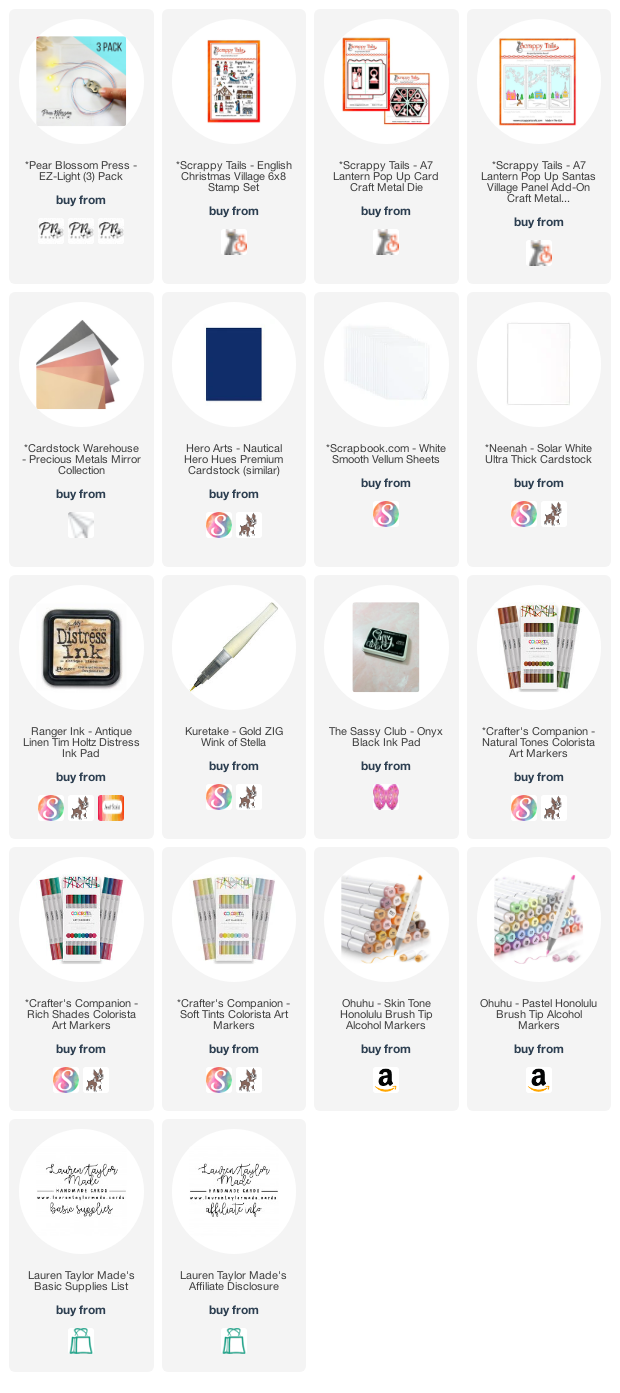
I created a light up lantern with an EZ Light (with 3 LEDs) in blue, silver and white - my favorite holiday colors. The details in the Santa's Village Panel Add-On are so beautiful and I love how they look cut out as blue and silver silhouettes on the sides of the lantern.

Make sure to check out my video down below where I show my process to create this light up lantern. I am excited to hop along as well as I am curious to see how others used the EZ Lights with the Lantern Pop Up Dies to see what tips and tricks I can learn!

Every good hop has prizes, right? So Scrappy Tails Crafts, and Pear Blossom Press are each giving away a $25 store credit! Comment on this post by November 18, 2022 to be entered to win. Winners will be posted on the Pear Blossom Press Blog on November 21st. Next on the hop is Desiree Kuemmerle!

Scrappy Tails Crafts

Cassie Trask

Bethany Grace

Daniel West

Estelle Palumbo

Lydia Fiedler

Brenda Noelke

Koren Wiskman

Kari VanNoy

Sharon Luska

Lauren Taylor [You are here!]

Desiree Kuemmerle [Go here next!]

Pear Blossom Press

VIDEO TUTORIAL


PIN THIS
SUPPLY LIST

Read More

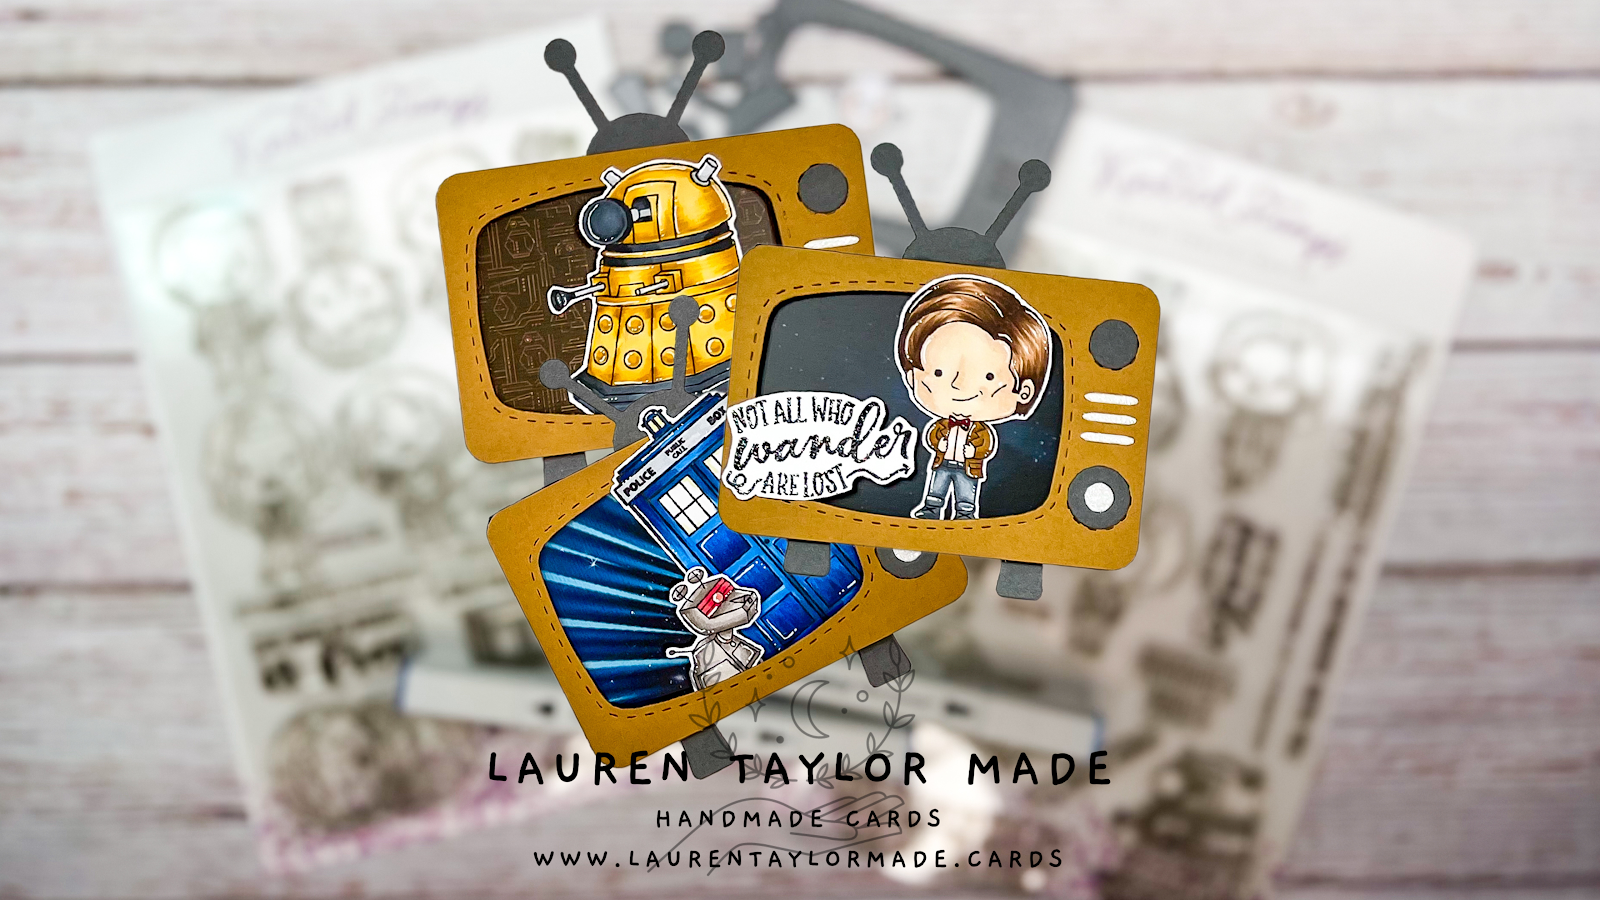
Time & Space Travel Abi Lunch Notes with Kindred Stamps

Thursday, November 10, 2022

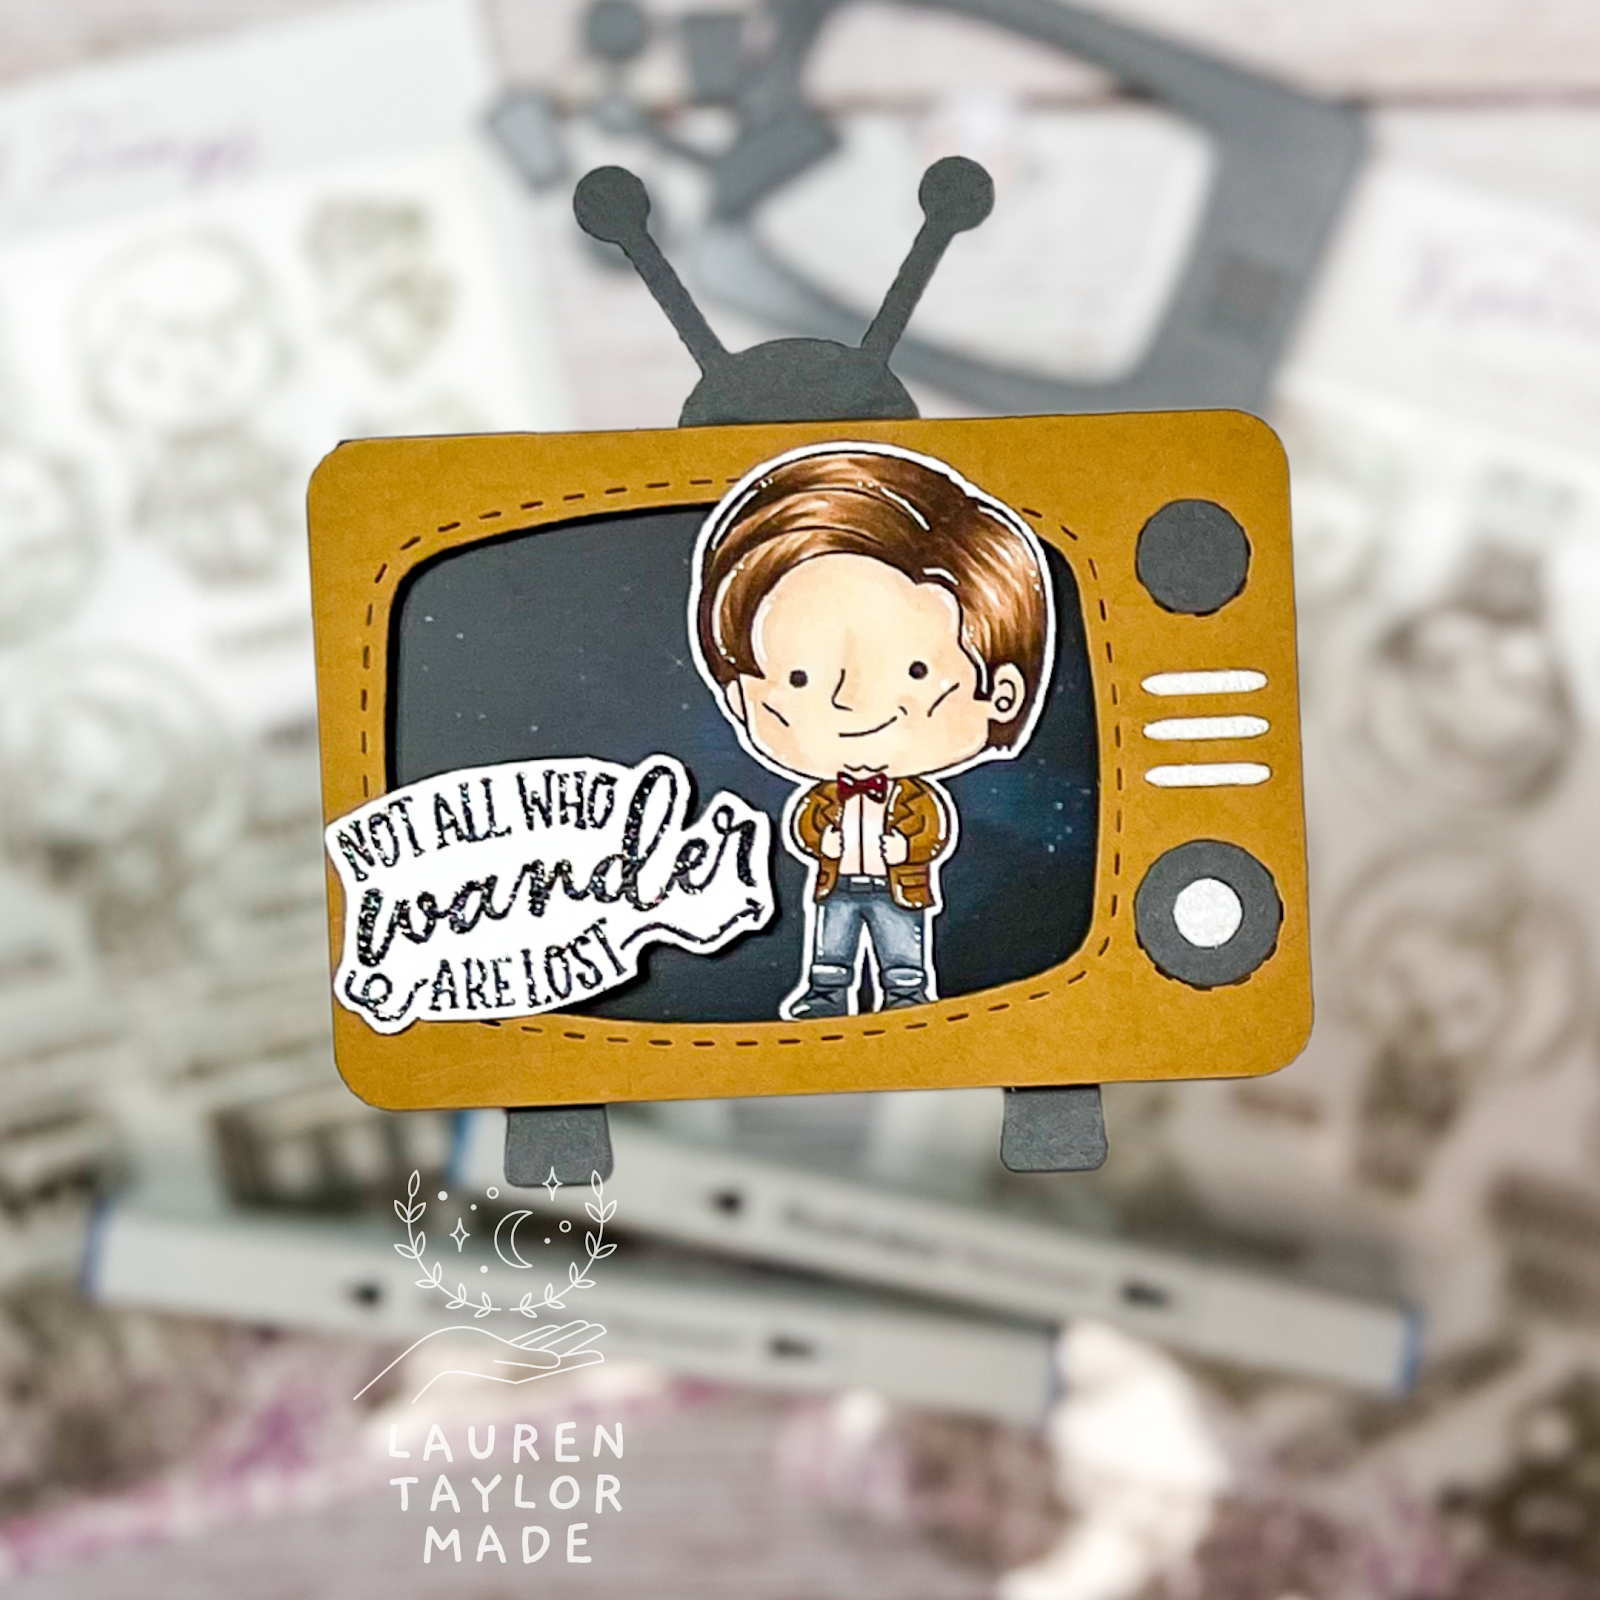
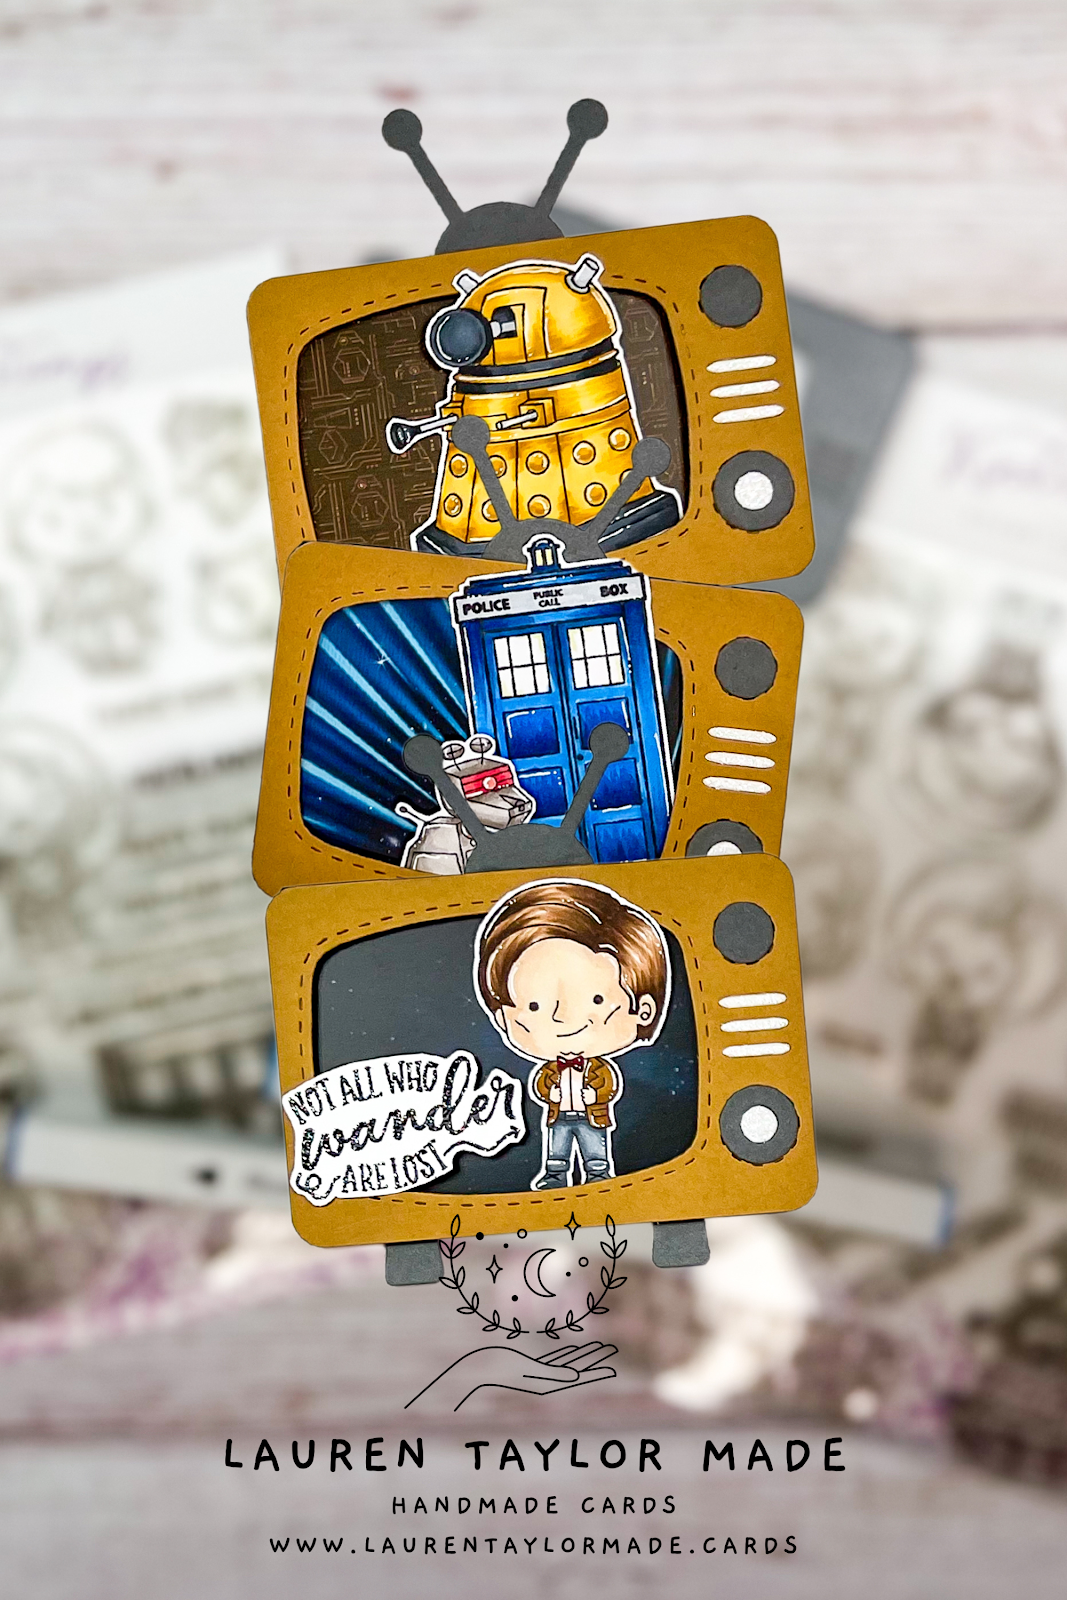
Having a little time and space travel fun with Kindred Stamps for Abi's Lunch Notes for November! She's currently obsessed with binging the newer seasons of this show and the 11th is her favorite character so I had some fun picking which characters would appear on the notes.

Since it's a tv show, I thought I'd have some fun with the TV Time die to make some shaped notes instead of a square note. One note already lost an antenna in her backpack, but that's okay! They're just for fun and I'm sure she was so excited and surprised when she saw the note inside.

They were relatively quick to make since they were all the same - just picked different characters and background papers to change up each note for the weeks of November. I used my Scan N' Cut to scan the outside of the TV die, and then cut the same shape from the patterned paper and white cardstock so I could write a little note on the back.

You can see a quick little process video of how they were made in an Instagram Reel down below, but you can also find it on TikTok if that's more your thing. I already have the stamp set picked out for December, so those will probably get made over her Thanksgiving week off so they'll be ready for the last month of the year!

VIDEO TUTORIAL


PIN THIS
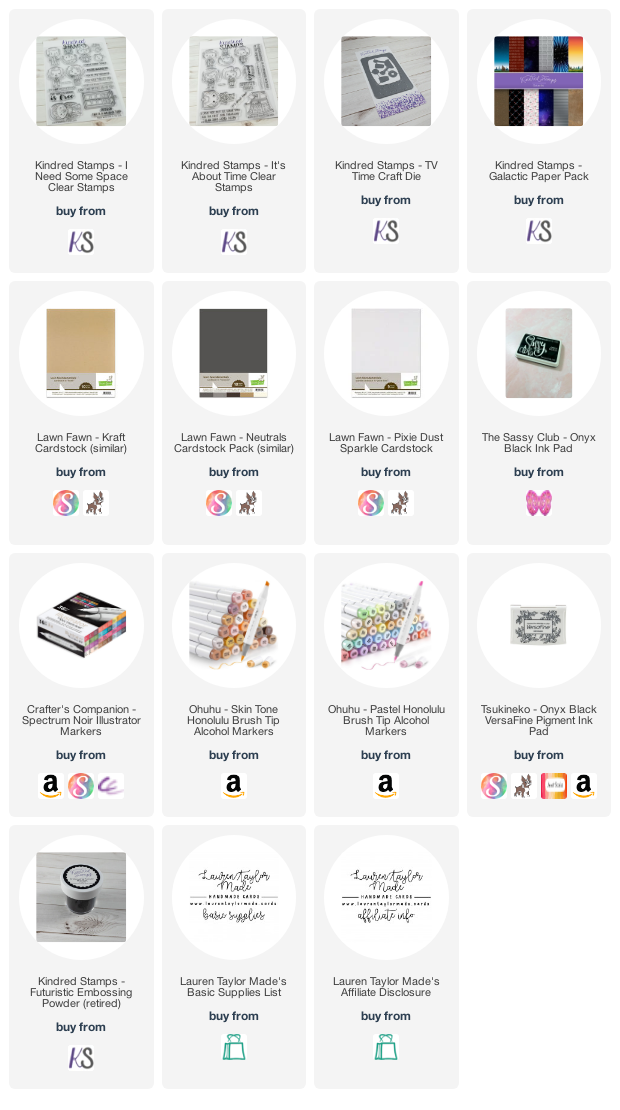
SUPPLY LIST

Read More