Heffy Doodle Blog Hop: Jump For Joy + Frog & Toad Coloring Guide

Tuesday, March 7, 2023

Welcome to the Heffy Doodle New Release Inspiration Blog Hop! We are so excited to share amazing cards from our Design Team members using the new release! I am sharing a card I made using the adorable new Be Hoppy Stamp Set as well as a coloring guide for beginner frogs and toads using Ohuhu Art Markers. Check out my video down below to see the coloring and get my tips along the way.

To make the card, I started with cutting out my background using my patterned paper from Spring Breeze and a smaller panel out of white cardstock. I also die cut my sentiment from green and kraft cardstock as well as a pond out of of blue cardstock. For the pond, ink blended on some water ripples using the Ripple Waves Stencil and Salty Ocean Distress Oxide.

Using Vintage Photo Distress Oxide, I also added some color to the Jump for Joy sentiment. I wanted my sentiment to stand out a little more, so I used the same white gel pen as I use for my stamped images to add some highlights to my sentiment. I glued the kraft die cut to the green shadow cut using my wet glue with a fine point.

I stamped and colored in my images from the Be Hoppy Stamp Set and cut them out with their coordinating dies. Using a mix of wet glue and foam adhesive, I assembled my card together and added a few gems from the Enchanted Moss Sparkle Mix for some shine. I think this card is just so cute and I love how the large sentiment fits perfectly above my pond!

For today's special Blog Hop, you can win a £50 voucher to the Heffy Doodle store! To be entered to win the giveaway, all you need to do is comment at each stop along the Blog Hop before March 14th, 2023 at 11:59 PM EST. The winner will be announced on the Heffy Doodle Blog on March 16th at 10:00 AM EST!

BLOG HOP LINEUP

Heffy Doodle Blog

Tallie Clewley

Kari VanNoy

Zsofia Molnar

Joy Baldwin

Ali Farmer

Lidya Wirani

Lauren Taylor (You are here!)

Peggy Emmerink

Claudia Mauri

Jarle Franceus

Amanda Fitterer

Natasha Davies

Amanda Stevens

Francesca Vignoli

VIDEO TUTORIAL


PIN THIS
SUPPLY LIST

Read More

Happy Birthday Craft Roulette Card with Lawn Fawn

Monday, March 6, 2023

I did some shopping at a local craft store, Shop Fever, and picked up a few new goodies! I bought the Secret Window Lawn Dies and some Eggshell Cardstock from Lawn Fawn (along with a lot of other things), but I wanted to play with a few of them the same day I got them. Luckily, I watched Craft Roulette and they worked really well with this week's parameters.

The project had to included a rounded edge and I used a scalloped rectangle to cut out some of the Eggshell Cardstock. I also used the Secret Window Lawn Dies to cut out the arch and stamped a birthday sentiment in purple ink. For the garden arch die cut, I cut an A2 piece of Rainforest Cardstock and I cut an extra couple of leaves as well. For the flowers (another parameter) and sky background, I used the new Stripes 'n Sprinkles Petite Paper Pack. I chose these colors to meet the parameters of two blues (blue green and light blue-ish) + 2, which I chose to be purple and yellow.

The blue paper I thought would look pretty as the sky so I hot foiled the Cloud Background Hot Foil Plate with silver hot foil. I assembled my car together by gluing the sky background to my card base and then popped up the Rainforest Garden Window with foam adhesive. I used my wet glue to glue down the Eggshell Cardstock and the flowers as well as some sequins from a Sparkle Blend.

The last parameter was to fussy cut so I stamped a hot air balloon from Fly High on to a smooth cream colored cardstock with grey alcohol marker friendly ink and colored it in with brown, yellow and purple Ohuhu Art Markers. I of course fussy cut it out and adhered it inside of the window with foam adhesive. I think it turned out pretty cute and it was fun to use some new products!

PIN THIS
SUPPLY LIST

Read More

Thinking of You Floral Sympathy Card with Scrapbook.com

Sunday, March 5, 2023

Creating a sympathy card is not the easiest project for me. But I know gifting a card is like a paper hug to someone who needs some encouragement. I decided to use florals and the large "Thinking of You" sentiment from Scrapbook.com Exclusives; you can see my full set of supplies at the end of the blog post. I also filmed my process so you can see how I elevate my die cut images with adding Distress Oxide and alcohol marker inks.

There is a tiny bit of mixed media on the card as I used some Cloud Whip mixed with ink on my stenciled background - you can see it peeking out at the top left behind the roses. While this card is a sympathy card, I do believe that it can be easily used as inspiration for a Mother's Day or birthday card with the with the change of the sentiment.

What are your go-to card ideas for sympathy cards? I was not sure what to do at first, so I took a look at the Scrapbook.com Gallery and settled on florals, but I would love to have some other ideas in case I need it for the future.

VIDEO TUTORIAL


PIN THIS
SUPPLY LIST

Read More

Across the Pond Shaker Card with Heffy Doodle

Saturday, March 4, 2023

Have you taken a look at the new release from Heffy Doodle? With pre-orders going, I hope you've at least gotten your wish list updated! There are so many new stamps and dies - just like this Build A Pond Dies. I did mostly die cutting for this card with just a little stamping on my sentiment. I think the die set and the Ripple Waves Stencil create perfect cards together.

I started this card by stenciling my pond; I added some Pixie Spray behind my stencil as it is a very delicate stencils. I used Salty Ocean Distress Oxide to create my pond and added Splatter with my Distress Sprayer. There was lots of die cutting for the pond and lily pads and I created a shaker by adding acetate behind the pond cut out.

I used Enchanted Moss and used green cardstock from my stash to match the beautiful sequins. The lilies are layered with pink cardstock and white - I think they're just so pretty! You can definitely step this card up and make it your own style, like frogs from the Be Hoppy Stamp Set. But I thought I'd keep it less cute-sy as I think this would also be a nice thinking of you or sympathy card.

Don't forget, if you order this week, you will get an adorable mini stamp set (and dies if you spend enough). So make sure you take a look and get your order in!

PIN THIS
SUPPLY LIST

Read More

Circus Animals Box Card with Heffy Doodle + How to Assemble Video

Friday, March 3, 2023

Heffy Doodle released the Brooke 3D Box Card Dies and it is going to be so fun to use it to create scene cards with some dimension built into the box card. I created a simple scene with some of the new circus themed products from the latest release, but I wanted to get a feel for the dies so I could create a "how to" video so you can reference it when you get yours!

Check out my video down below for how to assemble the box card - I include attaching the pieces with two ways to attach the sides. For my video and this card, I used two "shelves'' to build my scene. The patterned paper is from The Greatest Show Paper Pad and the base cardstock is Cherry On Top. I die cut my circuit tent out of the same paper as well as White, Oreo Crunch and some glitter paper cardstock.

If you would like to see a video in the future with how I assemble the circus tent, let me know in the comments! My images were stamped in alcohol marker friendly ink from the Two By Two Zoo Animals Stamp Set and I colored them in with Ohuhu Art Markers and Copics. Using the coordinating dies, I cut out my images and attached them to the box card as well as the circus tent. My sentiment is from the Special Delivery Stamp Set.

Don't forget that if you place a pre-order between now and 3/7, you will get an exclusive stamp set (and if you spend enough, the coordinating dies)! Happy shopping!

VIDEO TUTORIAL


PIN THIS
SUPPLY LIST

Read More

Chillin' with My Peeps Slimline Card with Scrapbook.com

Thursday, March 2, 2023

Are you a Peeps fan? I feel like that's a very divided question... You either love them or hate them! I am Team "No Thank You" but I am Team Paper Peeps! The Nested Peeps Dies are so fun from Scrapbook.com and they now have a stamp set that is perfect for them. I used it to stamp in the little faces and added my strip of sentiments across my slimline card. What is even more perfect is that you can grab a bundle today with the Nested Peeps Dies, Hippity Hoppity Stamp Set, Peeps 6x8 Stencil AND a Slimline Paper Pad in Sherbet!

I started this slimline card with all of my die cutting. I die cut the large scallop slimline die in dark pink and a nested, rounded rectangle in light pink that fit best inside of the scalloped die cut. I used some Cloud Whip to stencil on some Peeps onto the light pink cardstock and set it aside to dry. Next was the bunny peep border from the Spring Stitched Border Strips in yellow and then I did six bunnies from different colors of the Sherbet Paper Pad.

I stamped all of their faces as well as the sentiments onto a strip of orange cardstock from the same paper pad. Once my stenciling was dry, I adhered my dark pink rectangle to my card base and the pink stenciled background. I popped up my bunnies with foam adhesive as well as my two paper strips with the sentiments and embossed details. To add a little more shine, I added some Glossy Highlights and sprinkled on some clear, chunky glitter on a few spots on the Peeps.

Make sure you check out this deal as it only lasts for a couple days and it's the perfect collection to make some sweet Easter cards.

PIN THIS
SUPPLY LIST

Read More

Frightfully Fun Trick-or-Treaters with Avery Elle

Wednesday, March 1, 2023

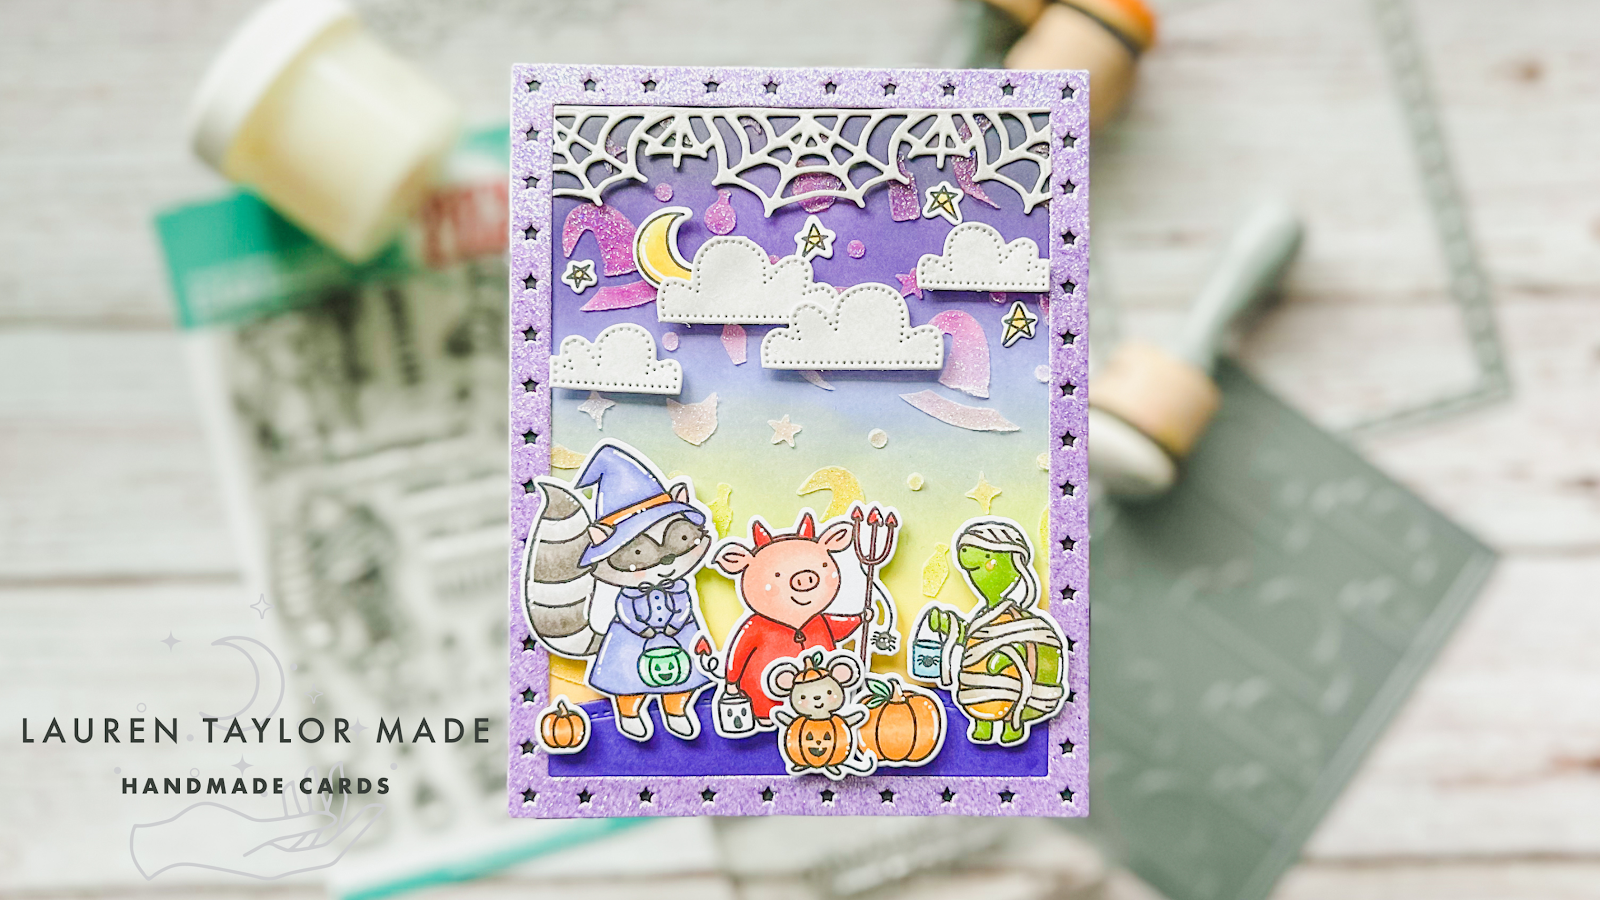
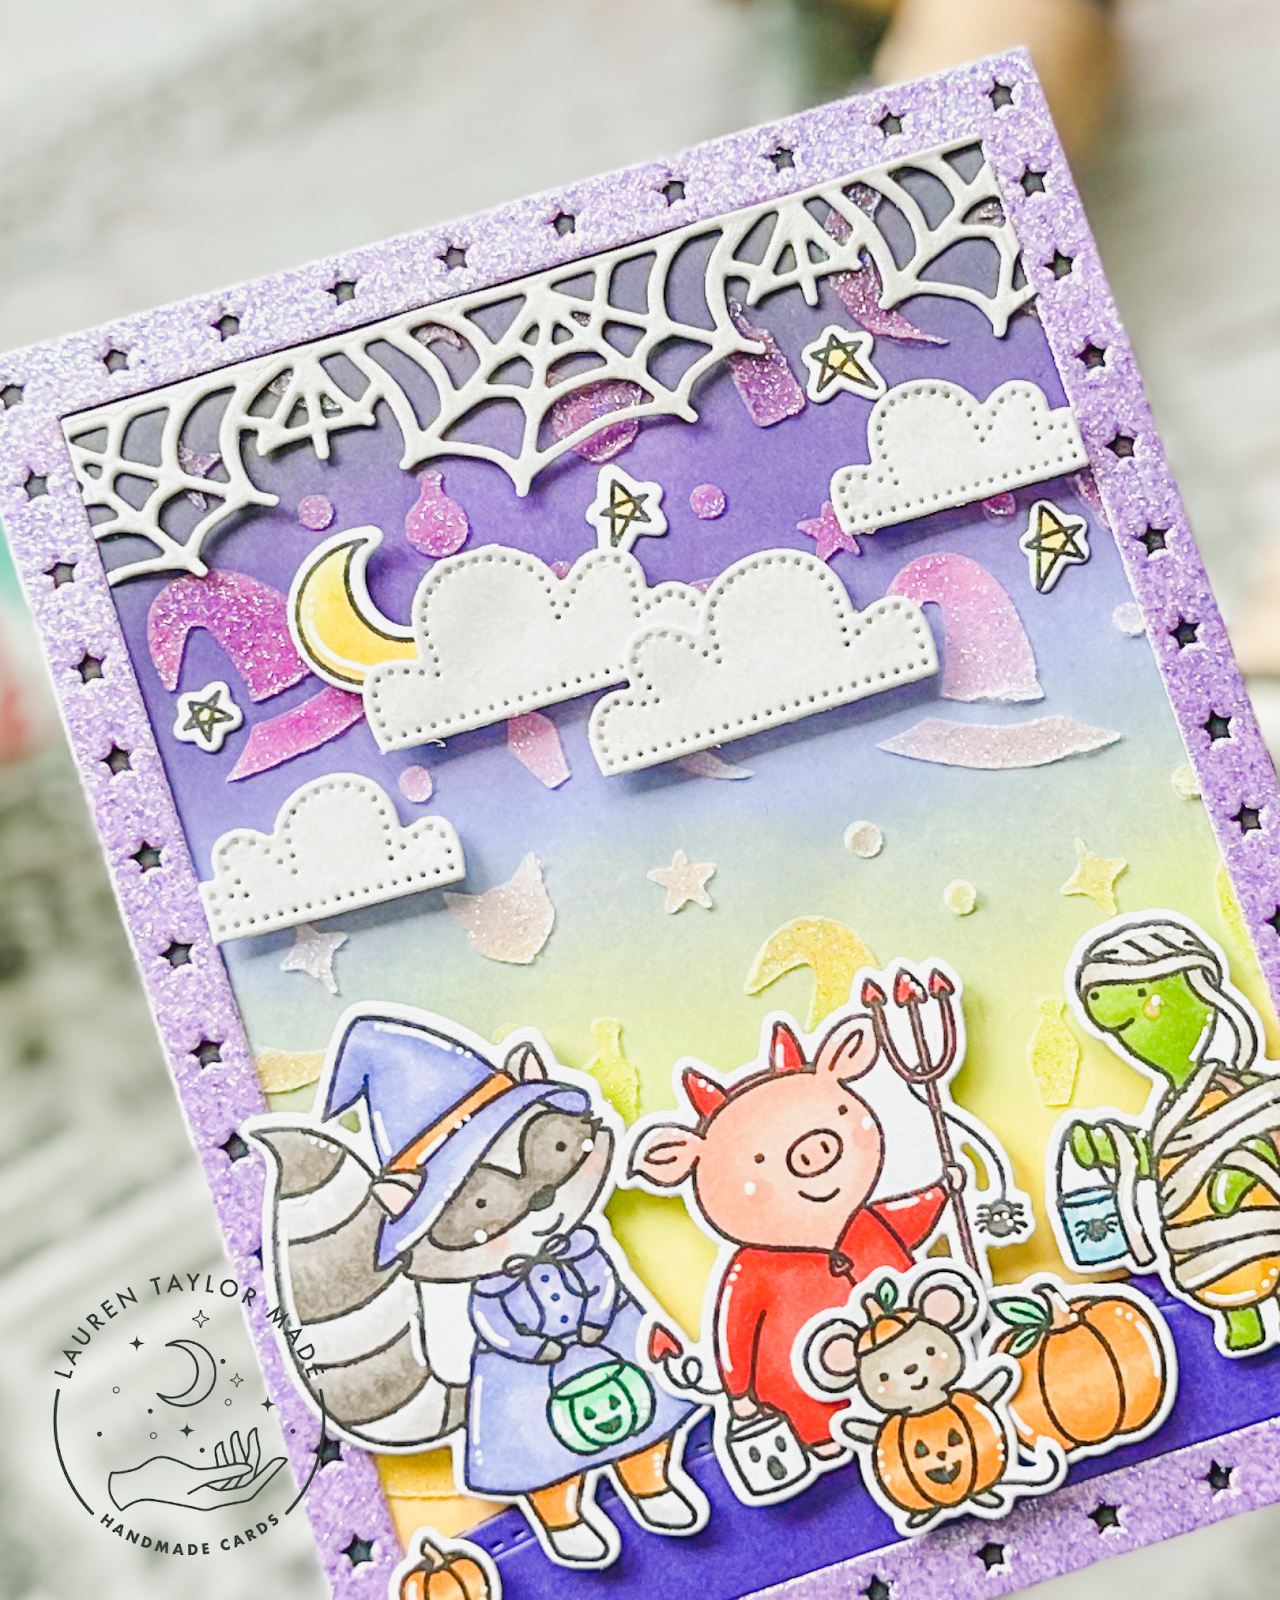
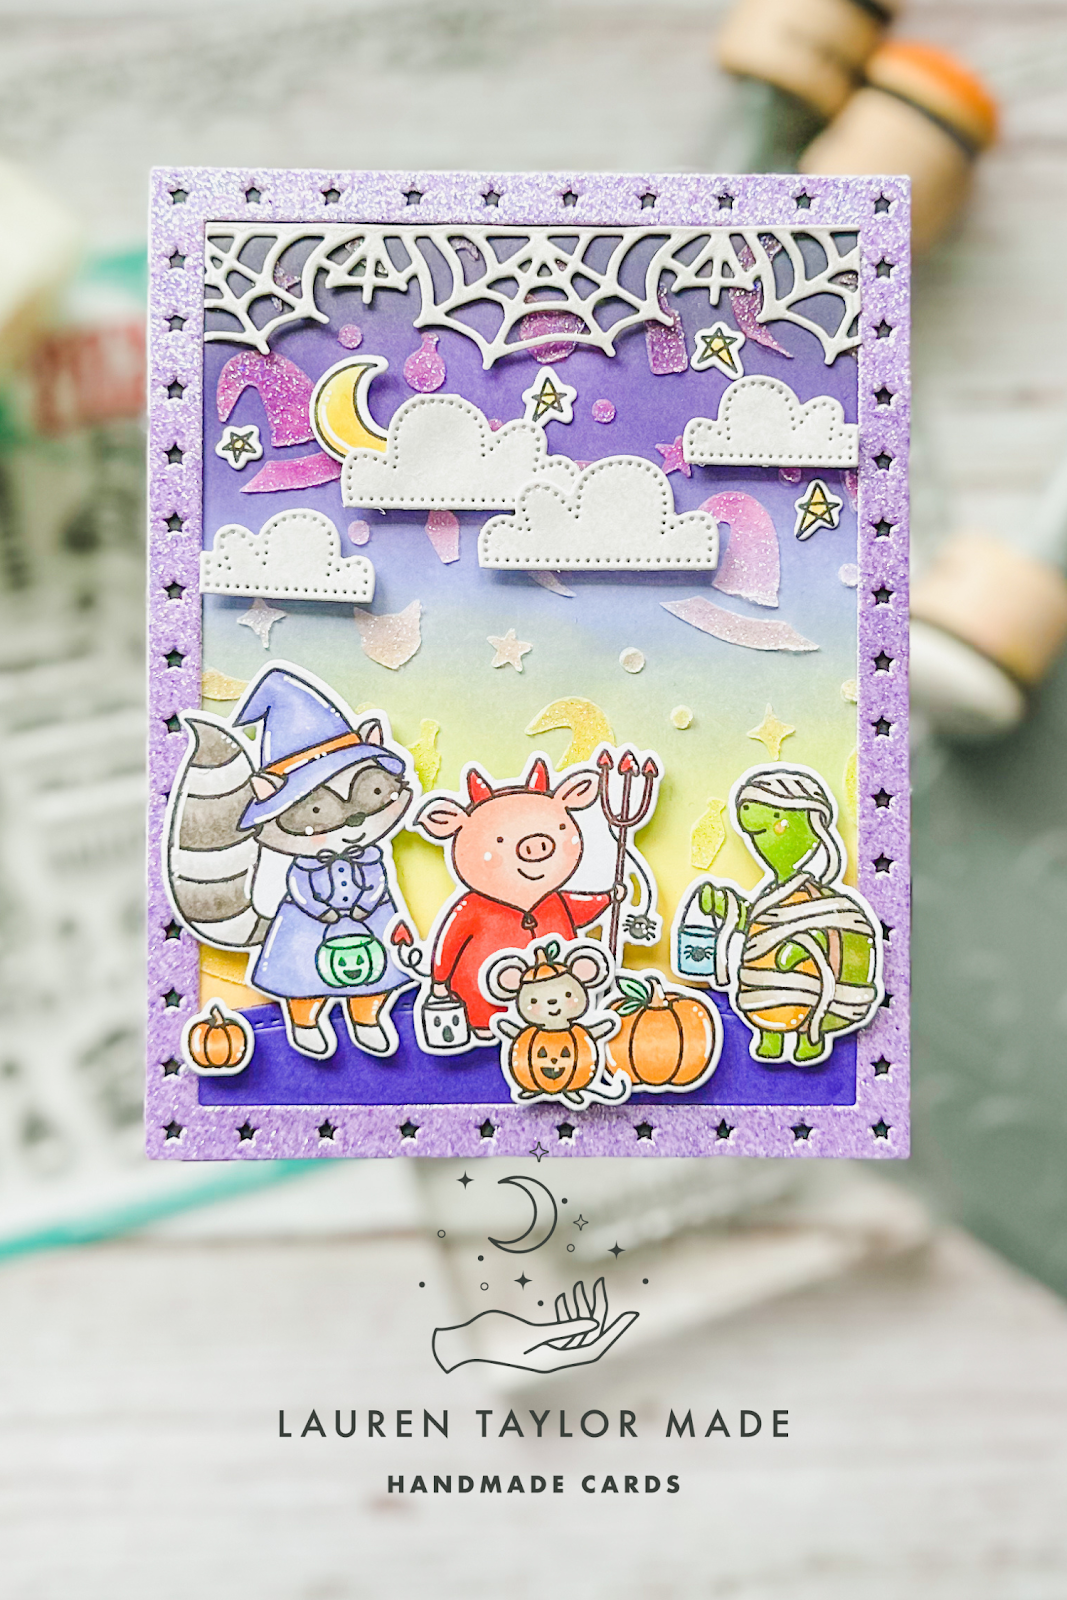
Since there was a new release from Heffy Doodle yesterday, I pushed my Halloween inspiration to today! So it's sort of the last day of the month and it's time for a Halloween card. This month I am using some Avery Elle products I bought last year that I hadn't opened yet. I just love these sweet critters and I just had to stamp them all out and color them in!

I used my Ohuhu Art Markers to color in my images (except for the red and orange - I used Copics) that I stamped with alcohol marker friendly black ink. I used the coordinating dies to cut them all out! When you watch the video, you'll see I ran out of room for all of my critters, so I actually stamped the inside of my card and added my cute monkey with green face paint.

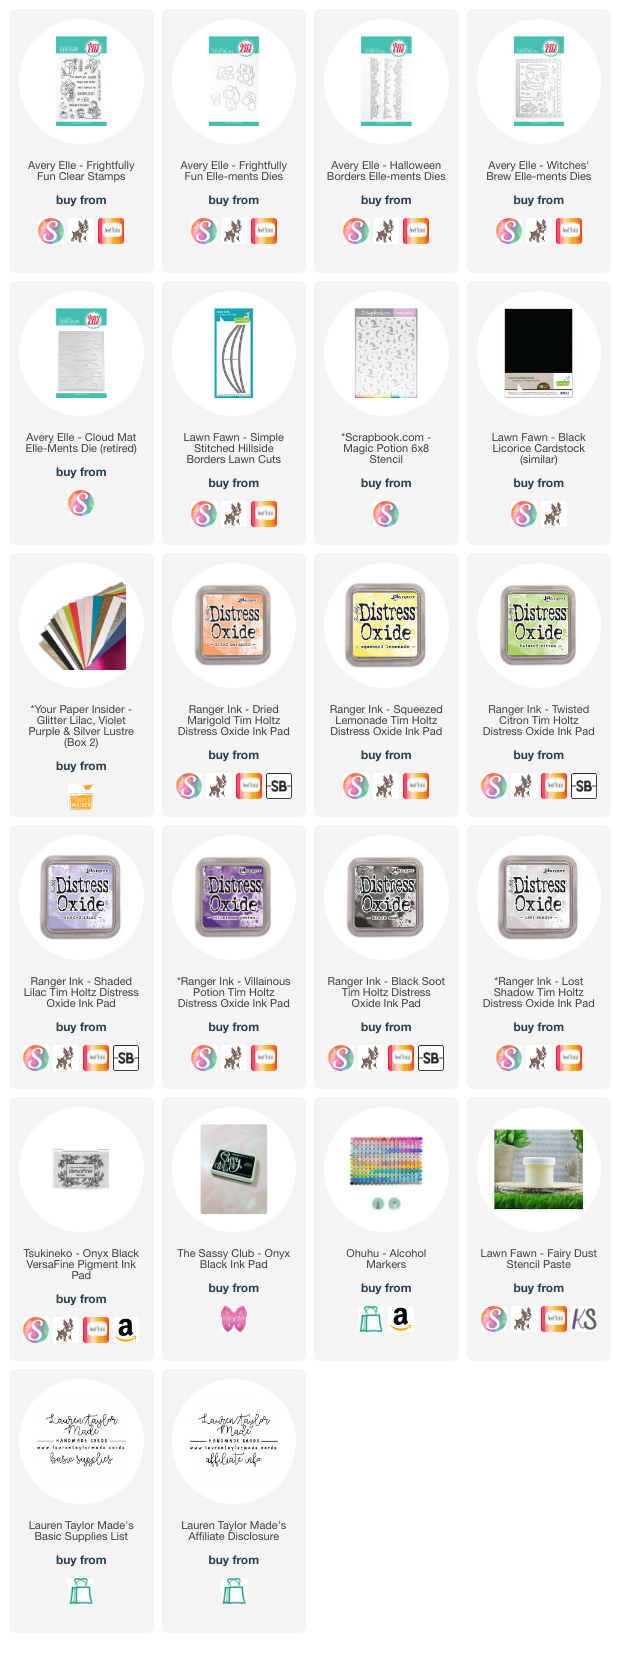
The front has lots of die cutting to create my sunset scene and I also did some stenciling with a glittery stencil paste. All of the colored cardstock I used is from Your Paper Insider's Box 2 - there are so many great pieces in this box and I highly suggest you check them out! You can see my unboxing video over in my Facebook Group the Make & Take Club.

I hope you had some fun inspiration today for this Halloween card and it inspires you to sprinkle in a little Halloween happiness throughout the year!

VIDEO TUTORIAL


PIN THIS
SUPPLY LIST

Read More