Chef Rat Cheers Platform Pop-Up Card with The Sassy Club

Friday, July 7, 2023

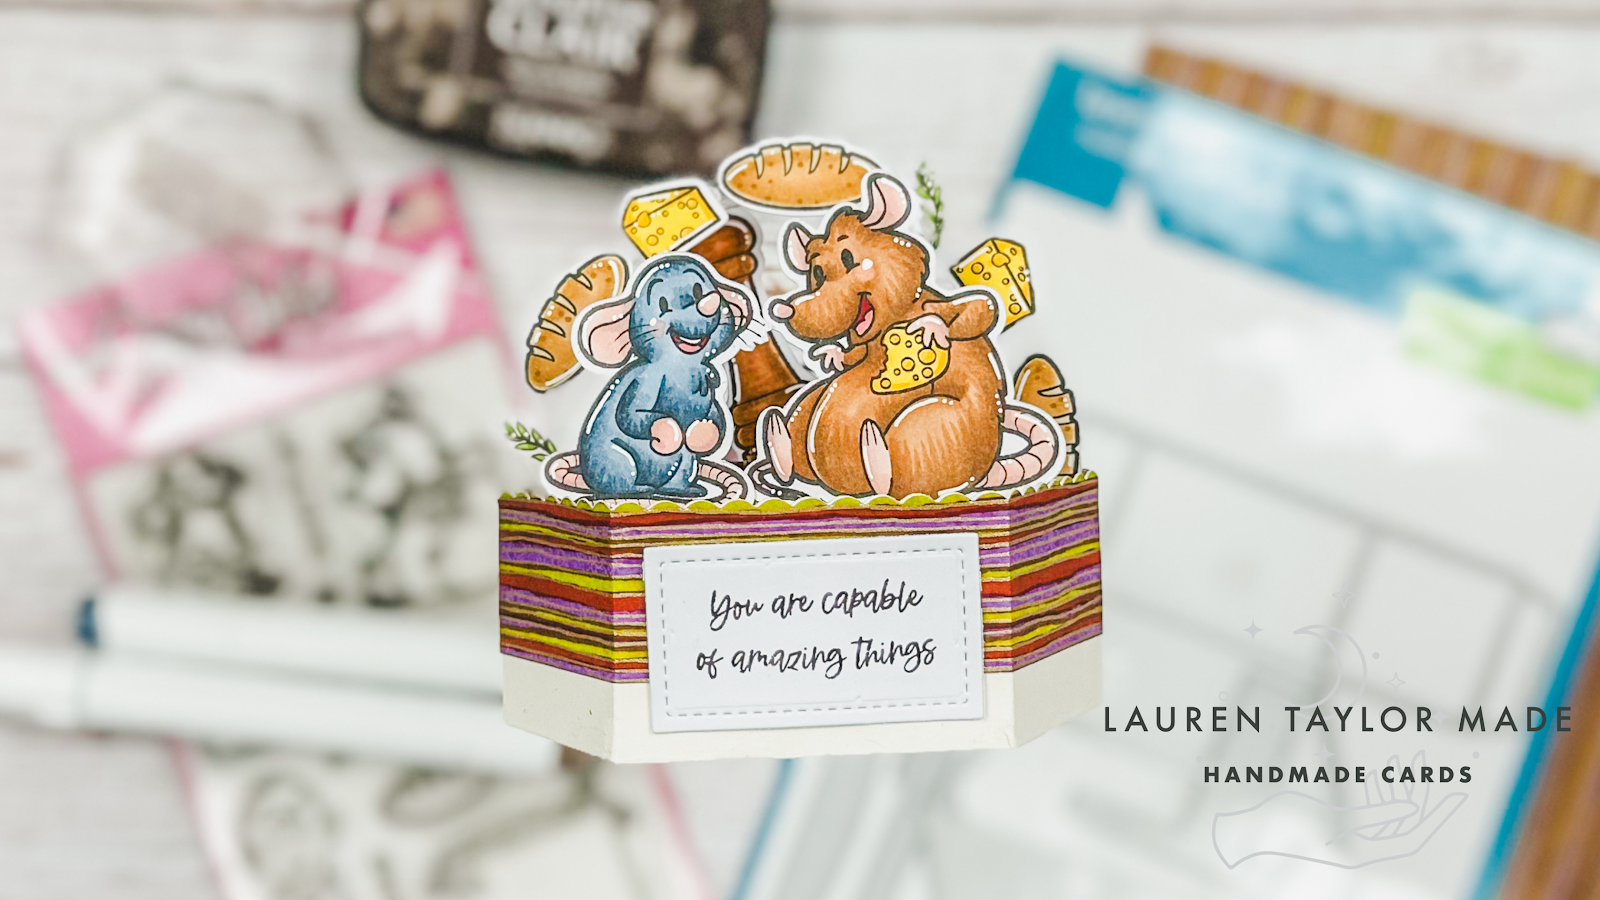
These two brothers are having a wonderful time thinking about their favorite foods! I wanted to create these two like they're sitting on a table with a tablecloth, so in my video today I'm sharing how I added a thinner cardstock on top of my sturdier cardstock to give that effect as well as an acetate ring to have food going around the two rats.

Before my video starts, I stamped and colored my images in with Onyx Black ink from The Sassy Club and Ohuhu Art Markers. I used my Scan N Cut to cut out my images and die cut all of the Platform Pop-Up pieces. The acetate ring was made from nested circles but I did have to cut them with scissors as my acetate was a little too thick for my dies. It left a deep enough impression that I just followed the circle around with my scissors.

I hope you like this fandom box card and how I assembled the box as a table with table cloth was useful to you! Hope you have a great day and thank you for being here!

VIDEO TUTORIAL


PIN THIS
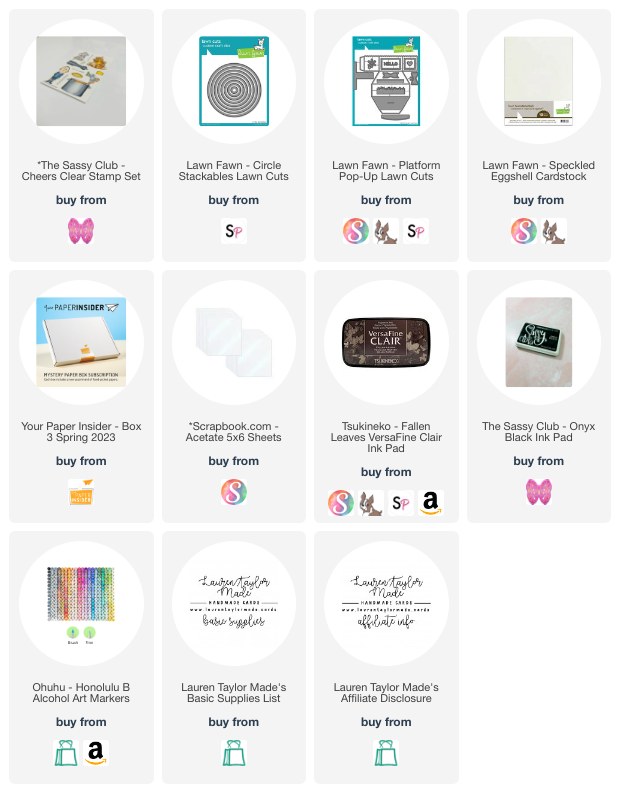
SUPPLY LIST

Read More

Bring It In! Using the New Waffle Flower Grip Mat

Thursday, July 6, 2023

Hi, friends! I was gifted some products from Waffle Flower Crafts and I'm so excited to share how handy the new Grip Mat was while creating this Retro Hugs card in my video today. It's a sticky mat, but not so sticky that you can stencil some thinner cardstock and I was able to peel it off without any issues. I also used it for keeping my shadow die cut in place to assembly my "hugs" sentiment as well as keeping my paper in place so I can layer my card together.

This is my first time using Waffle Flower Craft Tools, but I will definitely be getting some other products in the future as I just loved this Grip Mat. It's thinner than a Gelli Plate and Waffle Flower has some great guides to help with placement and stamping. You'll see it again in future videos for sure! Let me know if you think this is a tool that would be helpful to you in your craft room.

VIDEO TUTORIAL


PIN THIS
SUPPLY LIST

Read More

Magical Mouse Christmas Tree with Scrapbook.com

Wednesday, July 5, 2023

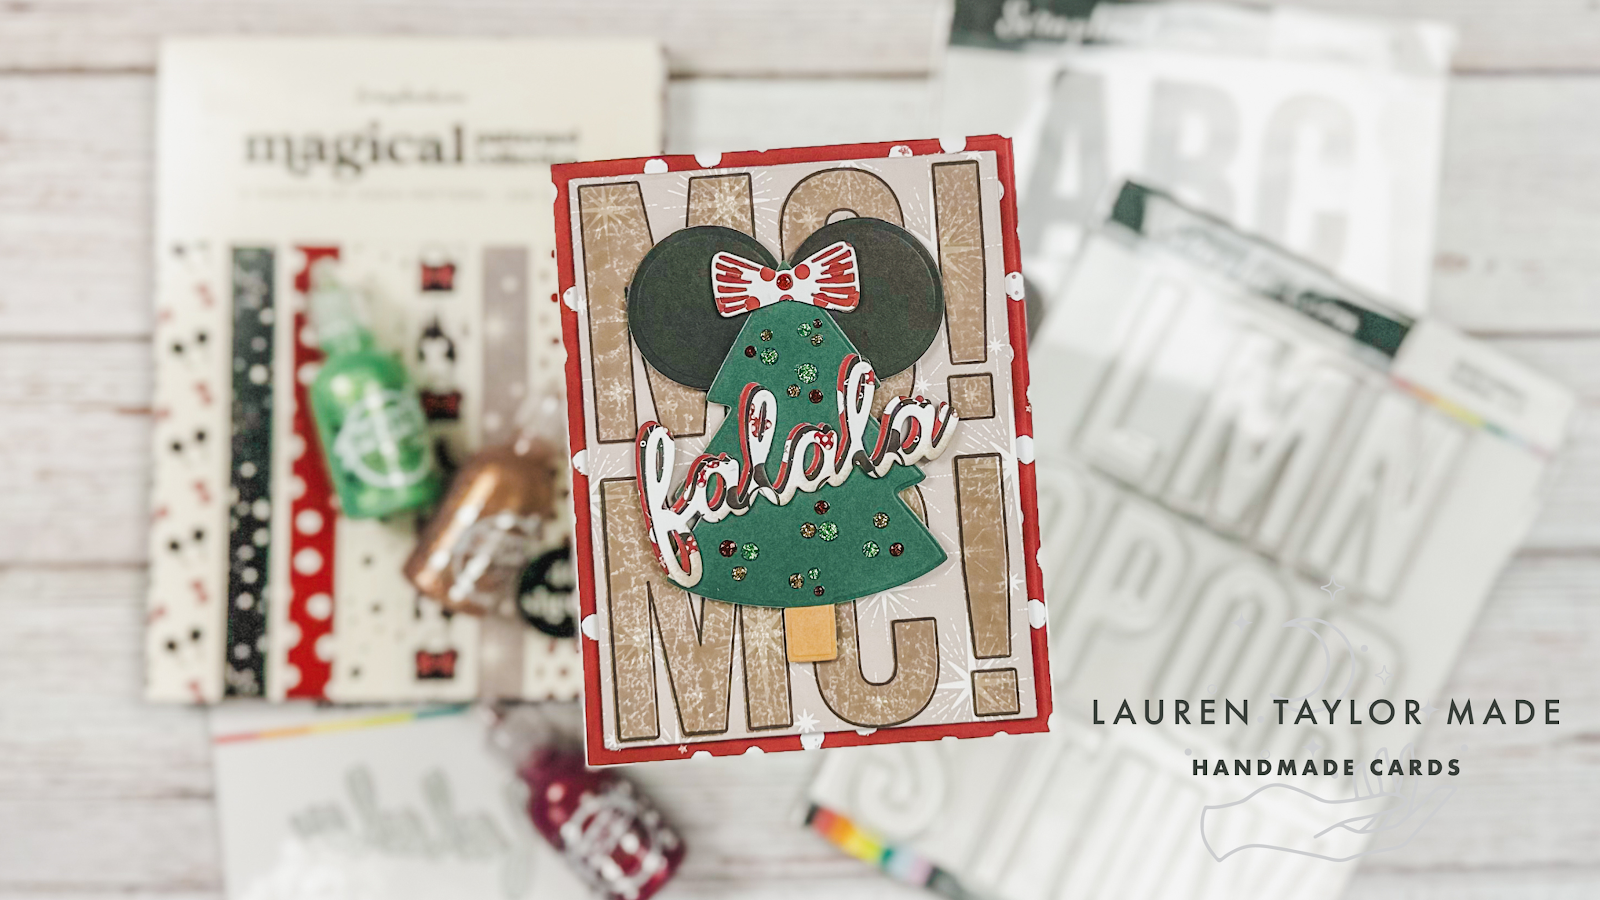
Did you know that Scrapbook.com has a line of Magical patterns for pocket scrapbooking and now in a 6x8 paper pad?! I am a big Disney fan and I just love that I now can use some of my favorite designs from the Magical pocket cards on actual cards. I have a few patterns on this card and I'll walk you through how I put together this mouse themed Christmas tree card!

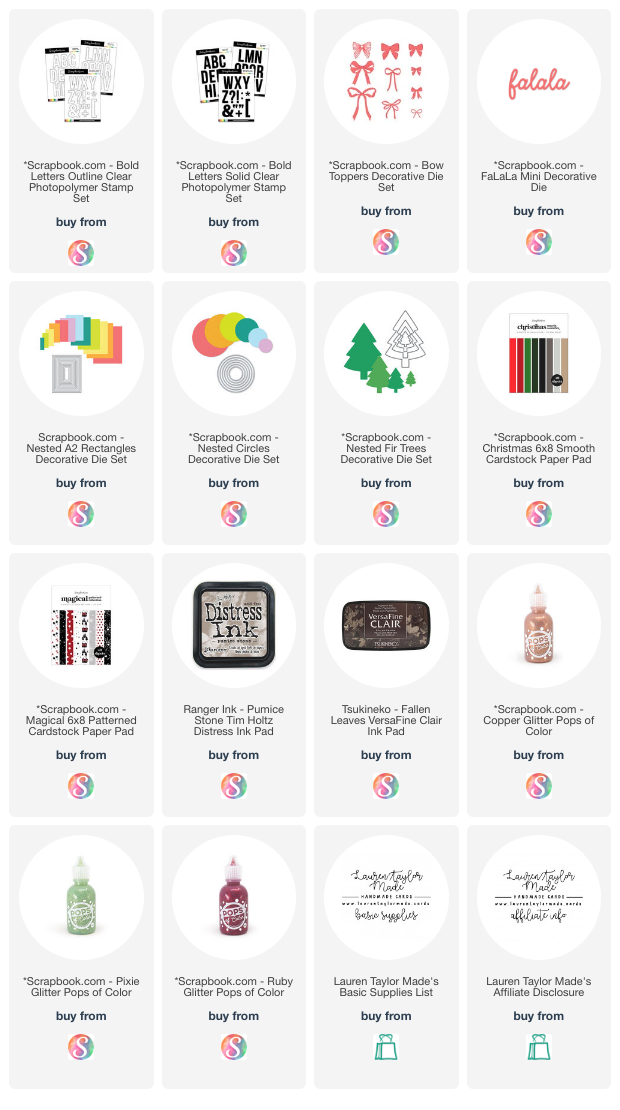
I started with cutting my warm grey star patterned paper with the second largest A2 rectangle die from the nested set. I used my MISTI to help me stamp the Bold Letters in Solid "MC!" for Merry Christmas! I stamped them twice with Pumice Stone Distress Ink. Using my MISTI again, I lined up the Bold Letters in Outline to create a darker edge to my stamped letters and this time with Fallen Leaves VersaFine Clair Ink.  I popped up this layer with foam adhesive to my background of the red and white polka dot patterned paper which is already cut to an A2 size on a card base.

Next I cut my tree and sentiment - the tree is green and kraft brown cardstock, the "ears" are from black cardstock (all from the Christmas 6x8 pad), the bow and falala sentiment are die cut from more patterned paper from the Magical 6x8 pad. I assembled my tree together, added the circles and mouse ears and trimmed down my bow to fit on the top of the tree. I layered my falala die cuts together and added a little Pumice Stone Distress Ink to the bottom with a soft brush.

All of these layers were glued together with liquid adhesive and then popped up with foam adhesive to the middle of the card base. For final touches, I added Pops of Color in Glitter in sets of three around my Christmas tree in colors Copper, Pixie and Ruby. I hope you enjoy this non-traditional Christmas card and you check out all of the Magical collection at Scrapbook.com!

PIN THIS
SUPPLY LIST

Read More

All A-Boat You Light Up Birthday Card with Simon Hurley

Tuesday, July 4, 2023

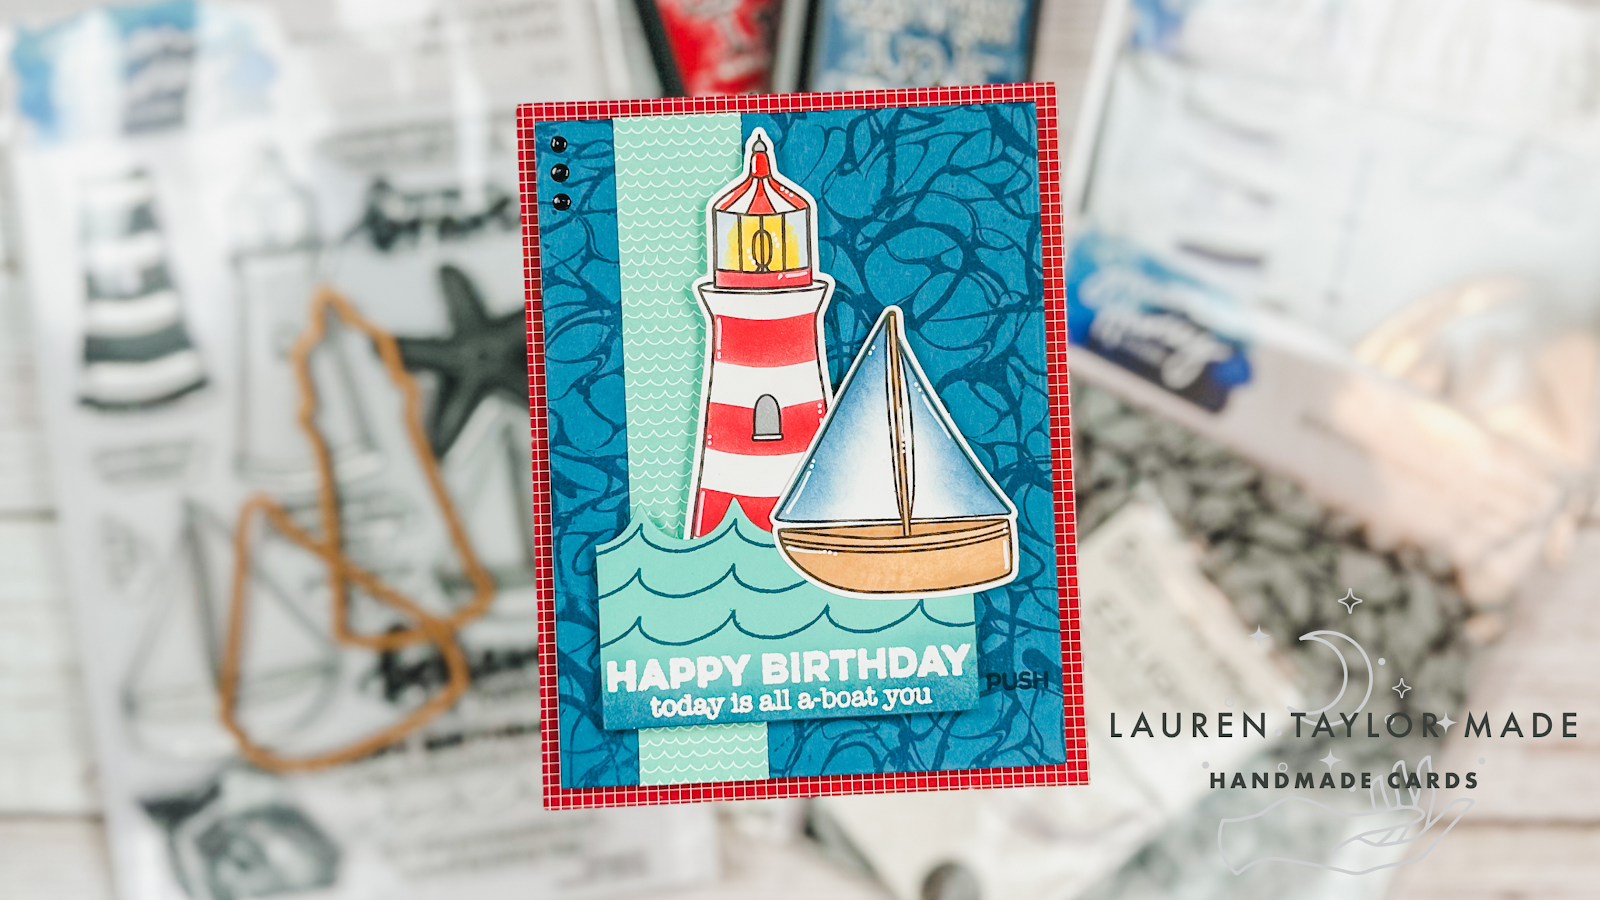
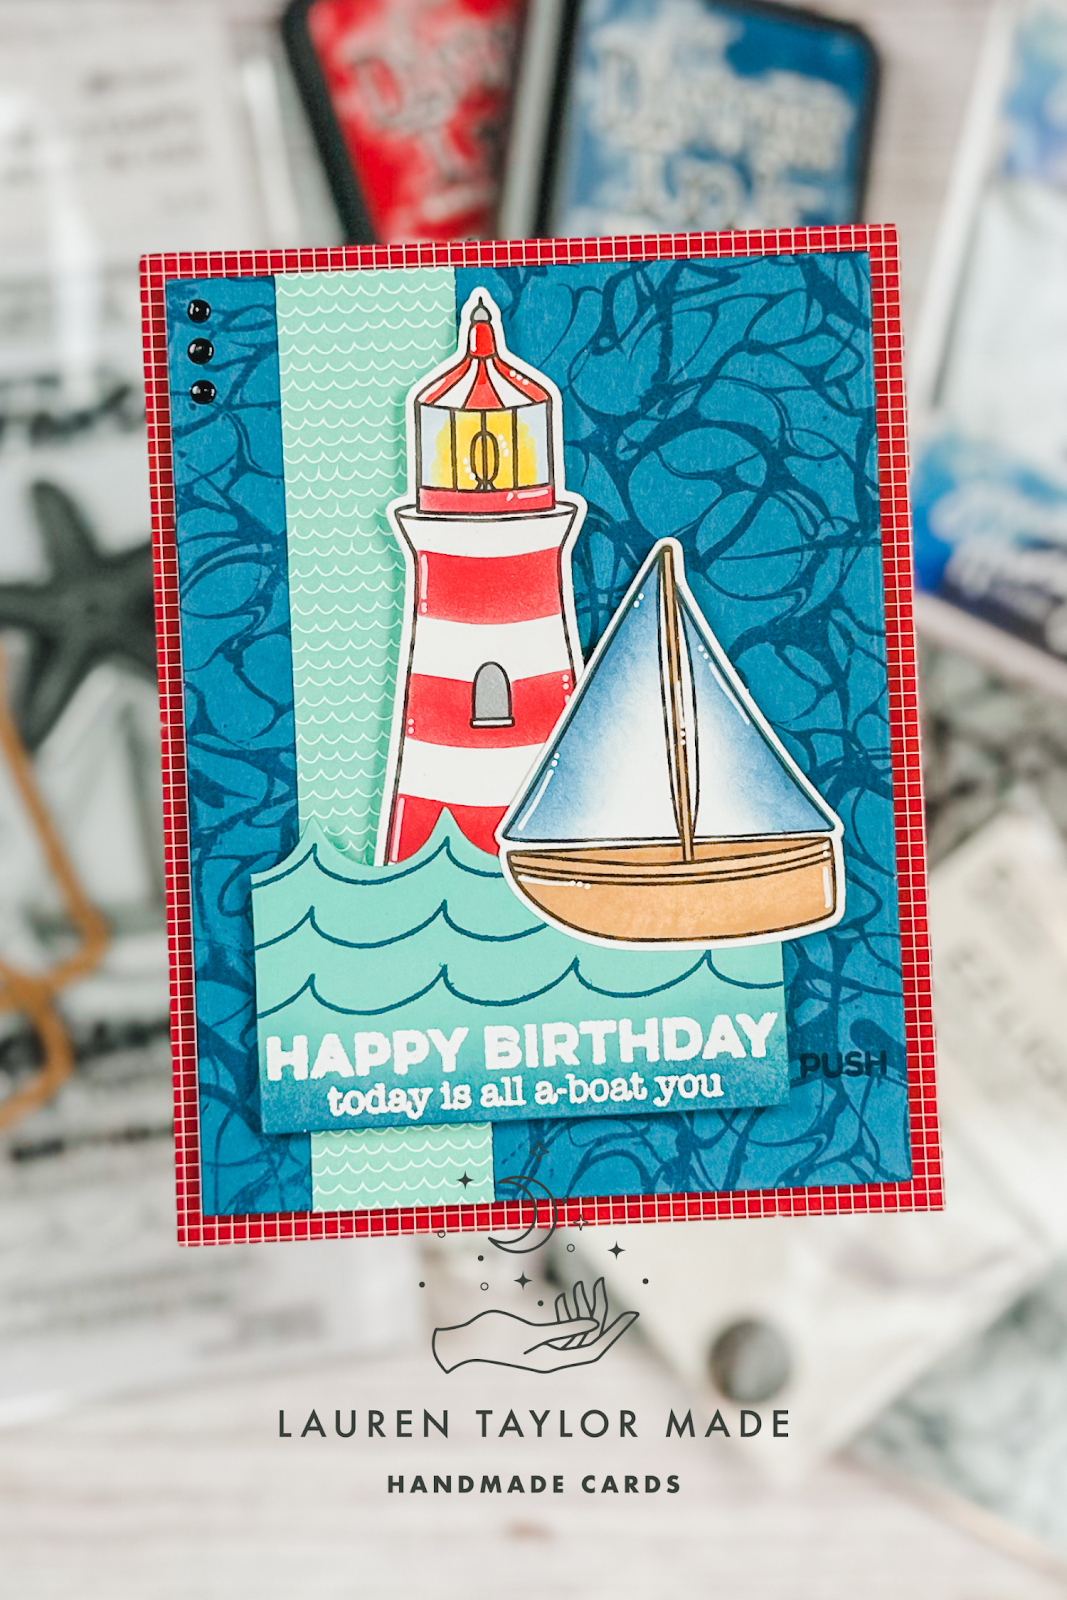
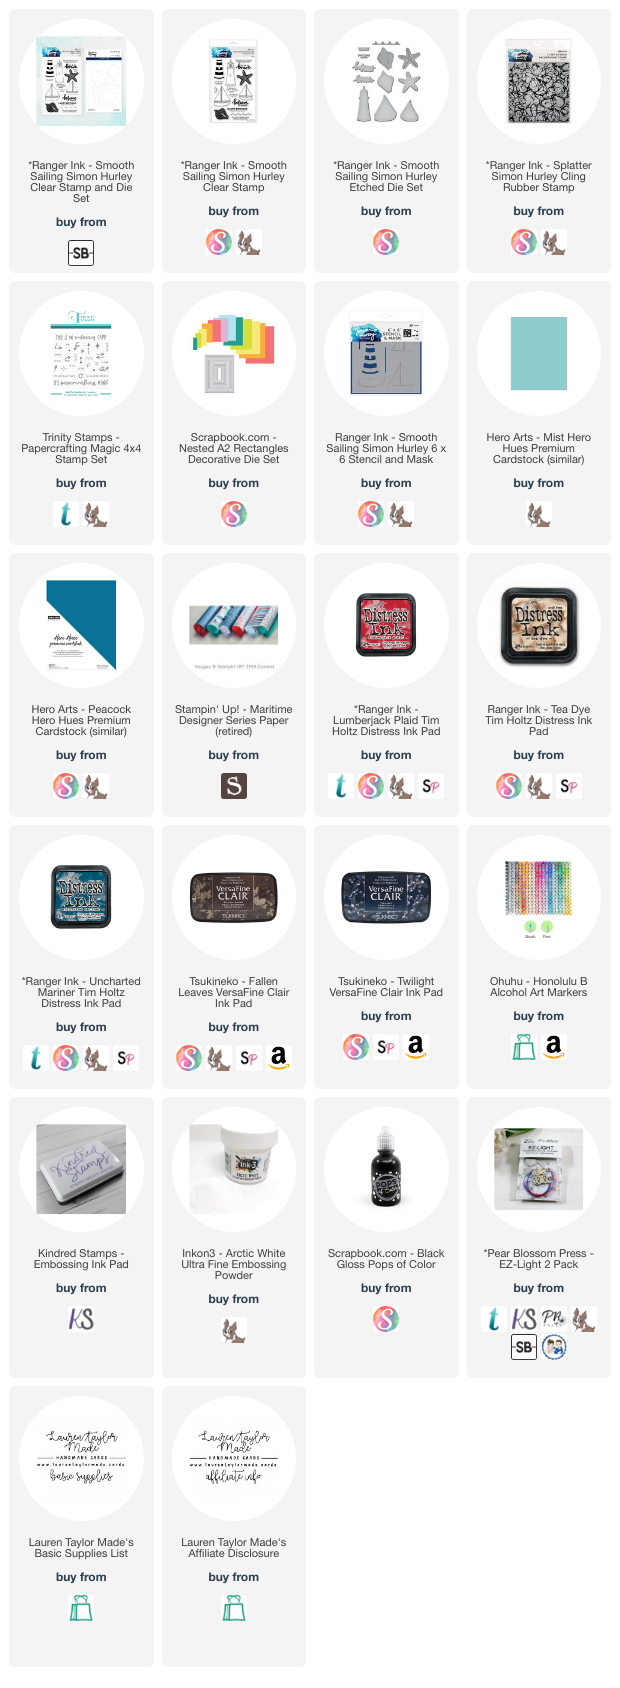
It is independence day, so we're going red, white and blue today! I have a card using new products from Simon Hurley that were gifted to me from Ranger Ink and I just love that the stamp sets have coordinating dies from Spellbinders. This card is also inspired by the latest episode of craft roulette and the July 2023 sketch from Show Us You SheetLoad.

I started with adding a piece of red patterned paper (sorry, it's from Stampin' Up! and retired) on my A2 card base. I took a piece of teal blue cardstock and stamped the new Splatter rubber background stamp with Uncharted Mariner Distress Ink. I trimmed it down with the a nested A2 die so there would be a nice red border around the blue and I added a strip of blue patterned paper with a large collection of waves. It measures an inch wide and I trimmed it to fit the height of the blue cardstock.

The two images were stamped from the Smooth Sailing stamp set and I used the coordinating stencil to color in the lighthouse and sail boat! I just love that so much. I did use some alcohol markers to color in the top of the light house and cut them with their coordinating dies. Using some light blue cardstock, I stamped the waves three times with Uncharted Mariner and used the wave die to cut the piece on the top. I trimmed the sides to where the wave die ended and it was just the perfect width to fit my sentiment. I distressed a little bit of ink and then embossed my sentiment in white.

Now that all the pieces are ready, it's time to start assembling. I figured out where I needed to punch a hole for my EZ lights through the blue cardstock and put the three LEDs into the hole and once I knew where I was going to attached the battery, I stamped "push" so the card receiver knows it is interactive. I covered the back of the blue cardstock with foam adhehsive and attached to the card base. Next I put foam adhesive behind my light house making sure to keep the light area without foam so the LEDs can shine through. I adhered it down and just love that it lights up!

Finally, I adhered my waves and sailboat with the same foam adhesive but using liquid adhesive wherever thee pieces overlapped each other and the lighthouse. I added three small black dots of Pops of Color to the upper left hand corner to help finish up meeting the parameters of Craft Roulette! It is a birthday card, uses picnic colors (red and white tablecloth, blue sky), has a collection of waves and three black dots. I hope you have a safe holiday to those celebrating today!

PIN THIS
SUPPLY LIST
Read More

Miss You Bunches Friend with Pretty Pink Posh

Monday, July 3, 2023

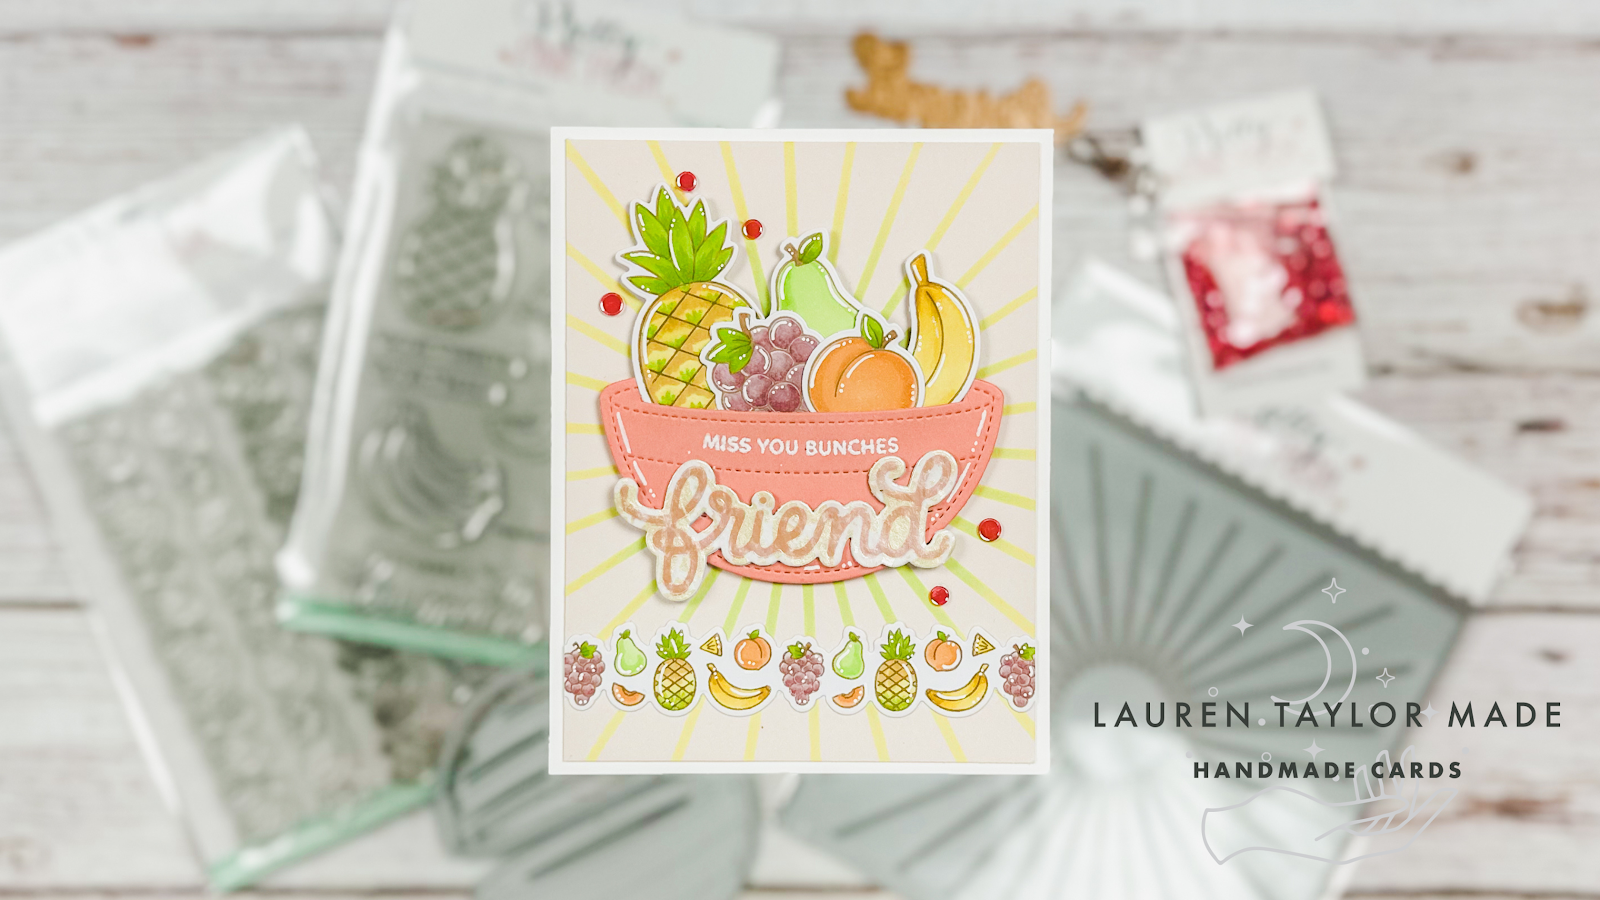
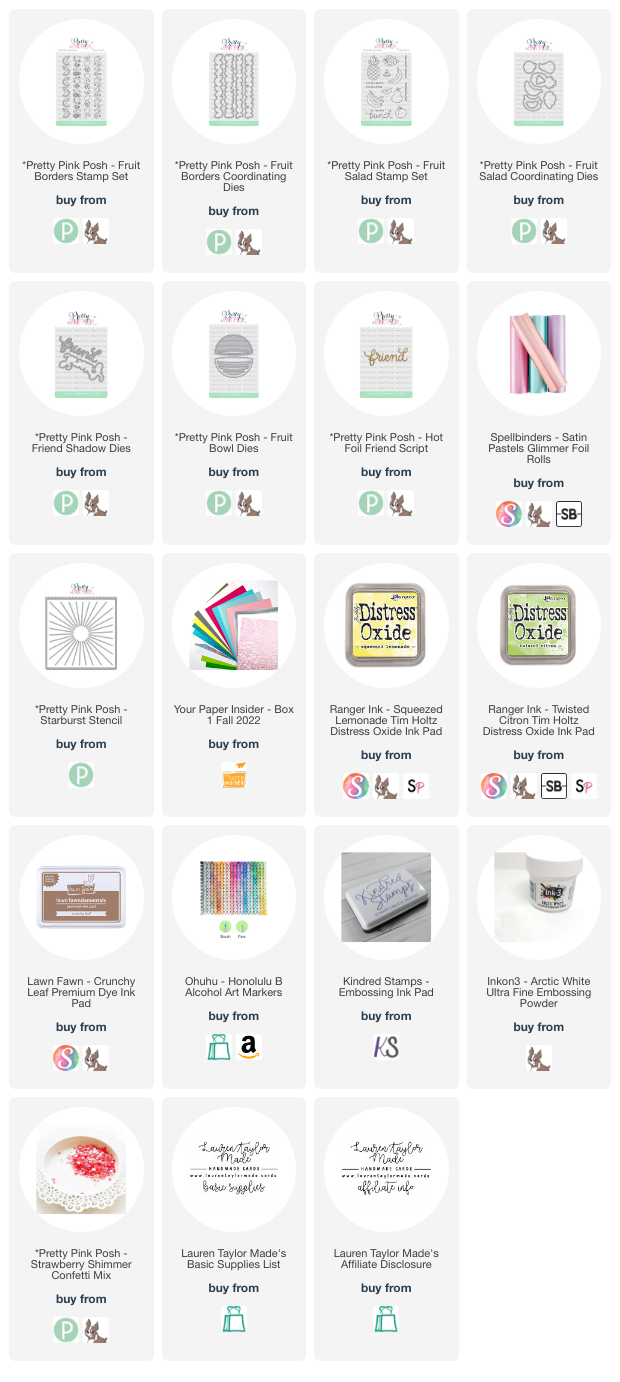
I'm excited to share that I am continuing my Design Team work with Pretty Pink Posh and to celebrate, let's make a bowl of fruit! I started with stenciling the new Starburst Stencil with Twisted Citron and Squeezed Lemonade Distress Oxides onto a piece of pale pink cardstock that is cut to 4x5-1/4" in size. My sunburst is not quite centered because I raised the stencil up as I knew my basket of fruit was going to be a little higher than the center of the card. While I warmed up my Glimmer Hot Foil System, I cut the Fruit Bowl Dies out of a pink cardstock, but just the solid bowl image. I also cut out the shadow of the Friend Shadow Dies twice out of white cardstock.

Once my system was ready, I hot foiled the Friend Script Hot Foil Plate with a matte pink foil onto a piece of colored vellum cardstock. I also cut it out with the Friend Shadow Dies. Next I stamped the border stamp with the banana, peach, pear, pineapple and grapes from the Fruit Border Stamp Set as well the same fruits from the Fruit Salad Stamp Set in an alcohol marker friendly brown ink. I colored them in with alcohol markers - I used Ohuhu Art Honolulu B Markers. After adding some white highlights with a gel pen, I used their Coordinating Dies to cut them out.

After adding highlights to the pink Fruit Bowl, I also embossed the “miss you bunches” sentiment from the Fruit Salad Stamp Set in white embossing powder. I arranged the fruits inside the bowl and glued them inside. I also glued the friend layers together to create a sturdy sentiment. Now it’s time to assemble the card! Using a tape runner, I glued the Fruit Border towards the bottom of the stenciled background, about a 1/2" from the bottom. The border will hang off the edges a little and I trimmed them down before gluing to an A2 card base.

I added foam adhesive to the back of the assembled fruit bowl and glued it so the sunburst is coming from the center of the assembled bowl. Next I adhered the Friend Script sentiment onto the bowl. Finally, I glued down a few Strawberry Shimmer Mix sequins in a couple different sizes around my fruit bowl for some extra shine. I hope you have enjoyed my projects so far this year and I am so happy I get to continue sharing inspiration with you!

PIN THIS
SUPPLY LIST

Read More

Merry Krampus with Kindred Stamps

Sunday, July 2, 2023

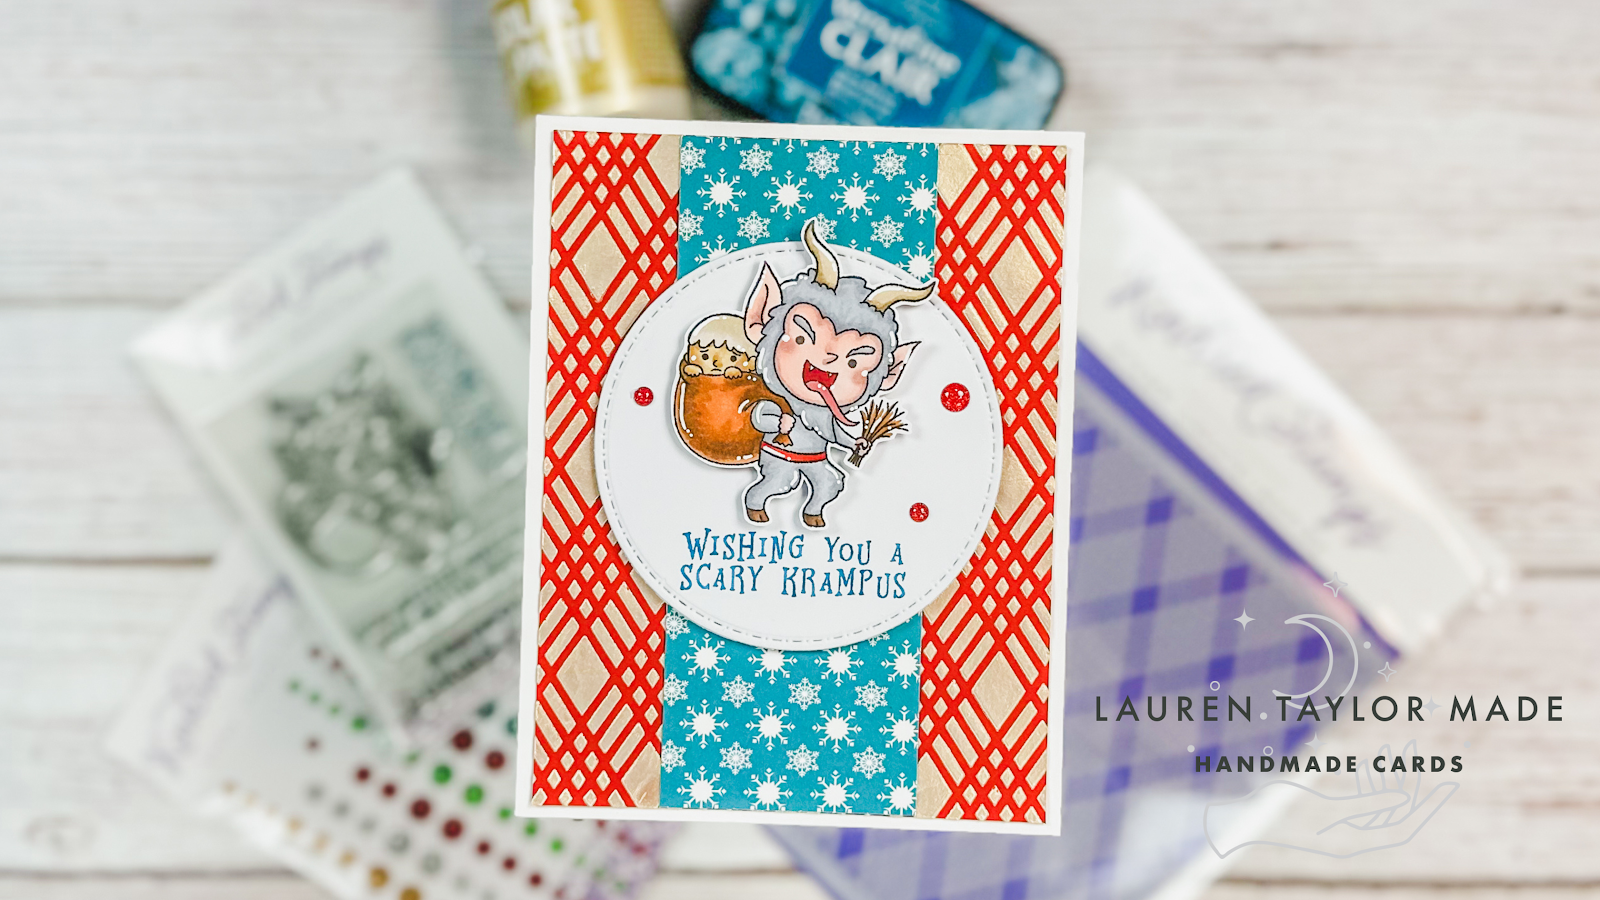
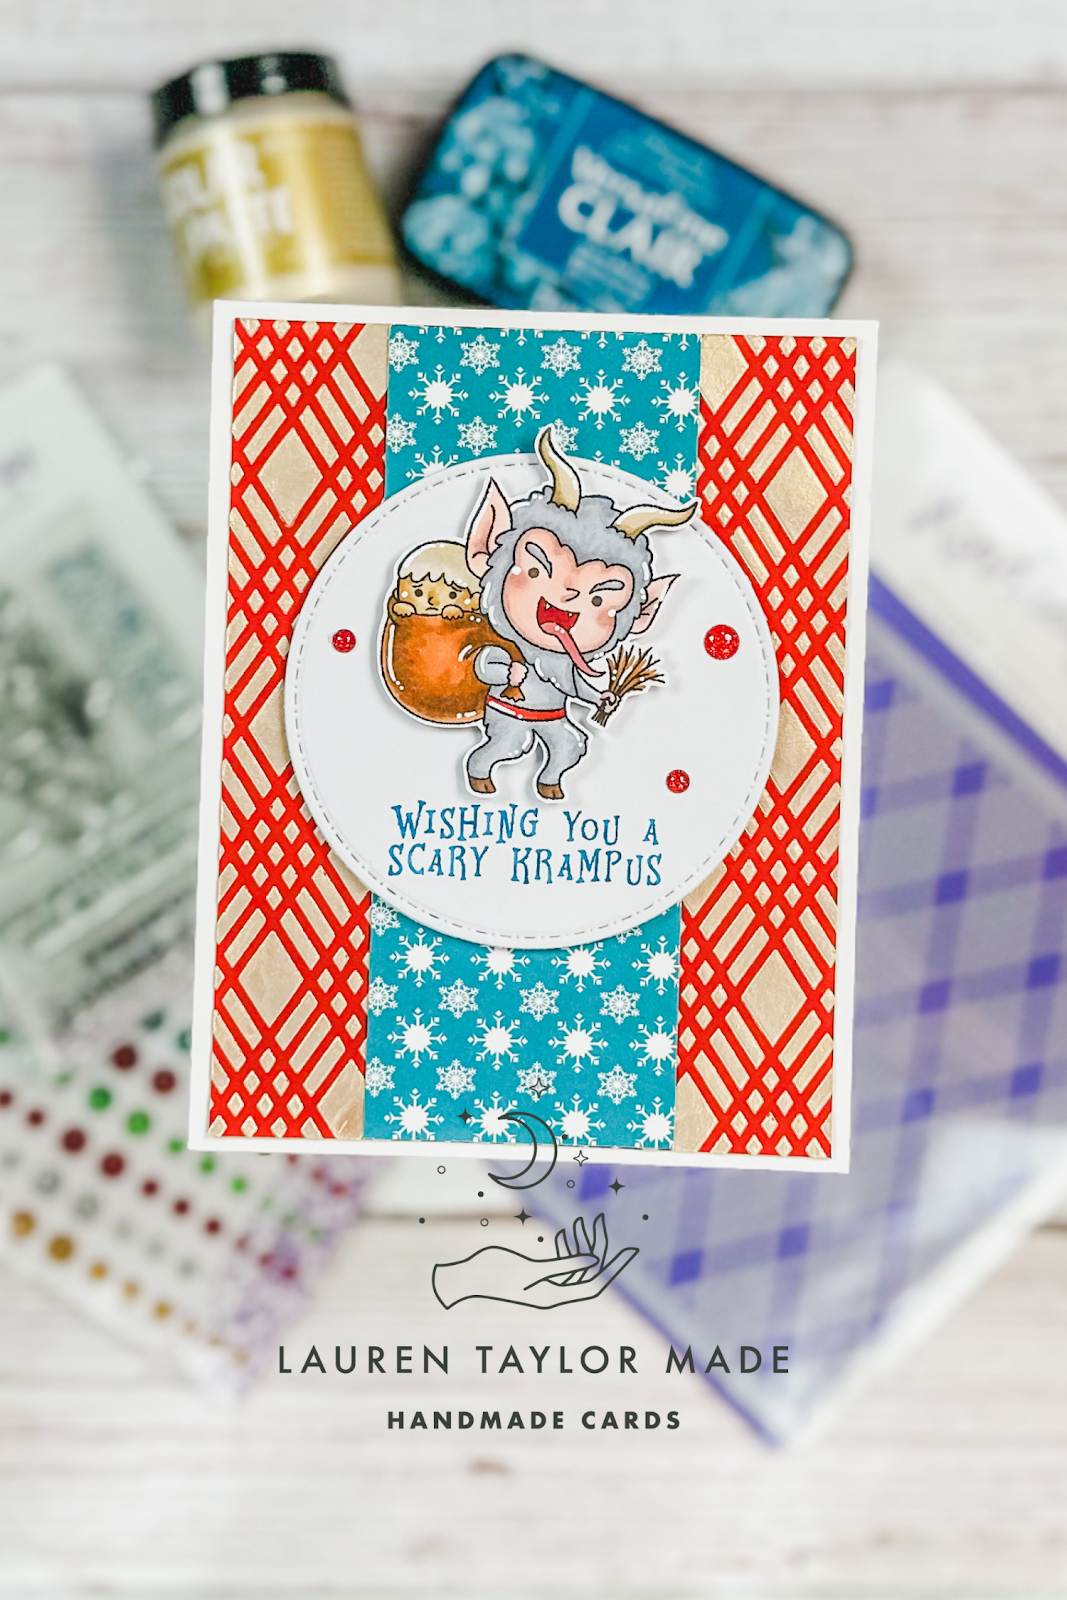
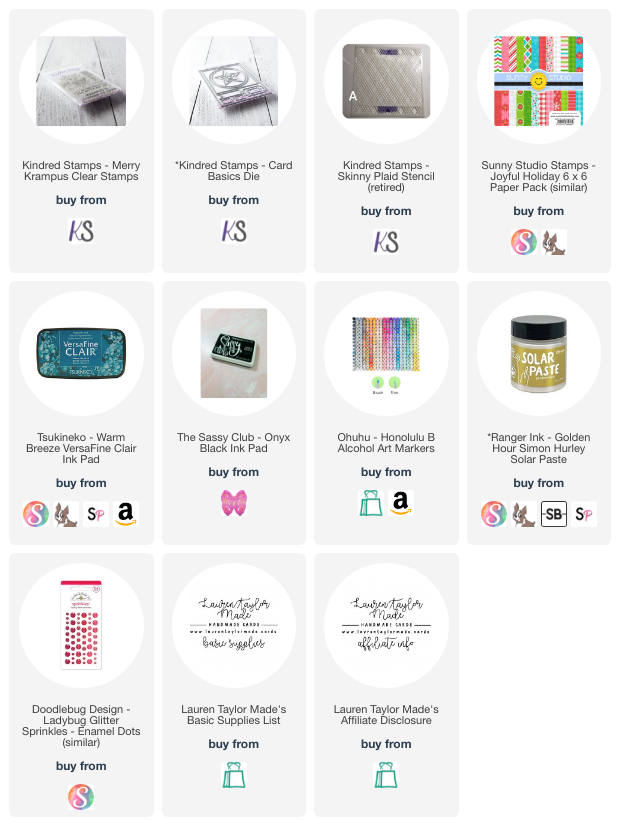
I'm having some fun with Christmas in July by sneaking in a little bit of silliness... Krampus style! The Merry Krampus set from Kindred Stamps is so fun and I just loved coloring him in with my Ohuhu Art Markers. I fussy cut him out and added some highlights with a white gel pen. My background is a piece of red cardstock and I used a plaid stencil with Solar Paste to give it some shine that I thought matched the coloring of Krampus.

The center piece of patterned paper is a leftover piece from a Kindred Stamps event but I just love the teal blue color mixed with the red and champagne gold. I adhered it to the center and glued this background to the card base. I die cut the circle out of white cardstock and stamped my sentiment in a blue ink that matched the patterned paper. Using foam adhesive, I added the circle to the upper center of the card and then added my Krampus with foam adhesive as well. Finally, I added a few glittery red enamel dots!

I hope this July brings you some fun holiday inspiration and I also hope you enjoy a little fun by mixing in some Krampus with our Santas!

PIN THIS
SUPPLY LIST

Read More

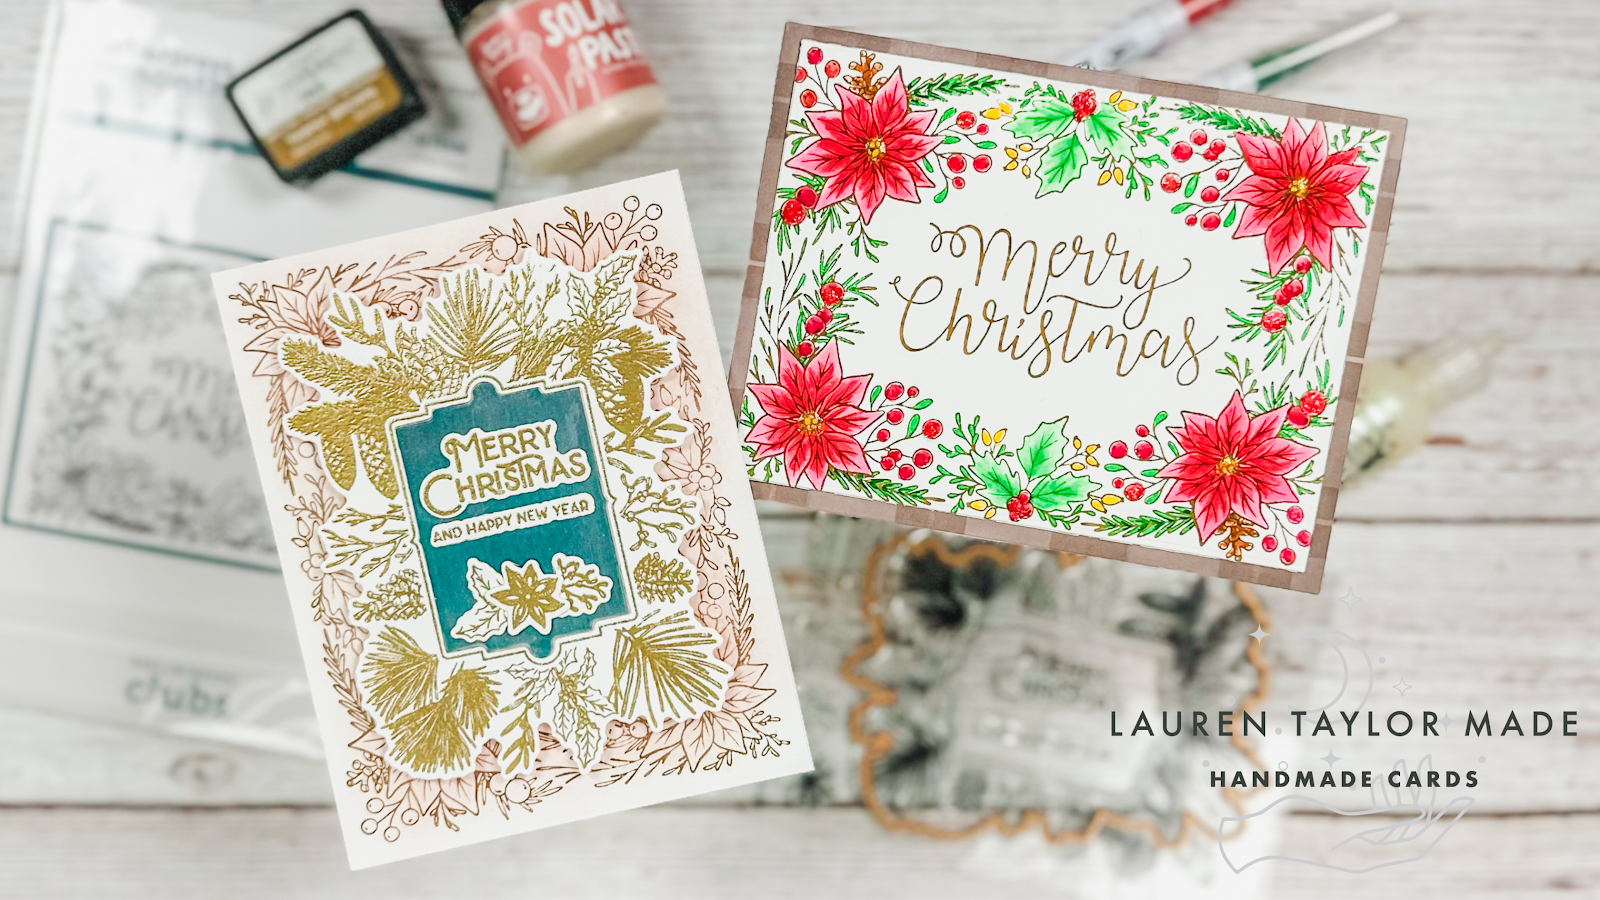
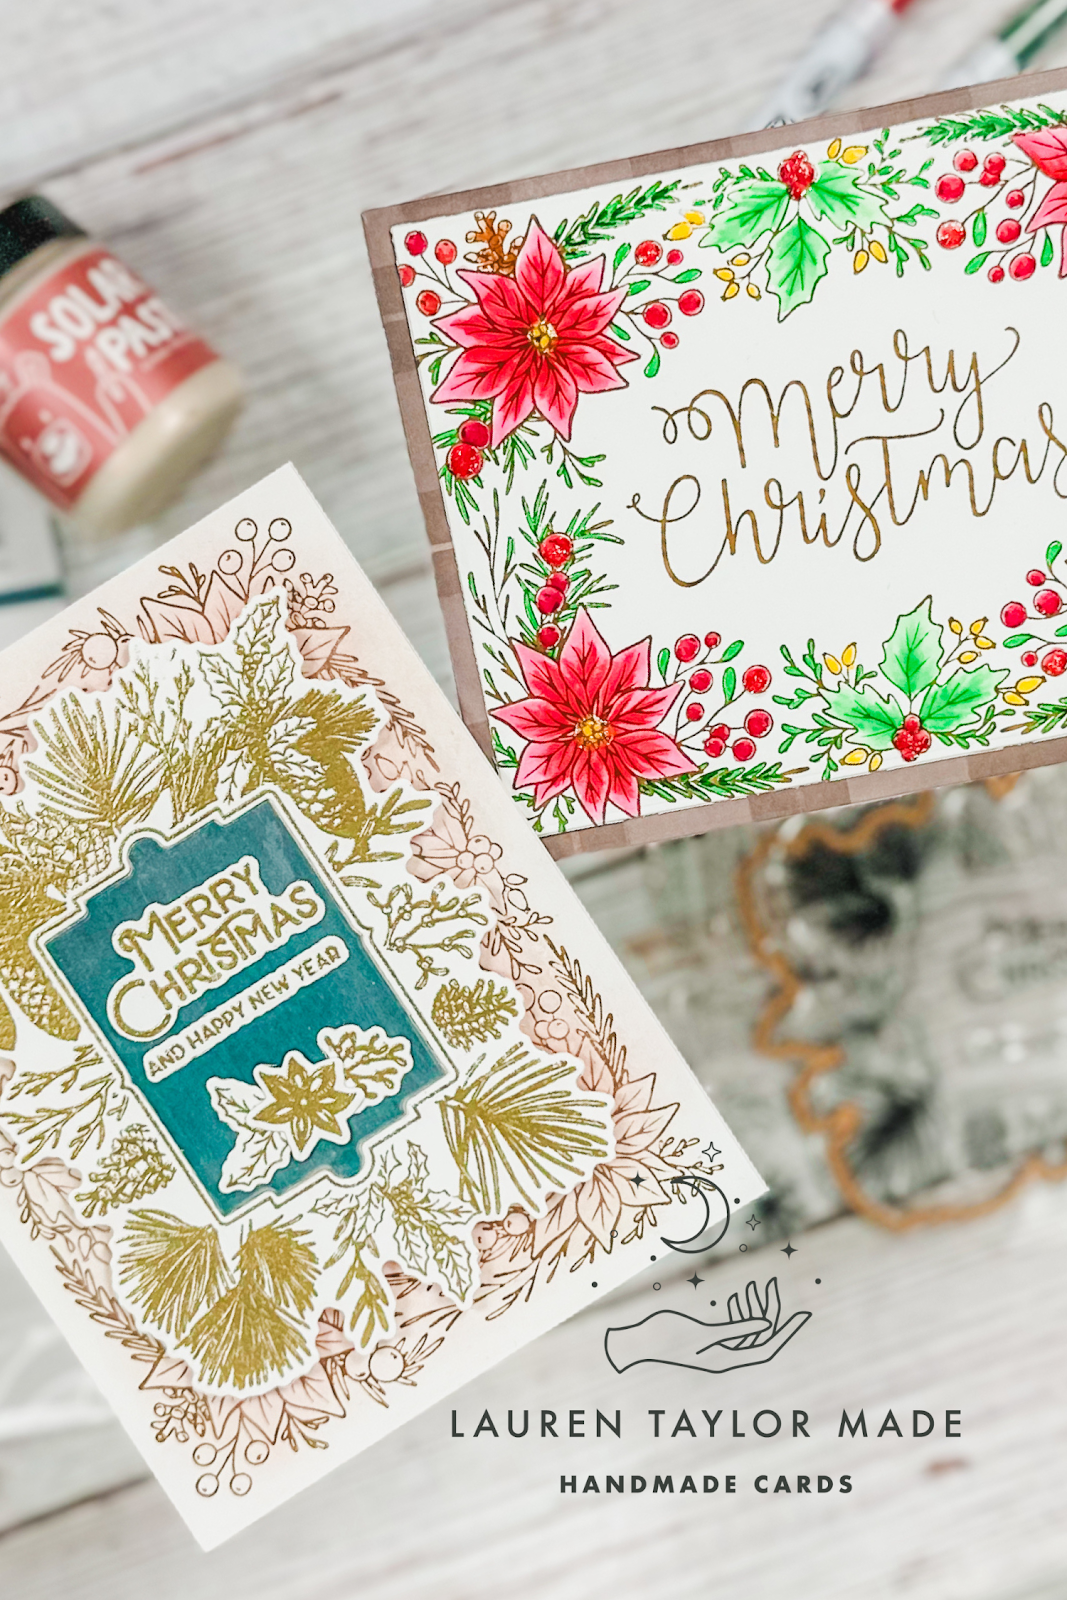
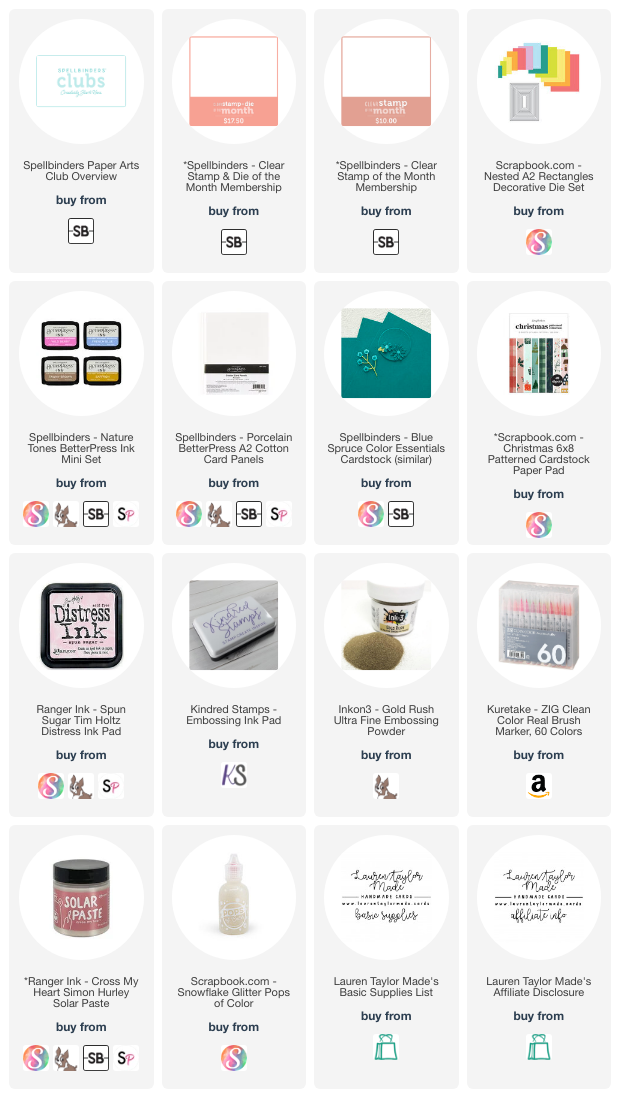
Spellbinders July 2023: Clear Stamp + Die of the Month and the New BetterPress of the Month!

Saturday, July 1, 2023

Can you believe that it is July already?! This year is just flying by... And we're going to make it feel like it's flying by even faster with Christmas in July. We're starting off strong this month with my latest video sharing two of the Spellbinders Club Kits - Clear Stamp & Die of the Month as well as the brand new BetterPress of the Month! I'm so excited to be on the Influencer Team with this new kit and build up my BetterPress plate collection.

I have made two cards for today as usual, but instead of sharing two ideas of how to color and use the Clear Stamp & Die of the Month, I wanted to really highlight the new BetterPress as I know there are still some crafters out there that may be on the fence with this new product line. The first part of my process and tutorial video today is how I used the BetterPress of the Month to create a panel card with no dimension (except for a little Pops of Color)!

Then for the second card, we're going a bit non-traditional and I used the BetterPress along with the Clear Stamp & Die of the Month for a festive Christmas card! I think it's my favorite of the two because I went a but crazy with the shine and it's just so dreamy in person because of the touch of Solar Paste. I hope you like my inspiration with the Club Kits and that you'll check out the new BetterPress of the Month Club here!

VIDEO TUTORIAL


PIN THIS
SUPPLY LIST

Read More