Joy to the Rainbow World with Scrapbook.com

Friday, July 14, 2023

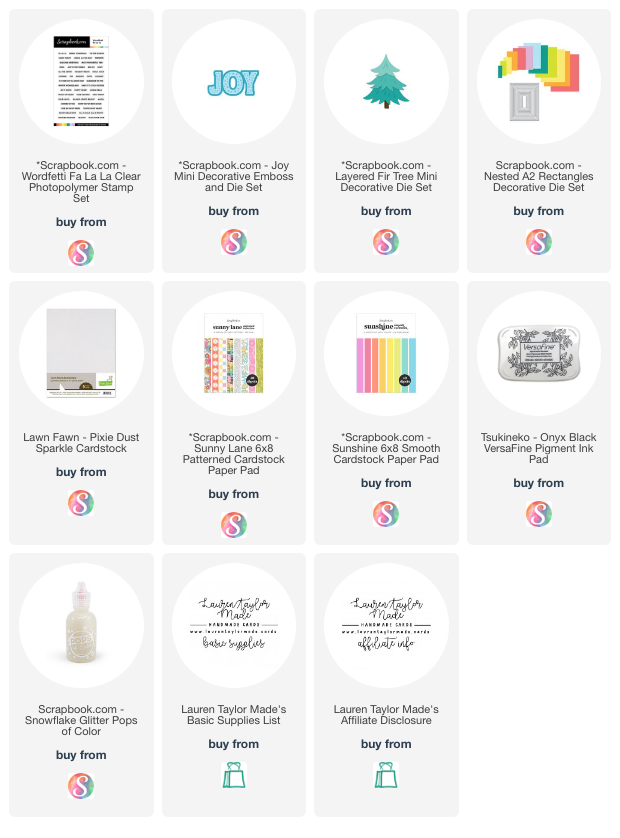
Don't you just love it when Scrapbook.com offers free dies?! I have two of the recent freebies from Christmas in July - the Layered Fir Tree Mini Die Set and the Joy Mini Emboss and Die Set - and they go so well together. I brought in a checkered sheet of Sunny Lane Patterned Paper and it matches the Sunshine Smooth Cardstock perfectly! I did lots of die cutting to create a colorful Christmas card with the sentiment "Joy to the World."

If you would like to see how my card comes together, I have actually embedded my TikTok video today since I can do a longer video over there and I wanted to do some fun with ASMR. I also have it on Instagram and YouTube but they're super sped up just for fun, but the TikTok video is the easiest to watch. Do you like ASMR videos or do you prefer the quick videos with music? Let me know for the future!

VIDEO TUTORIAL

@laurentaylormade joy to the world 🩷❤️💛💚🩵💜 @Scrapbook.com products & channeling my inner @Ralph Tyndall Designs for this #asmr #crafttok #diy #handmadecard ♬ original sound - Lauren

PIN THIS
SUPPLY LIST

Read More

Miss Ink Stamps Sneak Peek: Stay Weird!

Thursday, July 13, 2023

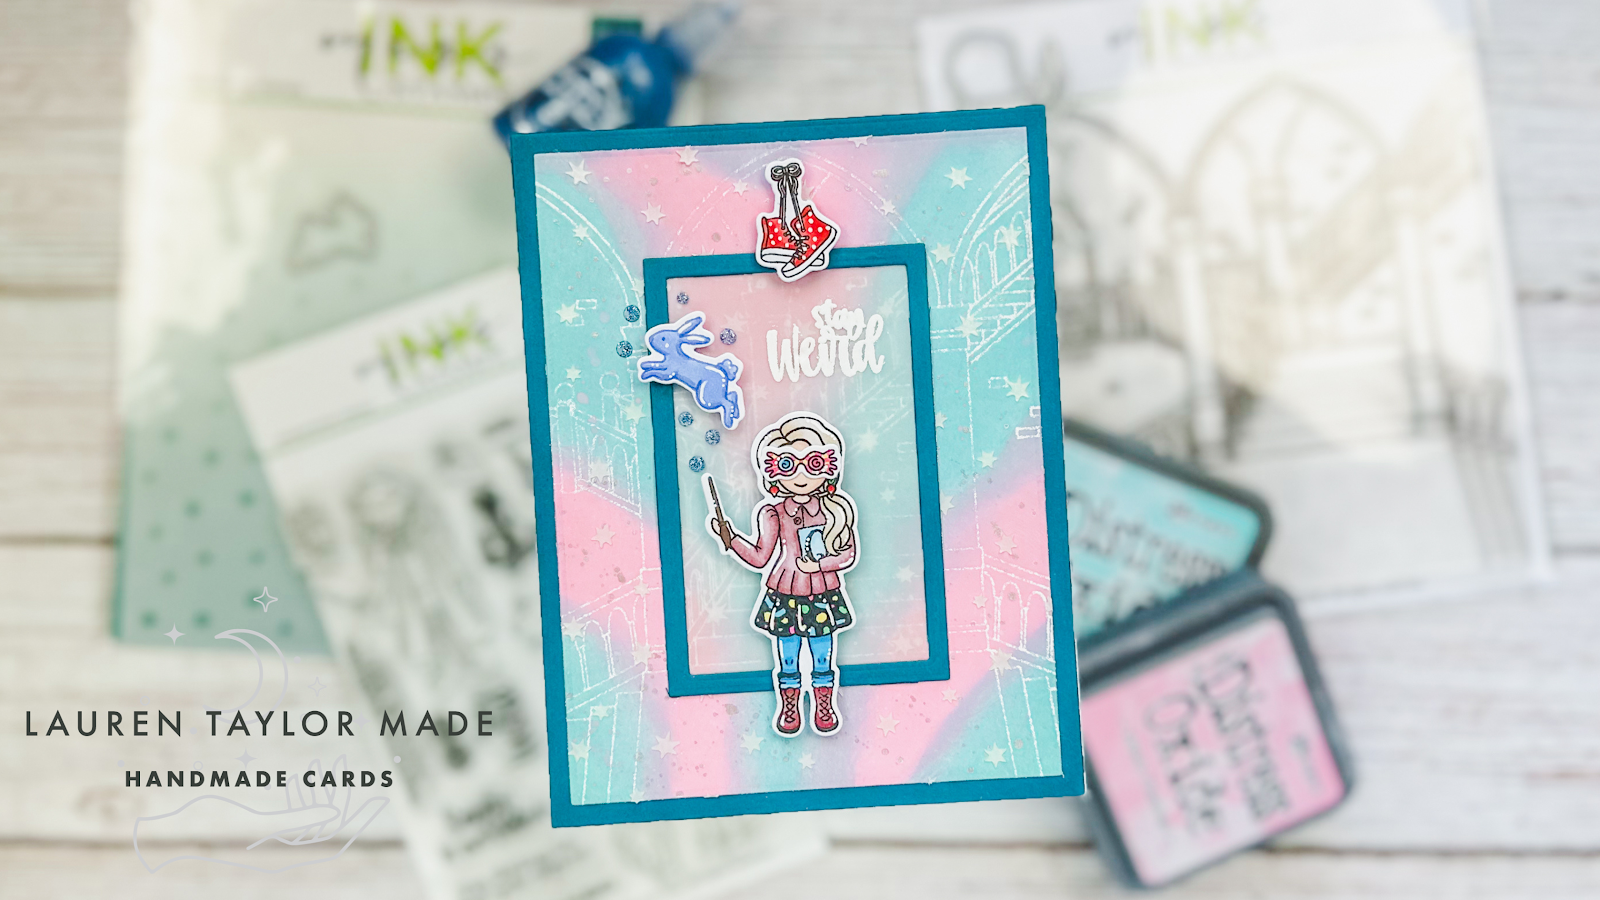
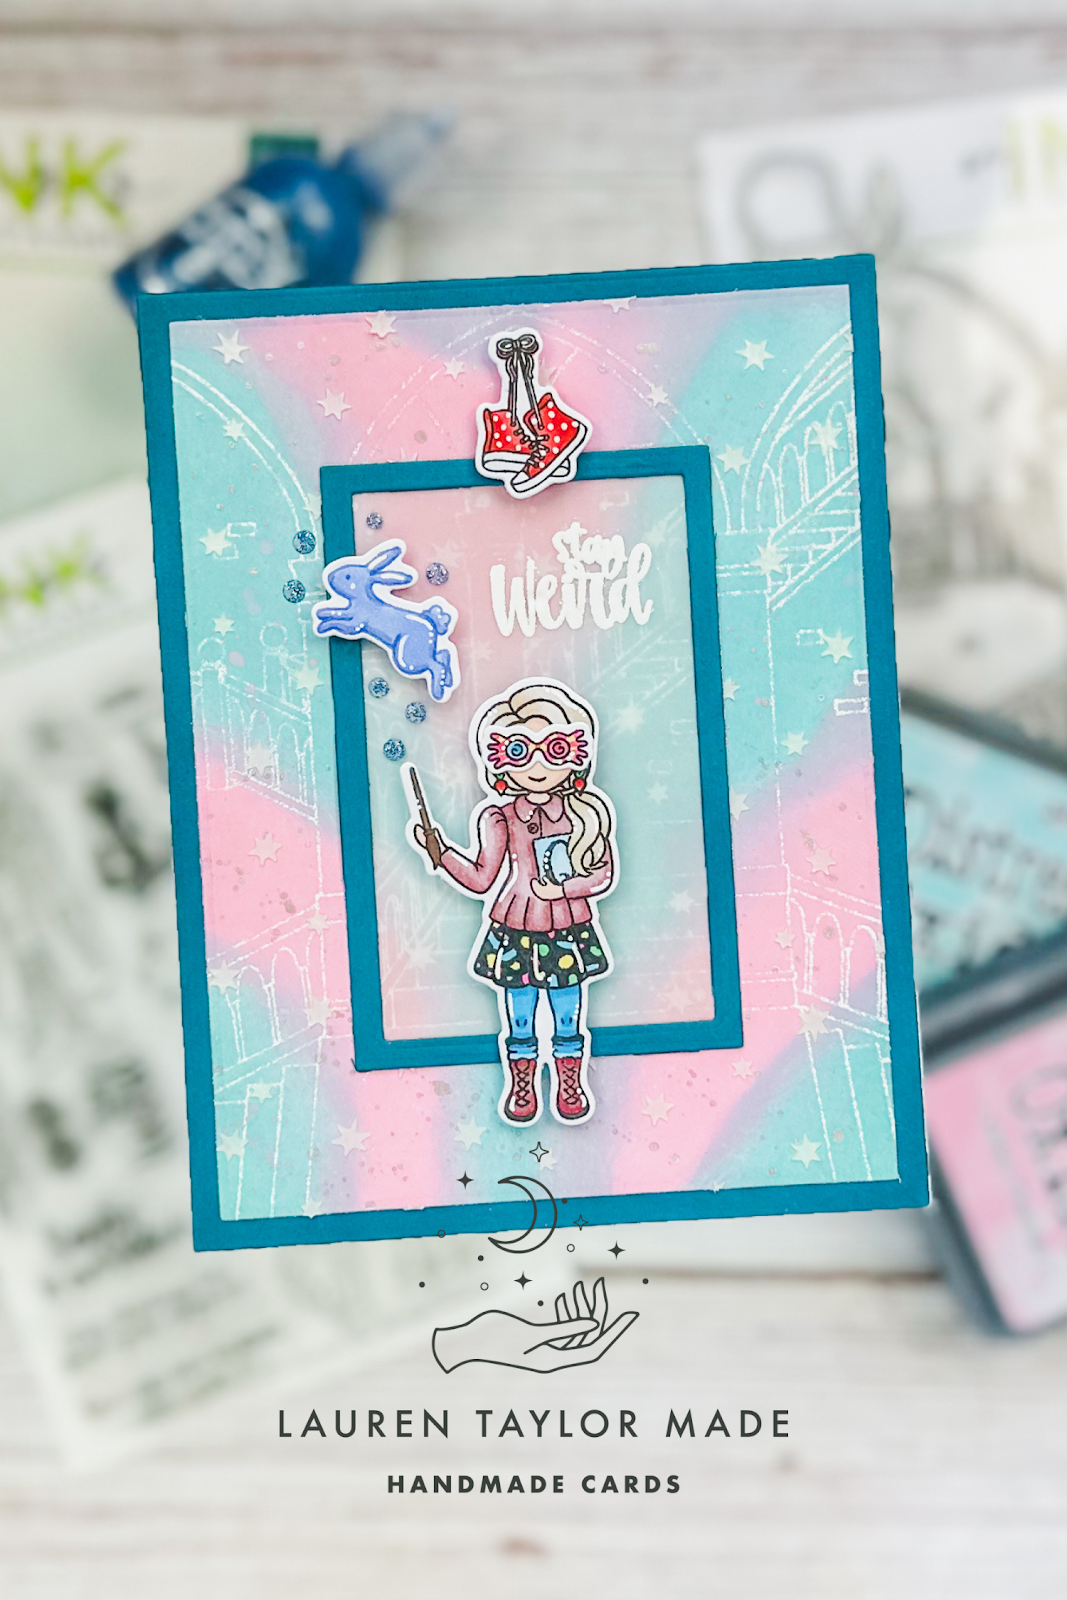
I'm so ready for this new Miss Ink Release! My favorite fandom character from the Magical Collection is finally here and she is perfect. I created a colorful card inspired by the glasses of this character and I really enjoyed picking out my Ohuhu Art Markers to color her in. I started with coloring and die cut out my images with the coordinating dies.

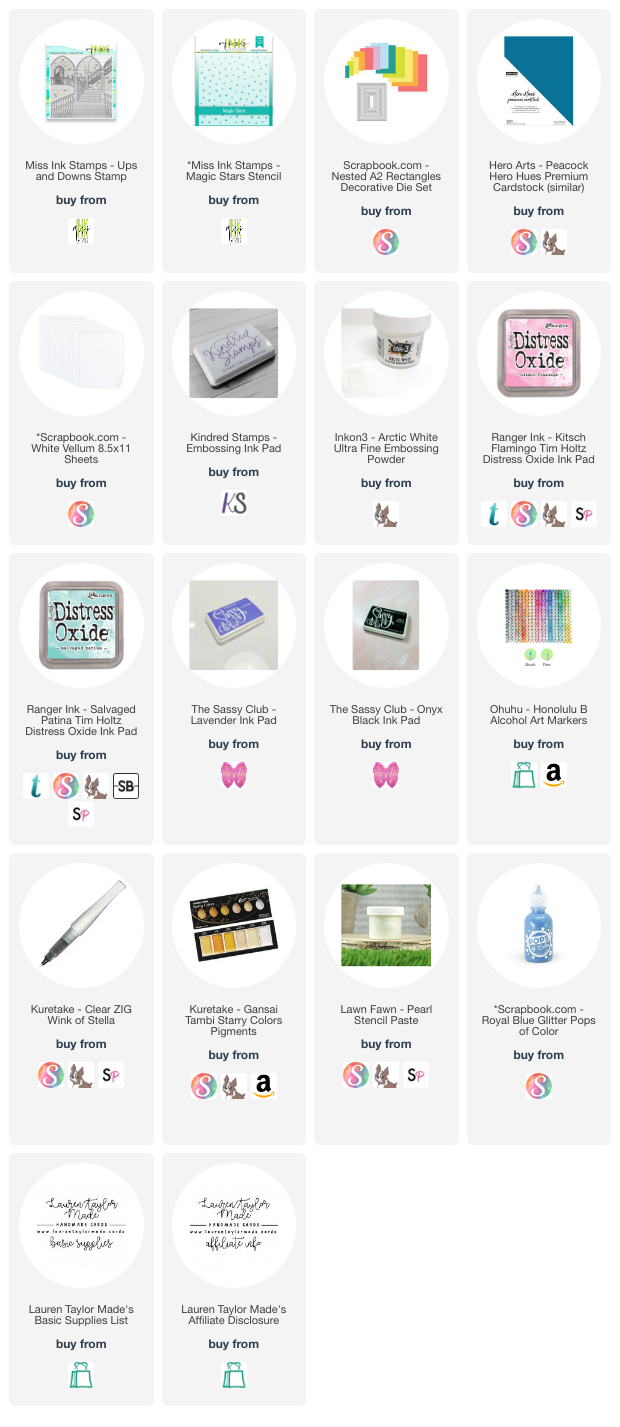
Next I stamped the Ups and Downs background stamp and and embossed it with white embossing powder. I used Kitsch Flamingo and Salvaged Patina to ink blend a swirly background and splattered white, metallic watercolor. When it dried, I stenciled on Pearl Stencil Paste through the Magic Stars Stencil and set it aside to dry.

When it was dry, I die cut it with a nested rectangle die as well as some teal blue cardstock to be the background on my card base and I created a frame. To back the frame, I also die cut vellum cardstock and stamped my sentiment and embossed it in white, too. I adhered the frame on top of the vellum, then added adhesive behind the frame to glue to the ink blended background and finally glued this to the background cardstock that is adhered to the card base.

The images were attached with foam adhesive and to create her patronus I added some Glitter Pops of color as I stamped and colored this image in with shades of blue. I'm excited to share the other stamp set from this release with you soon, but these new stamps are the perfect addition to the Collection so come back Saturday to shop!

PIN THIS
SUPPLY LIST

Read More

Sunset Shaped Card with Simon Hurley + Ranger Ink

Wednesday, July 12, 2023

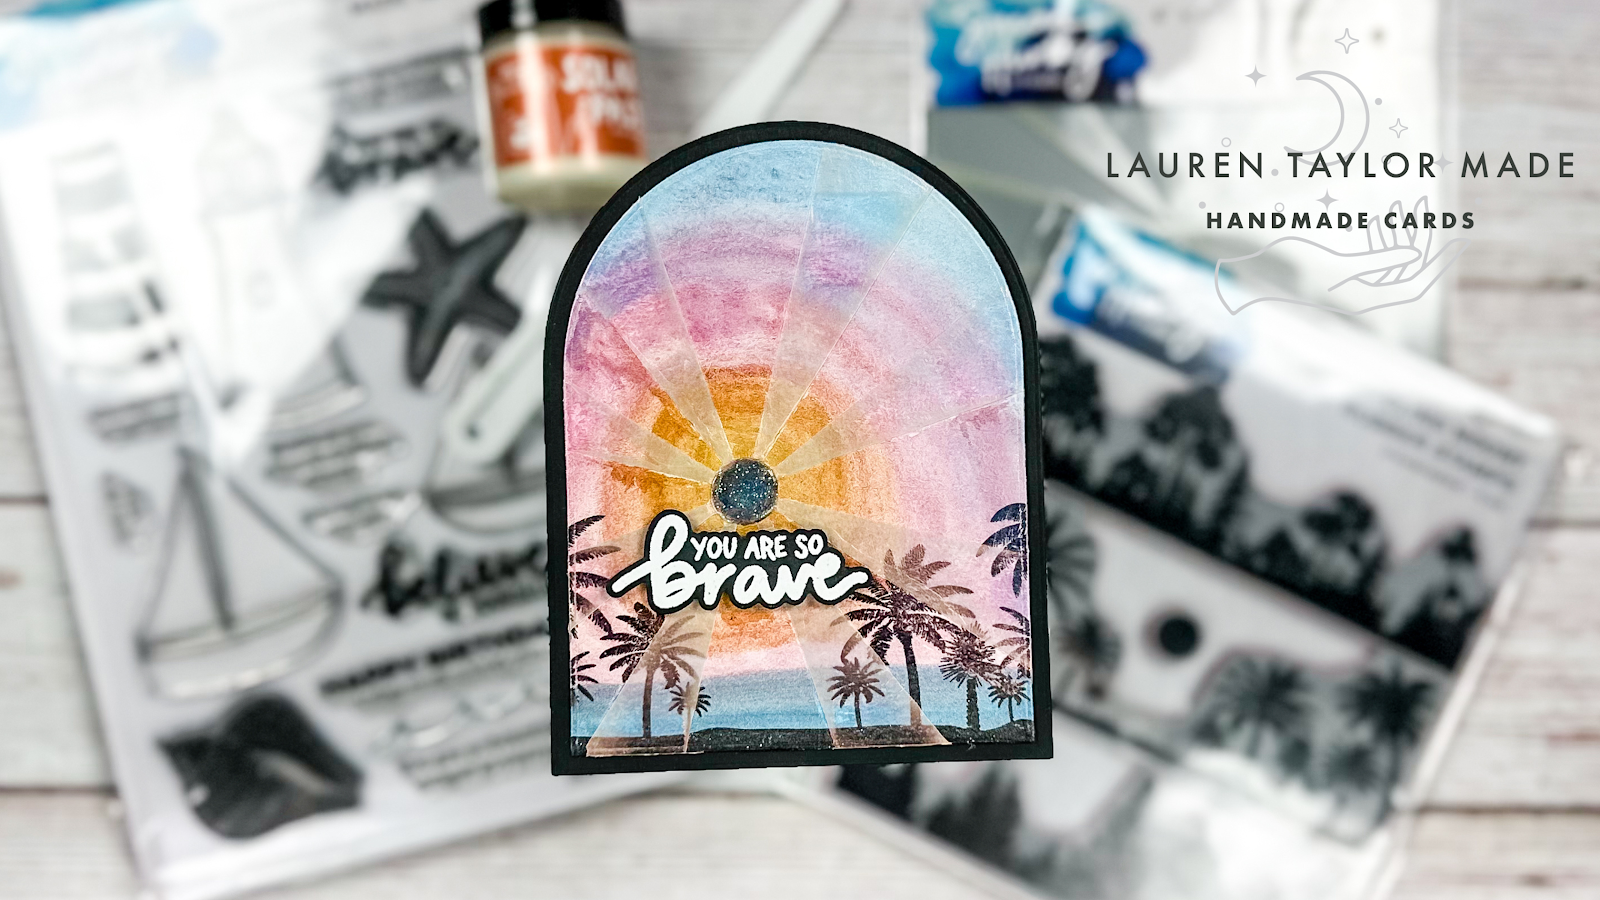
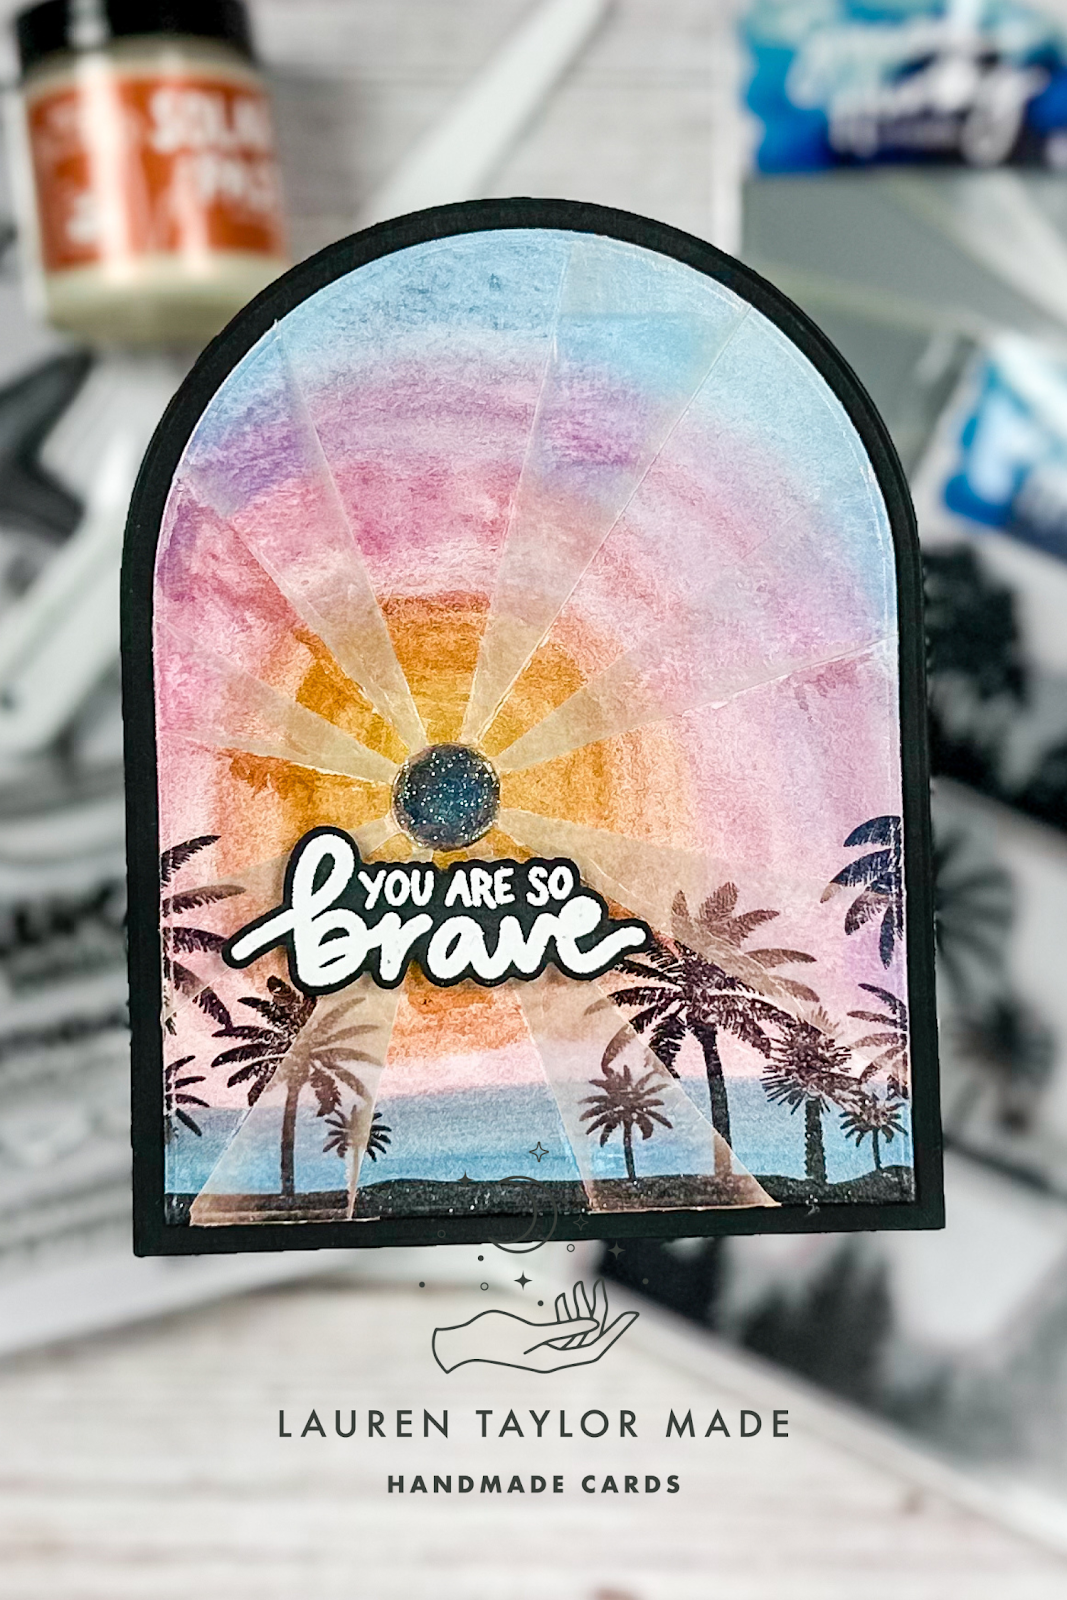
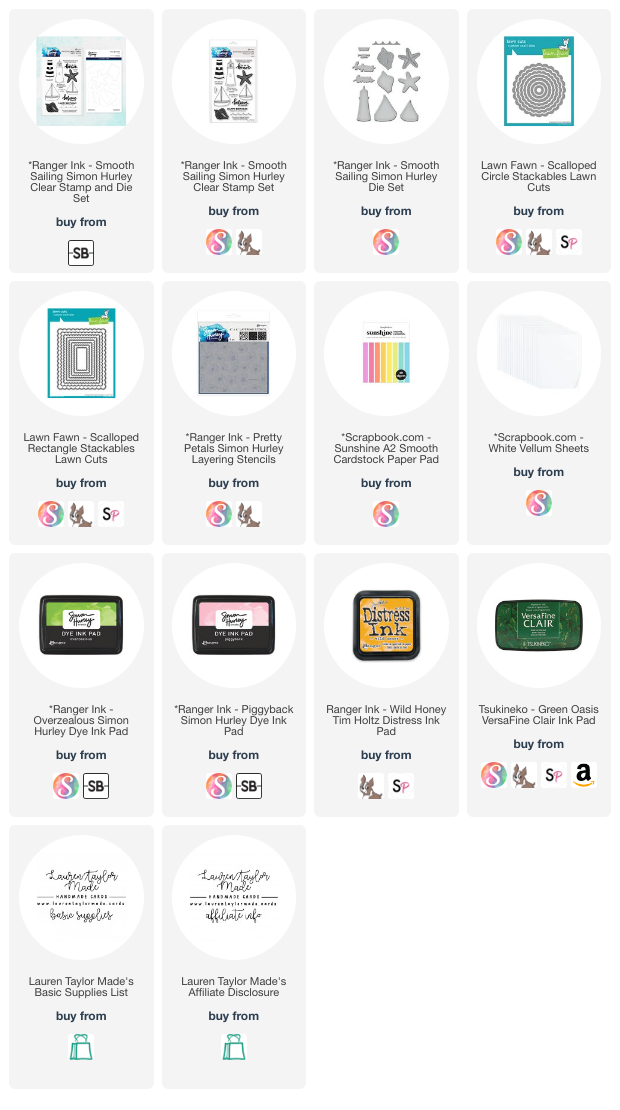
Okay, so the pictures of my watercoloring are not great... I swear my painting looks a little better in person, but I willingly admit I am not great at watercoloring. I did my best to create a sunset background with metallic watercolors on an arch shaped piece of watercolor cardstock and while it's not the best, I do like how my card turned out. When my watercolor was dry, I stamped my beach scene and sun in VersaFine ink and embossed the images with clear embossing powder.

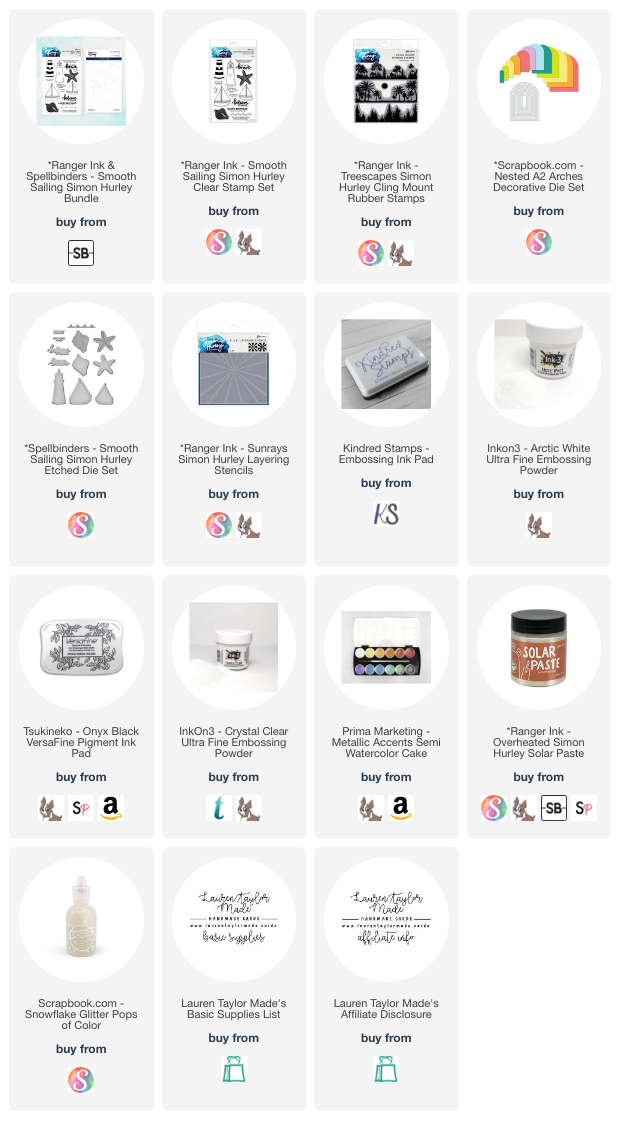
Using one of the Sunrays stencils, I stenciled on some Overheated Solar Paste to give even more shine to the card. While it was drying, I stamped and embossed my sentiment from the Smooth Sailing stamp set also from Simon Hurley + Ranger Ink and used the coordinating die set from Spellbinders to cut it out. Now that my background was dry, I adhered it to an A2 arch die cut from black cardstock which was attached to a shaped card base. I popped up my sentiment and added some Glitter Pops of Color to my sun so it really shines!

I hope you are all having a wonderful weekend and remember to keep shopping for Amazon Prime as well as the Scrapbook.com free shipping! Such great deals you just don't want to miss!

PIN THIS
SUPPLY LIST

Read More

Color & Chat: Lawn Fawn Gingerbread from Sweet Christmas

Tuesday, July 11, 2023

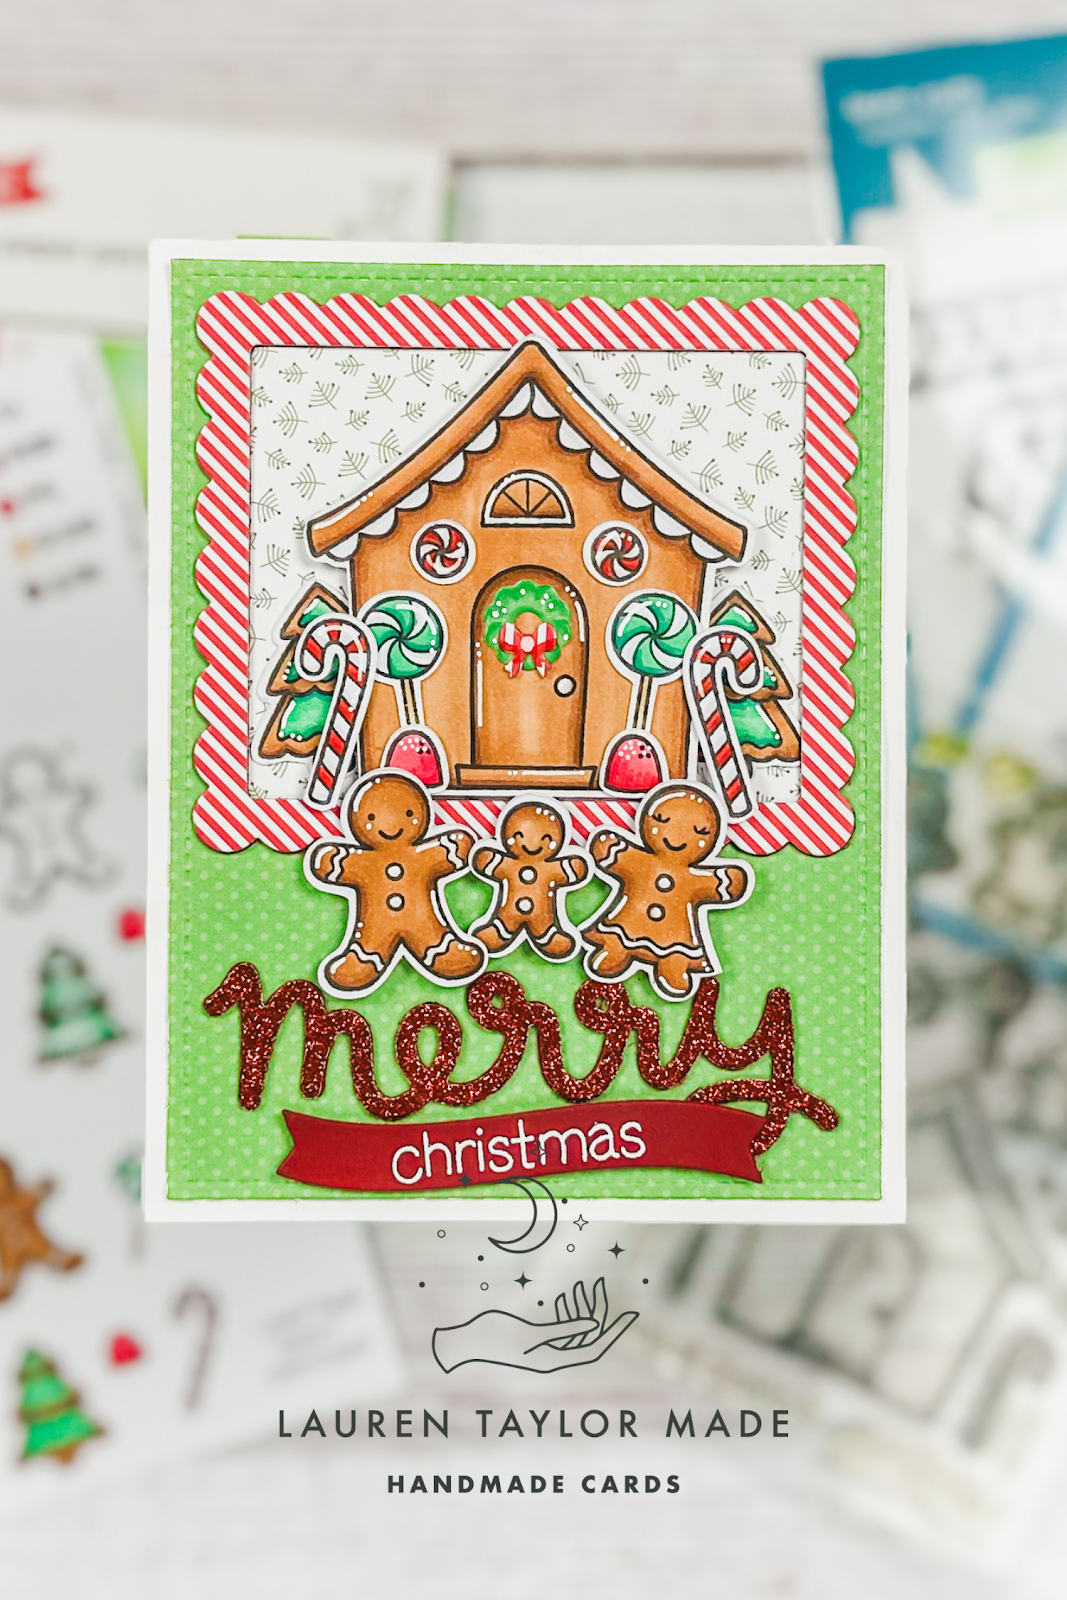
We're back to Christmas in July with this month's Color & Chat video and coloring guide! I thought it would be fun to create a guide for gingerbread and holiday candies, so that's what today's video and post is sharing. You can check out my video down below to catch up with me and to see how I use my coloring guide, but I still wanted to share with you the details of how my card came together.

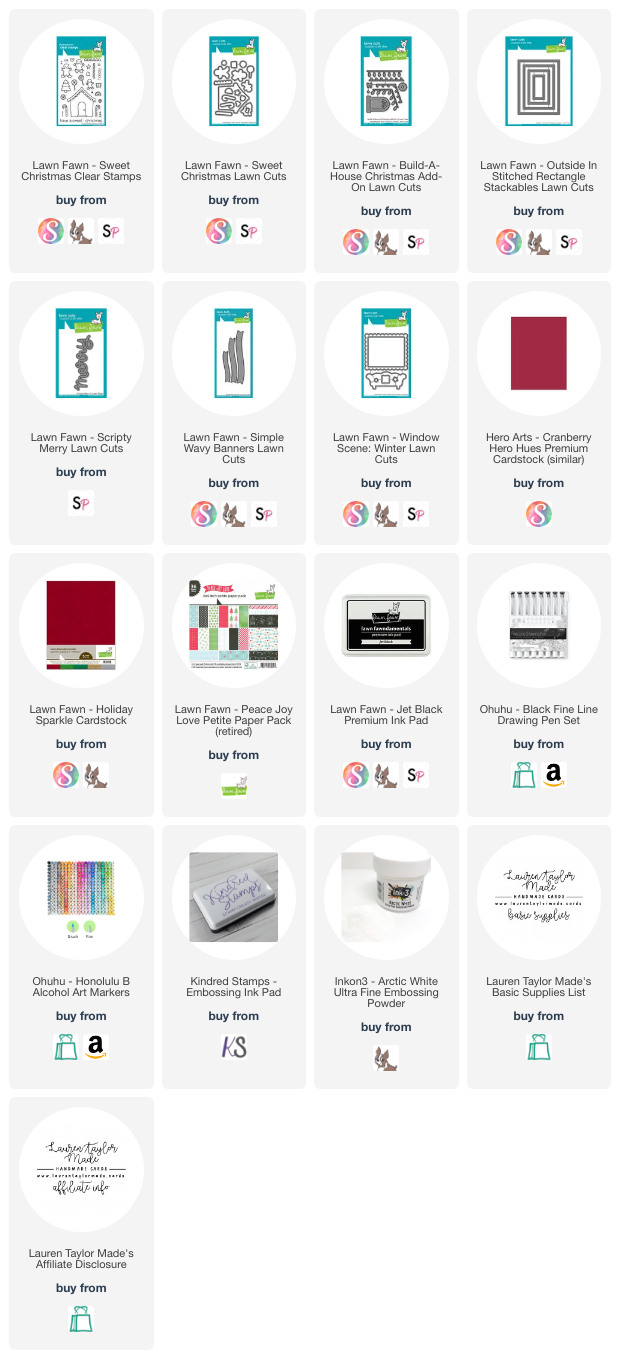
After I colored my images, I used my Scan N Cut to cut them out since I do not own the die set (but it's linked in my supply list in case you prefer using dies). I die cut a green panel for my background out of the retired Peace Joy Love Petite Paper Pack and added it to my card base. To create a frame, I used the Window Scene: Winter die set and cut out the striped frame as well as two more in a dark red cardstock. I glued these layers together and attached a panel of the holly design to the back.

The "merry" sentiment was die cut out of red glitter cardstock and two times in the same dark red cardstock, then glued together just like I did the frame. I also die cut a banner out of the cardstock and embossed "christmas" to complete my sentiment. I laid all of my elements onto the card base and once I was happy with the layout, I glued down the "merry" and frame to the card base. I layered the gingerbread house scene and used some foam adhesive while tucking the trees behind the house.

I used the same foam adhesive to attach my banner and cute gingerbread family. I hope this coloring guide is useful to you and that you're having some fun with coloring. If you're watching this during Prime Days, Ohuhu Markers are currently on sale, so check them out!

VIDEO TUTORIAL


PIN THIS
SUPPLY LIST

Read More

Trash Birthday Wishes with The Sassy Club

Monday, July 10, 2023

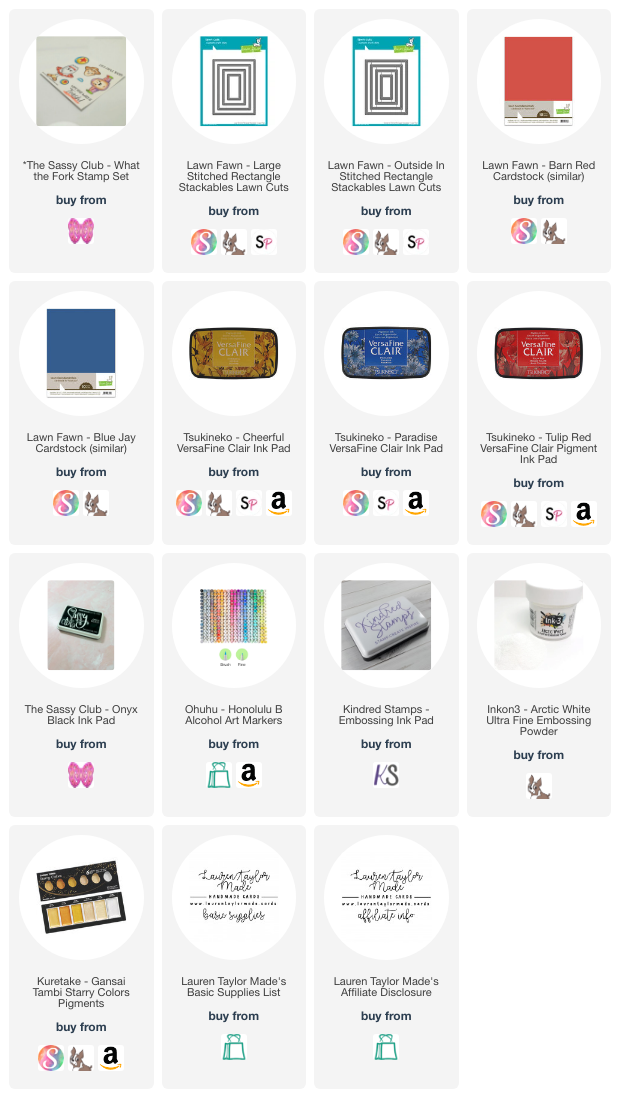
Having some fun with primary colors today! I just love this little fork guy from The Sassy Club and I thought it would be fun to play off of his colors along with the colors of the fandom studio's signature ball. I started with die cutting a blue cardstock panel and glued it to a card base. I then took a sheet of white cardstock and stamped the large and small bouncy balls from the What the Fork stamp set in red, yellow and blue inks. Once I was happy with the panel, I added some white, metallic watercolor splatter and cut it out with another rectangle panel die when it dried and adhered it to the center of the card base.

From the same stacked dies, I die cut a piece of red cardstock that would fit my sentiment and embossed it with white embossing powder. I used foam adhesive to attach it to the center of my card base then moved onto stamping and coloring my character in with alcohol markers. I fussy cut him out and adhered him to the card with foam adhesive as well. I hope you like this simple card layout and you check out the adorable stamps from The Sassy Club!

PIN THIS
SUPPLY LIST

Read More

Blessed Cozy Critter Card with Scrapbook.com

Sunday, July 9, 2023

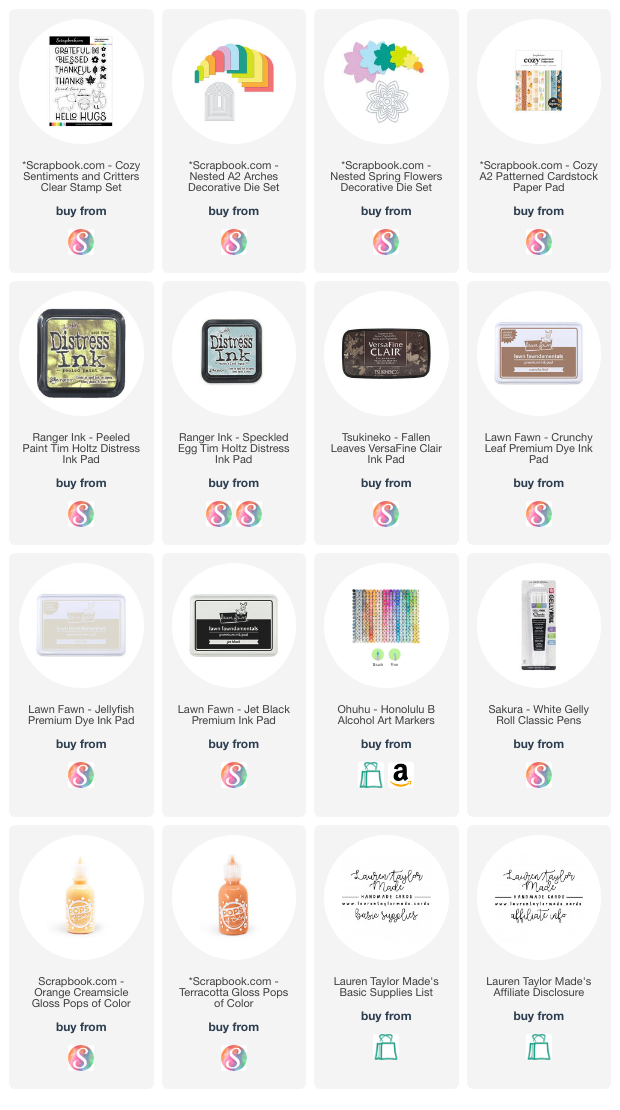
Hashtag blessed! Just kidding. When I saw the Cozy Patterned Paper Pad from Scrapbook.com, I fell in love with paper like I never have before! It's a beautiful paper collection and my favorite are the florals - especially these colorful ones on my card. I wanted the paper to shine so I created a panel with a window opening so you can see the florals as much as possible. 

In my video today, I walk you through how I colored my fox with Ohuhu Art Markers with the fox stamped in black, brown and light grey for a no-line coloring look. I then die cut my panel and stamp my sentiment as well as some solid stamps from the same stamp set. After assembling the card, I use two  Pops of Color to add some glossy shine to finish. I think it's super cute and would make a great thanksgiving card! 

VIDEO TUTORIAL


PIN THIS
SUPPLY LIST

Read More

Believe In Yourself Floral Gate Fold Card with Simon Hurley + Ranger Ink

Saturday, July 8, 2023

I went with simple for this week's episode of Craft Roulette! Which also means that I was able to get my card done on the same night as the episode, which rarely happens! I have a quick video down below if you'd like to see the process, but I have a gate fold card as I needed a card with two folds. Using planter colors of a terra cotta pot with pink flowers to inspire my ink and paper choices, I stenciled my background and stamped my sentiment.  

The dies I used for this card are using some old products that I have had from Lawn Fawn for many, many years. The scallop touches I thought looked so cute with these flowers! Finally, I added happy faces to some of my flowers with a brown pen for small touches and to meet the final parameter of Craft Roulette. Just a reminder when you're making a gate fold card, only put adhesive on half of your center piece that overlaps both sides of the card! Don't ask me how I know...

VIDEO TUTORIAL


PIN THIS
SUPPLY LIST

Read More