Favorite Things Florals - Oh So Inspired Collaboration Card!

Tuesday, February 20, 2024

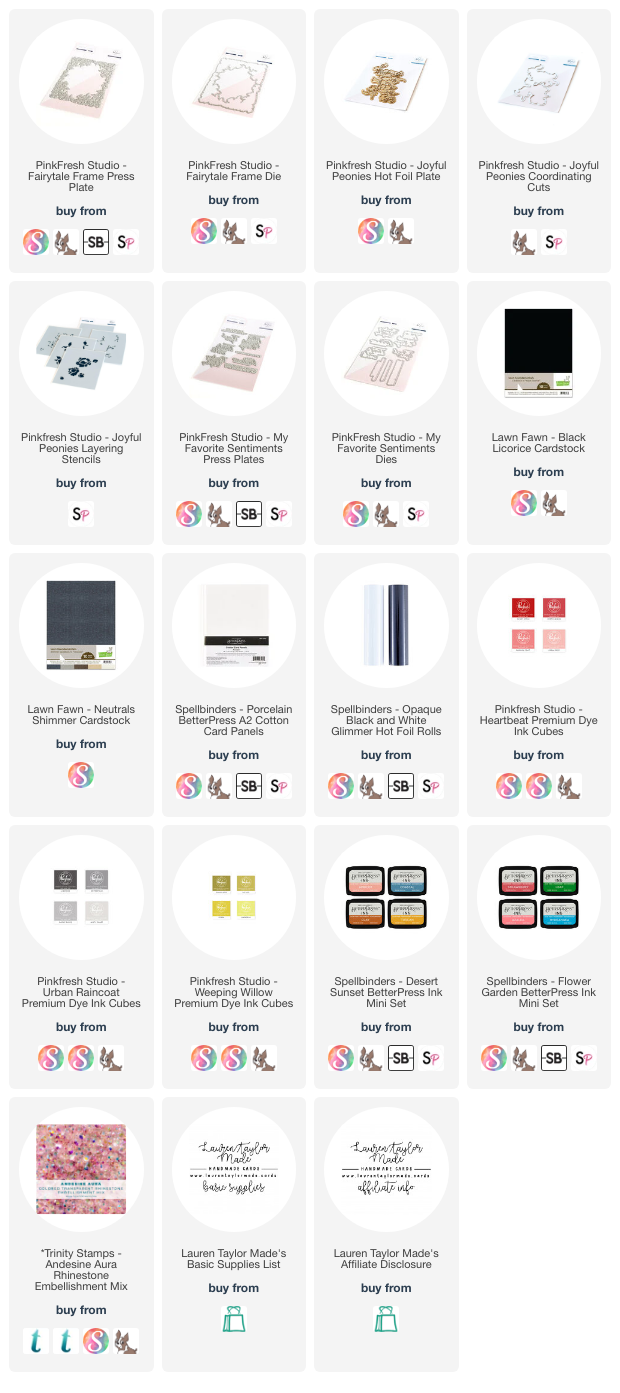
I have to say, I really love this card. The flowers, the colors, the stenciled touches, the foiled images, letter pressing... I'm so happy with how this card turned out! This card came together thanks to being a part of the Oh So Inspired Collaboration Team and we're here to share with you projects this month inspired by a beautiful floral card from Rochelle Blok (blog, Instagram).

From her card, I used the flowers and colors to inspire my card. Even the simple touch of a white sentiment on black cardstock! You can see my video down below for my process but also make sure to watch over on YouTube so you can get the details of today's hop! I cannot wait to see what everyone makes with this month's inspiration. I want to make a hundred more of these cards!

VIDEO TUTORIAL


PIN THIS
SUPPLY LIST

Read More

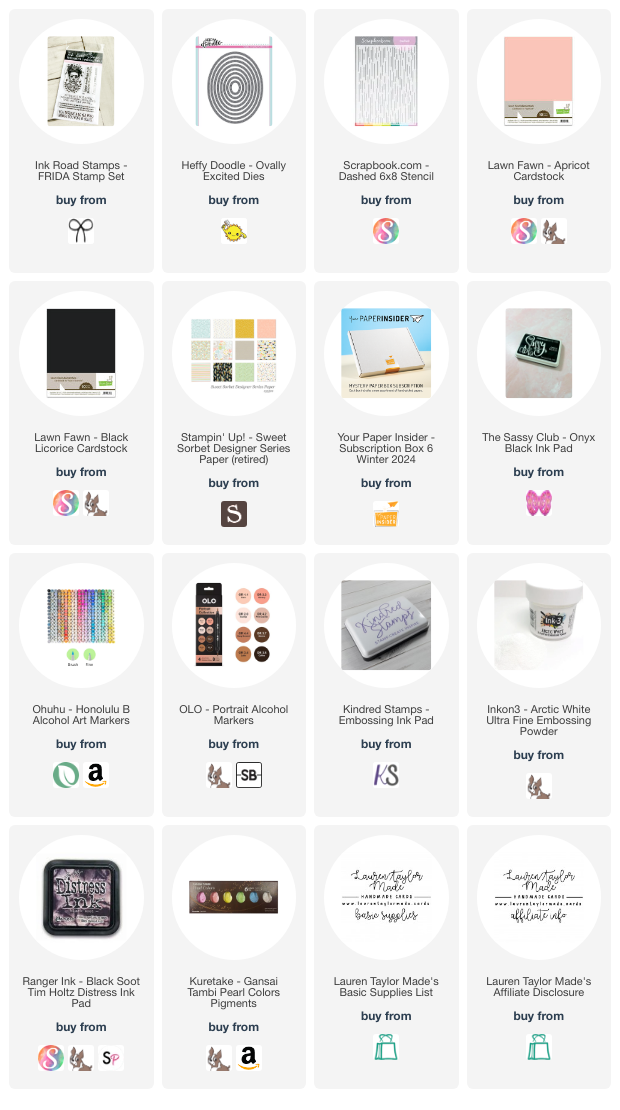
FRIDA 5x7 Card with Ink Road Stamps

Monday, February 19, 2024

I really struggle with 5x7 cards and when I saw Craft Roulette this past Friday was this size card, I was a little discouraged at first... But I can't stop my streak of making cards - this will be 125th, consecutive card I have made with the parameters as inspiration! So let's walk through today's card! First I went through my stash of old patterned paper and settled on some paper that had colors that looked to like it would meet the formal and information parameter.

Since I did not make a card last month using the Show Us Your SheetLoad sketch from January 2024, I decided to scale it for a 5x7 card. For some of the panels I cut following the sketch, I made my own crisscross pattern with a stencil and black ink. I also added some splatter and let it dry while trimming my pieces of my card.

I put my card together and added a few touches of shimmery green cardstock. My image was stamped and colored with alcohol markers and I used an oval to cut my Frida out as I thought it would fit the image better than circle. For my sentiment, I embossed it in white on black cardstock and I'm relying on the word "coffee" to meet the warm element to finish of my card!

PIN THIS
SUPPLY LIST

Read More

You're the Tweetest with Pretty Pink Posh

Sunday, February 18, 2024

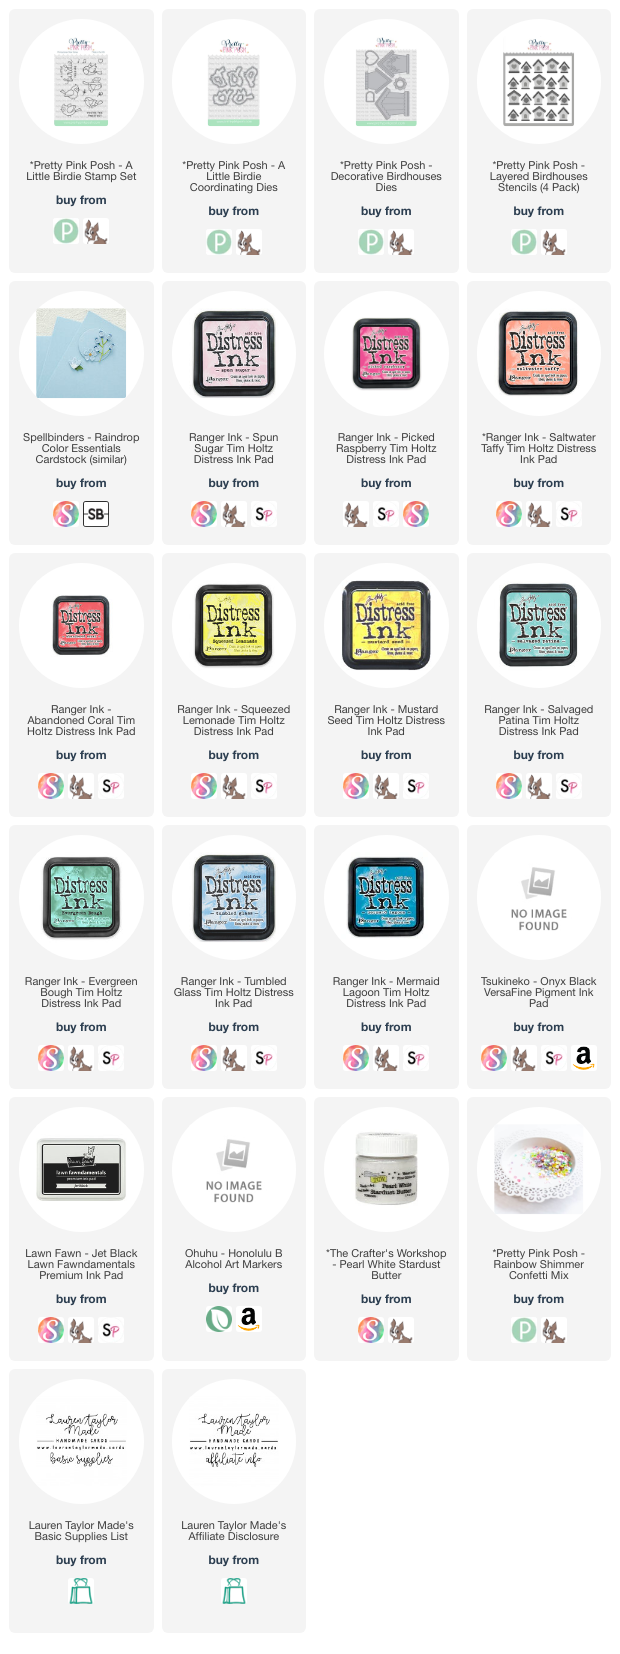
I have some Spring inspiration today with Pretty Pink Posh! First I started with stenciling my birdhouse background on white cardstock with the Layered Birdhouses Stencils. I used the A stencil with Distress Inks in Spun Sugar, Saltwater Taffy, Squeezed Lemonade, Salvaged Patina and Tumbled Glass. Next I used the B and D stencils with Distress Inks in Picked Raspberry, Abandoned Coral, Mustard Seed, Evergreen Bough and Mermaid Lagoon. Finally, I used the C stencil with Pearl White Stardust Butter from The Crafter’s Workshop.

While the background was drying, I cut a birdhouse from the Decorative Birdhouses Die Set from a light yellow cardstock as well as the scallop details and archway from pink sparkle cardstock. I added some Mustard Seed Distress Ink to darken the color of the birdhouse and used Ohuhu Art Markers in teal colors to color in the leaves to match the teal birdhouses I stenciled. I assembled the bird house together and I just love the stitched details!

From the A Little Birdie Stamp Set, I stamped two birds and a little branch in alcohol marker friendly black ink. Using Ohuhu Art Markers, I colored them in and used the Coordinating Dies to cut them out. Once my background was dry, I trimmed it down to 4 x 5-1/4" and layered it with blue cardstock onto an A2 card base. I added the birdhouse towards the center of the card with foam adhesive, leaving room for the “You’re The Tweetest” sentiment beneath. Finally, I added my stamped images and different colors from the Rainbow Shimmer Confetti around the card as well as a few on the bird house.

PIN THIS
SUPPLY LIST

Read More

Sanity is Overrated with Miss Ink Stamps

Saturday, February 17, 2024

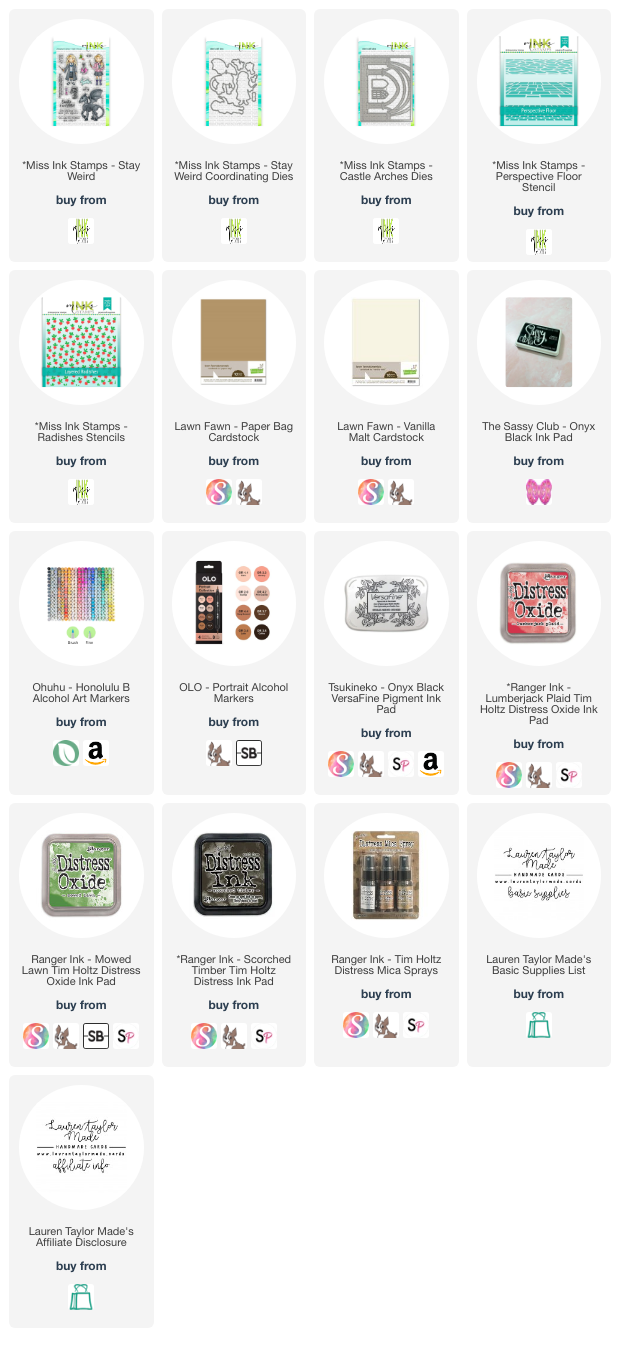
I love each release from Miss Ink Stamps as she builds more of her Magic Collection! This last release has a wonderful scene building die set and I knew I wanted to make this iconic scene from the movie adaptation of this fandom story. I started with stenciling my background with the layering Radishes stencil set then stamped and colored my images.

Next I did my die cutting and started assembling my scene. I did use some Distress Ink to create a stone floor and to darken the top of the Castle Arches and added some bronze splatter. I had fun making this card and I definitely want to make another card with a whole class of characters with a similar feel! Which character is your favorite from the Miss Ink Stamps Magic Collection?

VIDEO TUTORIAL


PIN THIS
SUPPLY LIST

Read More

Butterflies Congrats Card with Scrapbook.com

Thursday, February 15, 2024

I've had an idea in my head to stencil a background on different colored cardstock and then puzzle pieces together to create a seamless stenciled image with the slanted strips die cover plate and I finally did it! You can watch my video down below for a quick overview of how I made the card, but I'll walk you through how I made my card here on my blog, too.

Starting with different colors from the Sprinkles 6x8 paper pad, I stenciled the Butterflies A2 stencil with coordinating ink colors. I lined up each piece to the Slanted Strips Die and puzzle pieced the different strips to keep the stenciled background on a piece of white cardstock cut to A2 with an adhesive sheet attached.

I added a die cut white circle, my sentiment and butterflies in white (with a little yellow) to allow the colorful background stand out! To bring in more of the yellow that I used for my sentiment, I added a few Pops of Color in Sunshine. While the background did take me some time to assemble, I seriously love how this card turned out and that I can make six more backgrounds. 

Do you like the idea of having a stenciled image across a stripped background? Too much work? Let me know what you think in the comments.

VIDEO TUTORIAL


PIN THIS
SUPPLY LIST

Read More

Yeehaw - Let's Go Girls! Card with Scrapbook.com

If you've seen today's Scrapbook.com Livestream, you know there's an amazing deal on the three thickness foam squares. Now, I don't have the foam squares yet, but I do have the different thickness foam in the 1/4" rolls! I used the three thickness foam on my card today so you can see how I layered the different die cuts on my card.

I started with die cutting the Wavy with Dots A2 Plate out of a piece of black mixed media cardstock. I splattered some Cloud 9 inks to give a metallic, shiny look to the background. I adhered these pieces to my white card base once the pieces dried.

Next I did lots of die cutting! I die cut my disco ball pieces, cowboy hat and "Yeehaw" sentiment from different colors of the Pinks A2 paper pad. The outlines of the disco ball and cowboy hat were die cut from purple glitter paper to create a bold outline. I added some glitter to the pieces and adhered them together to then be layered them onto my background.

My string is adhered to the background with liquid glue, the disco ball with the 1mm foam, "Yeehaw" with the 2mm foam, and the cowboy hat with 3mm. I did add my stamped sentiment with the 3mm foam adhesive where it overlaps the background only. My sentiment is embossed with purple ink and a holographic glitter.

For some final touches, I did add some Pops of Color on my disco ball and around all my die cut images! I hope you like this crazy card - it makes me so happy and just screams party!

PIN THIS
SUPPLY LIST

Read More

Snap, Crackle & Pop with The Sassy Club

Guys, I have been SICK. Like, stuck in bed and not having any time in the craft room sick. It's been so tough! But I knew I had to get my Craft Roulette project done now that I feel quite better. Honestly, I left the house and got some fresh air that really helped. So let's get into the card because I had fun making it with this week's parameters.

I started off with cutting my card base with the a die that creates an easel card from Heffy Doodle with blue cardstock. I assembled it together with a white base so I can stamp my sentiment. My colors are from a certain sweet cereal brand that has a quiet sound that you can hear when you get close - that snap, crackle and pop! I used the cereal box and elves to pick my colors - the blue cardstock has Distress Oxides blended to darken the bottom of the card and I used Picket Fence Distress Ink with a circle stencil set to add the look of bokeh.

After I assembled the card base, I stamped and colored my elves with a mix of alcohol markers in my stash. Then I die cut my cereal bowl and cereal pieces; I added a little ink to my cereal pieces to give them a bit of dimension before layering them in my bowl as well as a spoon. I used some acetate to secure my two elves to the top of the cereal bowl and used foam adhesive to add all my images to the bottom fold of the easel.

Before I glued my bowl together, I did stamp my "Snap Crackle & Pop" sentiment in blue ink to the bowl. I also added the "It's such a treat to be your friend" sentiment on the inside of the easel opening with the same blue ink. I'm so happy to have made a card, but now I need to get some sleep because I've got some videos to record after work tomorrow!

PIN THIS
SUPPLY LIST

Read More