Out & About with the New Scrapbook.com Exclusive Spellbinders Platinum Scout Machine!

Thursday, June 27, 2024

Happy Thursday, friends! I have a few quick and simple cards that I made using my new Spellbinders Platinum Scout Machine in the exclusive Scrapbook.com Rose Quartz color - it was a gift from SBC and I feel so lucky to have one. The color is PERFECT and matches my other SBC exclusive pink tools! My cards are very simple - I die cut my sentiments and images from different colors of cardstock and layered the sentiments with their shadows.

My images do not have any shading, they are just glued together to show that you do not need shading to make these images adorable - the critters and flowers are so great just layered on their own. I did ink blend my two dog cards with just one color of Distress Oxides so I could have a fun background that matched the paper of the skating dogs. My favorite is the dog on the skateboard!

The background for my floral card includes a beautiful embossing folder designed for the Scout - it's floral and I thought a white on white look would be so pretty with the color flowers and sentiment. I hope these cards brought you a smile - you'll definitely be seeing my Scout machine in videos - it's a great size to have on screen and take traveling. Let me know if you're getting a Scout and if you snagged the SBC exclusive one!


PIN THIS
SUPPLY LIST

Read More

For You Mini Slimline Christmas Card with Mama Elephant

Wednesday, June 26, 2024

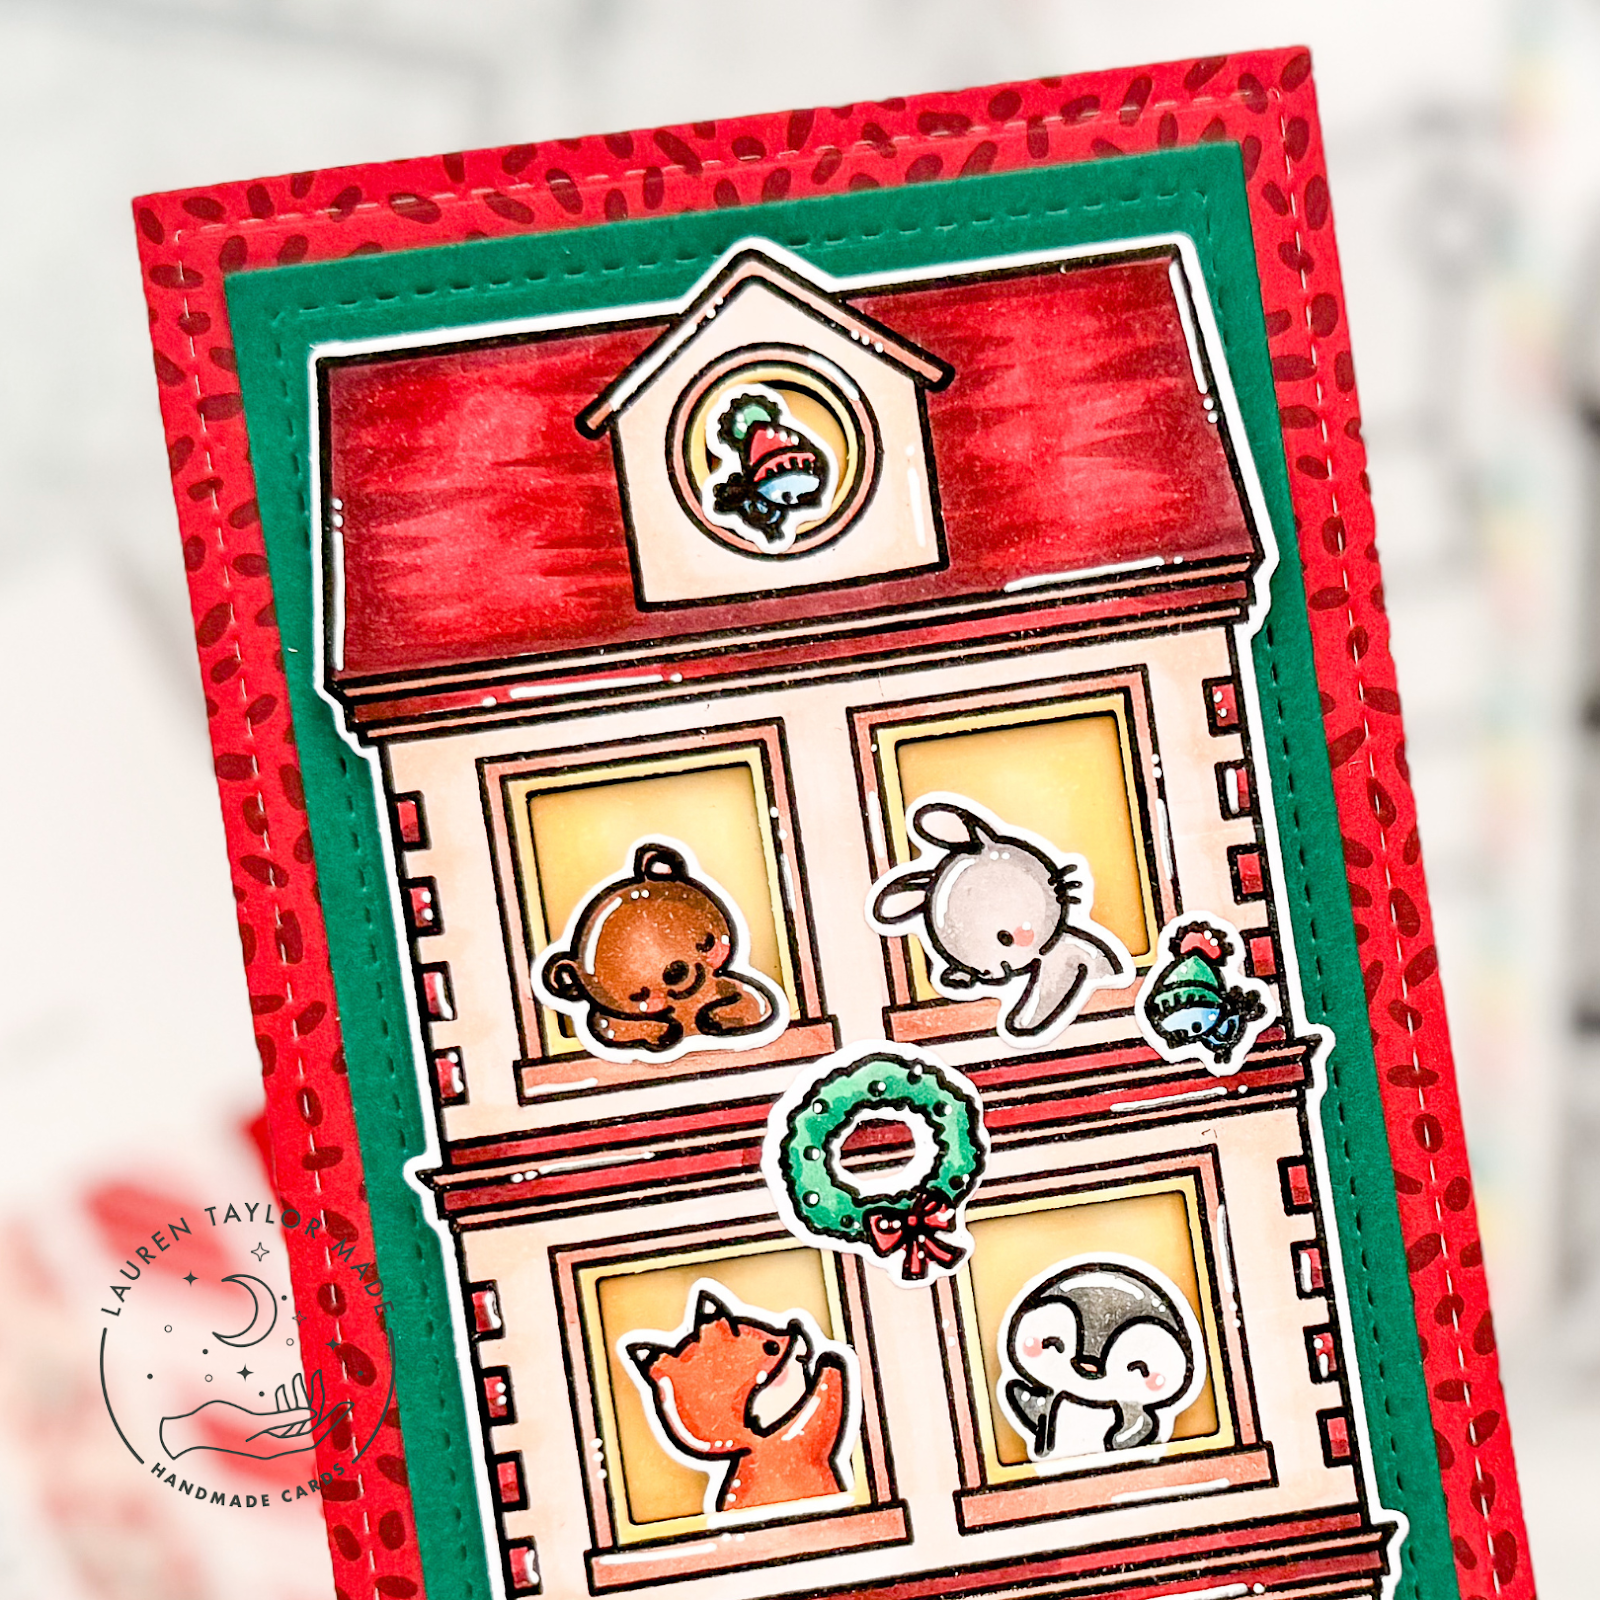
Just a day late, but I'm happy to share with you some Christmas holiday inspiration for the 25th(ish) of the month! For my card today, I made a mini slimline using my favorite dies from PopsicleSticks and I finally opened the adorable Hey Neighbor set from Mama Elephant I've had waiting for me... Story of my life when it comes to stamps, I'm afraid! I once saw PopsicleSticks use this house set and I knew I needed it... So it's fitting to use them with her dies.

Check out my video down below where I share how I stamped, colored and assembled this sweet card. While the coloring did take some time, it's a relatively simple card as I just layered the die cut images together on two different slimline card die cuts. I hope you enjoy my video today and now I need to resist buying more cutie images to match with this house set!

VIDEO TUTORIAL


PIN THIS
SUPPLY LIST

Read More

Celebrate Party Balloons Card with Simon Hurley create.

Tuesday, June 25, 2024

I am back with another card featuring the latest release from Ranger Ink and Simon Hurley create. I started with stamping the Confetti Background Stamp - each of the four strips in the colors Clear Skies, Midnight Snack, Remember Me and Later Gator ink pads on a piece of white cardstock. I used repositionable tape to mask off the edges of paper before stamping. Next, I trimmed the edges with a deckle trimmer, leaving some white to create a border.

Next I blended on Clear Skies ink to the edges and lightly added No Diving Lunar Paste to create a subtle shine! Once it was dry, I adhered it to a piece of A2 green cardstock. I stamped the balloons from the Birthday Party set - the outlines in Midnight Snack and the solid balloons in Remember Me - as well as the celebrate sentiment in Later Gator. I used the Coordinating Dies to cut out the balloons and sentiment and attach them to the card with foam adhesive.

I hope this card brings a smile to your face today and that you enjoy my short video over on the Ranger Ink Instagram account that you can view down below!

VIDEO TUTORIAL


PIN THIS
SUPPLY LIST

Read More

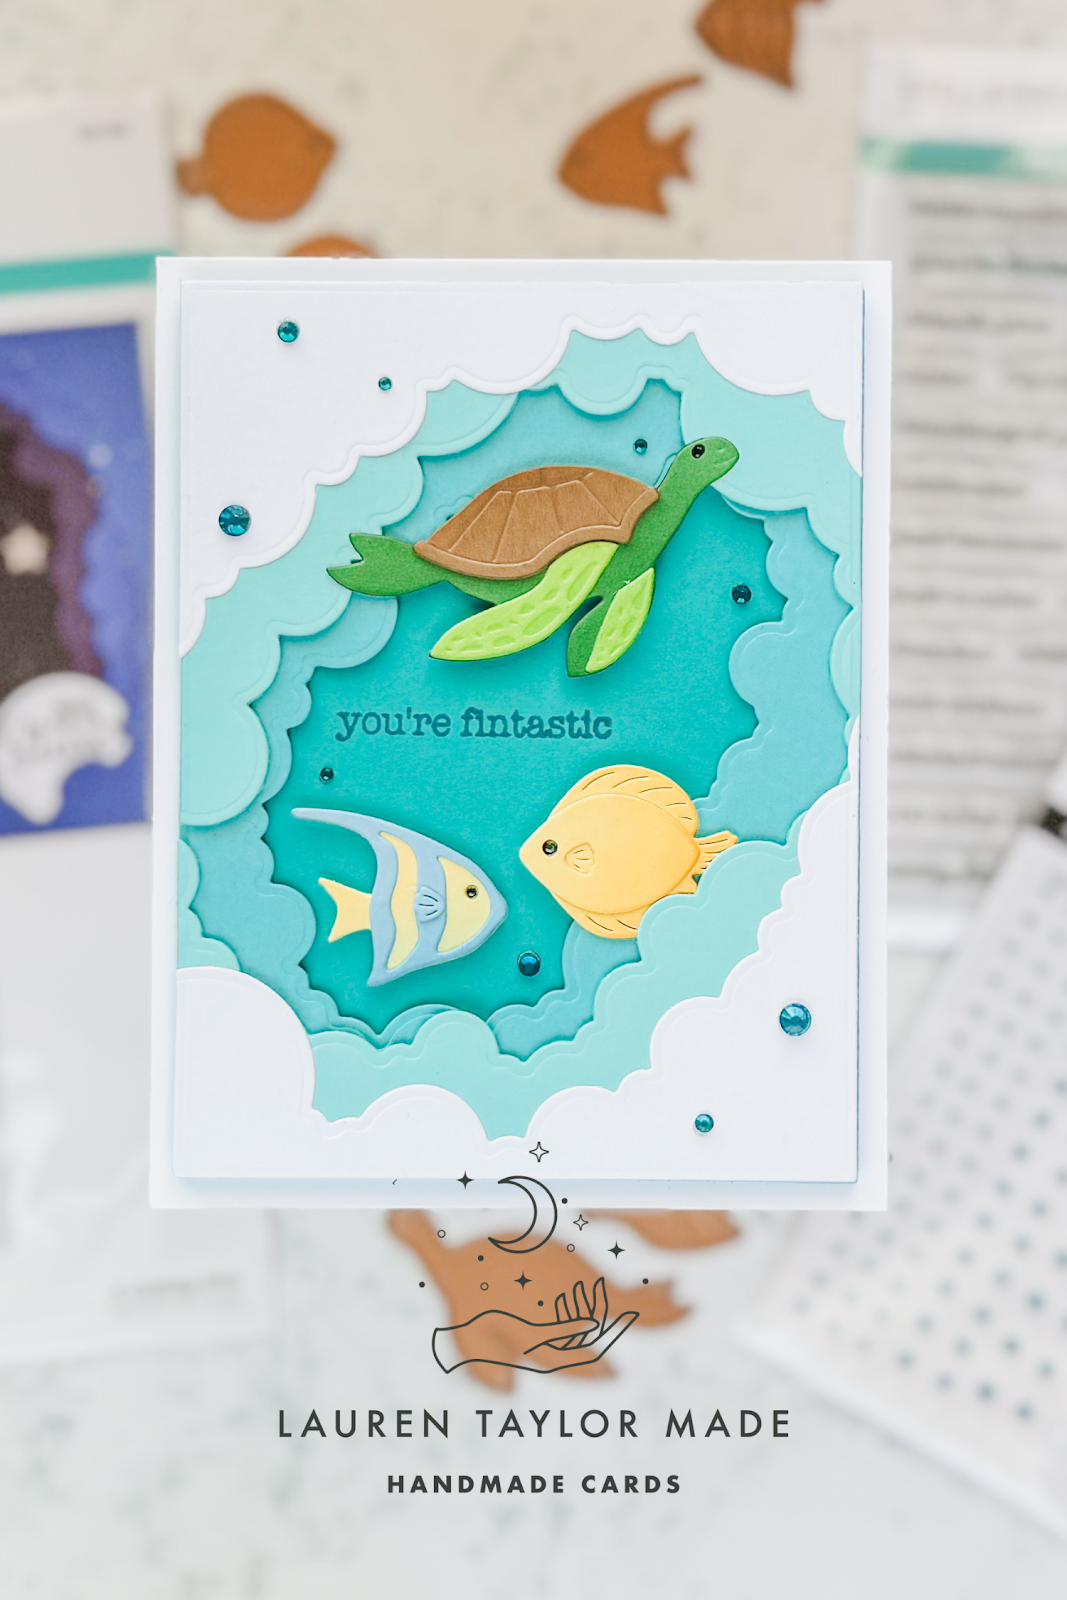
You're Fintastic Ocean Sea Life Card with Spellbinders

Saturday, June 22, 2024

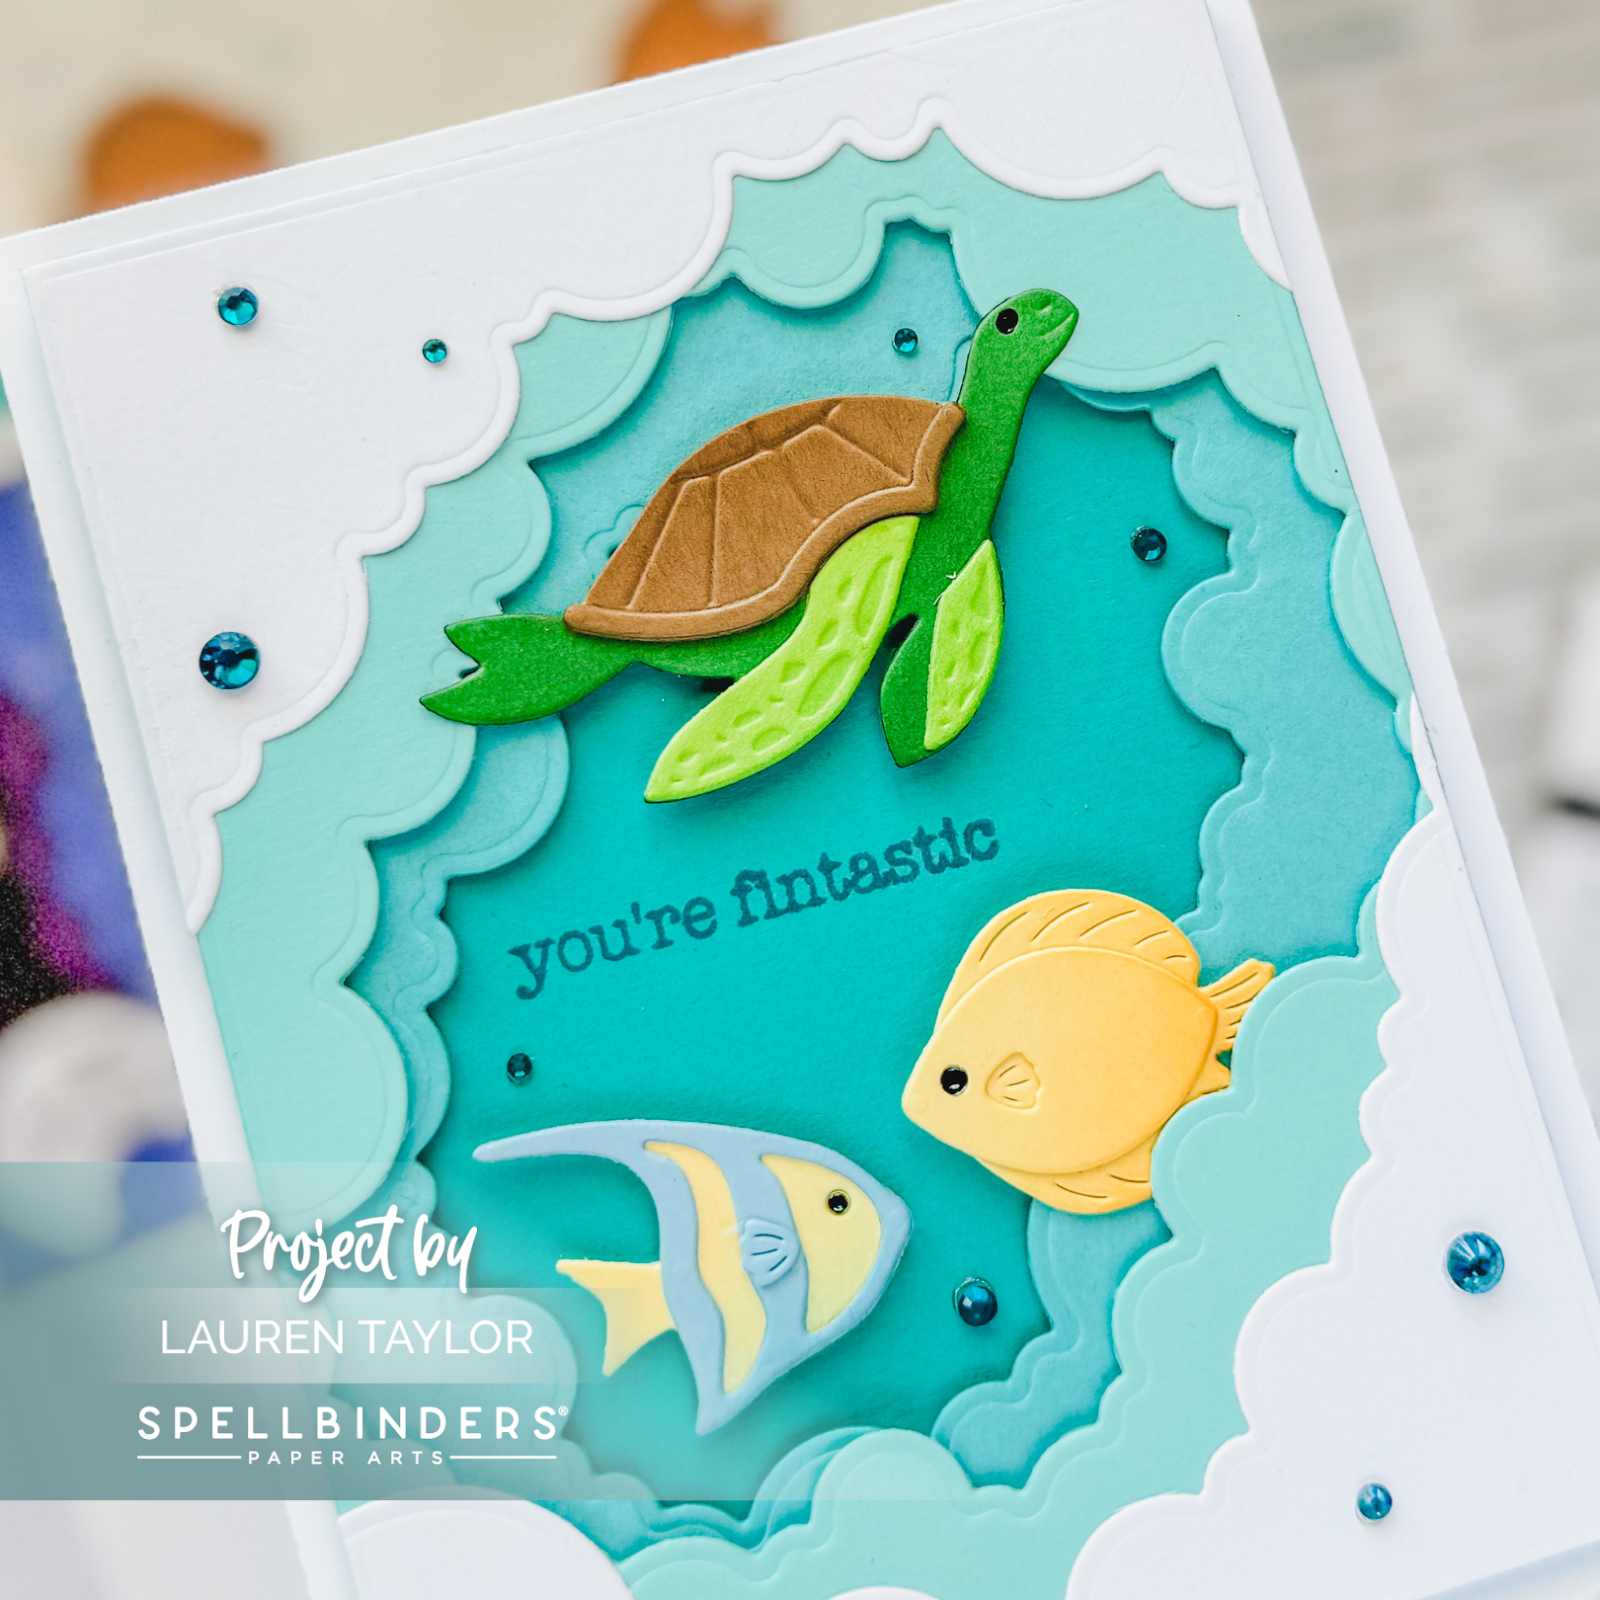
I have a bit more Spellbinders to share with you this month! I was so honored to get so many amazing products this month - so lots from me with Spellbinders the last couple weeks of the month. The Tunnel Scapes collection is pretty cool! I had the Tunnel Clouds from the Weekender Event and I received the Underwater Marine Life dies from Spellbinders (along with the stamp set and gems). I wanted to show that even though the clouds were probably designed for the sky, we can use them for water, too!

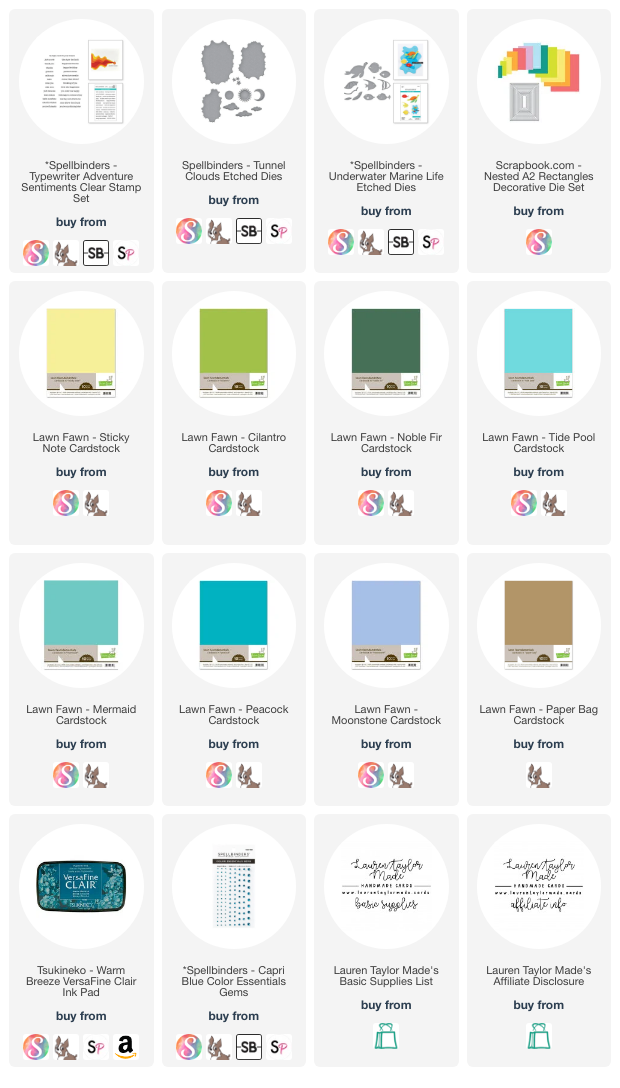
First I started with die cutting the different cloud layers out of cardstock cut down to 4x5-1.4" - the largest from white cardstock, then medium in light teal cardstock, and the smallest in a teal cardstock. The back panel is a full in a dark teal cardstock, again the same trimmed down size. I adhered the white to the light teal, popped up the teal with 1mm foam adhesive, and again popped up on the dark teal with another 1mm foam adhesive layer.

The panel was attached to an A2 card base made of white cardstock. I die cut the different marine life from colored cardstock and added a little shading using whatever ink was left on my colored blending brushes from other projects. I adhered them onto the card with a mix of 1mm and 2mm foam adhesive and stamped my sentiment in a teal ink. For final touches, I added some blue gems. I really love how simple this card turned out and it almost feels dreamy! What do you think of this latest collection from Spellbinders?

PIN THIS
SUPPLY LIST

Read More

Lighthouse Scene Card with Spellbinders - Oh So Inspired Collaboration

Thursday, June 20, 2024

I am finally back with another video! I know, it's been some time, but it's been CRAZY and I'm trying to find a sense of balance in my life. But, nothing says crafty fun like the monthly Oh So Inspired Collaboration Hop with my other craft friends! So make sure to watch my video down below on YouTube so you can get the details of how to hop along and see how we all took the same inspiration piece (Sheri Gilson - Paper Crafty's Creations) and adapted to our own style.

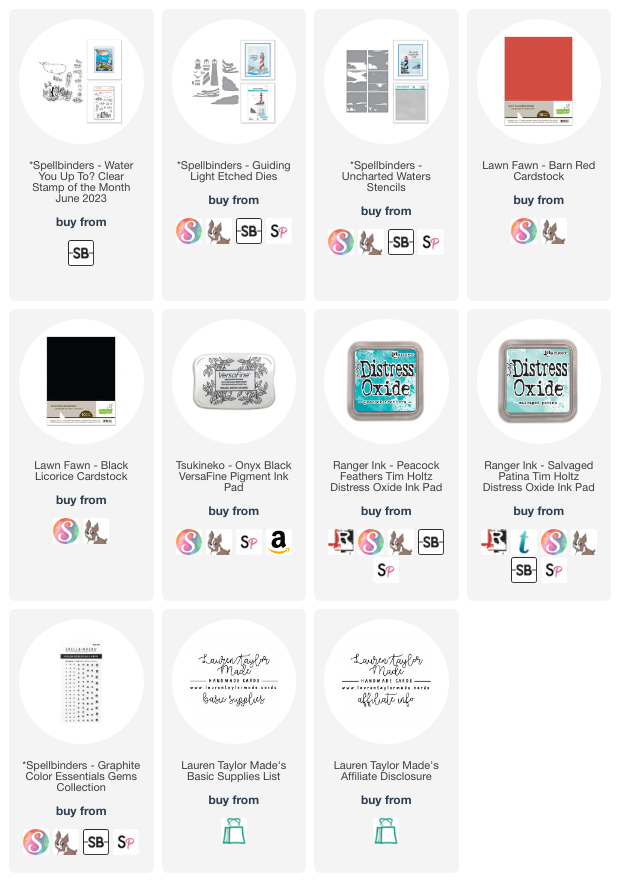
For this month, I used the colors of the inspiration card and white on white look to inspire my project. I used a couple new items from Spellbinders to make a teal ocean, a red and white lighthouse and lots of white on white with the rocky island and sky. I also stamped my sentiment in black and added gems around the card. I hope you like my take and that you will hop along with us over on YouTube!

VIDEO TUTORIAL


PIN THIS
SUPPLY LIST

Read More

All Fired Up! Fire Engine Card with Pretty Pink Posh

Tuesday, June 18, 2024

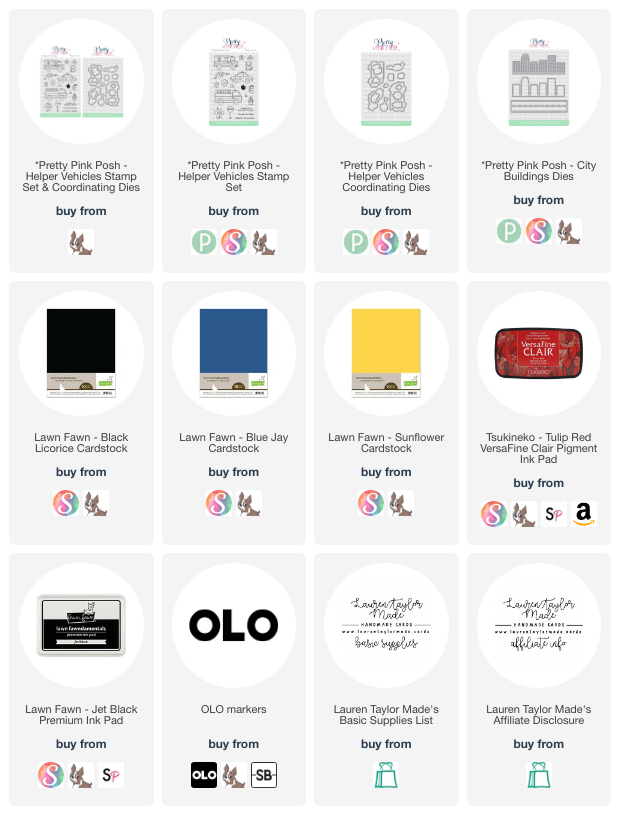
My brother-in-law recently graduated from Fire Academy so when Pretty Pink Posh released the new Helper Vehicles Set, I was so excited to make a card inspired by his huge accomplishment. I started with stamping my images and colored them in with OLO markers. I used the coordinating dies to cut out th images and added a few white highlights to make the images look more cartoon-y.

My scene is die cut from the City Buildings set - the ground is cut out of black cardstock, the dashes and solid building outline from yellow cardstock, and the layered buildings from blue cardstock. I adhered the buildings to a white card base and popped up the street with foam adhesive. After adding in my images, I stamped my sentiment in red ink.

I just love this new set (and collection) and think this card turned out pretty cute. I debated adding a background, but I liked that I stepped out of my comfort zone with a white background. Make sure to head over to Instagram to hop along with us as some of the Pretty Pink Posh Designers to see more inspiration and enter the giveaway!

PIN THIS
SUPPLY LIST

Read More

Original Recipe with The Sassy Club

Monday, June 17, 2024

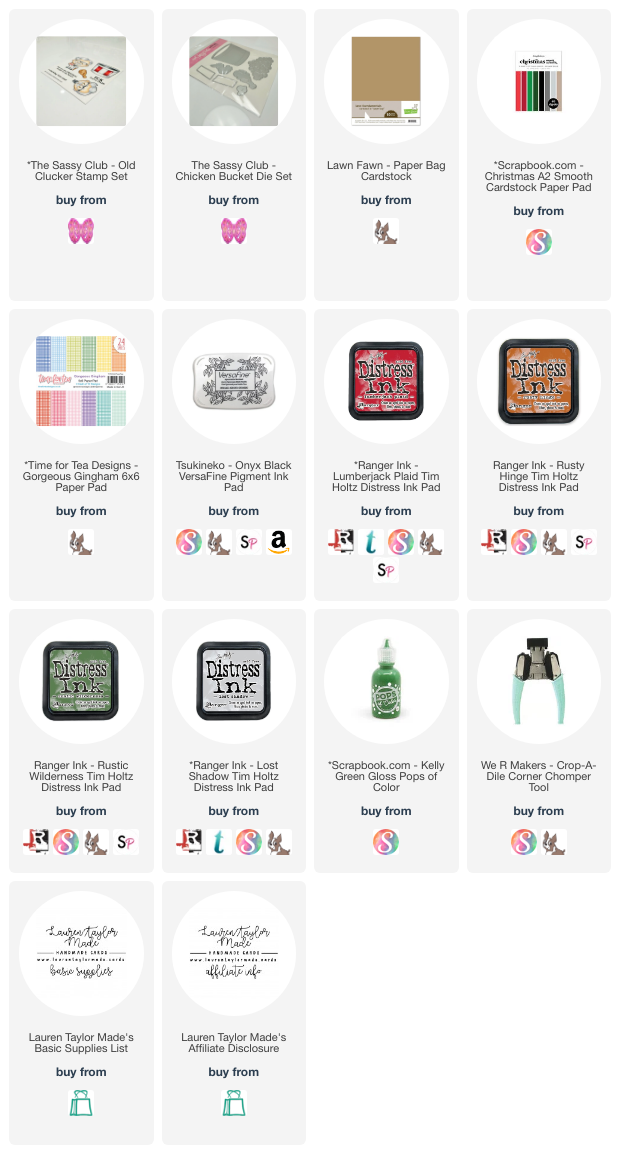
I have a very quick card to share with you as I have a busy volunteering week ahead... But you know I need to get my Craft Roulette project made! So I went with simple and relying on fun dies from The Sassy Club to meet the parameters this week. I have an anniversary card, chicken salad colors, I used new products, and I included folded corners.

For my card, I started with die cutting all of my chicken pieces and I stamped my fast food mascot face and sentiment onto the white bucket. I added a little bit of shading to the all of my die cut pieces and assembled my chicken bucket together. For the background, I cut a piece of green gingham paper down to 4x5-1/4" and folded over two corners. I added some distress around the edges in green and adhered my card together.

For some final touches, I added a few Pops of Color in green because I just felt like my card was missing something. It's a very simple card, but I still wanted to share that I'm getting crafty for Craft Roulette this week!

PIN THIS
SUPPLY LIST

Read More