Our Friendship - Oh So Inspired Collaboration Card!

Wednesday, March 20, 2024

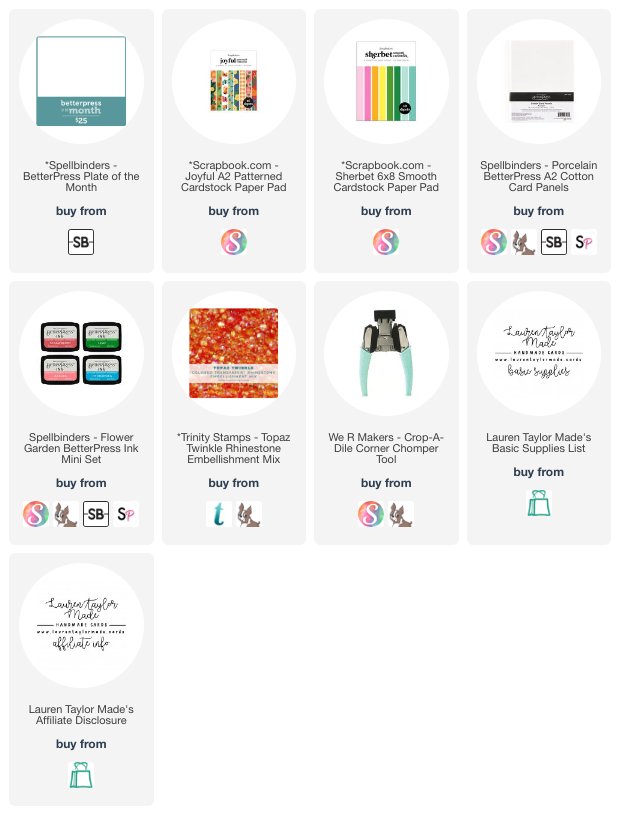
So excited that it's time for the next Oh So Inspired Collaboration YouTube Hop! This month, we're inspired by a green, floral card by Terri Walker (blog, Instagram). I leaned into the green but also brought in some pops of color with creating a background with strips of paper like the sample card. I cannot wait to see how everyone on the team was inspired by the card! You can check out our full hop playlist here.

I started with making my BetterPress impression with green ink and used the dies that came with the March 2024 BetterPress Plate of the Month. My strips of paper are from the Joyful A2 paper pad from Scrapbook.com and I like the pops of color peeking out from the center oval. I also added some pops of orange with rhinestones on the flowers. How do you think I did with the inspiration card?

VIDEO TUTORIAL


PIN THIS
SUPPLY LIST

Read More

Heart Glow Light Up Card with This Calls for Confetti

Monday, March 18, 2024

I'm glad to be back today sharing with you my second card I made using the Heart Glow Collection from This Calls for Confetti! I shared a quick and easy shaker card last time, and now I'm sharing a quick and easy light up card. Using a One Light from Pear Blossom Press, we make make this fun, heart shaped light bulb light up to match the patterned paper from the collection!

The rainbow hearts are still my favorite so we're bringing them back for this card, this time with a white background. I think it reflects the light best and I used vellum to help dissipate the light better. I hope you had fun with this collection with me and that you made some interactive cards with the Heart Glow Collection, too!

VIDEO TUTORIAL


PIN THIS
SUPPLY LIST

Read More

Thanks a Watt Shaker Card with This Calls for Confetti

Sunday, March 17, 2024

I was so excited to get my hands on the Heart Glow Collection from This Calls for Confetti! I love the heart shaped light bulb and how the paper pad makes fun Valentine's Day Cards, but also any time of the year with the rainbow lights. I wanted to use the Heart Glow Shaker Kit to make a quick and easy shaker card.

You can watch today's video down below to see how my shake card came together. I also used the free digital designs from this collection for the background of my shaker. I used my toner ink printer and foiled the sentiment with some teal foil! Let me know what you think of this collection and next week I'm going to share how I used the Heart Glow Collection to make a light up card.

VIDEO TUTORIAL


PIN THIS
SUPPLY LIST

Read More

Always & Forever Fandom Card with Miss Ink Stamps - New Release!

Saturday, March 16, 2024

It's a new release day from Miss Ink Stamps! I will come back and update my supply list, but you can click on the first image down below in case you beat me here. I thought it would be fun to experiment with a little color inspired by Book 7 from this fandom with the new Always Stamp Set and Coordinating Dies, as well as this new patterned stencil.

I started with my background which is a 4x5-1/4" watercolor paper panel. Using Distress Oxides, I created a fade of color from yellow to red. I sprayed some water to activate the inks and then used the new Magical Triangles Stencil with some Brutus Monroe Chroma Glaze. I had never used it before, and while it was yellow, I liked that it picked up the color and created a subtle effect with the stencil!

While my background was drying, I stamped my wand and sentiment in brown ink. I used my Walnut Stain Distress Watercolor Pencil to color in the wand and die cut them out with the coordinating dies. I used Distress Inks to blend over my "always" sentiment so it would match the background colors and die cut the triangle shape three times out of brown cardstock.

When my background dried, I stamped my "& forever" and adhered my panel to my card base. I popped up my "always" with foam adhesive and adhered my triangle shapes together and onto the base with the wand. I also added Pops of Color around to bring in more light and dark colors to the card. I hope you'll head over to Instagram to see more inspiration and use my links below to shop! I'm not an affiliate with Miss Ink Stamps, but I just to share items from the Magic Collection.

PIN THIS
SUPPLY LIST

Read More

Acceptance Letters Fandom Card with Miss Ink Stamps

Friday, March 15, 2024

So excited to share a little sneak into the next release in the Magic Collection from Miss Ink Stamps! I'll come back and update my supply list once the release goes live tomorrow, but I'm using the Letters Stamp Set and Coordinating Die for today's card. There is another fun set and scene building die, but I'm going to make a video with the scene building die so stay tuned for that!

I started with stamping and coloring my images with OLO markers and used the coordinating dies to cut them out. My background is watercolor cardstock and I ink squished Distress Oxides onto my 4x5-1/4" panel. When it was dry, I used Vintage Photo to ink blend around the edges and splatter to finish off the background.

This set was perfect for last Friday's episode of Craft Roulette, so I made sure to include three strips of paper across the background to create an effect of a wall that is behind my fireplace scene. After figuring out the placement of the strips, I adhered them with liquid adhesive and then popped up my images with foam adhesive - a mix of 1mm and 2mm thickness.

My sentiment was stamped to the top left as my images are focused more on the bottom right with brown ink. I adhered this panel to an A2 piece of brown cardstock before adding it to my card base. I added a few white highlights with a gel pen on my images to finish it off! Make sure to check out the full release when it comes out tomorrow, and join us over on Instagram to see more sneak peaks!

PIN THIS
SUPPLY LIST

Read More

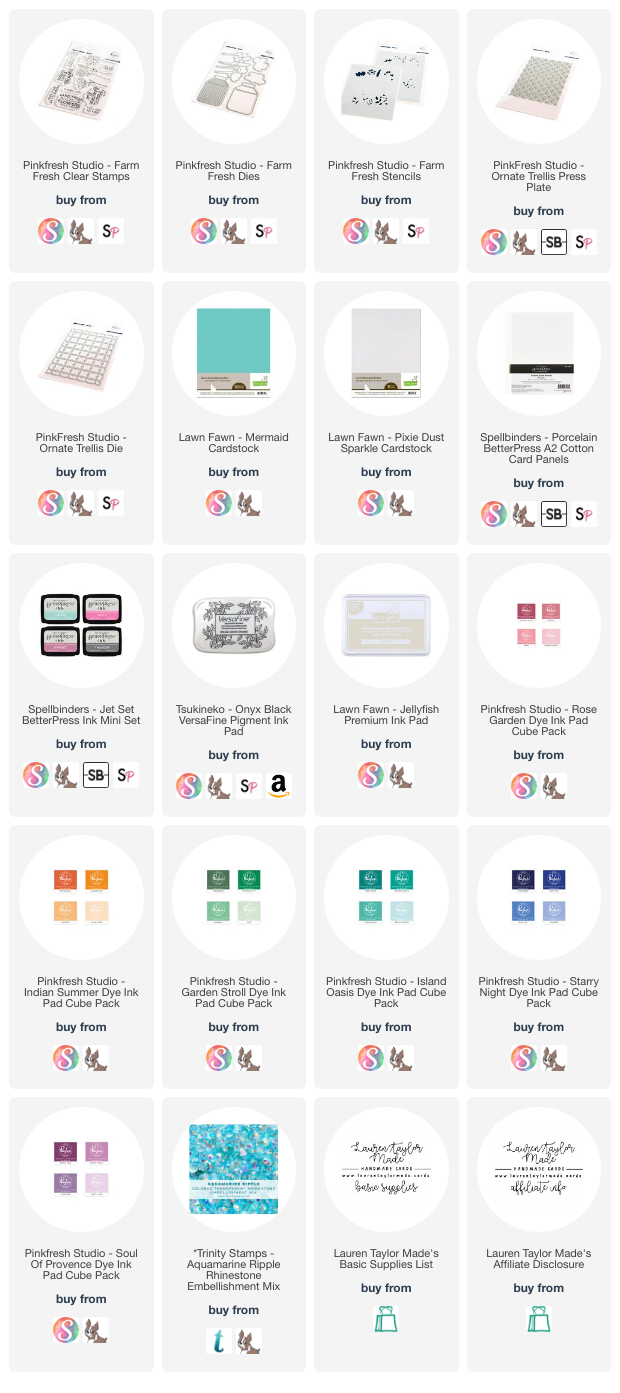
Most Beautiful Day Floral Card with Pinkfresh Studio

Thursday, March 14, 2024

I originally started creating my project for Craft Roulette, but ended up getting distracted and just had some fun creating with some of my Pinkfresh Studio product. I started with using my BetterPress plate with a blue ink and used the coordinating die to cut it out. I used some ink that was similar in color to the BetterPress ink to darken the bottom of the panel.

Next I stamped my flowers in a light ink and used the coordinating stencil to color them in. I re-stamped the flowers by using my MISTI with a blank ink and used the coordinating dies to cut them out. I also stamped my sentiment and used the die for the sentiment as well and the vase out of a blue cardstock.

I layered my BetterPress panel onto a piece of white sparkle cardstock cut to A2 and then attached to my card base. I popped up my flowers and vase to the center of the card base and adhered my sentient to the vase. I wanted to add in a few gems, so I added a few across the card with liquid adhesive. 

The card turned out so soft and I like the pop of black with the flower outline and sentiment. Plus there is a lot of shine with the sparkle cardstock and gems across the card. Now to actually get going on my Craft Roulette project...

PIN THIS
SUPPLY LIST

Read More

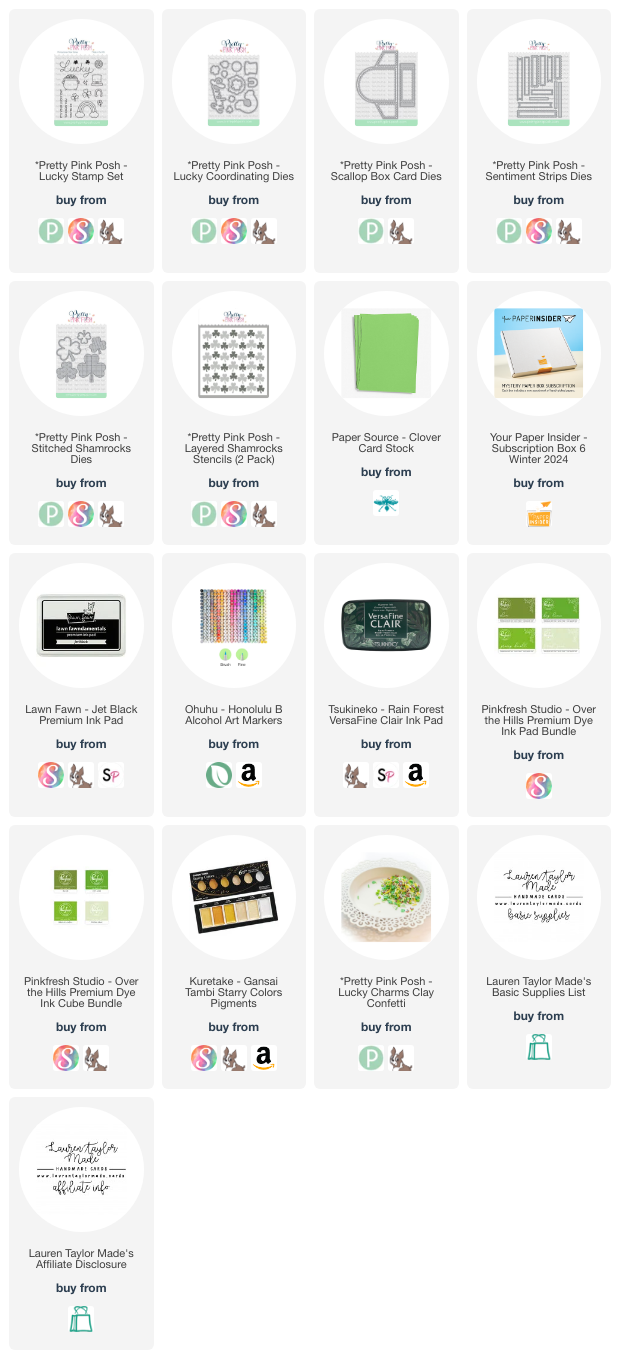
You're So Lucky Box Card with Pretty Pink Posh

Wednesday, March 13, 2024

Hi, friends! Last month I made a Valentine’s Day Box Card and I was inspired to create one for St. Patrick’s Day as well! I started with all of my die cutting of the Scallop Box Card Dies and Stitched Shamrocks Dies from different shades and paper types of green cardstock. My Scallop Box Card base was die cut from a solid green cardstock, the scalloped pieces from white cardstock, and the Stitched Shamrocks from a mix of glitter, shimmer and solid light green cardstock.

Using the Layered Shamrocks Stencils, I ink blended different shades of green ink using the Pinkfresh Studio Over the HIlls Ink Cube Bundle onto the scalloped die cut pieces from the Scallop Box Card Dies. Once I was happy with the shamrocks, I also splattered on some metallic gold watercolor and set them aside to dry.

Next I colored in the pot of gold, gold coin, rainbow and shamrocks from the Lucky Stamp Set with alcohol markers, then used the Lucky Coordinating Dies to cut them out. I also stamped the “Lucky” sentiment and solid shamrocks in dark green ink on white cardstock, and “You’re So” with the same ink on a Sentiment Strip cut from light green cardstock.

After assembling the Scallop Box Card together, I layered in the Stitched Shamrocks, stamped images from the Lucky Stamp Set, and a few clay shamrocks from the Lucky Charms Clay Confetti. My sentiment was layered onto the front of the Scallop Box Card with a Sentiment Strip banner behind the “You’re So Lucky”. You can watch my full tutorial down below!

VIDEO TUTORIAL


PIN THIS
SUPPLY LIST

Read More