Yo Quiero Hot Sauce Card with The Sassy Club

Sunday, July 21, 2024

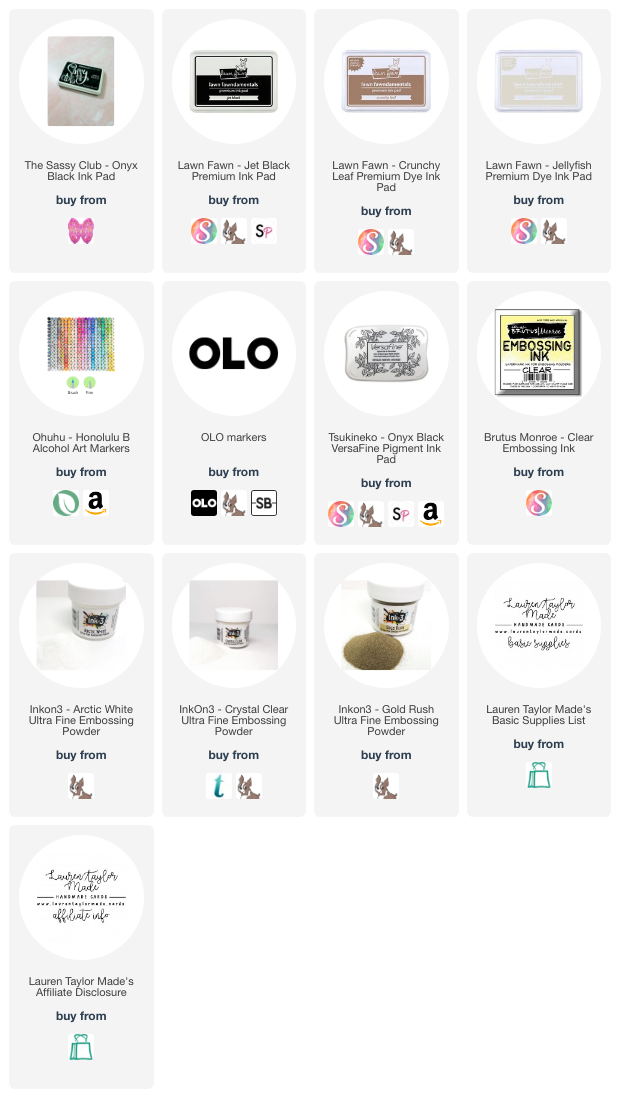
Oh my stars, I'm obsessed with this card! I just love the new fast food fandom from the Sassy Club. It came in the mail, I opened it and immediately made this card. I was watching Craft Roulette when I was halfway done with the card and the parameters worked out perfectly so I'm even happier with how this card turned out! I started with stamping and coloring my chihuahua and drink with olo markers, then fussy cut them out as well as my sentiment bubble.

Next I die cut my hot sauce packets - the top layer was cut from patterned paper and I did a solid, white packet behind it so the letters were filled as well as the area where I stamped the fun sayings. I stenciled my background with the bell with Distress Oxides and gave it a good spray of Glitter Dust so I had some shine as well as seal in the ink.

I adhered the background to my A2 card base, glued down the two sauce packets on the sides and popped up the middle hot sauce with 1mm foam adhesive. I then popped up the sentiment and images with foam adhesive as well. It's 1mm foam, but I did double up where the images and sentiment touched the card background. I hope this card brings a smile to your face today!

PIN THIS
SUPPLY LIST

Read More

Bibi's Cats & Pugs Cards with Spellbinders

Saturday, July 20, 2024

I'm so excited to just do a quick post here to share that I. have some cards over on the Spellbinders Blog today! I cannot give away too much here, too make sure you head over to their blog post to see the cards I made and get the details of how I assembled them. If you would like to shop my affiliate supplies, they are linked down below. No obligation of course, but it helps me out a lot when you do! Let me know which card is your favorite and leave me some love on their blog so they'll have me back, hehe.

SUPPLY LIST

Read More

Unbelievable Day Rainbow Card with My Favorite Things for Oh So Inspired Collaboration Hop

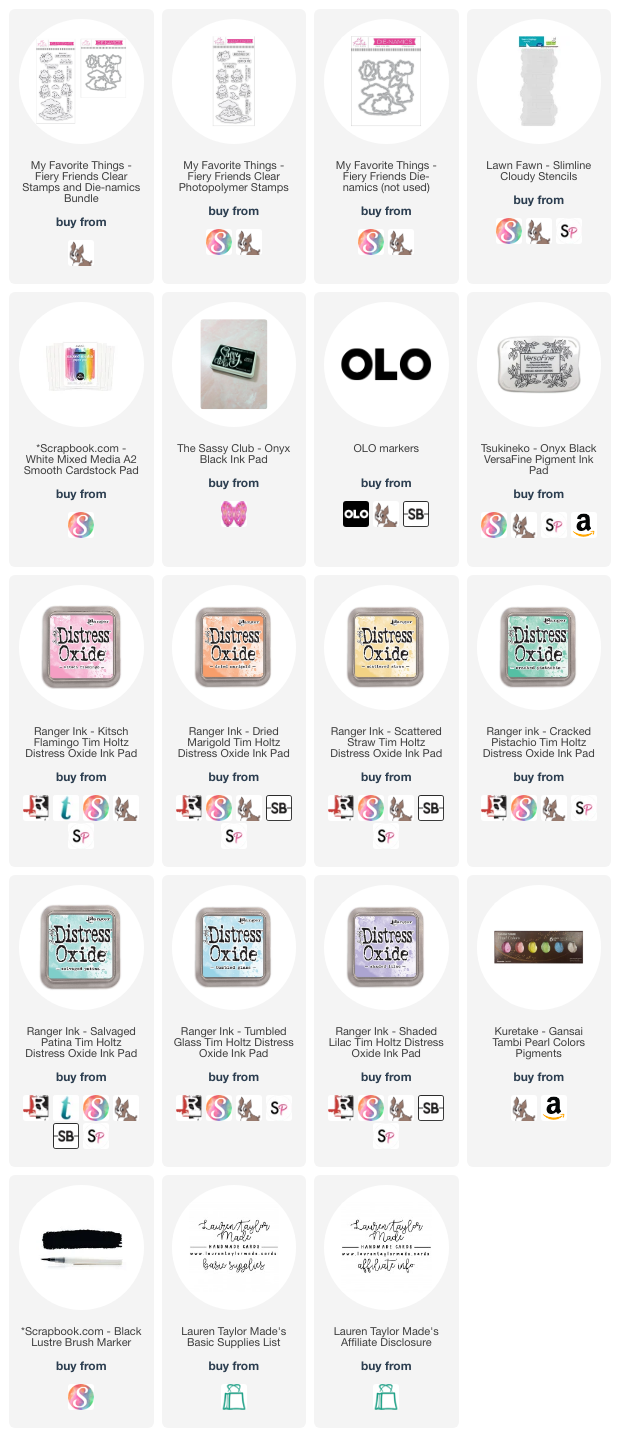
Can we talk about how CUTE this card turned out?! This rainbow card is my project for this month's Oh So Inspired Collaboration Hop hosted by Call Me Crafty Al on YouTube today! We are all inspired by Mindy Eggen Designs - for me it was her rainbow card and I thought it would be so fun to make a cloudy background and color in these adorable dragons from My Favorite Things with colors inspired by her card.

In my video today, I share how I inked my background, added the splatter, a quick overview of the coloring of these cute dragons, and assembling the card. I hope you'll watch and then head over to YouTube to get the playlist to watch all of the Collaboration Team Members to see their inspiration with Mindy's cards this month!

VIDEO TUTORIAL


PIN THIS
SUPPLY LIST

Read More

Hi Barbie Construction Card with Pretty Pink Posh

Wednesday, July 17, 2024

Hi, friends! I am back with a new Pretty Pink Posh video today. I’m not sure why the Barbie movie was on the brain, but I wanted to take a fun approach to the latest release with lots of PINK! Now, I know girls can play with yellow dump trucks - toys don’t have to be pink. But if Barbie had a construction company, you know they would be all kinds of pink!

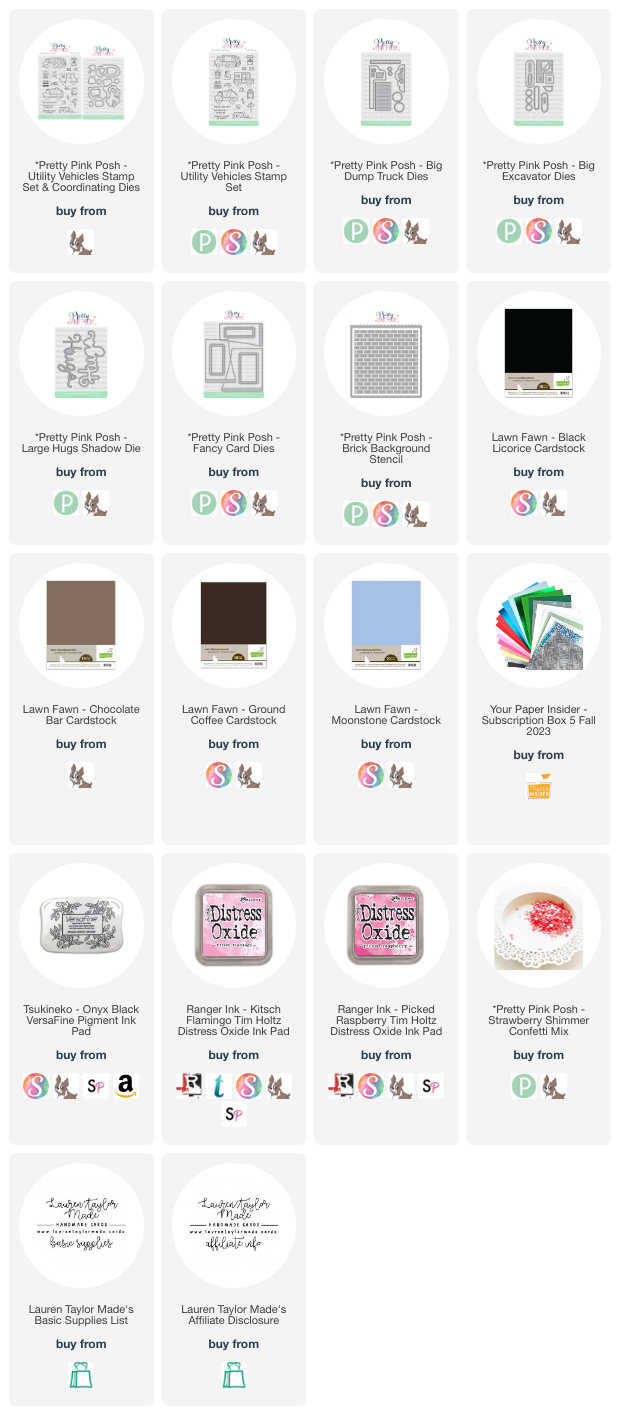
I started with cutting the Big Dump Truck Dies and Big Excavator Dies out of different shades of pink and holographic cardstock - the windows were blue and dirt pieces were shades of brown. You can follow along in today’s video if you want to see how I assembled them together. Next I began stenciling with the Brick Background Stencil on a sheet of A2 white cardstock with Kitsch Flamingo and Picked Raspberry Distress Oxides. I also stenciled the design on the smallest of the Fancy Card Dies.

I stamped my sentiment from the Utility Vehicles Stamp Set with black ink on the A2 piece so it would be covered by the Fancy Card Die piece as this would be the front of my card. I cut another piece of A2 white cardstock, adhered the small flap of the Fancy Card Die piece to the lower left corner, then adhered my stenciled and stamped piece on top to sandwich the flap in between the layers. I attached the Big Excavator to the “inside” of the card so that you could see it above the Fancy Card Die piece with 1mm foam adhesive. My Big Dump Truck is adhered to the Fancy Card Die piece with 2mm foam adhesive.

For my die cut sentiment, I cut the Large Hugs Shadow Die - the sentiment in white and the shadow in pink - and trimmed the “u” to make the word “Hi”. I started with trimming the white sentiment, adhered it to the pink shadow, and then trimmed the pink shadow to match. I adhered this to my card as well as some Strawberry Shimmer Confetti Mix around the card for some final shine! I hope you had fun with this card and can picture Construction Barbie on the job with her personalized trucks!

VIDEO TUTORIAL


PIN THIS
SUPPLY LIST

Read More

Mint To Be Happy Mouse Ice Cream Sandwich with The Sassy Club

Tuesday, July 16, 2024

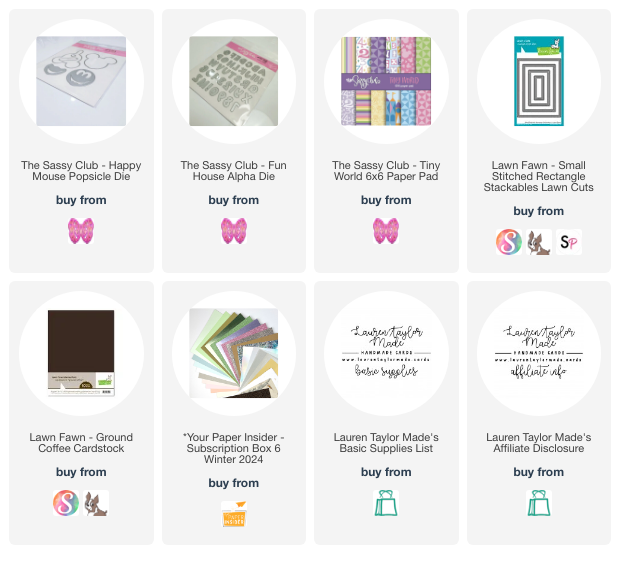
You know I love my fandom food! I thought it would be fun to make a mint chip ice cream sandwich with the Happy House Popsicle Dies from The Sassy Club. I just used the dies that made the face and die cut them out of brown and mint green cardstock. I also die cut my sentiment from brown and sparkly mint green cardstock.

My short video below shows how I assembled the card, but it's pretty basic and honestly quick to make! I layered the ice cream sandwich together and included some hand drawn chocolate chips. This was adhered to a card base with a cute patterned paper in purple for the background. I then popped up my layered sentiment words onto the card with foam adhesive. Quick but oh so yummy to look at it!

VIDEO TUTORIAL


PIN THIS
SUPPLY LIST

Read More

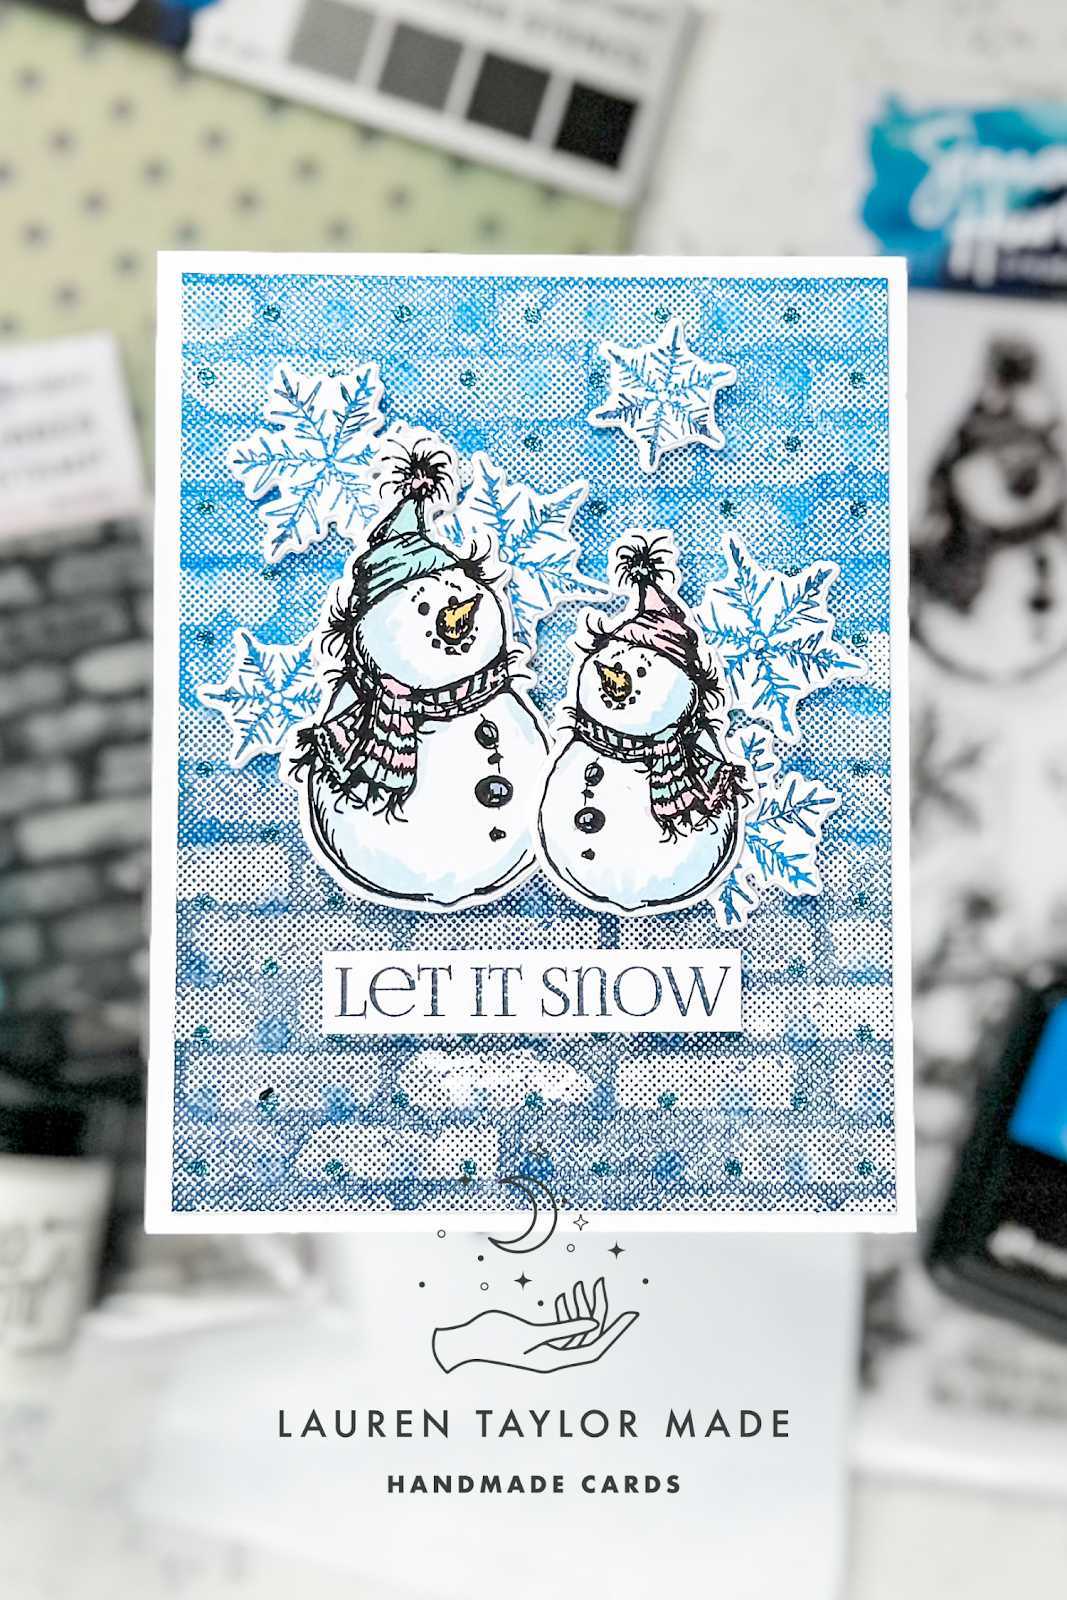
Sketched Snowmen with Astro Pastes from Ranger Ink & Simon Hurley create.

Monday, July 15, 2024

We’re getting into the snowflake spirit, even if it’s still hot outside! The new holiday release from Simon Hurley and Ranger Ink is here along with the fabulous new Astro Pastes! The Sketched Snowmen make an easy watercolor card by following the details of the stamps and hand drawn look of the snowflakes pop on this blue holiday card.

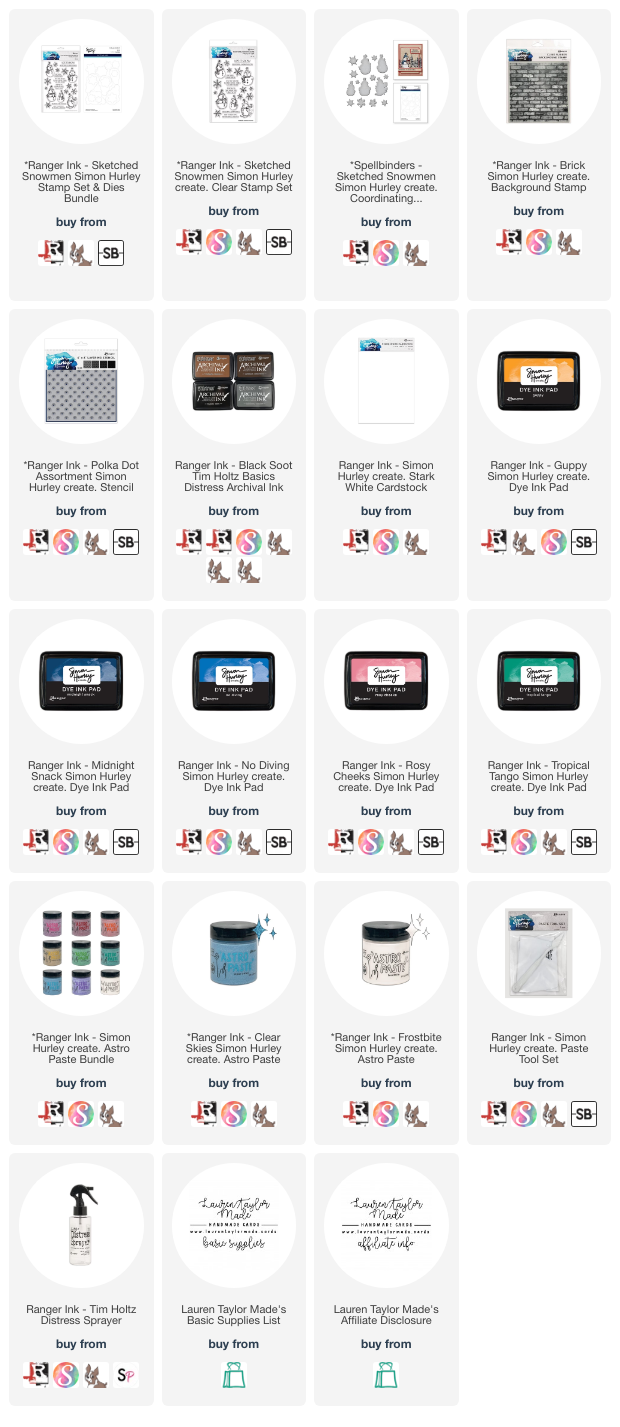
Start with stamping the Brick Background Stamp on a piece of Stark White Cardstock cut down to 4x5-¼”. Use No Diving ink on the top half of the stamp and Midnight Snack on the bottom, blending them a bit where they meet. Using the two smallest polka dots from the Polka Dot Assortment Stencils, add Clear Skies Astro Paste through the smallest dots using the Paste Tool Set. When it dries, add the next largest polka dots with Frostbite.

Stamp two snowmen from Sketched Snowmen in Black Soot Archival Ink and watercolor the images using Simon Hurley create. Ink Pads, water and a paintbrush. Stamp snowflakes using No Diving ink and adding a little Midnight Sky to some of the edges of the stamps. Use the coordinating Etched Dies to cut out the images. Stamp the sentiment in Midnight Sky and trim around the sentiment with a paper trimmer. Adhere the background panel to an A2 card base and add the images and sentiment with foam adhesive.

VIDEO TUTORIAL


PIN THIS
SUPPLY LIST

Read More

Hi Friend Summerween Card with Scrapbook.com

Hi Friend! Back in the Summerween spirit with a new card featuring Scrapbook.com Exclusives, but this time on the Scrapbook.com YouTube Channel! It's such an honor to have a video each time on their channel and the fact that I get to do something Halloween themed just brings me such joy. I again used the Sunkissed Paper Pad to inspire the colors of my card (you can see how I did that earlier this month here) and I just love the paste softness!

You'll have to watch my video down below to see how the card comes together, but I've got summer paper and colors, black polka-dot rub ons, Distress Spritz for shine and my favorite technique of using vellum when I'm worried my background is too busy for my image to pop off the card. I also like that the card is not exactly Halloween - maybe you have a spooky friend who would like this card any time of the year? Finally, we have some Pops of Color to finish off the card. I hope you enjoy my card and make sure to leave a comment on the video so they bring me back!

VIDEO TUTORIAL


PIN THIS
SUPPLY LIST

Read More