Christmas Tree Picking Slimline Card with Scrapbook.com

Wednesday, November 9, 2022

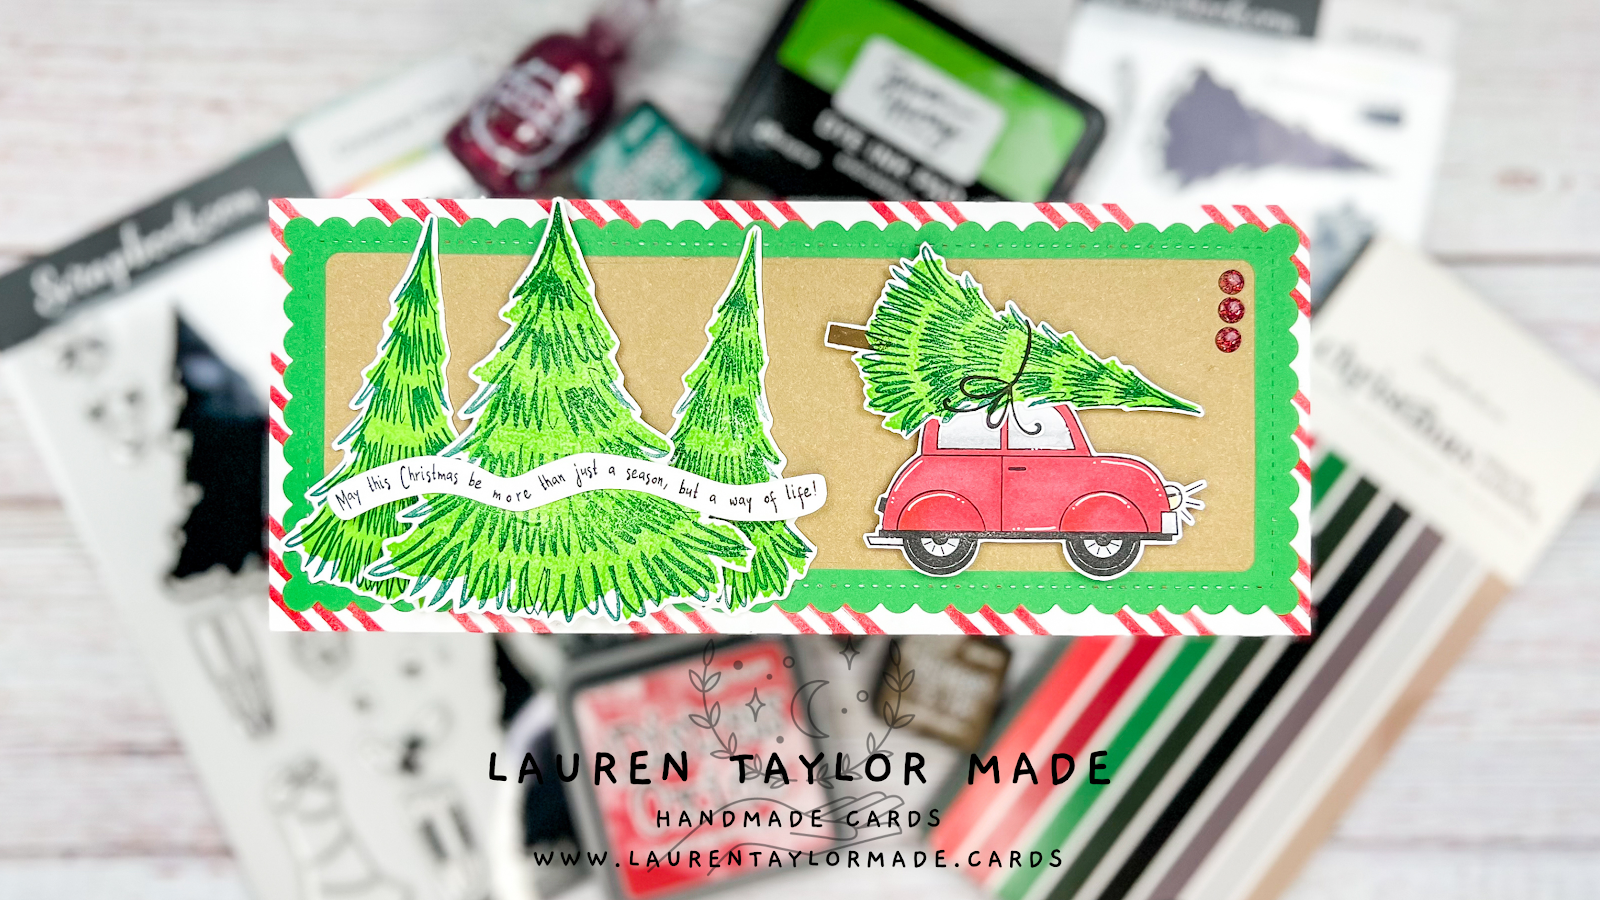
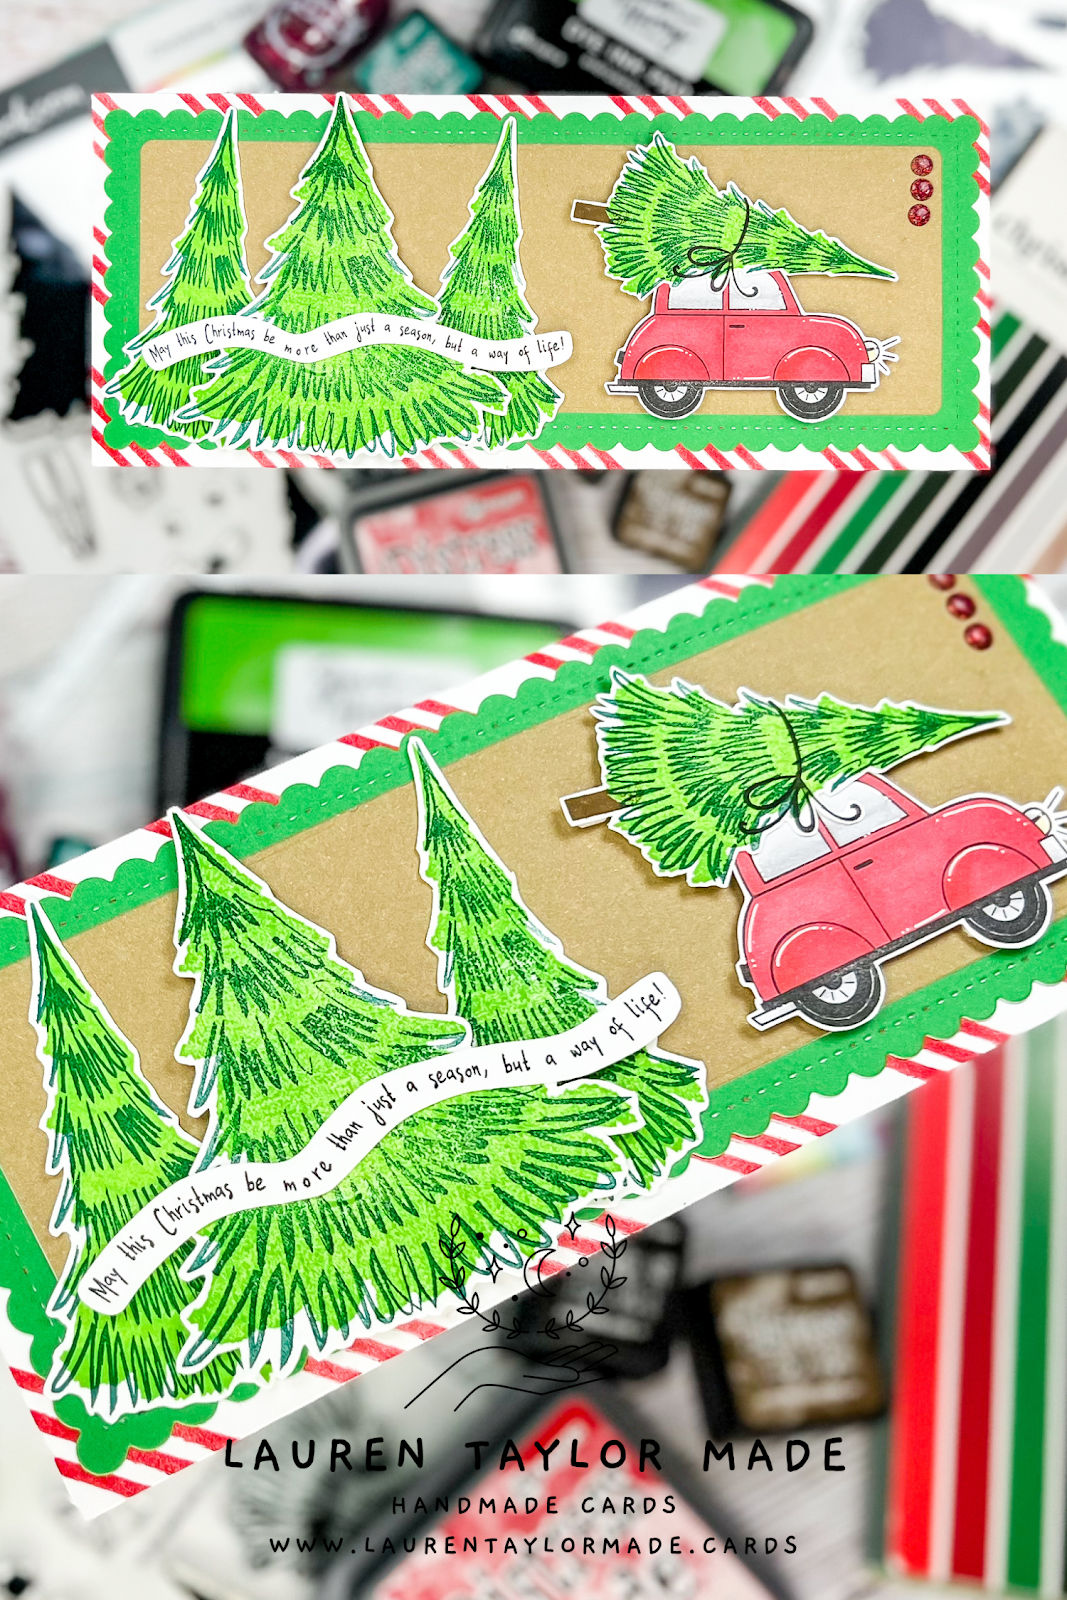
Have you seen the new holiday stamps from Scrapbook.com? I love these new, two step pine tree stamps and wanted to create a card that looked like a family just picked out their Christmas tree from the forest and are heading home. I used two new stamp sets for my trees, car and sentiment - Joyful Ride and Christmas Trees.

For the background, I built up a stenciled striped background with slimline die cuts using Scrapbook.com Exclusive die sets. I popped up the large tree and car using foam adhesive and then layered on the sentiment to look like a trail coming from behind the car. To add a little bling, I used a Glitter Pops of Color to add three dots to the top right of the card.

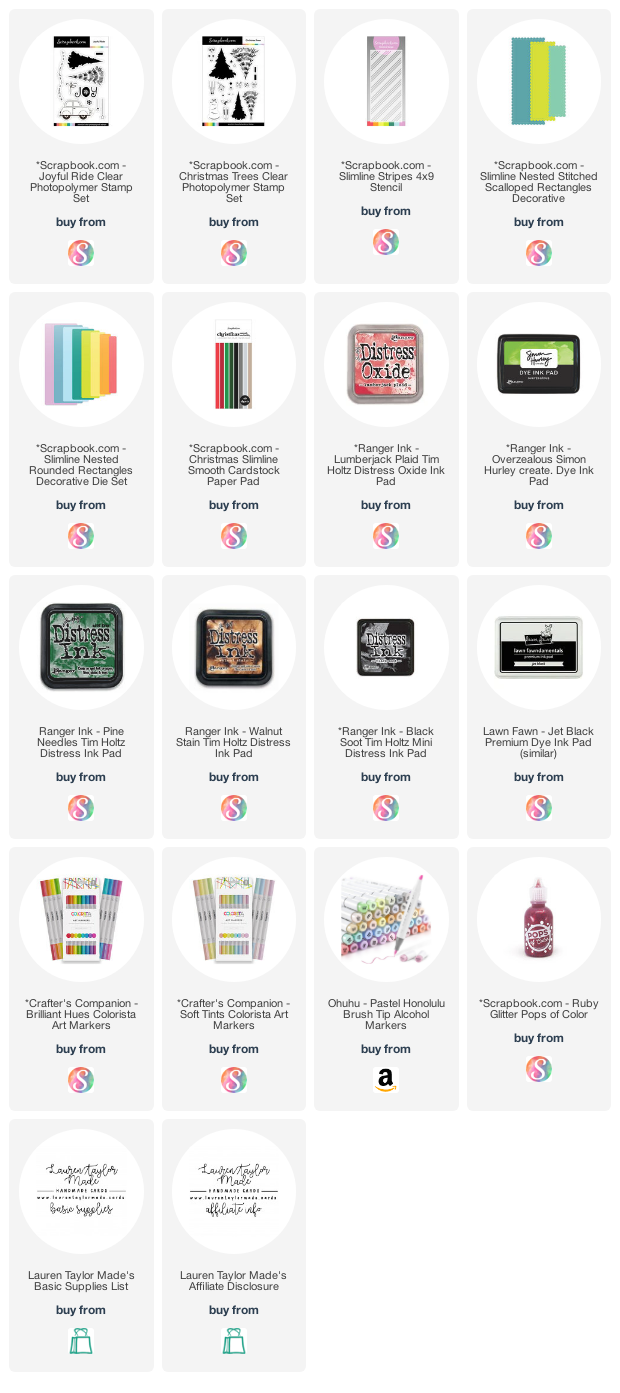
You can see all of my supplies and where they're used oner on my Scrapbook.com Gallery, but let me know what you think of this card and the new stamp sets in the comments!
PIN THIS
SUPPLY LIST

Read More

Happy Holiday Snacks with The Sassy Club

Tuesday, November 8, 2022

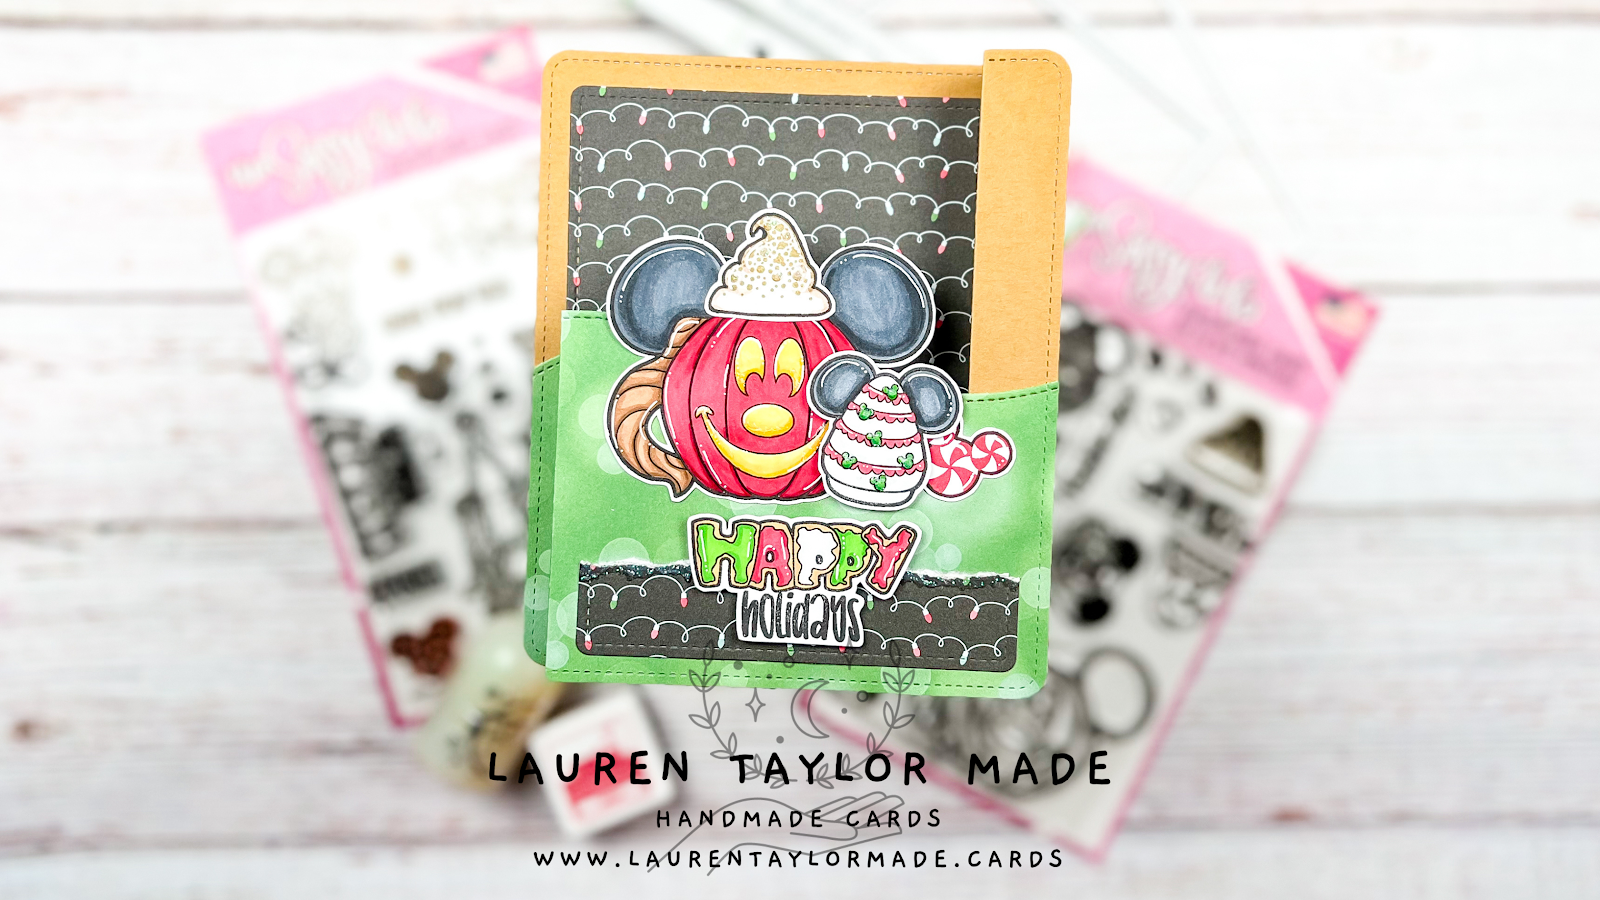
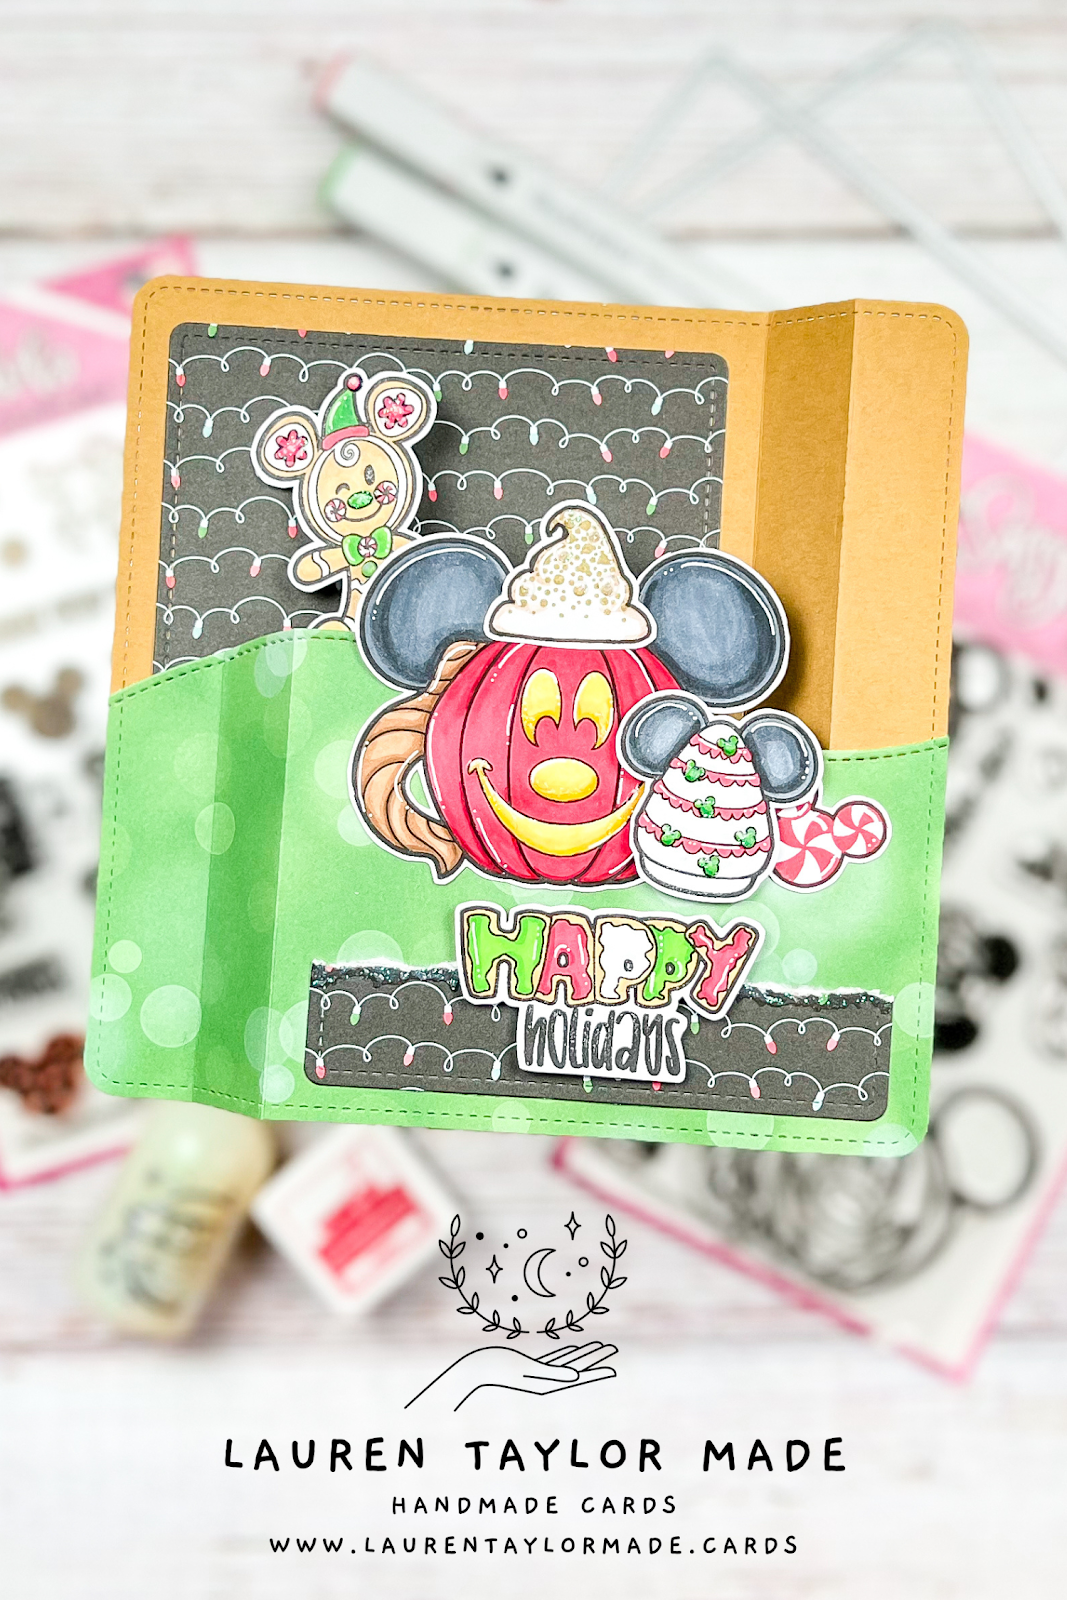
I struggled a bit with coming up with a layout for my Craft Roulette project this week. Sometimes the wheel and I don't get a long; while I love my cutie images, I think I would have approached my background a little differently if I had a bit more to work with. But that's what Craft Roulette is all about - stretching your imagination into making a project you probably wouldn't have made without the wheel!

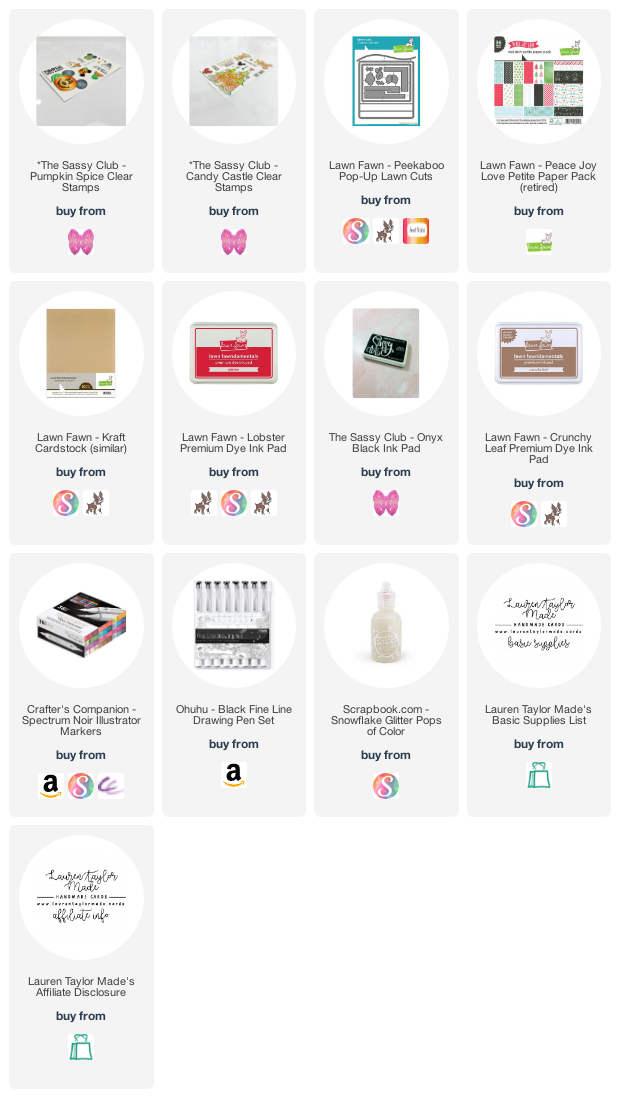
When "peek-a-boo" came up as the project, I instantly thought of my Lawn Fawn peek-a-boo pop-up die set. I colored in all of my images with red, green, yellow and neutrals, but I struggled with what my fourth color should be. I decided to add a background paper that had blue lights - my patterned paper are from a retired Lawn Fawn paper pack but I noted it in my supplies in case you've been hoarding it, too.

The other elements we had to include were "cocoa" and "tearing" so I made sure to add my whipped cream with cocoa dusting on my coffee mug. We'll pretend it's a cappuccino since today is National Cappuccino Day! As I was assembling my card, I was about to take photos and realized that I forgot to add "tearing"! So I tore a piece of patterned paper and added it under my sentiment.

I added lots of sparkle throughout the card using my Snowflake Pops of Color and while I think I would change up a bit on the front of the card (the last minute strip is not my favorite part about the card), it's still cute and I was excited to color up my holiday snack stamps from the Sassy Club!

PIN THIS
SUPPLY LIST

Read More

Color & Chat: Happy Santa from Pretty Pink Posh

Monday, November 7, 2022

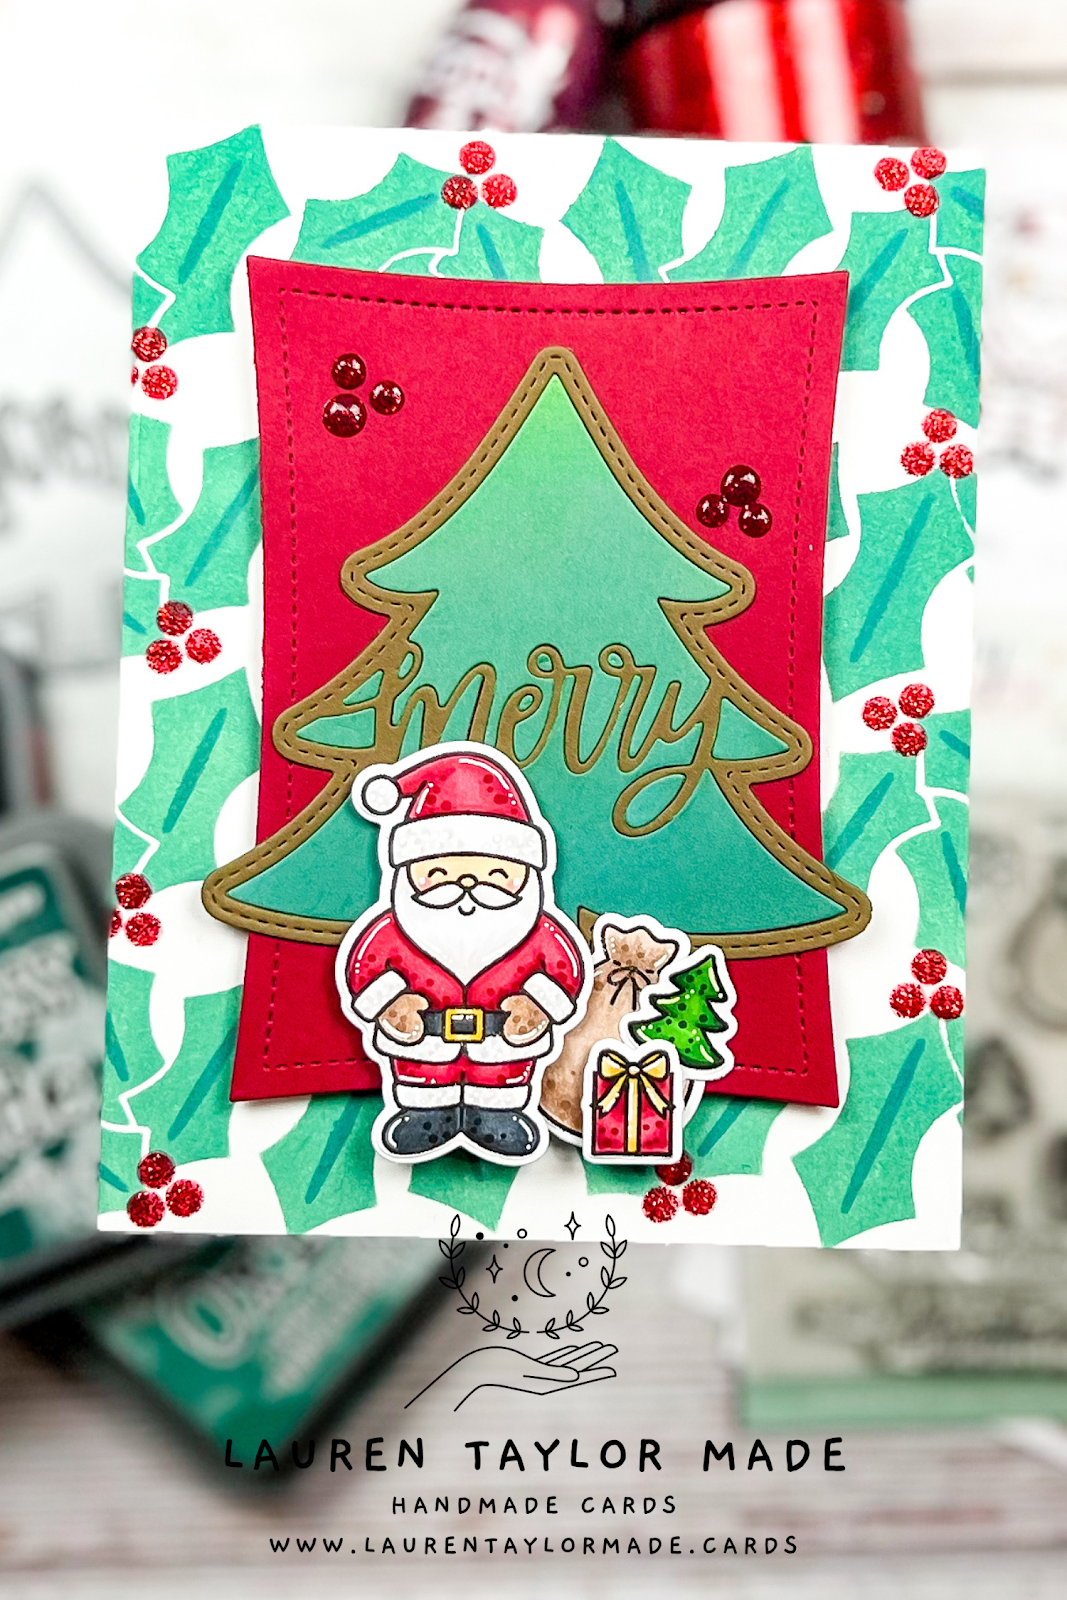
New month, new coloring guide! For November, I'm sharing my color combination for Santa Claus using Pretty Pink Posh's Happy Santa stamp set. You can see the coloring guides down below, or you can find and save them on my Instagram as well. I'm using traditional Christmas colors for this guide of red, green and yellow gold, but you can easily switch up the colors - I just had a request from my Facebook Group on a red combination for Santa and was excited to create a Coloring Guide for my group!

I did use my own skin tone for Santa, but this can easily be adjusted with your go-to colors for other skin tones. If you want to see a future Color & Chat with Ohuhu Skin Tone Markers (I just recently bought them), let me know!

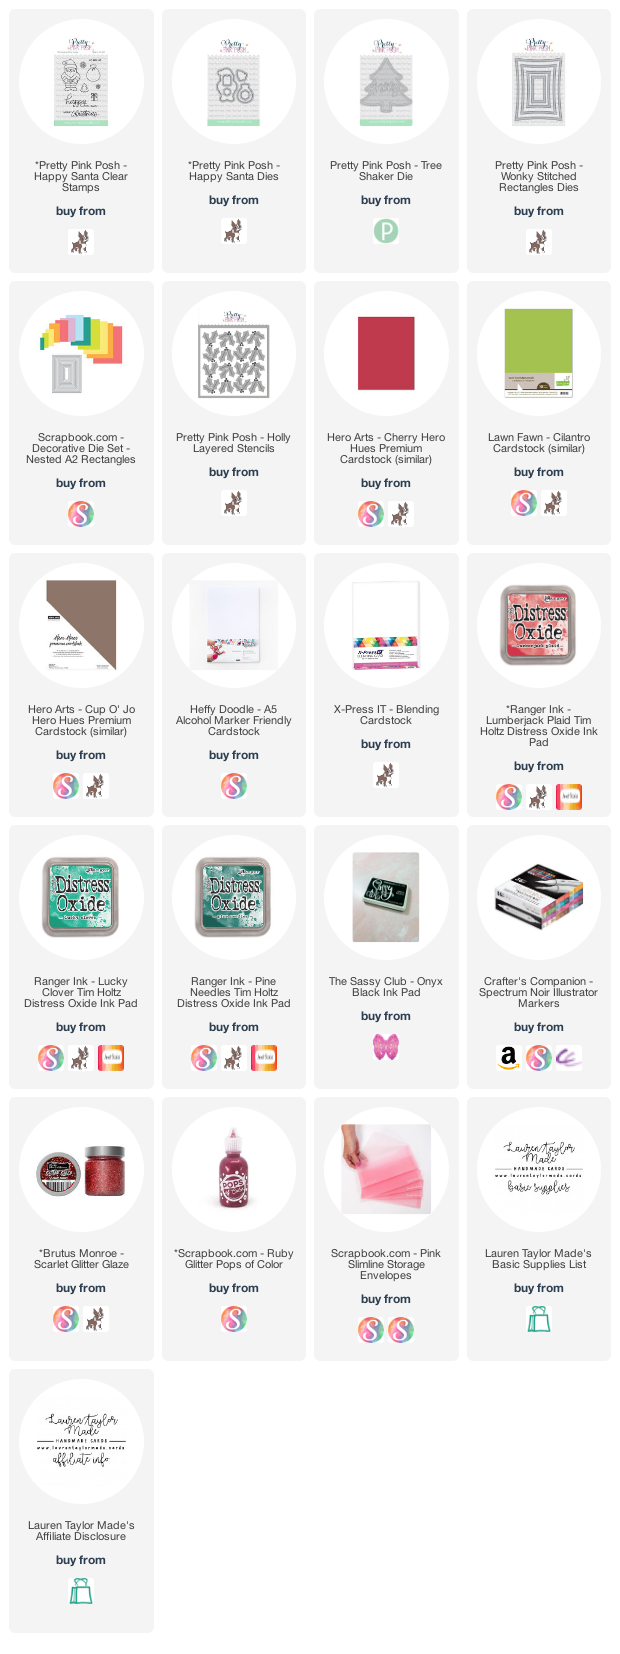
For the card sample, I mixed this new stamp set with older holiday releases from Pretty Pink Posh - I love all of their layering stencils and this Holly set is so pretty. I layered two Distress Oxide greens and used the new Lumberjack Plaid for the berries along with some Glitter Glaze. My sentiment shines through with the Tree Shaker Die and I tied colors together using colored cardstock and more Distress Oxide.

I hope this coloring guide is useful and helps with your Santa Claus coloring this holiday season! Don't forget to watch my Color & Chat video down below to see how I use my own coloring guides and catch up with my plans for the next couple of months.

VIDEO TUTORIAL


PIN THIS
SUPPLY LIST

Read More

Joyful Christmas Collection from Simon Hurley + Spellbinders

Saturday, November 5, 2022

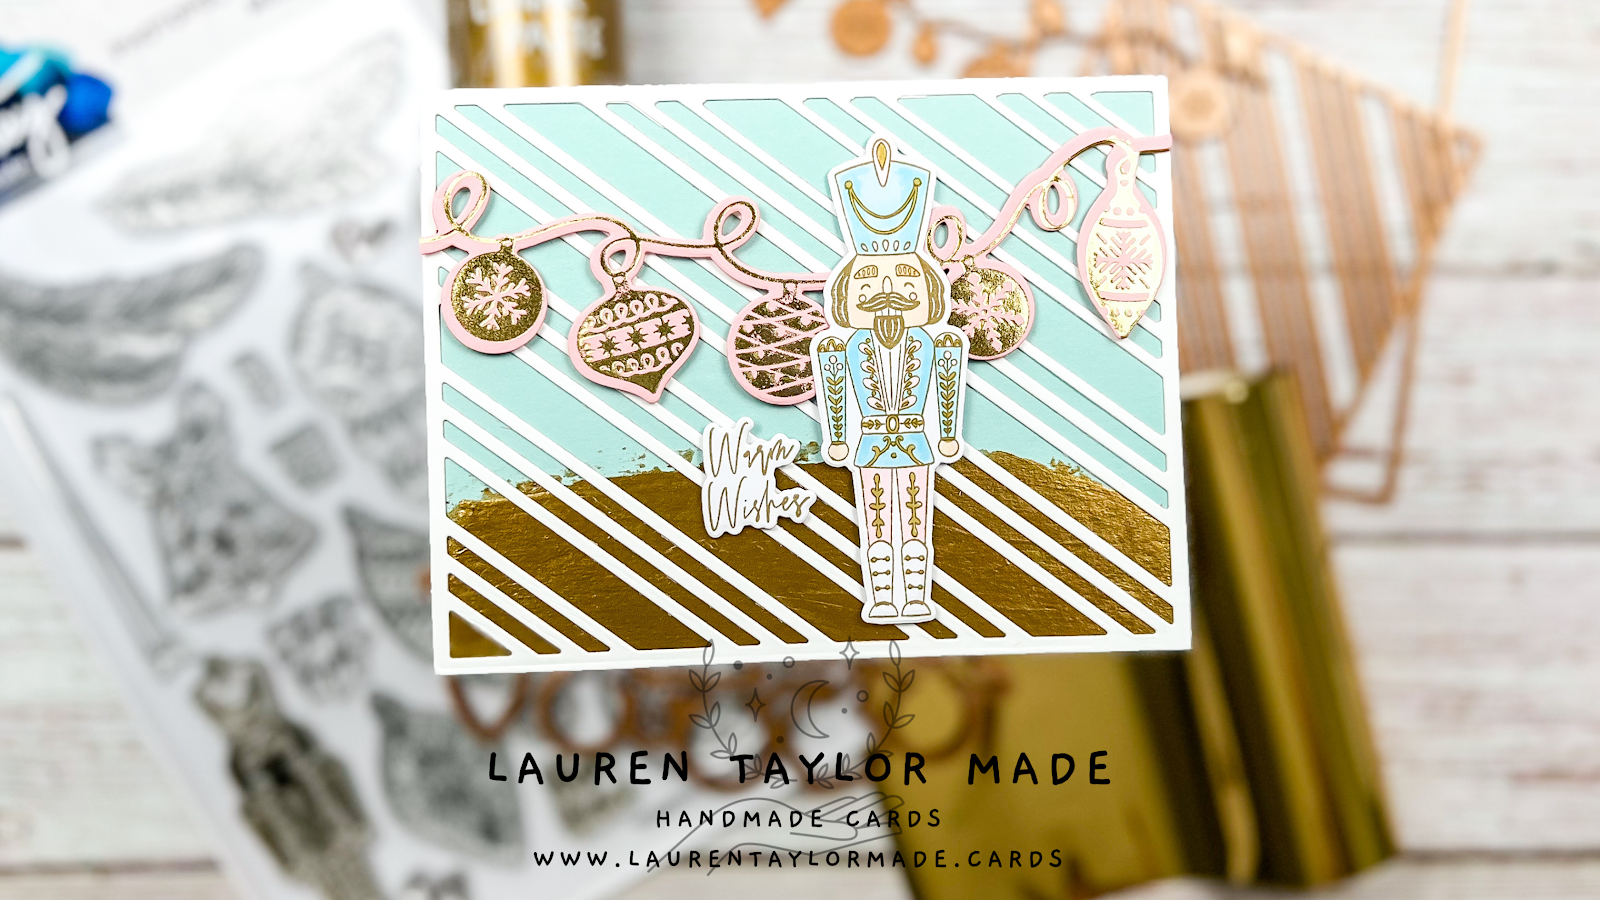
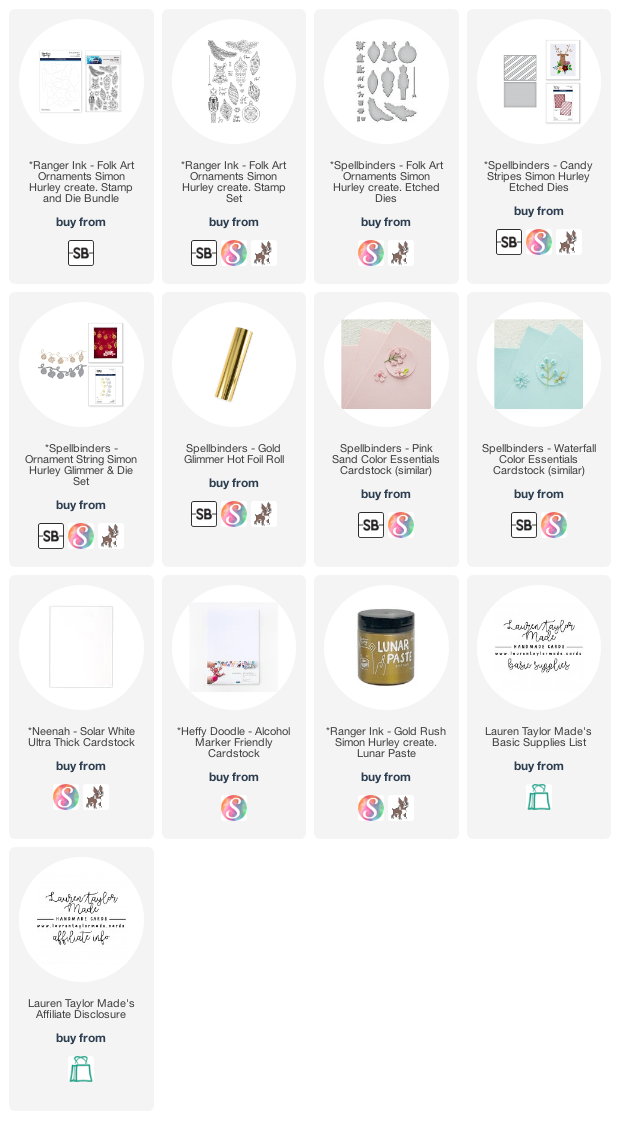
I have been really enjoying Simon Hurley's products recently so when Spellbinders offered to send some of their new collaboration products from the Joyful Christmas Collection, I jumped at the chance! I received the Folk Art Ornaments stamp set and coordinating dies (yay!), Candy Stripes die set and Ornament String Glimmer Hot Foil plate and coordinating die.

When I saw the nutcracker in the set, I knew I wanted to color it with pastel colors and then coordinating the rest of the card's colors. I picked pastel blue and pink with white and gold to color in the nutcracker. I went through my paper stash and found coordinating cardstock.

I picked gold Glimmer Hot Foil to create my string of ornaments and I started to layer the card together with the white candy stripes on top of the blue paper. It just felt too plain and needed some more pizazz! So I brought out my Lunar Paste and swiped across some Gold Rush to create a paint brush look of gold across the card. It also grounded my nutcracker once I assembled the card together.

It is so exciting that Simon Hurley has coordinating dies for his stamp sets - I love that the dies also coordinate around the sentiments! That is seriously the best and I'm looking forward to the future releases between Ranger and Spellbinders!
PIN THIS
SUPPLY LIST

Read More

Happy Holidays Snow Globe Shaker Card with Scrapbook.com

Friday, November 4, 2022

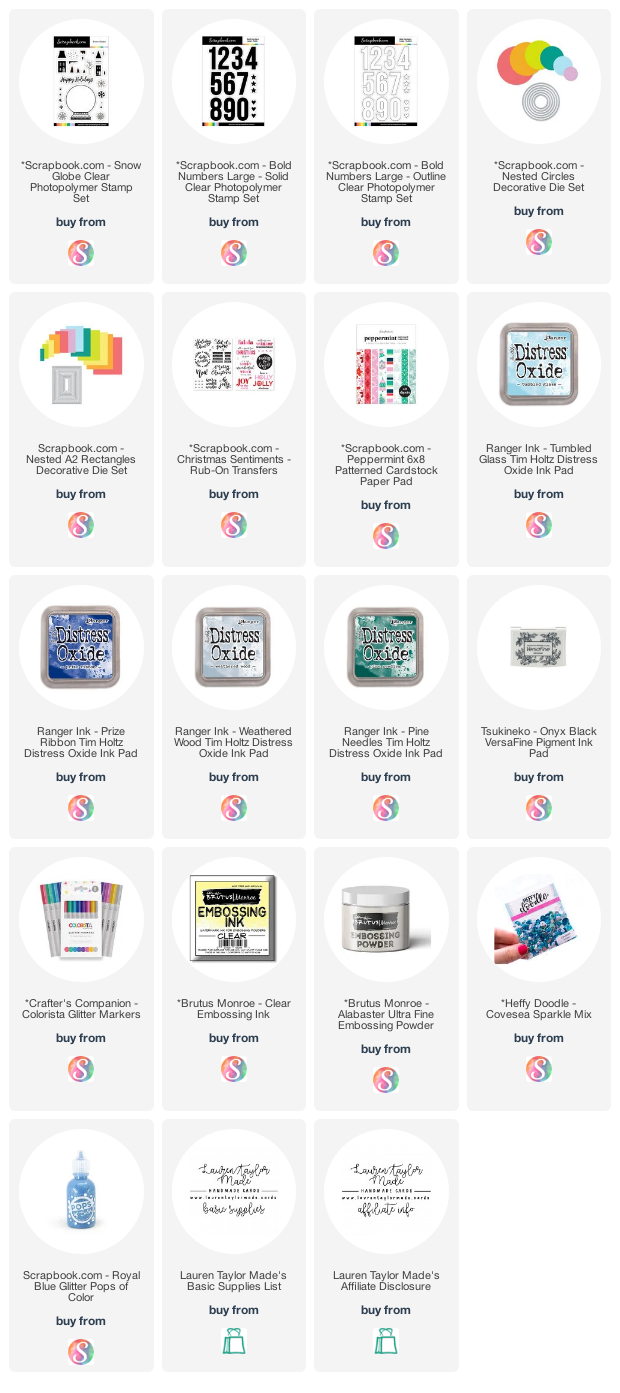
When I first saw the new Snow Globe stamp set from Scrapbook.com, I knew I had to make a shaker card. In today's video (you can see it down below), I grabbed my supplies and just started working. I didn't really have my idea fully formed other than it was going to be a shaker, so I was bit all over the place when it came to stamping and assembling.

But I love the colors and the cute houses inside of the snow globe shaker! I hope you'll check out my process video down below. Don't forget I have TWO giveaways going on right now - one HERE on YouTube and one HERE on Facebook!
VIDEO TUTORIAL


PIN THIS
SUPPLY LIST

Read More

Berry Friends & Berry Besties with The Sassy Club!

Thursday, November 3, 2022

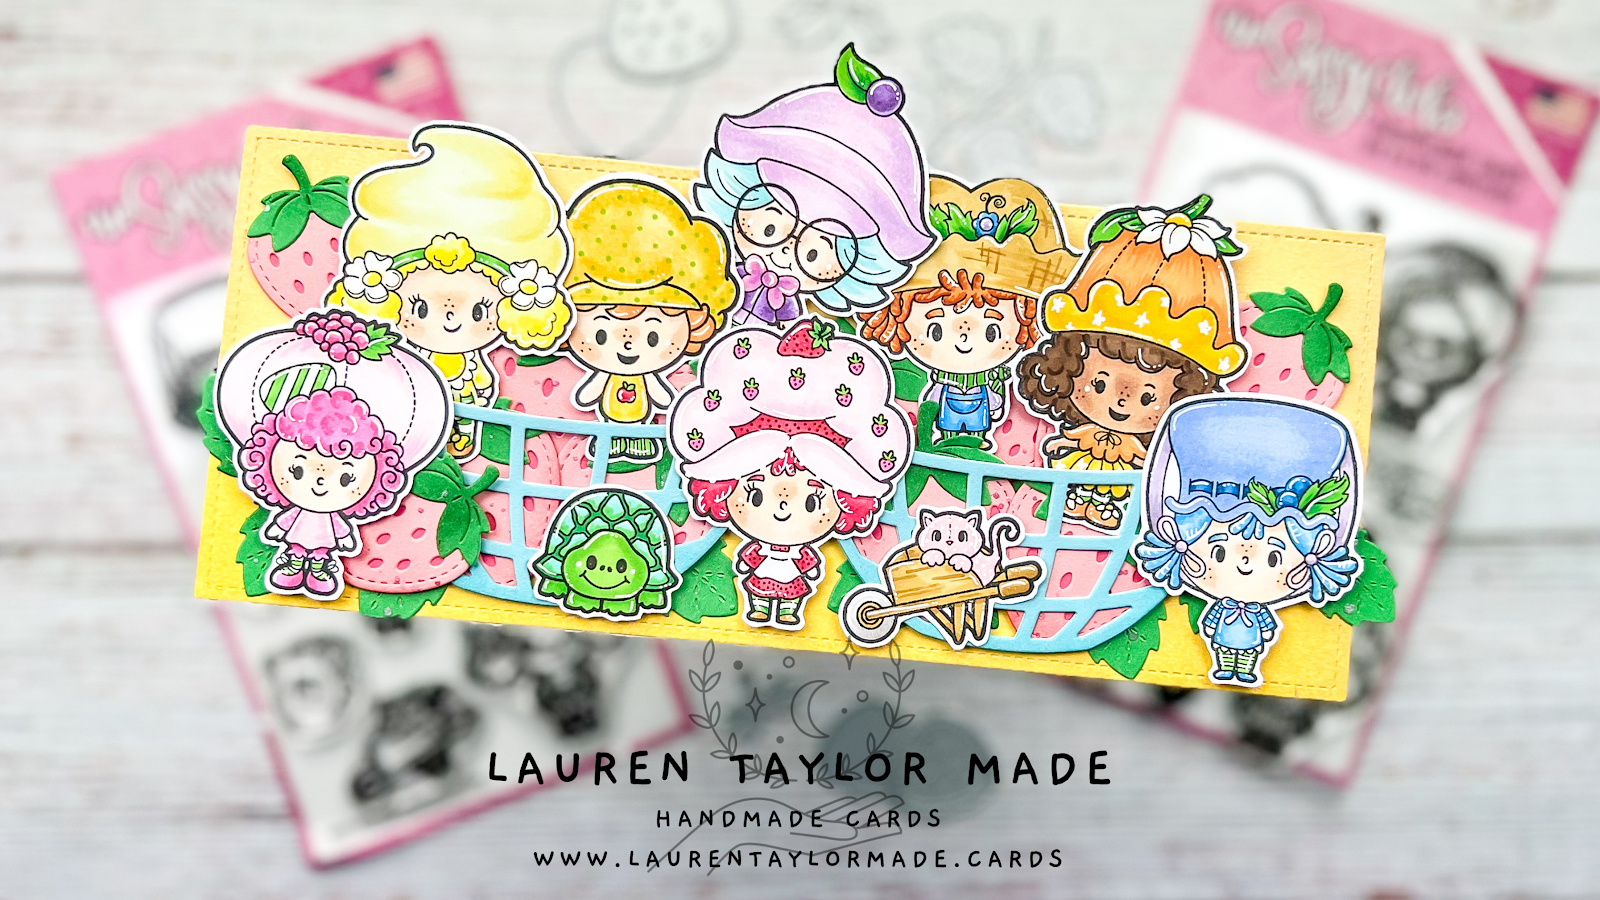
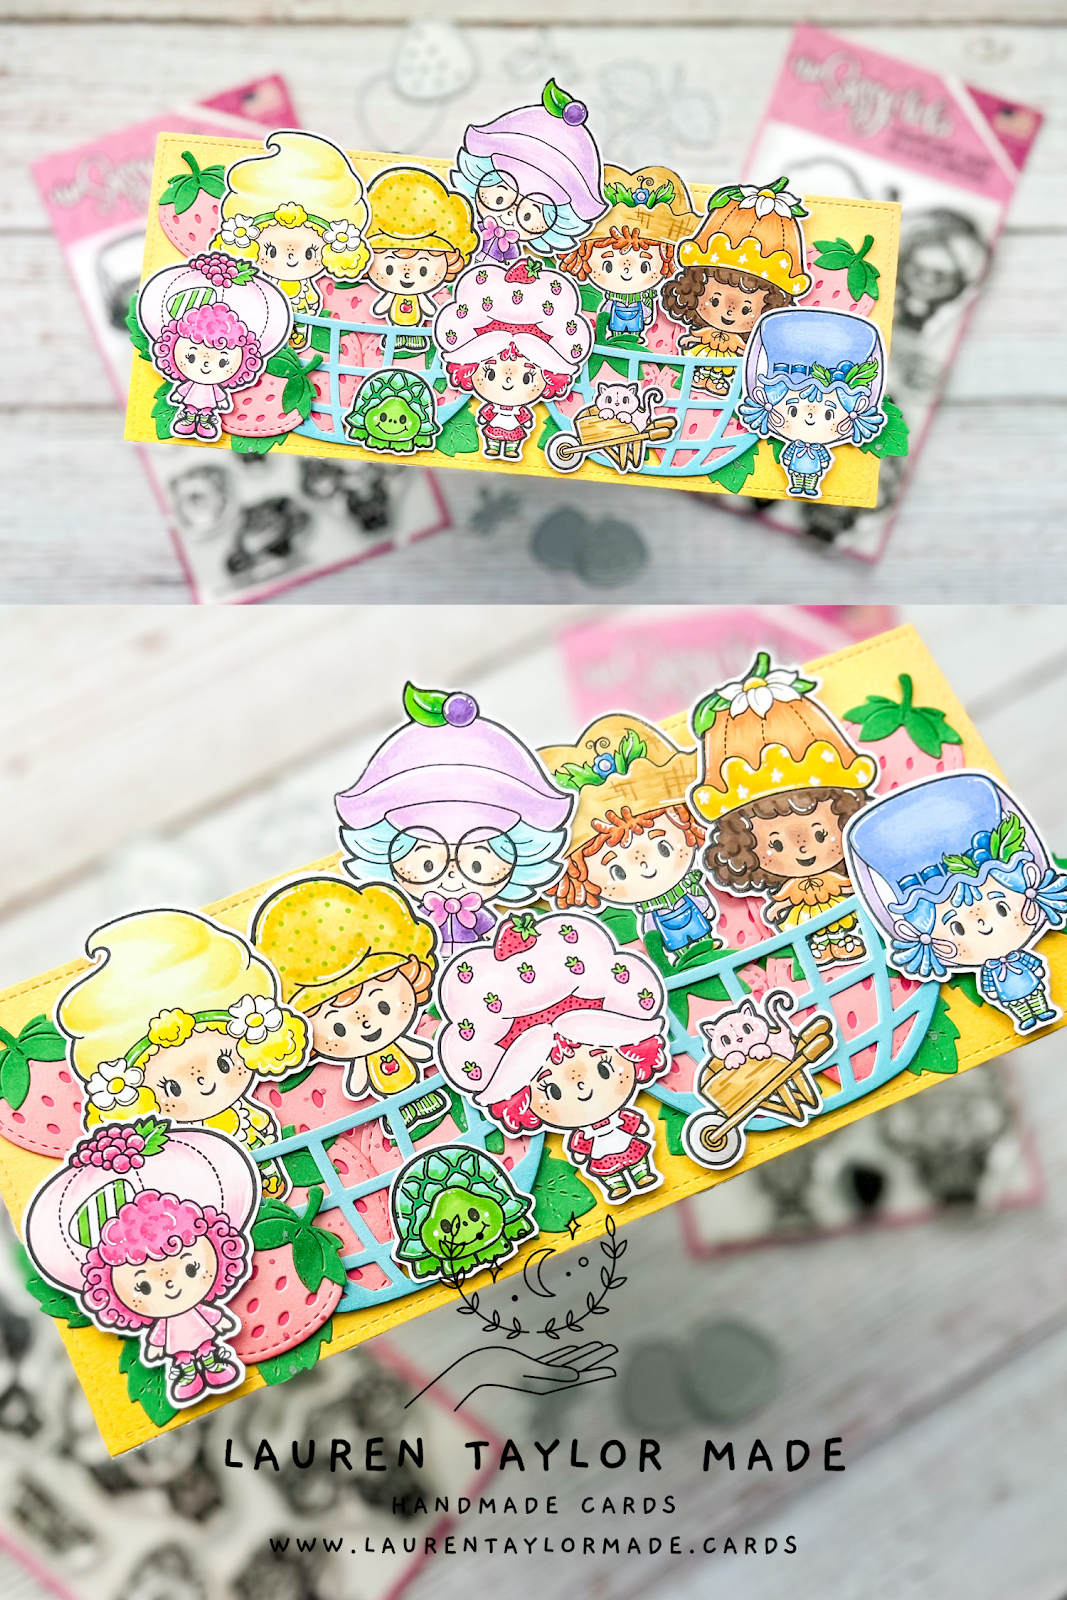
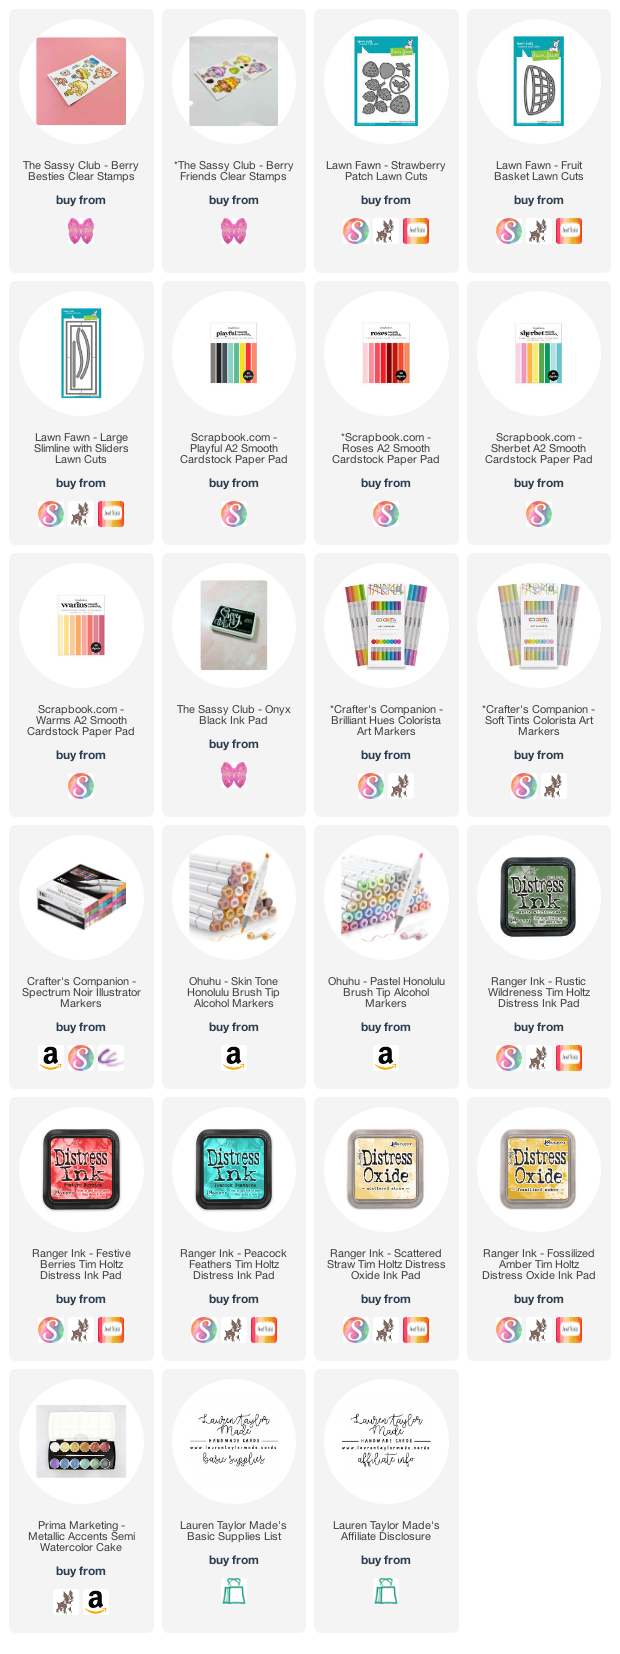
I have to say, I'm really proud of my coloring on this card. 10 sweet images that took me quite a while to color and I can really say my color has improved so much the past couple of years - practice really does make progress. These two adorable Berry sets from The Sassy Club barely fit onto this slimline... in fact they don't! But this card is going to be more of a home decor than a mailed card, so it's totally fine.

To inspire my coloring, I looked up the original/vintage characters and colored them using ALL of my alcohol markers... Not even kidding. Spectrum Noir Illustrators + Coloristas as well as my older mix of colors + my new skin tone and pastel Ohuhu Markers. I stamped them with my ink from The Sassy Club, colored them all in and fussy cut them out.

For the background, I used Lawn Fawn die cuts. The largest slimline (so I could fit in as much as I could) is colored with Distress Oxides and glued to a card base. I added some Distress Ink and metallic watercolor splatter to my strawberry die cuts and also added some Distress Ink to the berry baskets. After gluing the strawberries together, I tucked most of them into the baskets. You can see my video down below to see a quick one minute showing the basic steps of the card and how I layered everything together.

I know I covered a lot of the berries, but these characters are the star of the card! I knew I wanted to make something that showcased all of them as I worked so hard to color them, so they're jam packed (pun intended) onto this card. Let me know below in the comments what your favorite cutie is!

I just wanted to let you know that my second giveaway is now live in my Facebook Group! We're giving away a gift certificate in our Make & Take Club group. So if you're not yet a member, join in and learn how you can enter to win!

VIDEO TUTORIAL


PIN THIS
SUPPLY LIST

Read More

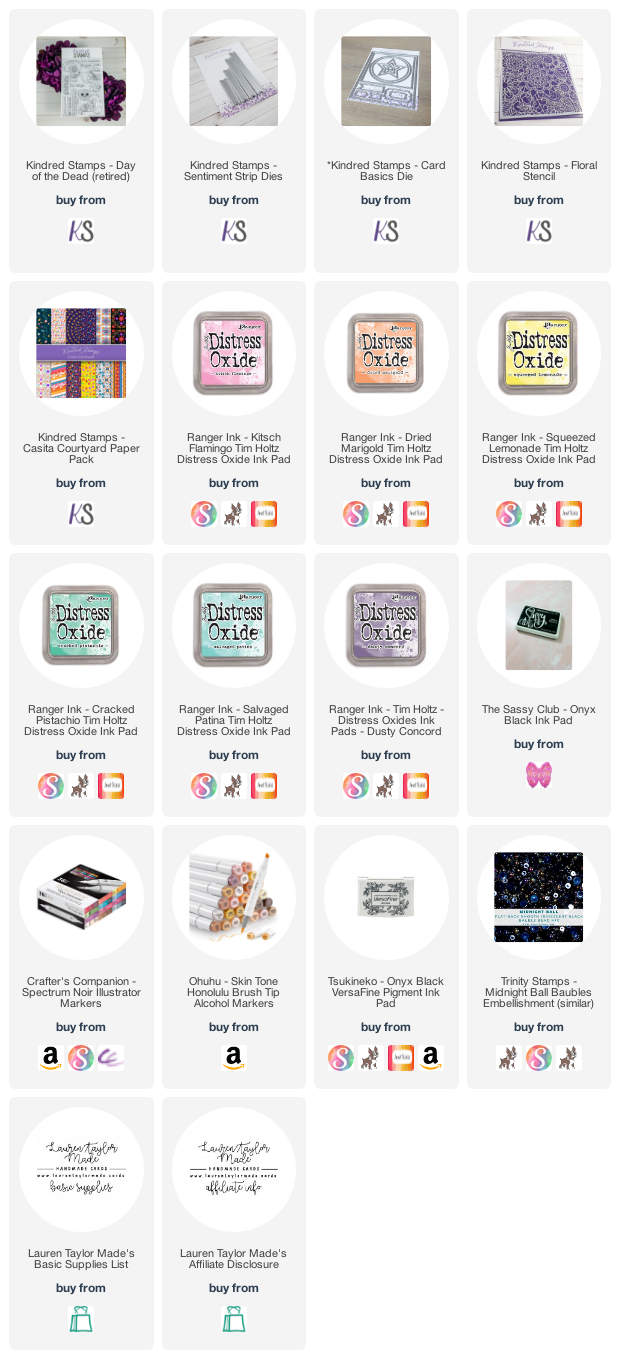
Feliz Cumpleaños with Day of the Dead from Kindred Stamps

Tuesday, November 1, 2022

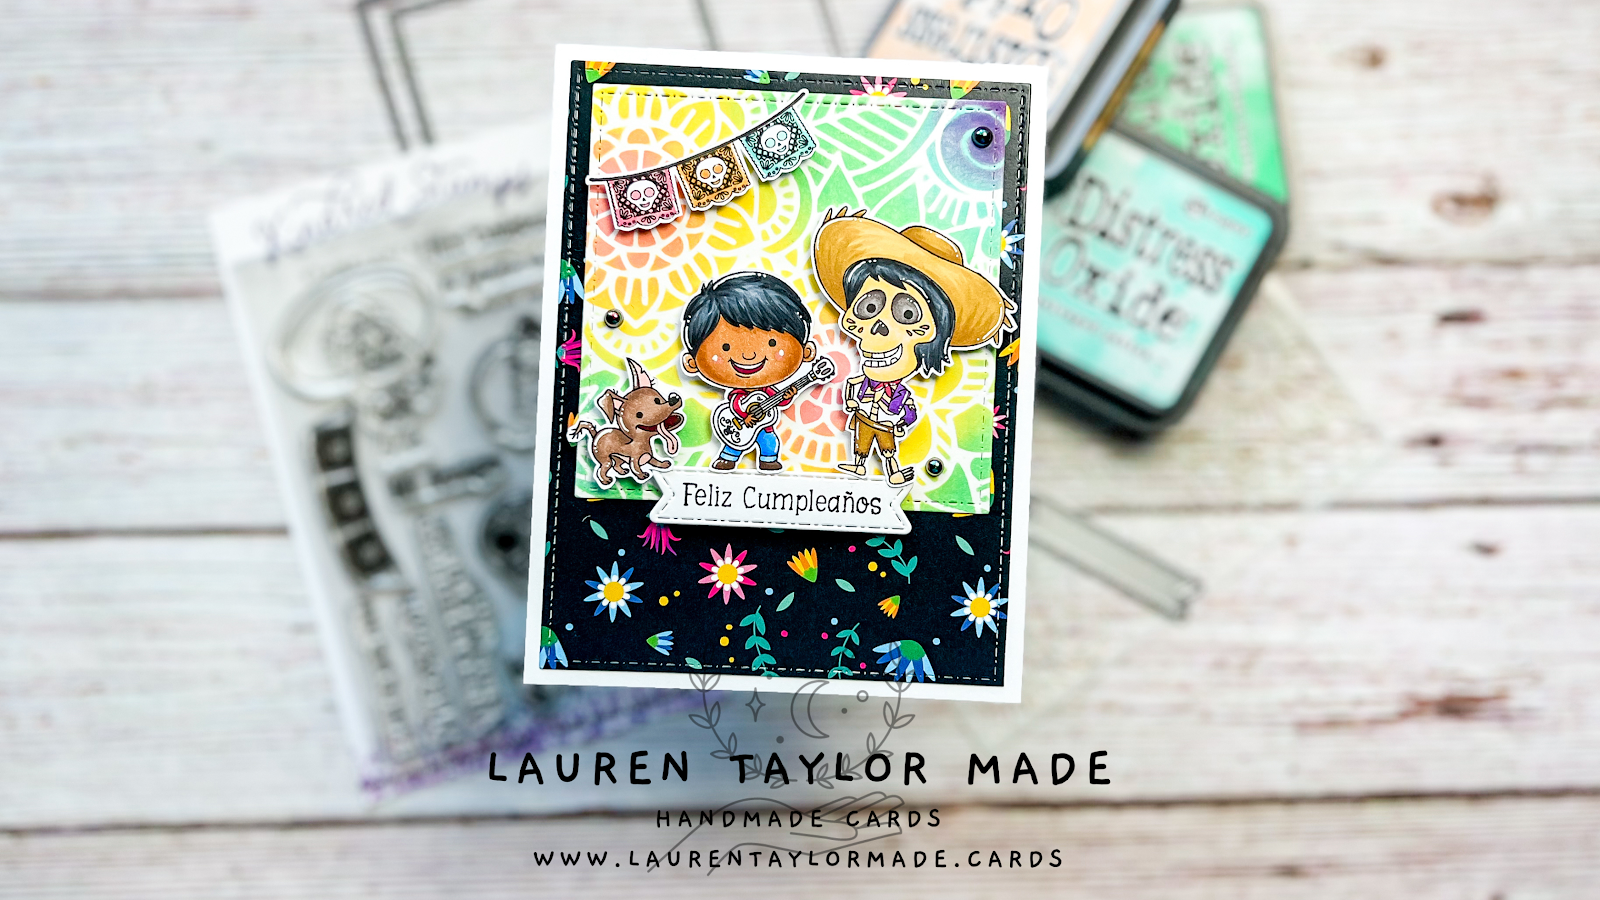
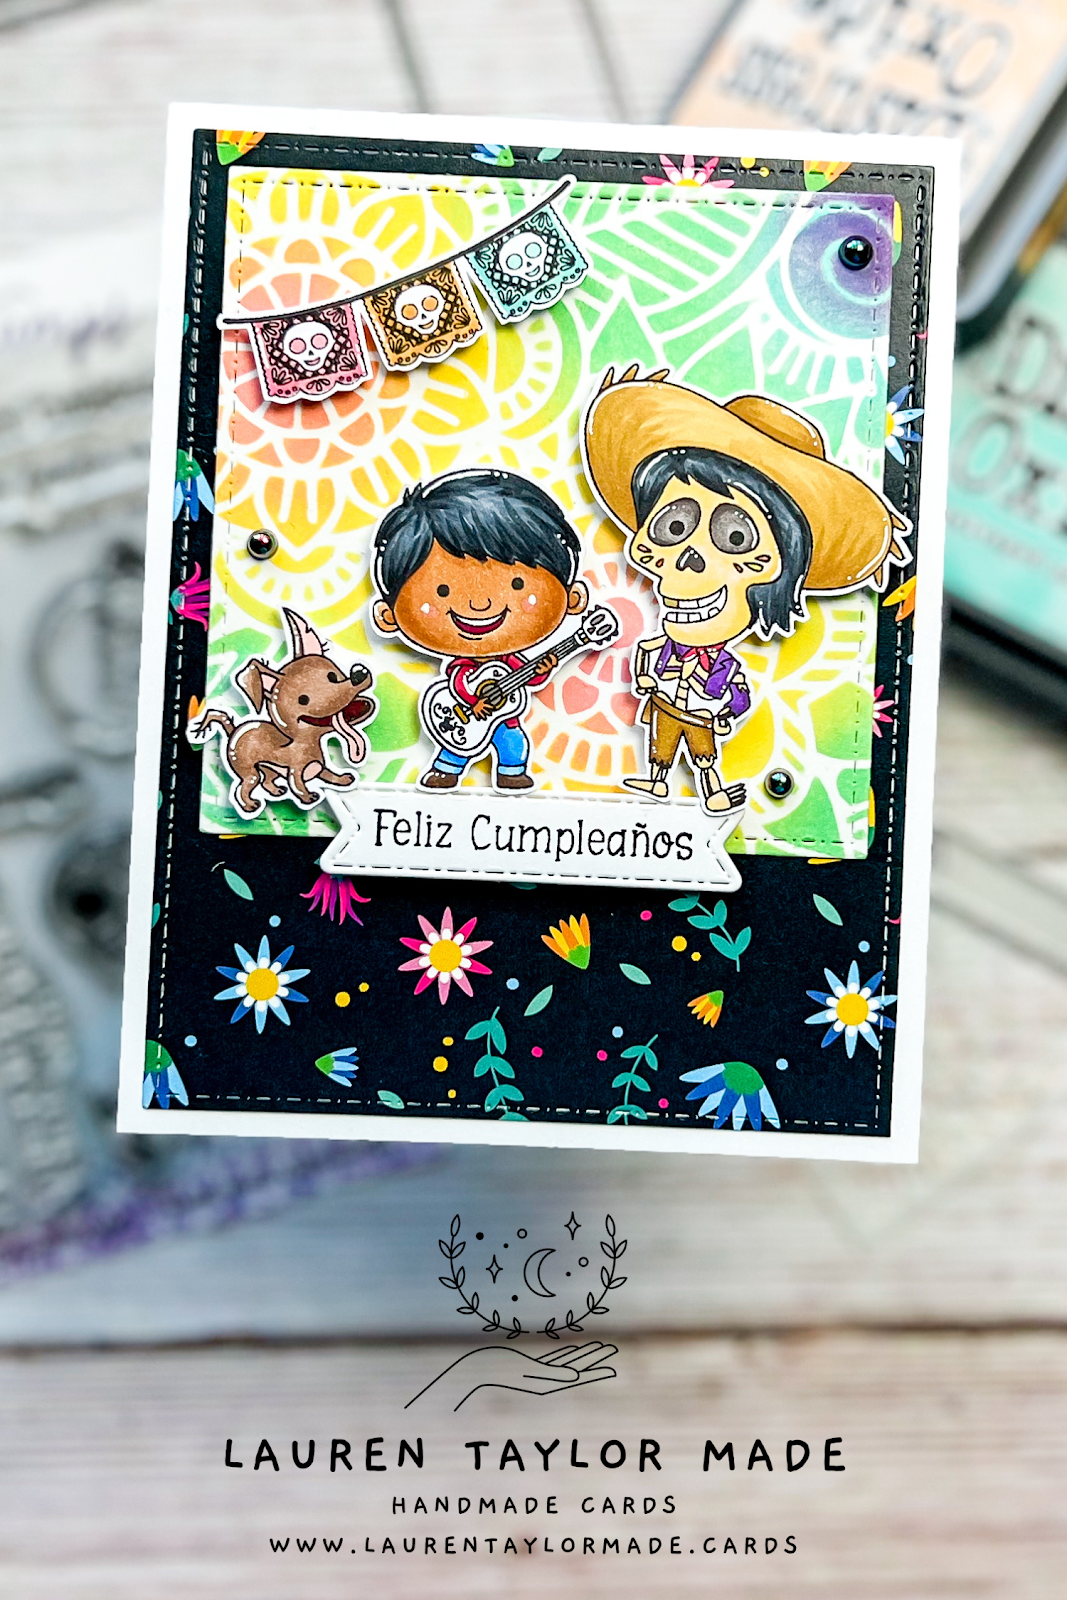
Dia de Muertos begins today and the fandom characters from this movie were a perfect way to celebrate and remember those who have left this world. I used lots of bright of colors to create my stenciled background and made sure to tie those colors in to the papel picado. The patterned paper and stencil are also from Kindred Stamps - even the dies! I decided to go with a birthday sentiment so that way it can be more easily used throughout the year, but knew I just had to use this set and share today.

I started with coloring my images with my alcohol markers and fussy cut them out. I selected a colorful, floral patterned paper and die cut it with the rectangle die from the Card Basics Dies. I also cut out a circle behind the stenciled paper as to not waste any unseen paper! I used the Floral stencil and bright colors of Distress Oxide to make my stenciled background, then die cut it with the square die from the same set.

The two background die cuts were glued to the card base and I stamped and die cut the sentiment using my Sentiment Strip Dies. This banner and all of the colored images were adhered using foam adhesive. I found some black, iridescent pearls in my embellishment stash, so I added a few of those to add some shine to the card. I had also colored a sugar skull, so I glued that to the inside of the card along with the Mi Amigo sentiment.

I hope you all had a wonderful Halloween this season and Feliz Dia de Muertos to those who celebrate in these holidays of remembrance! (Don't forget at the time of posting, there is still time for my giveaway on YouTube, too!)

PIN THIS
SUPPLY LIST

Read More