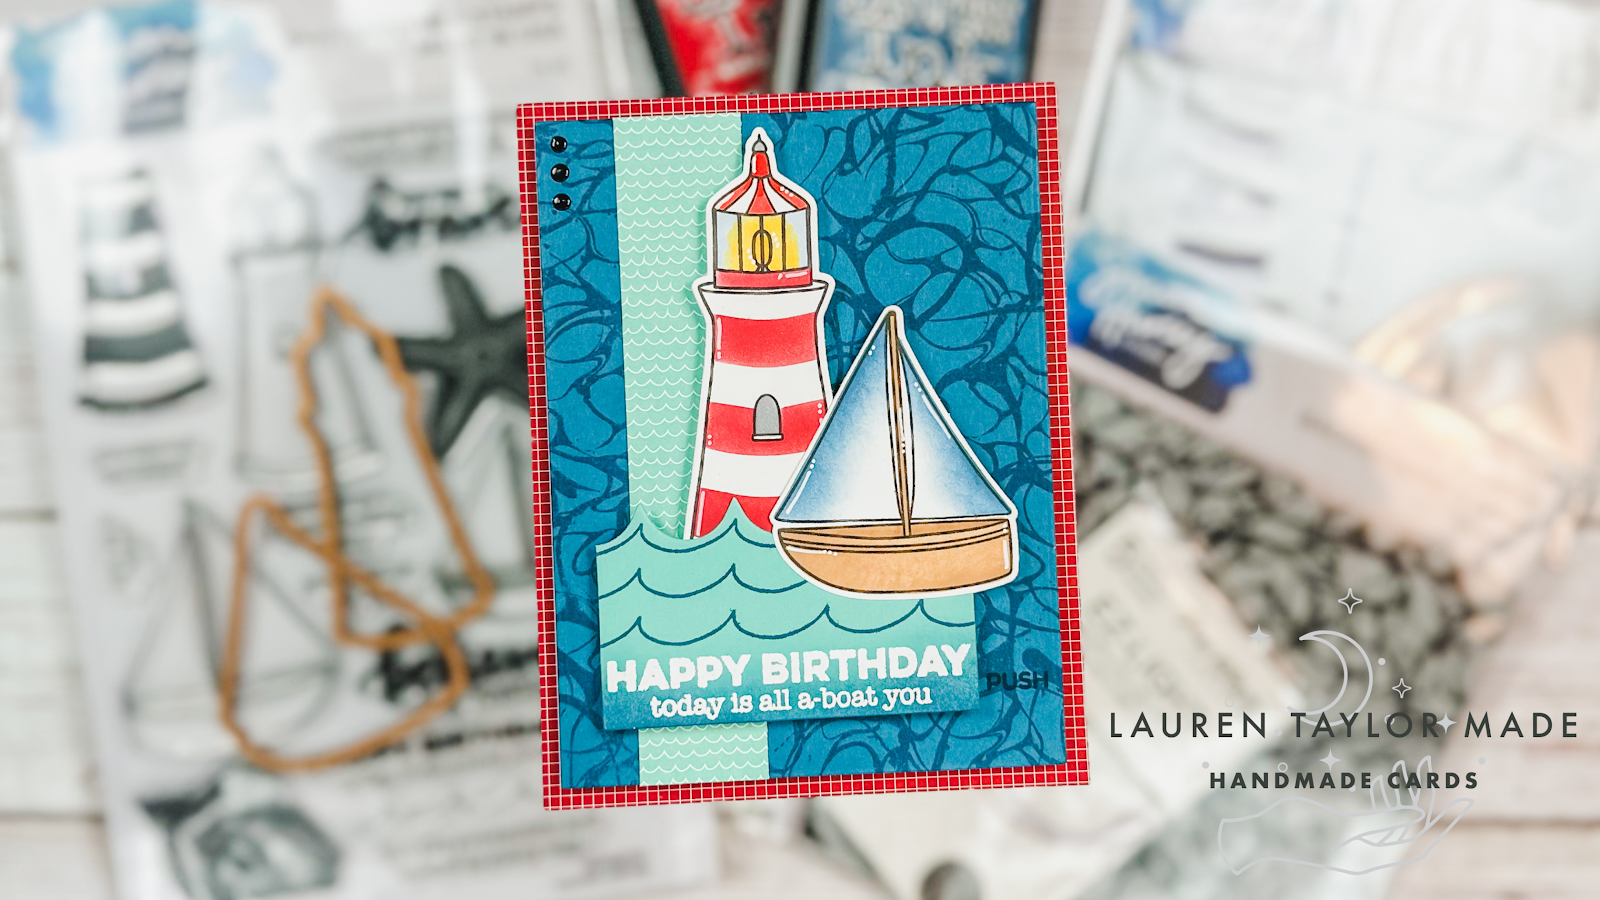
All A-Boat You Light Up Birthday Card with Simon Hurley

Tuesday, July 4, 2023

It is independence day, so we're going red, white and blue today! I have a card using new products from Simon Hurley that were gifted to me from Ranger Ink and I just love that the stamp sets have coordinating dies from Spellbinders. This card is also inspired by the latest episode of craft roulette and the July 2023 sketch from Show Us You SheetLoad.

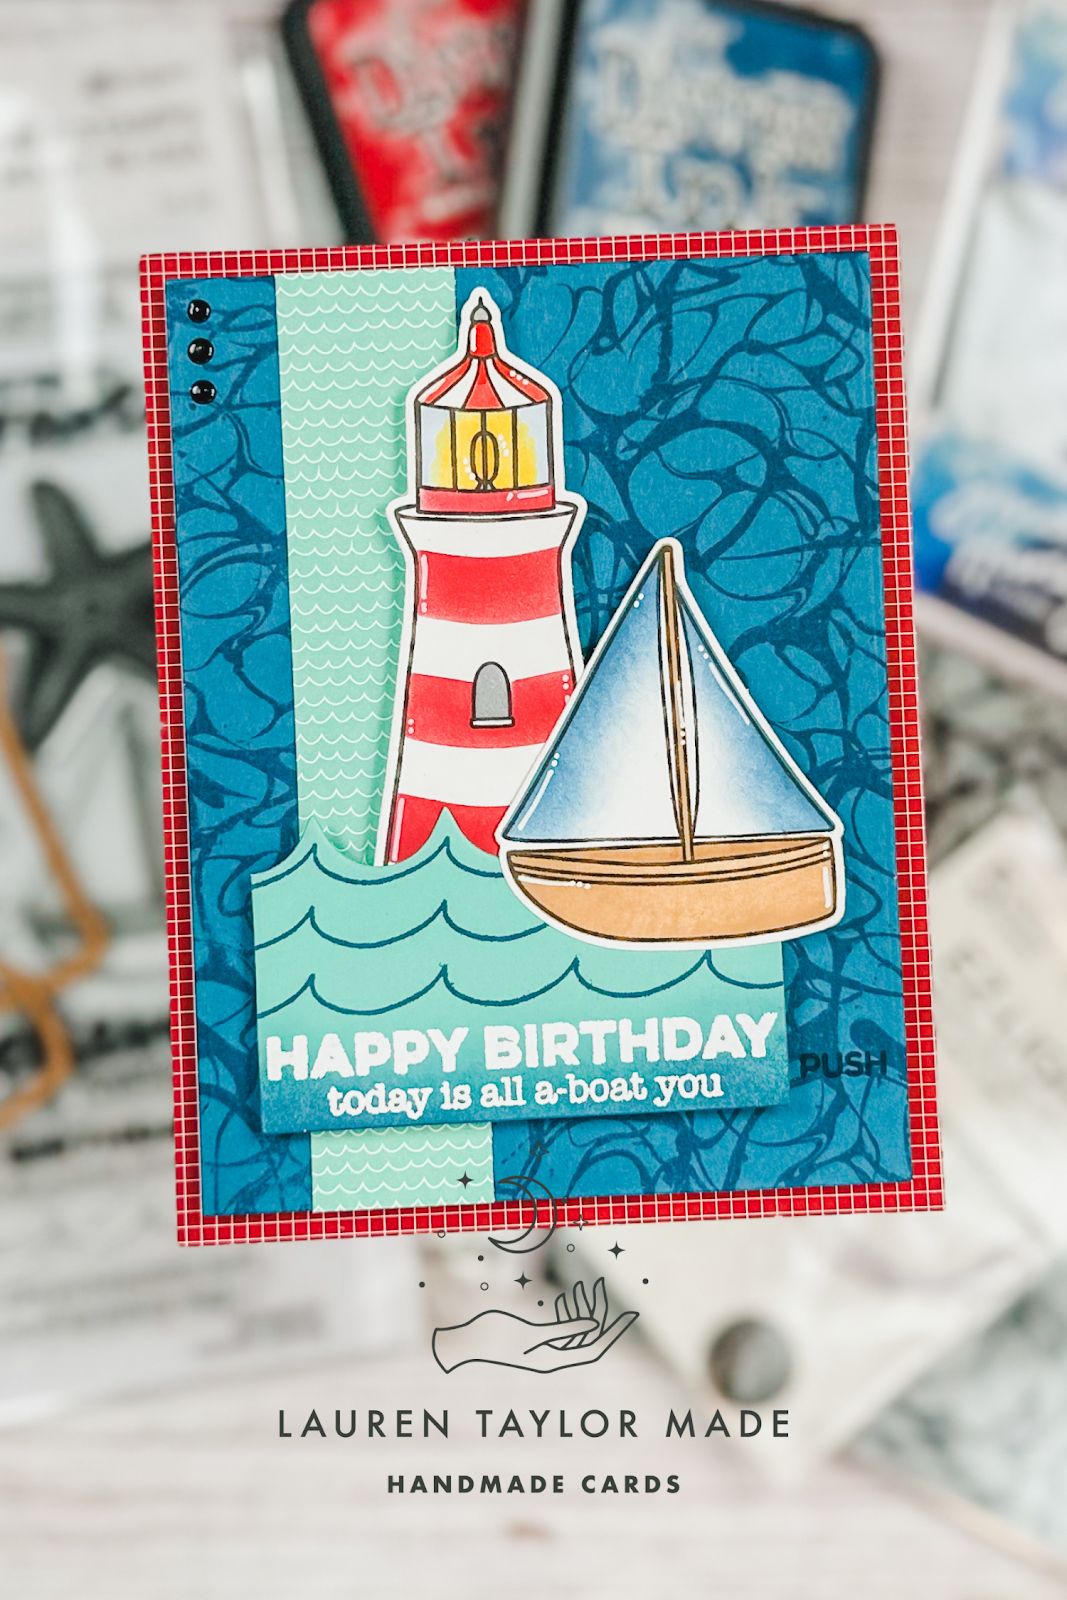
I started with adding a piece of red patterned paper (sorry, it's from Stampin' Up! and retired) on my A2 card base. I took a piece of teal blue cardstock and stamped the new Splatter rubber background stamp with Uncharted Mariner Distress Ink. I trimmed it down with the a nested A2 die so there would be a nice red border around the blue and I added a strip of blue patterned paper with a large collection of waves. It measures an inch wide and I trimmed it to fit the height of the blue cardstock.

The two images were stamped from the Smooth Sailing stamp set and I used the coordinating stencil to color in the lighthouse and sail boat! I just love that so much. I did use some alcohol markers to color in the top of the light house and cut them with their coordinating dies. Using some light blue cardstock, I stamped the waves three times with Uncharted Mariner and used the wave die to cut the piece on the top. I trimmed the sides to where the wave die ended and it was just the perfect width to fit my sentiment. I distressed a little bit of ink and then embossed my sentiment in white.

Now that all the pieces are ready, it's time to start assembling. I figured out where I needed to punch a hole for my EZ lights through the blue cardstock and put the three LEDs into the hole and once I knew where I was going to attached the battery, I stamped "push" so the card receiver knows it is interactive. I covered the back of the blue cardstock with foam adhehsive and attached to the card base. Next I put foam adhesive behind my light house making sure to keep the light area without foam so the LEDs can shine through. I adhered it down and just love that it lights up!

Finally, I adhered my waves and sailboat with the same foam adhesive but using liquid adhesive wherever thee pieces overlapped each other and the lighthouse. I added three small black dots of Pops of Color to the upper left hand corner to help finish up meeting the parameters of Craft Roulette! It is a birthday card, uses picnic colors (red and white tablecloth, blue sky), has a collection of waves and three black dots. I hope you have a safe holiday to those celebrating today!
PIN THIS
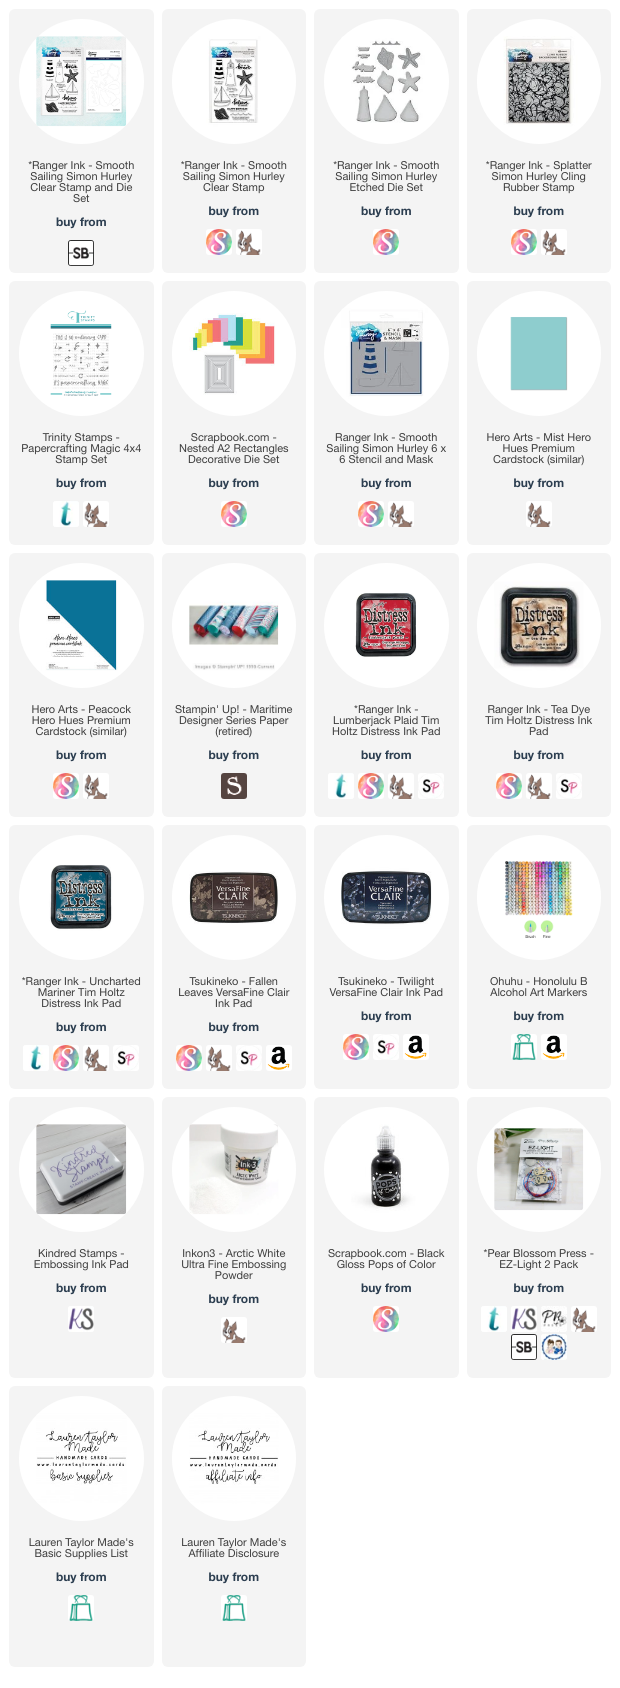
SUPPLY LIST

Read More

Miss You Bunches Friend with Pretty Pink Posh

Monday, July 3, 2023

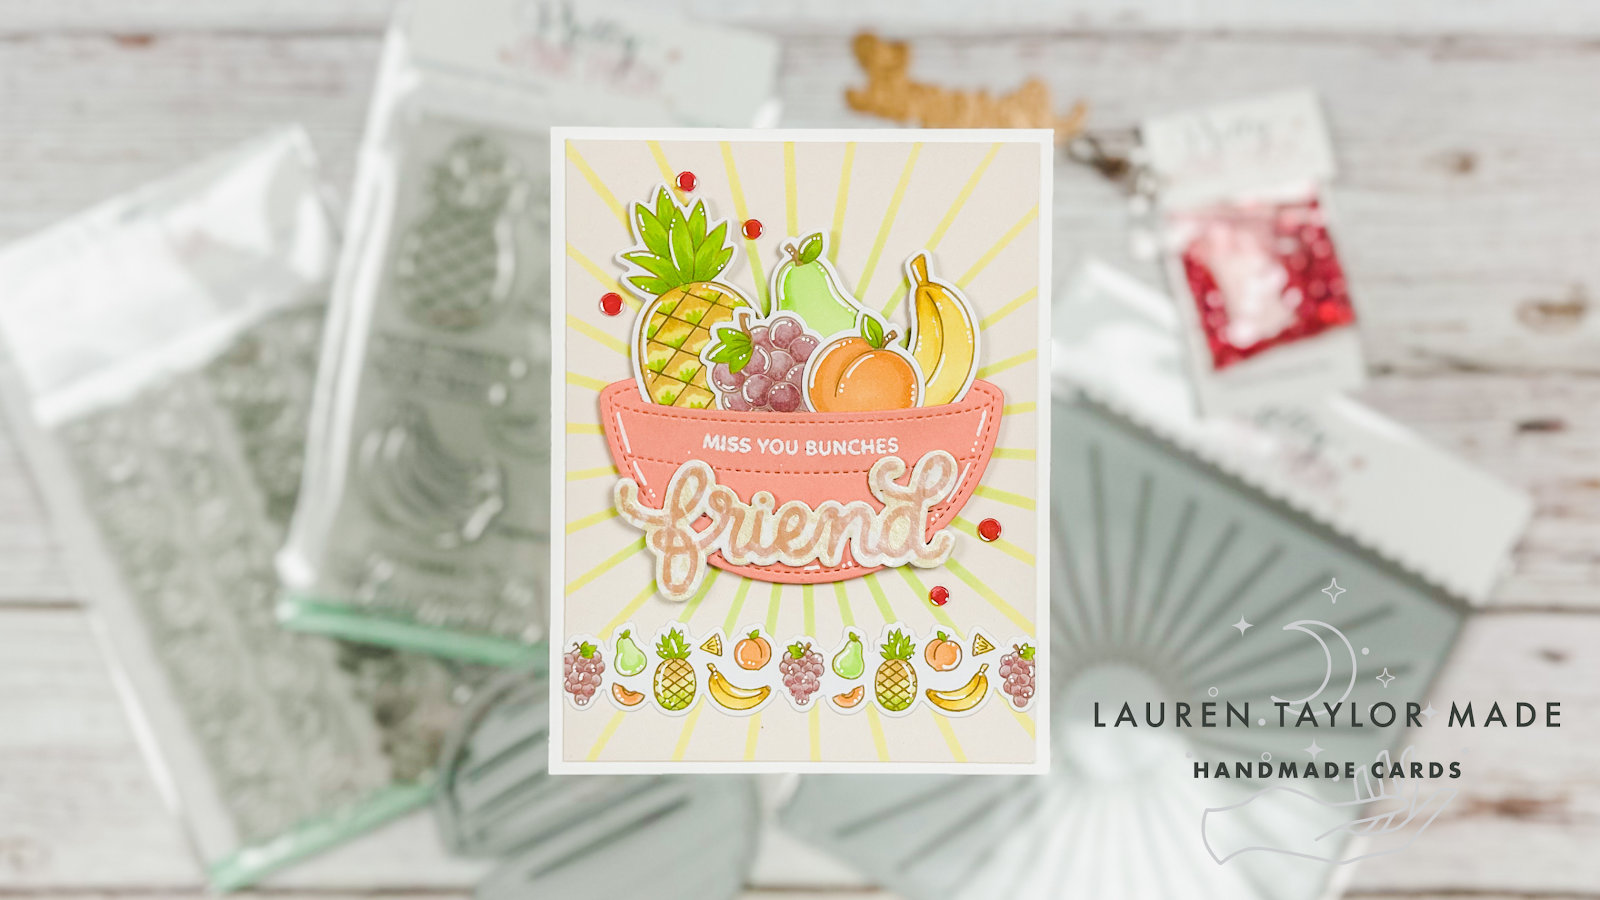
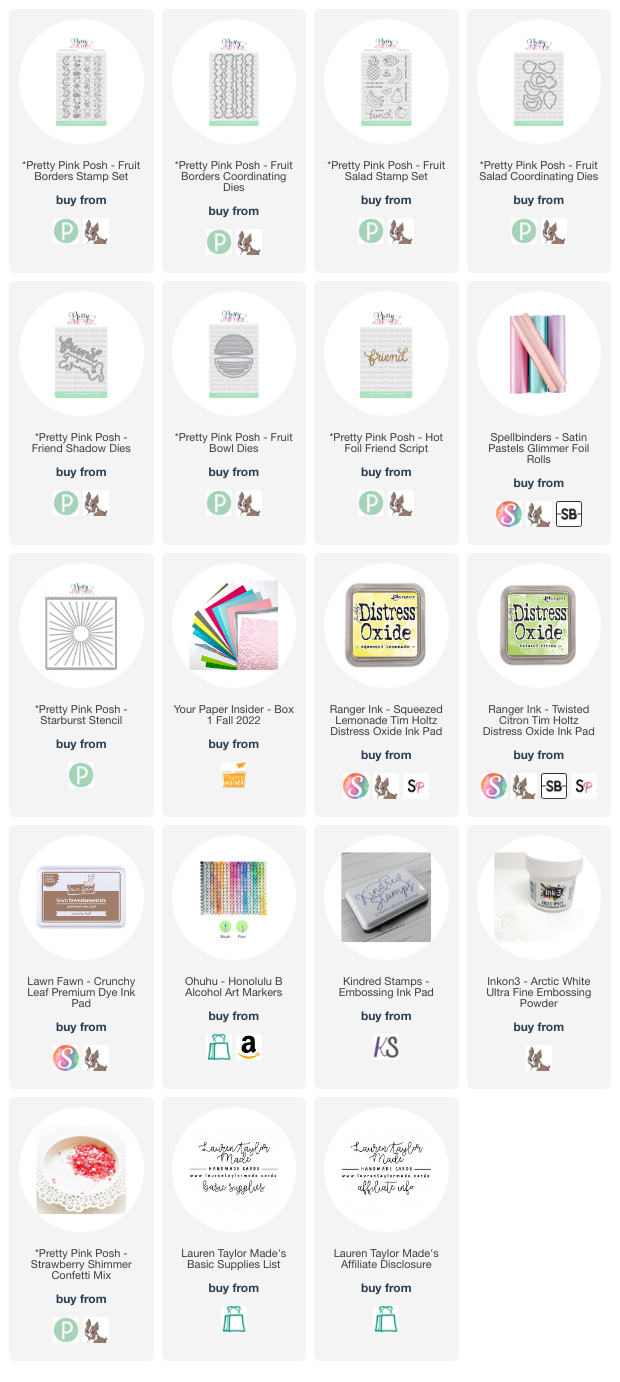
I'm excited to share that I am continuing my Design Team work with Pretty Pink Posh and to celebrate, let's make a bowl of fruit! I started with stenciling the new Starburst Stencil with Twisted Citron and Squeezed Lemonade Distress Oxides onto a piece of pale pink cardstock that is cut to 4x5-1/4" in size. My sunburst is not quite centered because I raised the stencil up as I knew my basket of fruit was going to be a little higher than the center of the card. While I warmed up my Glimmer Hot Foil System, I cut the Fruit Bowl Dies out of a pink cardstock, but just the solid bowl image. I also cut out the shadow of the Friend Shadow Dies twice out of white cardstock.

Once my system was ready, I hot foiled the Friend Script Hot Foil Plate with a matte pink foil onto a piece of colored vellum cardstock. I also cut it out with the Friend Shadow Dies. Next I stamped the border stamp with the banana, peach, pear, pineapple and grapes from the Fruit Border Stamp Set as well the same fruits from the Fruit Salad Stamp Set in an alcohol marker friendly brown ink. I colored them in with alcohol markers - I used Ohuhu Art Honolulu B Markers. After adding some white highlights with a gel pen, I used their Coordinating Dies to cut them out.

After adding highlights to the pink Fruit Bowl, I also embossed the “miss you bunches” sentiment from the Fruit Salad Stamp Set in white embossing powder. I arranged the fruits inside the bowl and glued them inside. I also glued the friend layers together to create a sturdy sentiment. Now it’s time to assemble the card! Using a tape runner, I glued the Fruit Border towards the bottom of the stenciled background, about a 1/2" from the bottom. The border will hang off the edges a little and I trimmed them down before gluing to an A2 card base.

I added foam adhesive to the back of the assembled fruit bowl and glued it so the sunburst is coming from the center of the assembled bowl. Next I adhered the Friend Script sentiment onto the bowl. Finally, I glued down a few Strawberry Shimmer Mix sequins in a couple different sizes around my fruit bowl for some extra shine. I hope you have enjoyed my projects so far this year and I am so happy I get to continue sharing inspiration with you!

PIN THIS
SUPPLY LIST

Read More

Merry Krampus with Kindred Stamps

Sunday, July 2, 2023

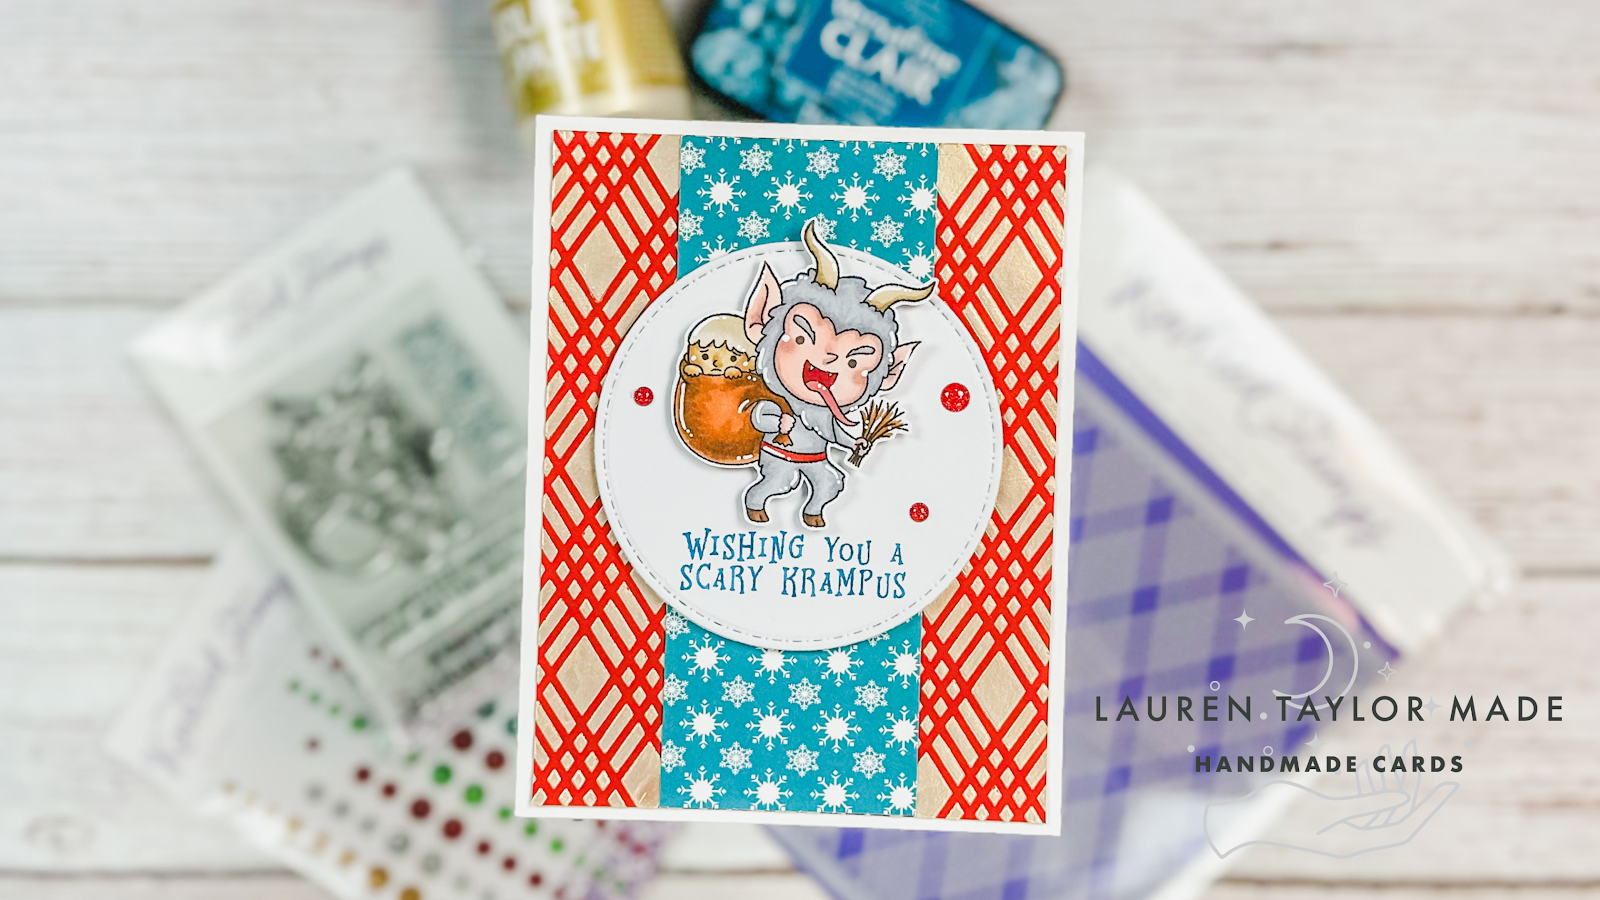
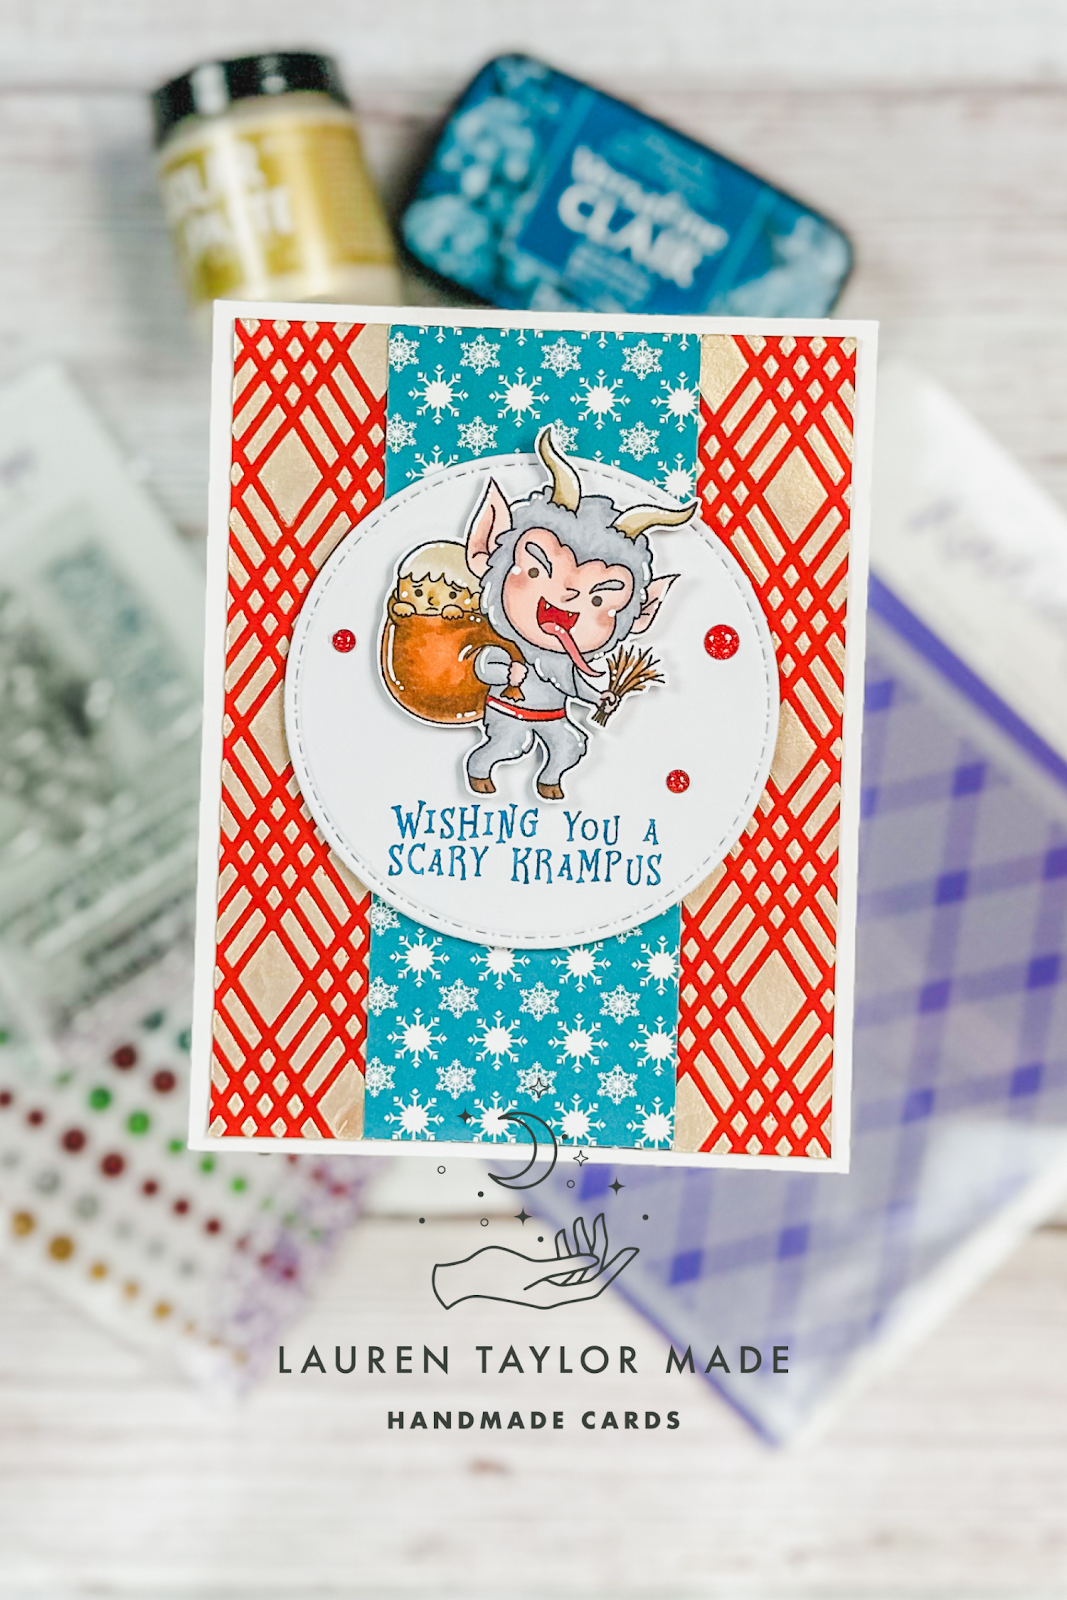
I'm having some fun with Christmas in July by sneaking in a little bit of silliness... Krampus style! The Merry Krampus set from Kindred Stamps is so fun and I just loved coloring him in with my Ohuhu Art Markers. I fussy cut him out and added some highlights with a white gel pen. My background is a piece of red cardstock and I used a plaid stencil with Solar Paste to give it some shine that I thought matched the coloring of Krampus.

The center piece of patterned paper is a leftover piece from a Kindred Stamps event but I just love the teal blue color mixed with the red and champagne gold. I adhered it to the center and glued this background to the card base. I die cut the circle out of white cardstock and stamped my sentiment in a blue ink that matched the patterned paper. Using foam adhesive, I added the circle to the upper center of the card and then added my Krampus with foam adhesive as well. Finally, I added a few glittery red enamel dots!

I hope this July brings you some fun holiday inspiration and I also hope you enjoy a little fun by mixing in some Krampus with our Santas!

PIN THIS
SUPPLY LIST

Read More

Spellbinders July 2023: Clear Stamp + Die of the Month and the New BetterPress of the Month!

Saturday, July 1, 2023

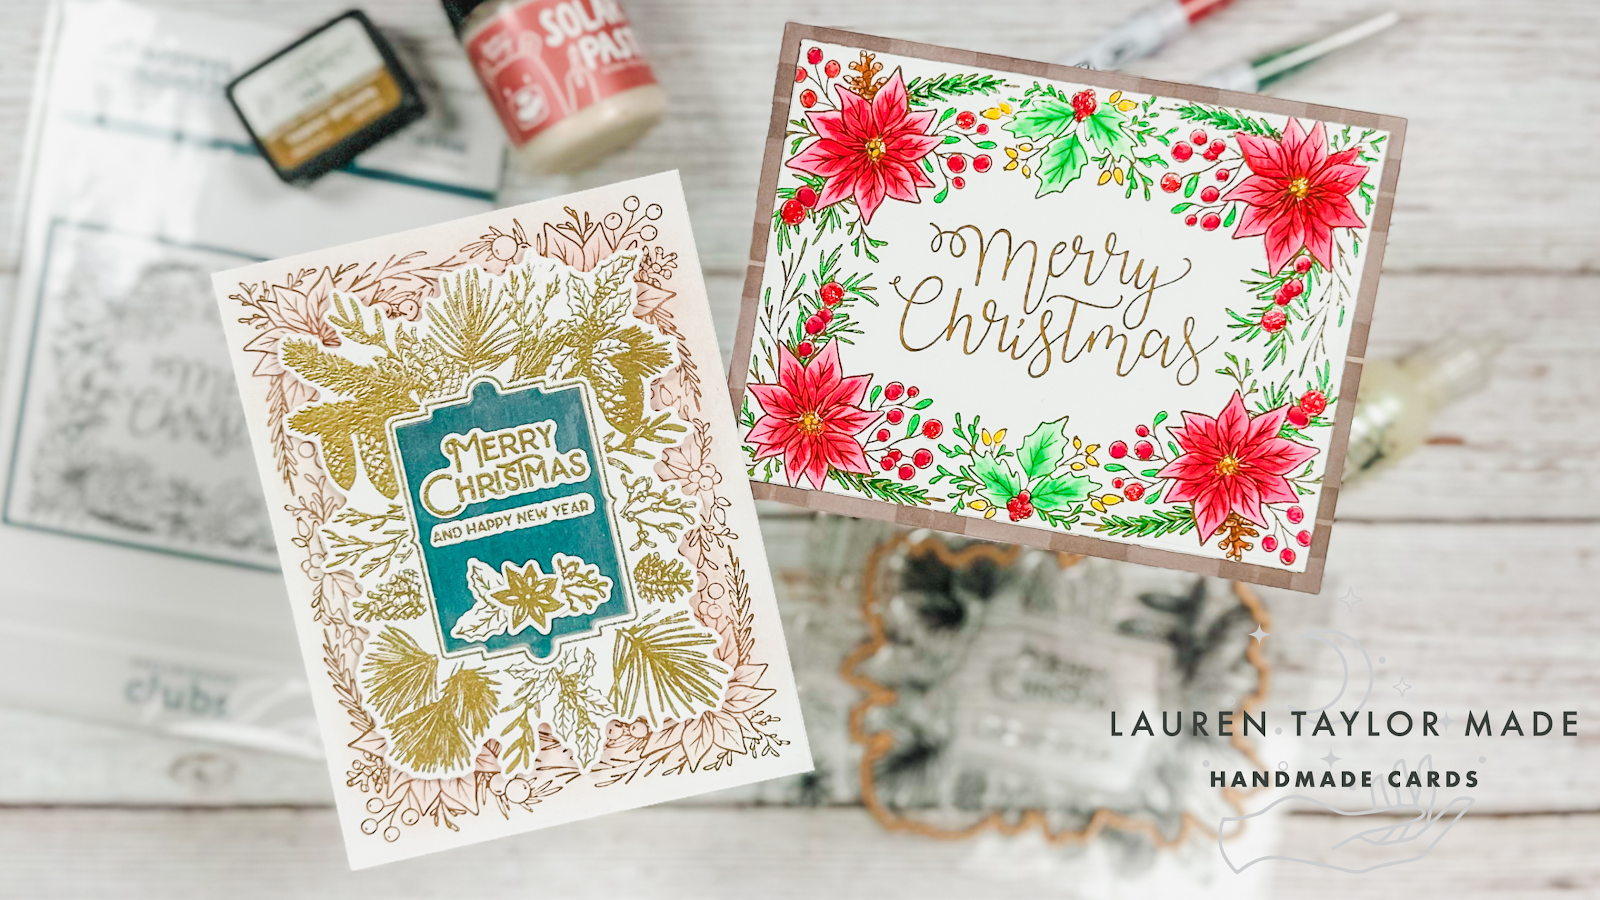
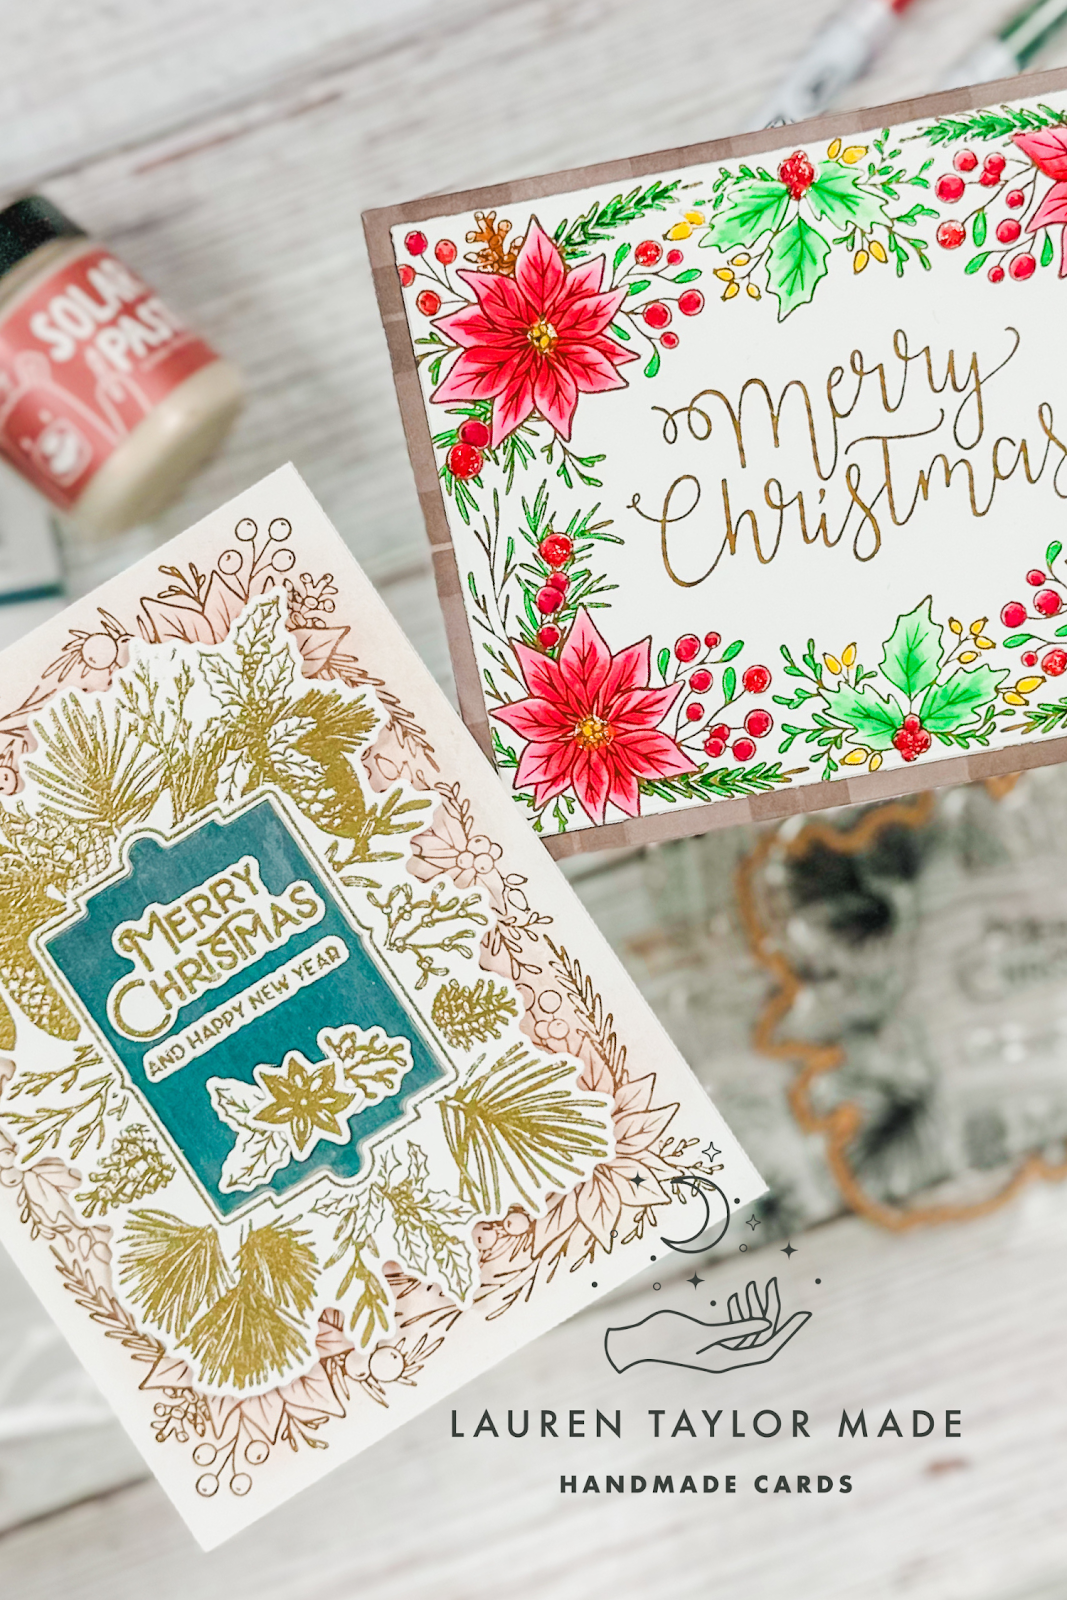
Can you believe that it is July already?! This year is just flying by... And we're going to make it feel like it's flying by even faster with Christmas in July. We're starting off strong this month with my latest video sharing two of the Spellbinders Club Kits - Clear Stamp & Die of the Month as well as the brand new BetterPress of the Month! I'm so excited to be on the Influencer Team with this new kit and build up my BetterPress plate collection.

I have made two cards for today as usual, but instead of sharing two ideas of how to color and use the Clear Stamp & Die of the Month, I wanted to really highlight the new BetterPress as I know there are still some crafters out there that may be on the fence with this new product line. The first part of my process and tutorial video today is how I used the BetterPress of the Month to create a panel card with no dimension (except for a little Pops of Color)!

Then for the second card, we're going a bit non-traditional and I used the BetterPress along with the Clear Stamp & Die of the Month for a festive Christmas card! I think it's my favorite of the two because I went a but crazy with the shine and it's just so dreamy in person because of the touch of Solar Paste. I hope you like my inspiration with the Club Kits and that you'll check out the new BetterPress of the Month Club here!

VIDEO TUTORIAL


PIN THIS
SUPPLY LIST

Read More

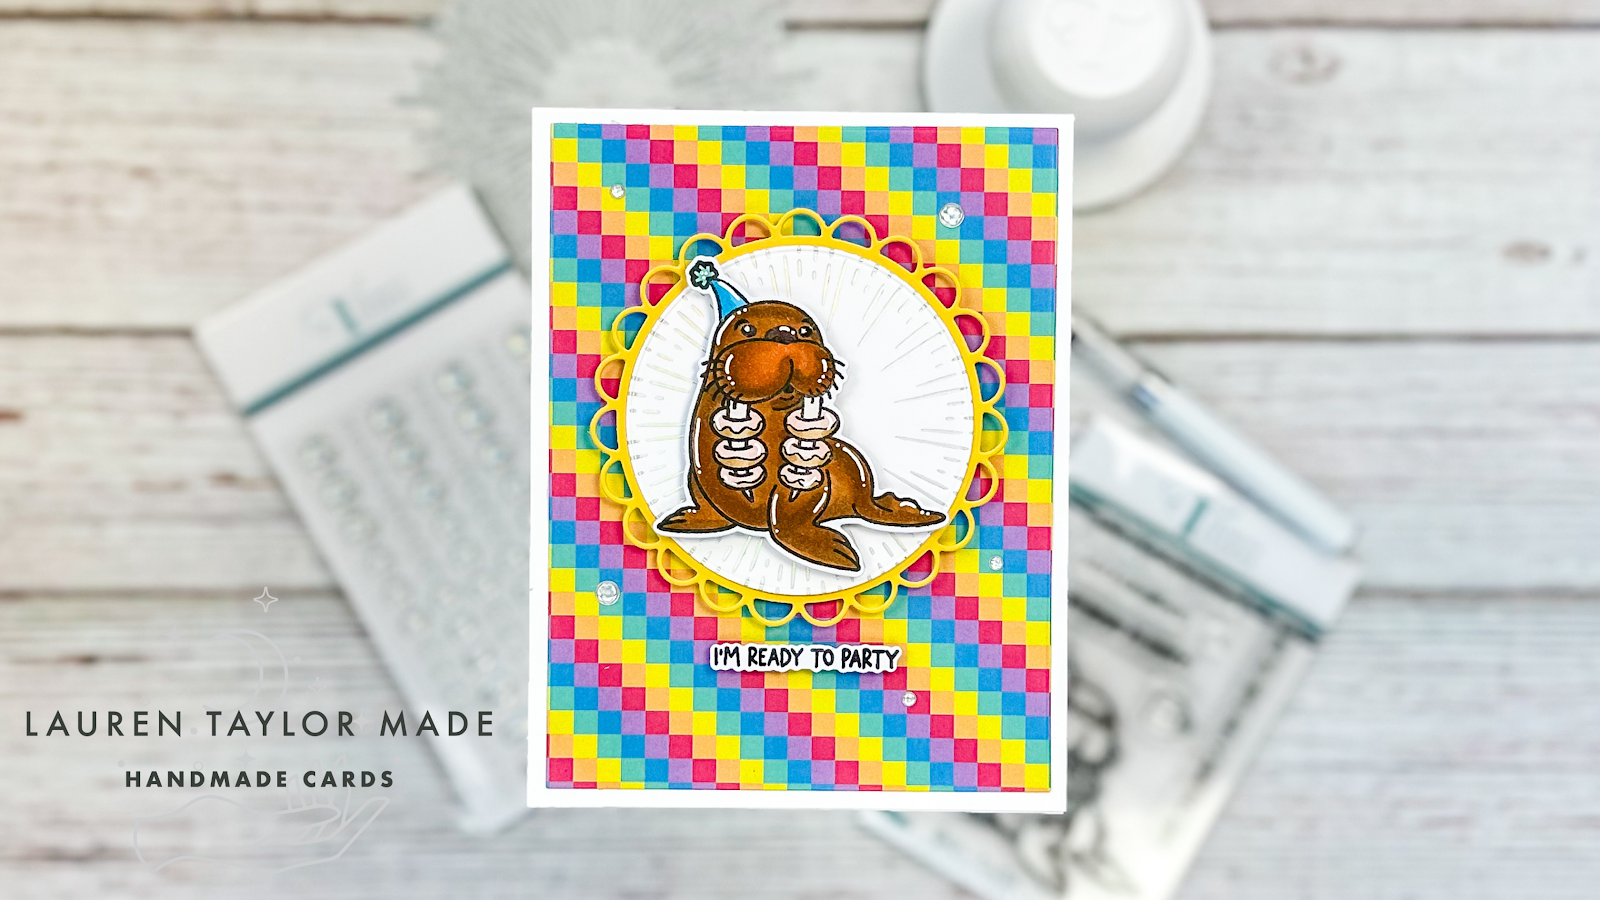
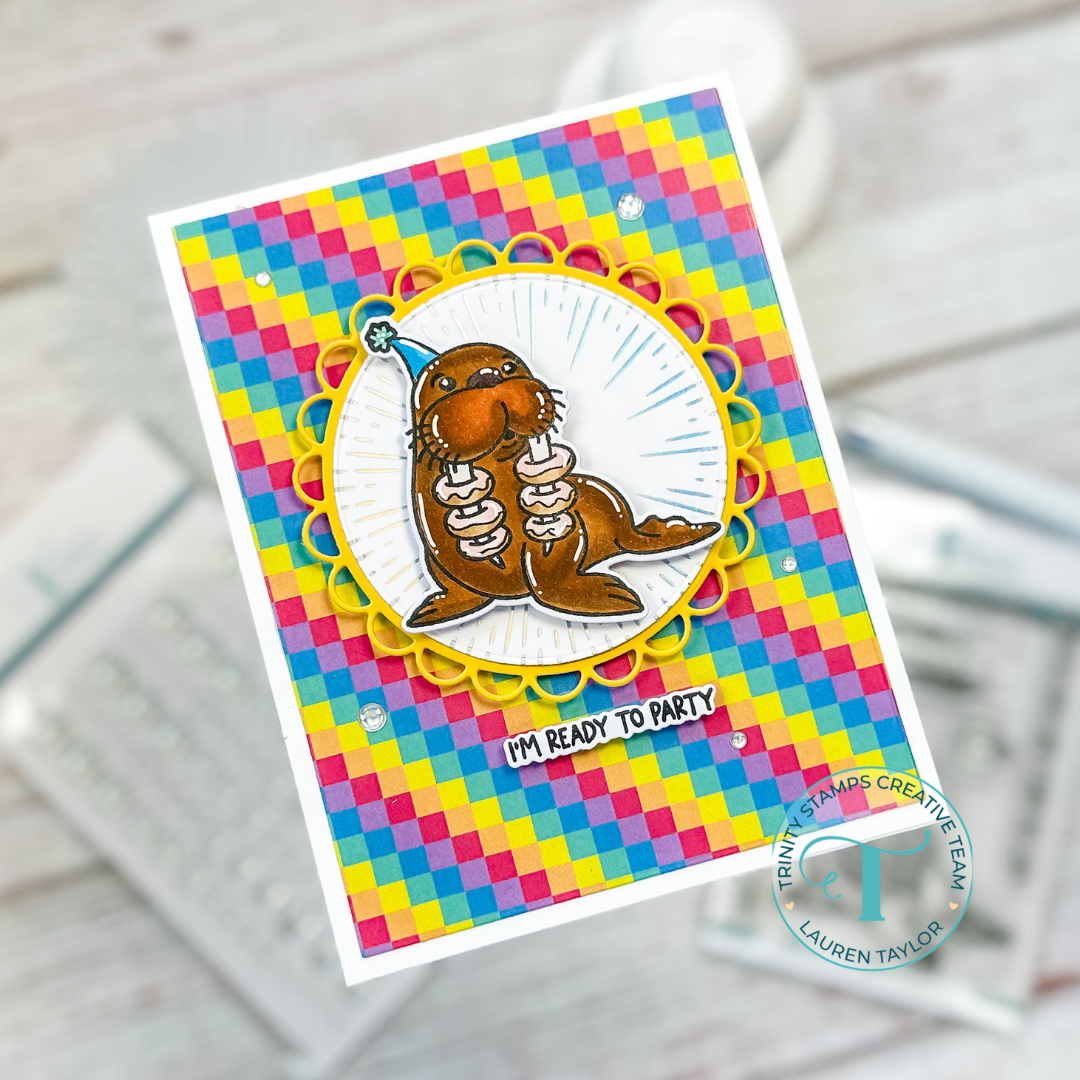
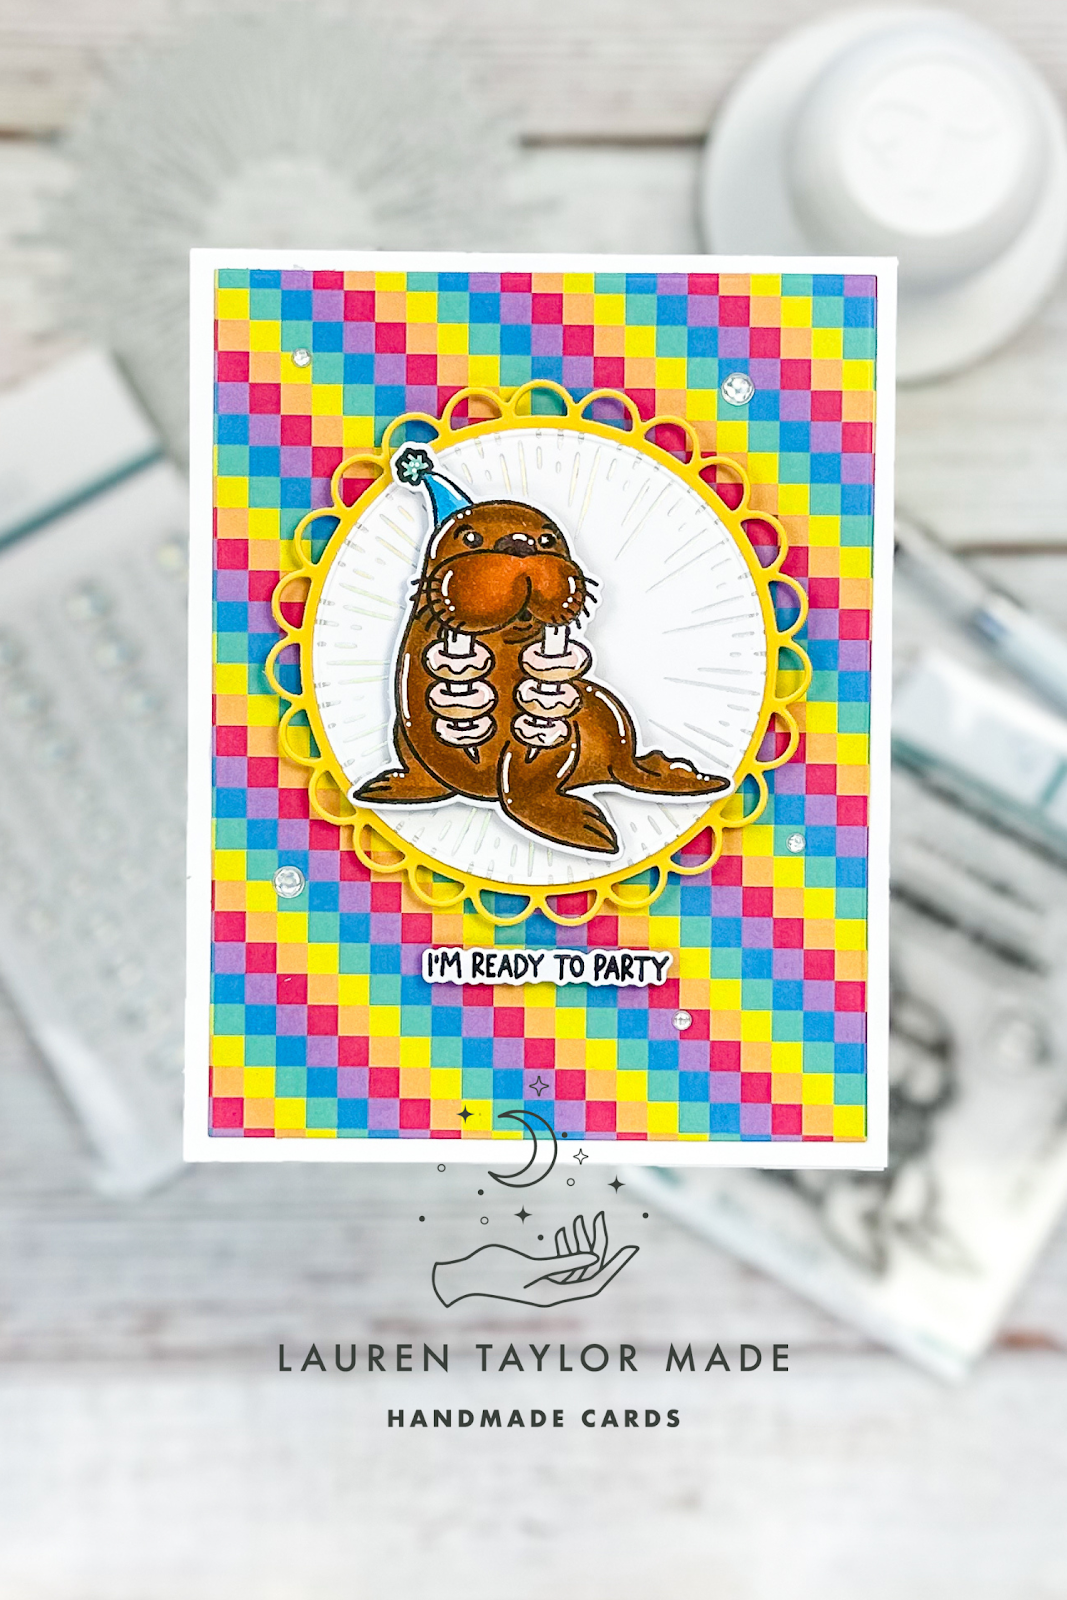
Ready to Party Walrus with Trinity Stamps

Friday, June 30, 2023

How cute is this walrus with the donuts on his tusks?! I just think he's adorable and wanted to put him on a colorful card. You can see my Reels down below that went live on Trinity Stamp's Instagram today! I started with hot foiling my burst in prism - it was hard to die cut, but don't worry! I saved the extra piece and foil for a future project. I layered it onto a scalloped circle in a yellow cardstock and popped it up on a rainbow background of patterned paper!
The background was added to an A2 card base and then I got to stamping. I stamped my walrus and sentiment in black ink and colored my walrus in with my Ohuhu Art Markers. After fixing a couple spots with a fine line pen and added some highlights in a white gel pen, I die cut both out with their coordinating dies. They were both popped up onto the card and added some final touches of holographic enamel dots around the card.

I hope you like this bright and color birthday (or celebration) card! It has a simple layout but there's lots of fun and shine that make it just pop.

VIDEO TUTORIAL


PIN THIS
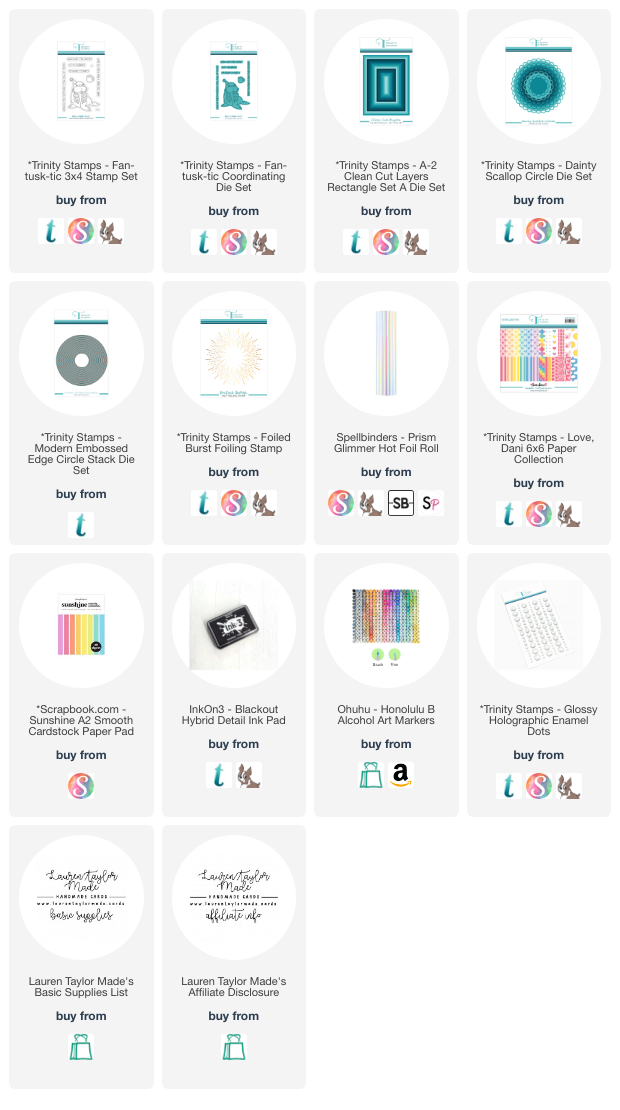
SUPPLY LIST

Read More

Unusual Ones - New Release from Kindred Stamps!

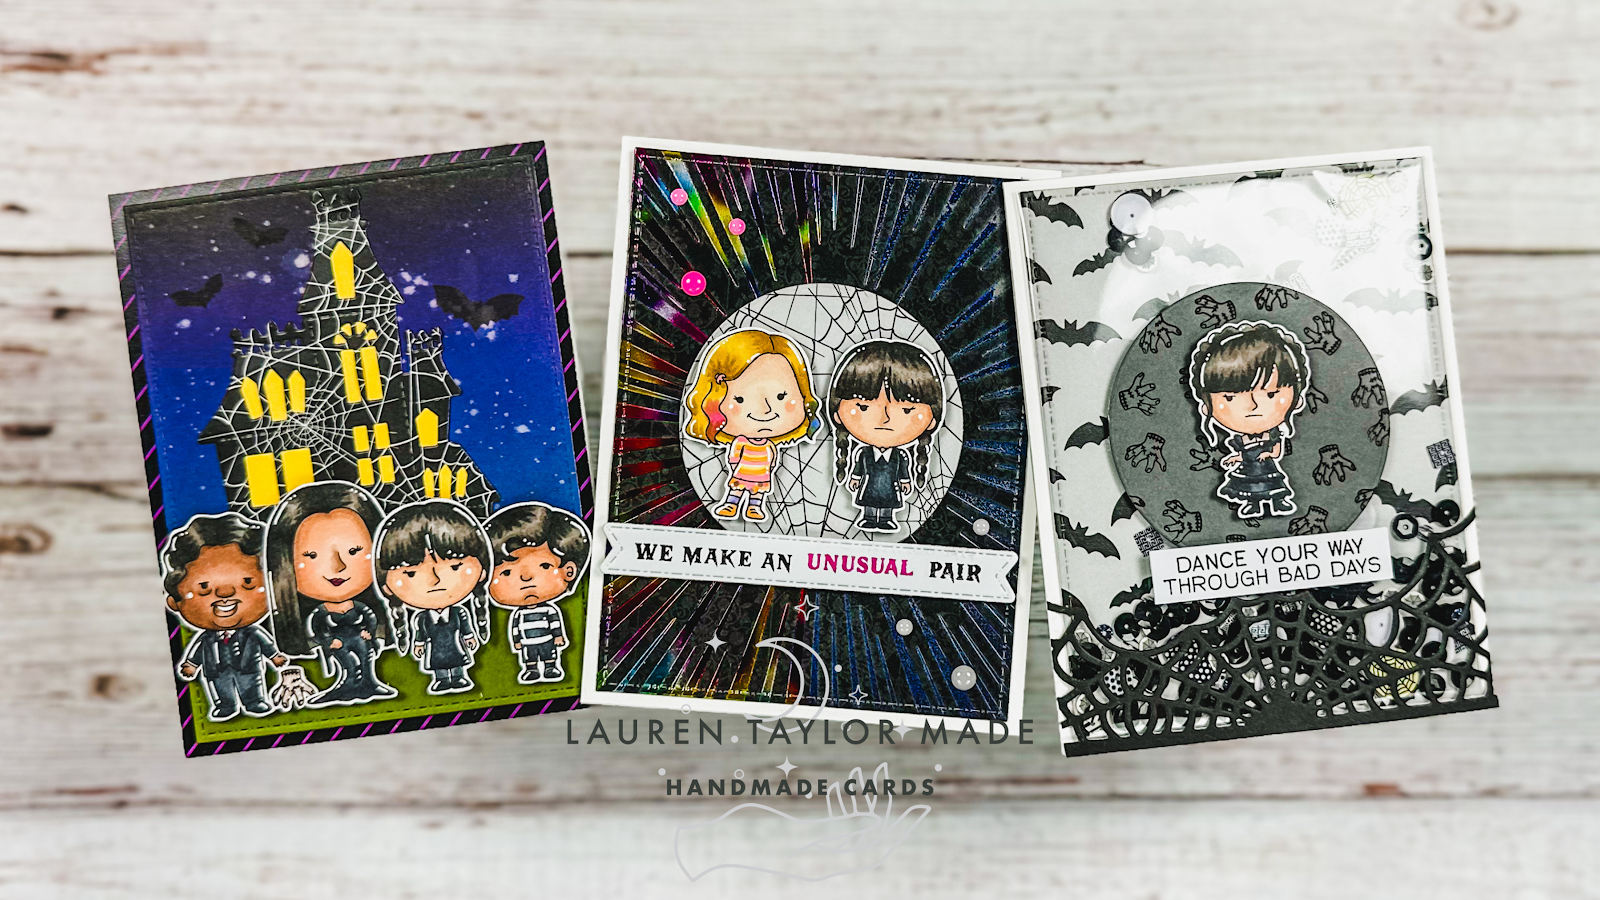
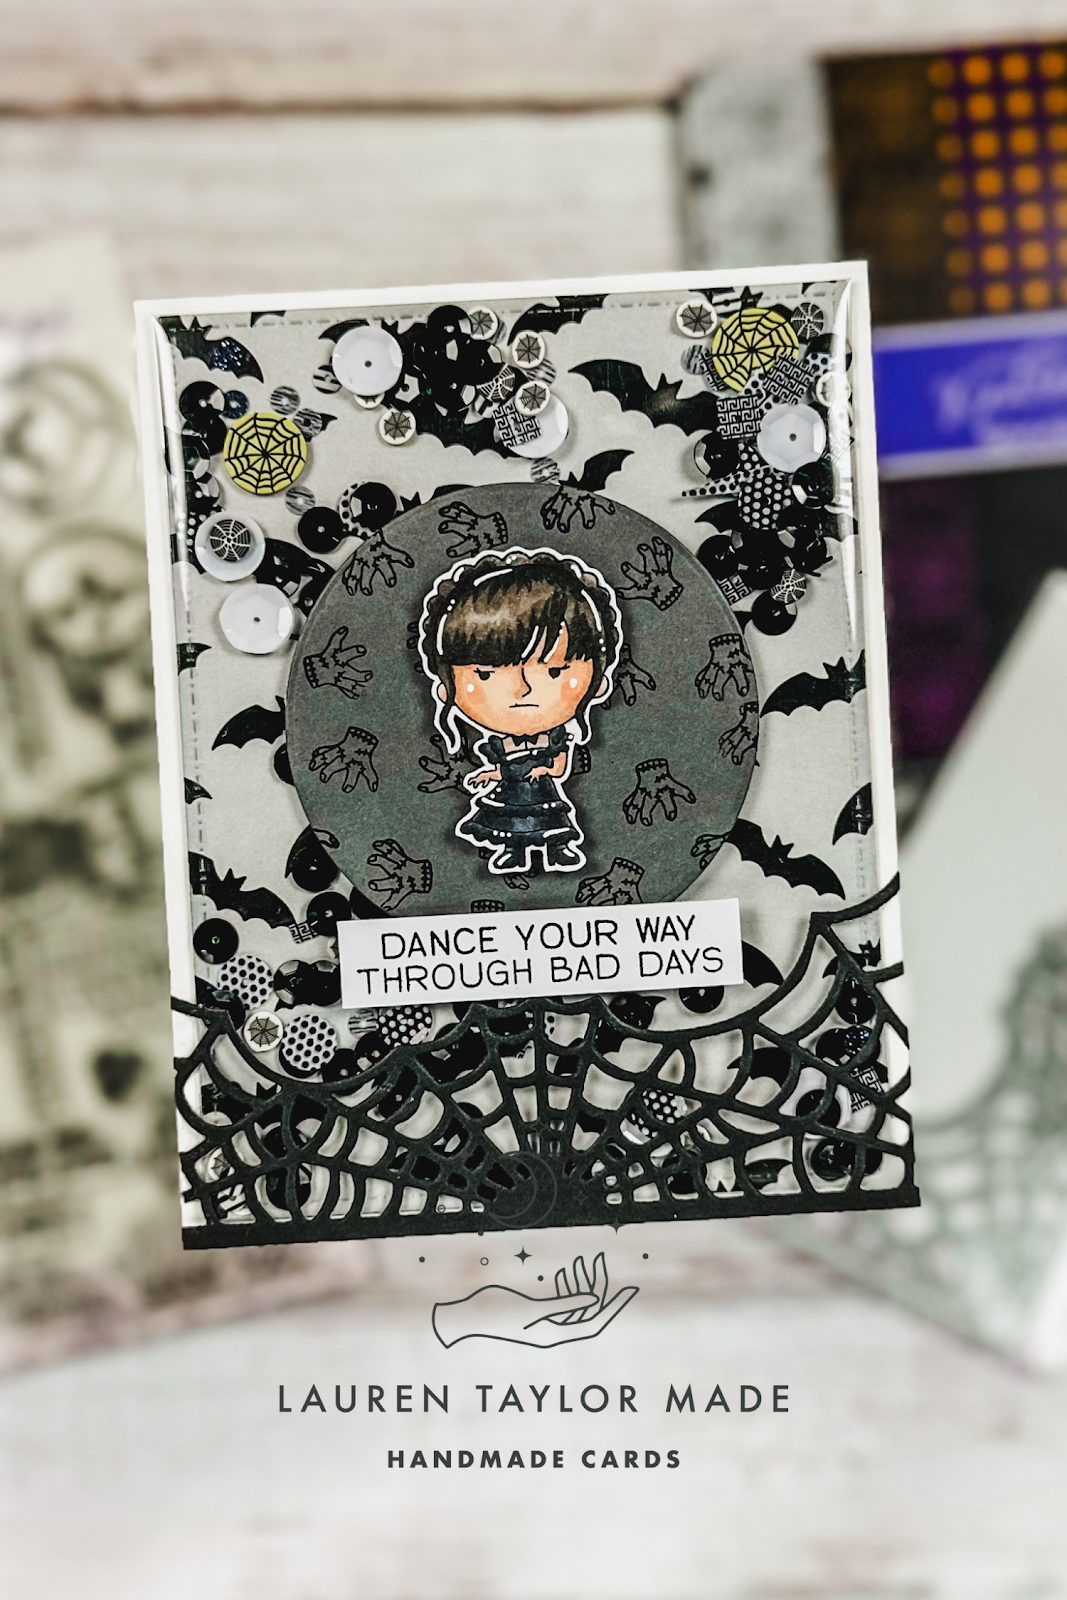
It's new release day from Kindred Stamps! The Unusual Ones stamp set I am excited to share works perfectly for it being the last day of the month for some Halloween inspiration, too. I have three cards to share with you and a video to go along with my shake card featuring my dancing main character. Let's start with that card since I have a video! I created an infinity shaker panel with my dancing main character. She's perfect as a shaker card!

My second card is a scene with the whole unusual family! I used Distress Oxide inks to create my own background and splattered on some white ink. I added a grass hill, tucked in my haunted house and stamped a few bats in black. I layered the scene onto a patterned paper background and added all of my fandom characters on with foam adhesive.

The final card is inspired by the two personalities of these school roommates! I hot foiled a background with one half in a midnight black foil and the other half with a rainbow confetti design. I added a circle in the middle of the foiled design so my two girls would pop off the card. I actually did use foam adhesive to literally pop them up as well as my sentiment strip. For final touches, I added some enamel dots again that match the different personalities.

I hope you are loving this new release from Kindred Stamps - let me know what your favorite product is from the new release in the comments. I already know what I need to order for myself!

VIDEO TUTORIAL


PIN THIS
SUPPLY LIST

Read More

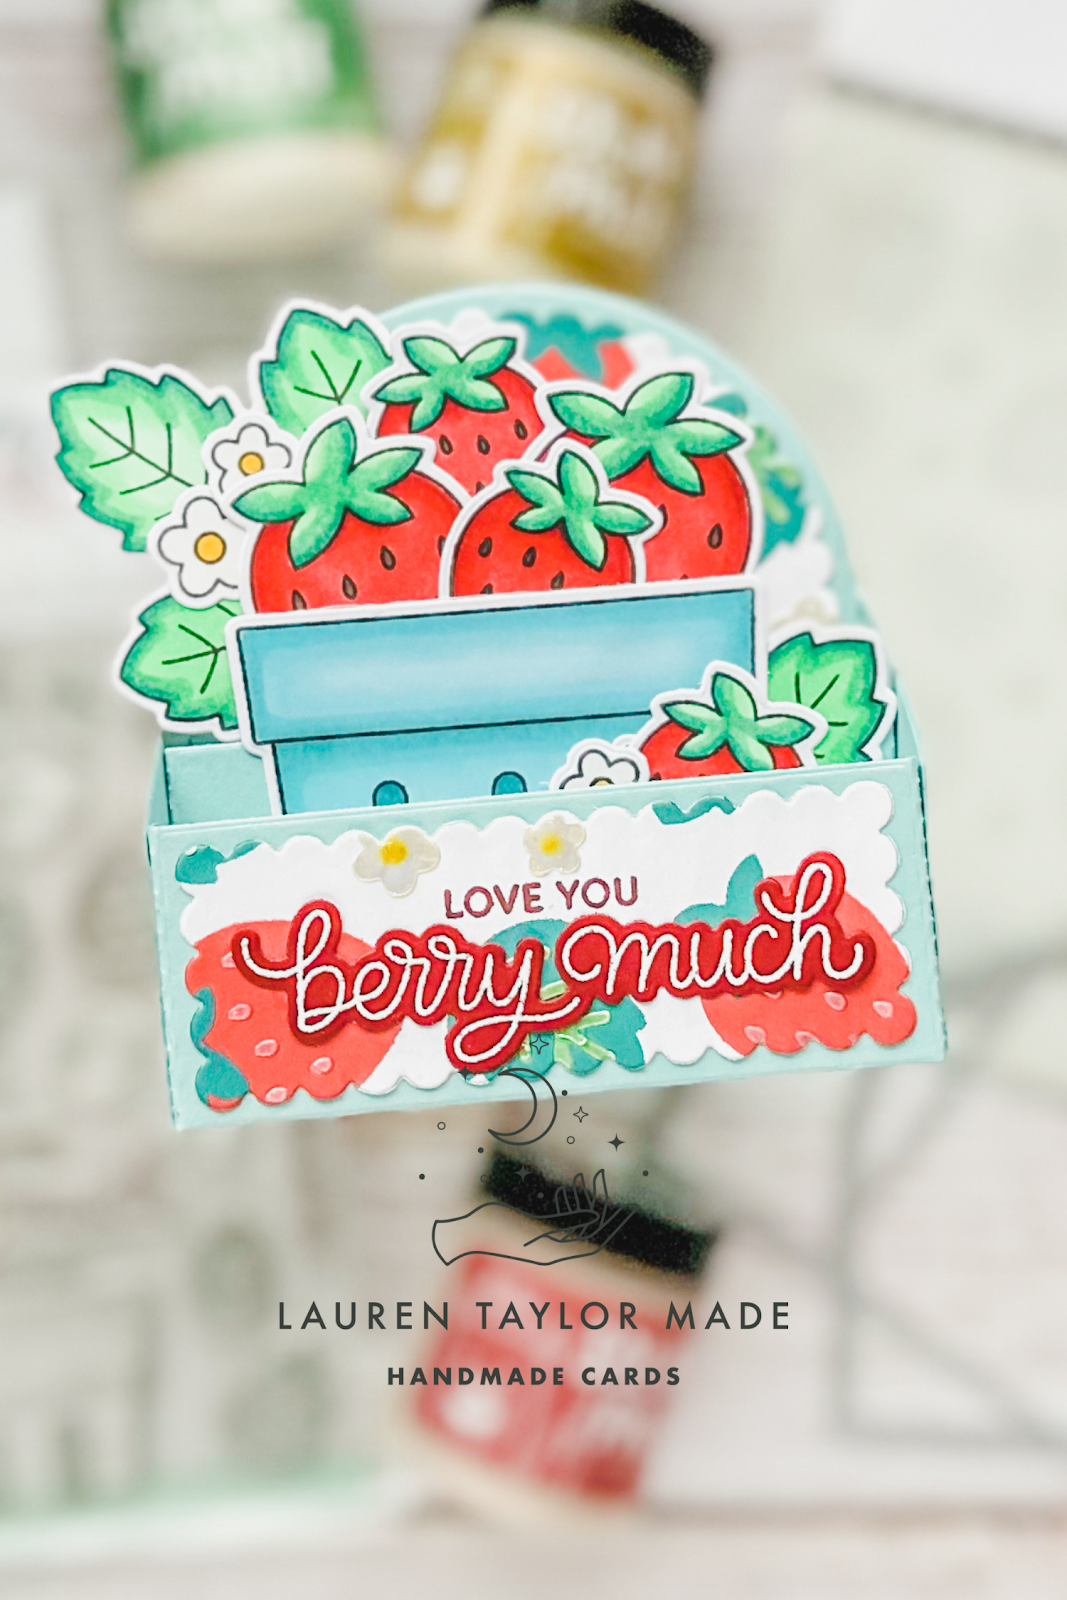
Love You Berry Much Box Card with Pretty Pink Posh

Thursday, June 29, 2023

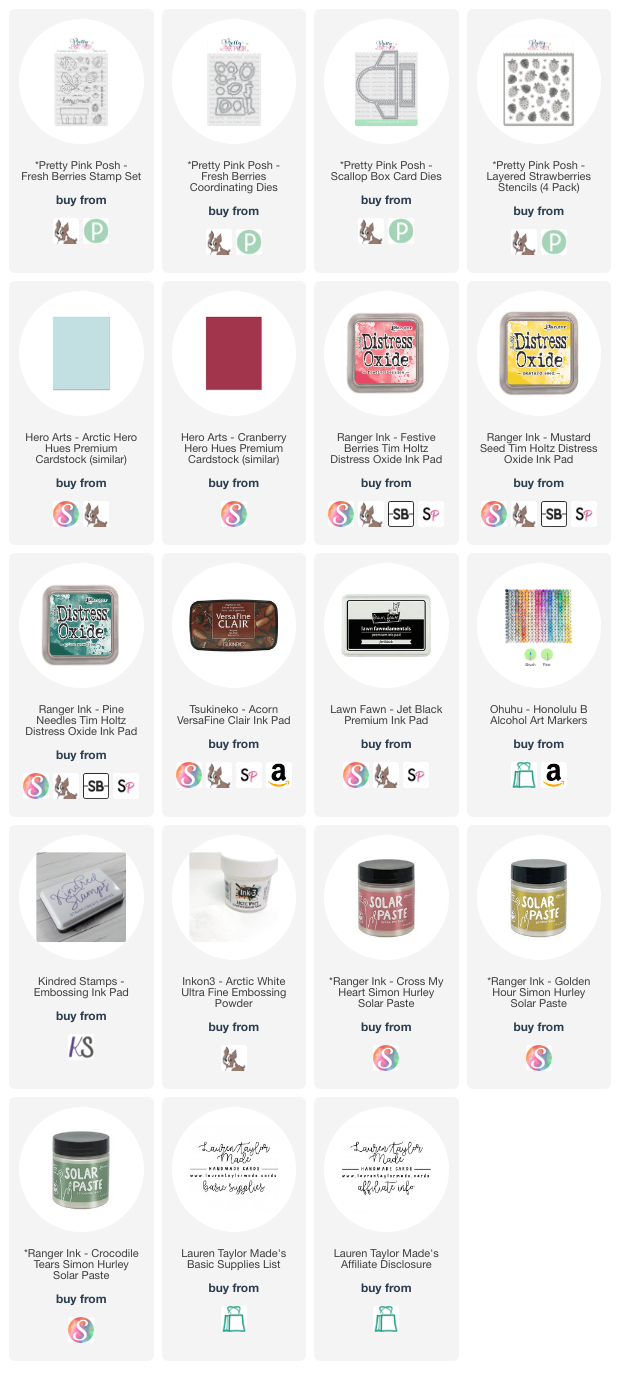
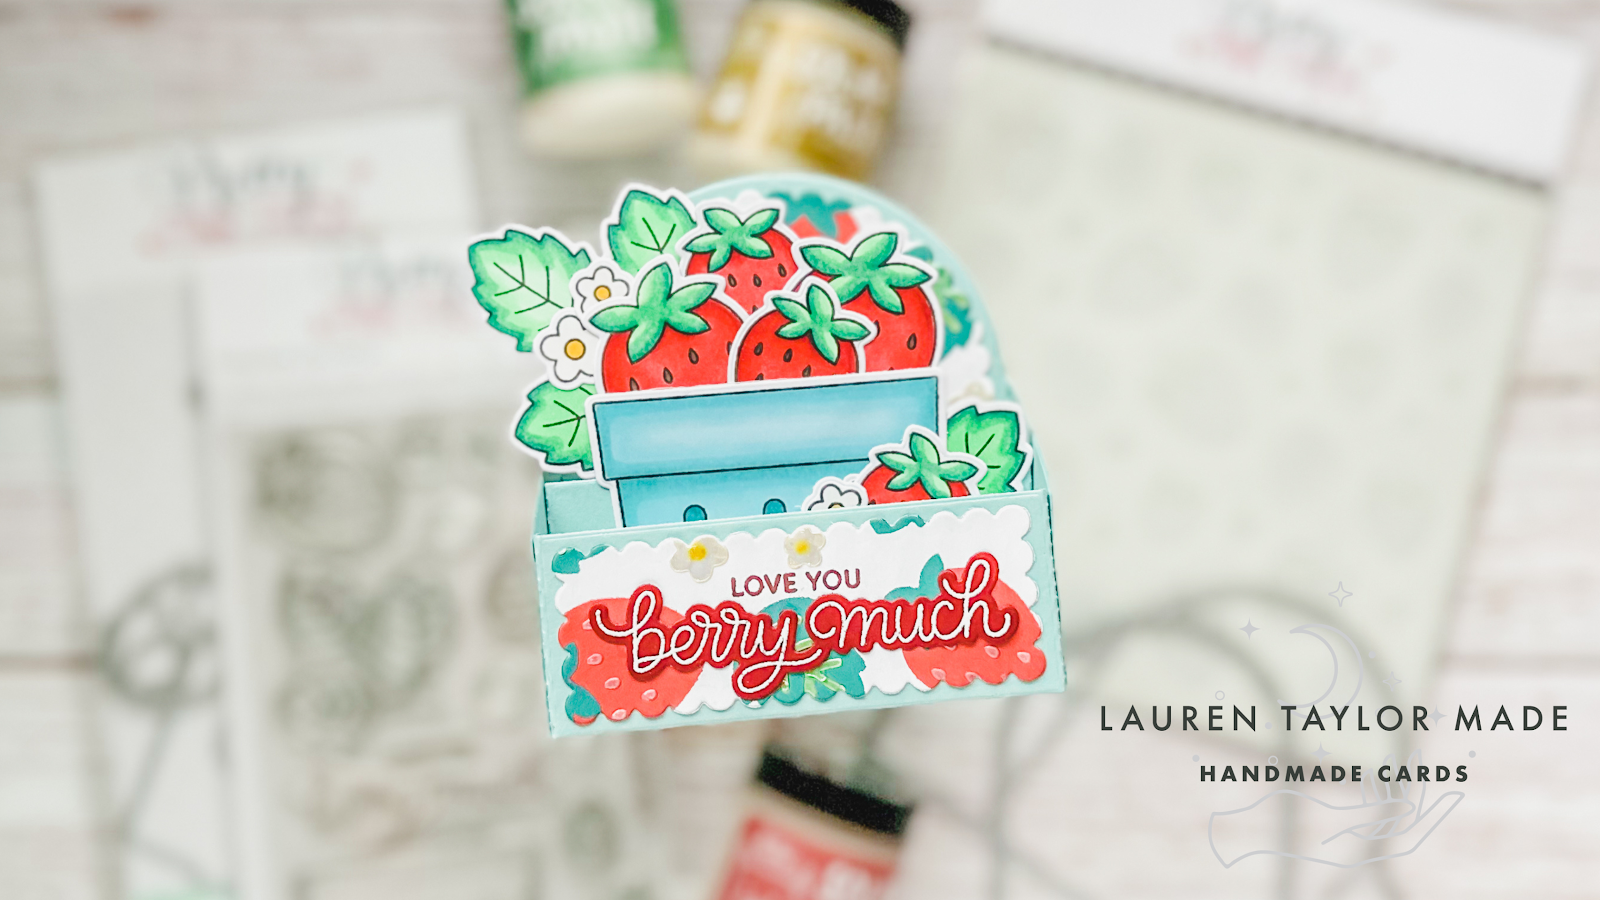
One of my favorite items in my craft room are my mint/teal berry baskets that I use for storage and when I saw the Fresh Berries Stamp Set and Coordinating Dies, I knew I had to color the basket stamp the same color! I will be using different stencil pastes in the video, so I will be jumping around just a little bit as I need some drying time when making my stenciled background. Starting with a 6x6” piece of white cardstock, I started with using the Layered Strawberries Stencils.

Using Festive Berries Distress Oxide, I added ink to the strawberries after masking the flowers with Stencil A. Next is Stencil B with Pine Needles Distress Oxide, followed by Mustard Seed Distress Oxide through the small circles in Stencil C; I used a small foam blender so I would just get ink through the circles. For the first stencil paste, I am using Golden Hour Solar Paste for the flowers in Stencil A and then set it aside to dry while I color. I stamped the Fresh Berries Stamp Set with an alcohol marker friendly black ink and colored them in with Ohuhu Art Honolulu Markers after die cutting them with their Coordinating Dies. In my video, I share the marker caps so you can follow along with the colors if you’d like!

When I finished coloring, my flowers were dry and I brought back Stencil C to add the strawberry seeds with Cross My Heart Solar Paste. Setting the backdrop to the side to dry, I moved on to die cutting the Scallop Box Card Dies out of some mint/teal-ish cardstock and assembling the die cut pieces with strong adhesive tape. Finally, I add my last layer of stencil paste using Stencil D with Crocodile Tears Solar Paste.

My Fresh Berries sentiment is embossed with white embossing powder with a berry colored cardstock and used the Coordinating Die. I assembled the berry box with the strawberries, leaves and flowers, then added it to the center of my box card. When my stenciled cardstock was dry, I used the scalloped details from the Scallop Box Card Dies and glued them to the assembled box card as well. After adding my sentiment, that will finish up my box card! I hope it brings a smile to your face and inspires you to create today!
VIDEO TUTORIAL


PIN THIS
SUPPLY LIST

Read More