You Are Awesome Winter Bear Card with Scrapbook.com

Monday, January 15, 2024

We're having some crafty fun today as I wanted to make my Craft Roulette project today! My Galentine's Crop was on Saturday and I was so exhausted as I'm an introvert and I wanted to be social... I literally slept all day Sunday and then had to spend today getting everything put away (plus I still had to put away Girl Scouts stuff from this week)! So I'm behind on my project deadlines (yikes!) but I decided to just have some fun and make Craft Roulette project instead... I'll get back to it tomorrow! (Tomorrow Lauren is going to be upset with today Lauren...)

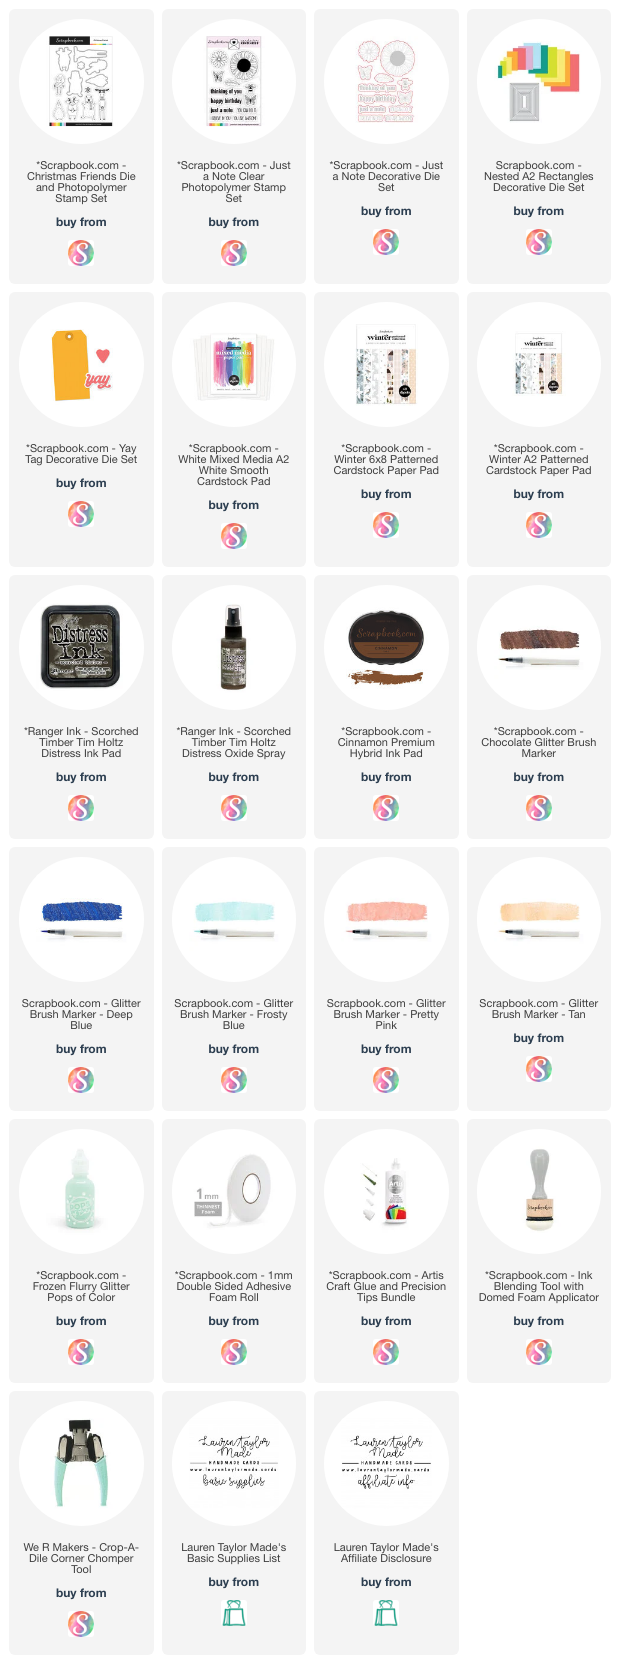
You can watch most of my card process in my YouTube Short below, but I did all my stamping, coloring and die cutting before filming. I colored my images with Scrapbook.com Glitter Brush Markers! I made a card with two tags, my adorable bear has claws with sharp nails, I used happy pastel colors with the new Scorched Timber Distress ink, and when I colored my images I made sure to color a little outside the lines. I hope you enjoy the short video and now I'm off to get ready for bed!

VIDEO TUTORIAL


PIN THIS
SUPPLY LIST

Read More

Prickle My Fancy Light Up Card with Pear Blossom Press and Lawn Fawn

Sunday, January 14, 2024

Did you get any of the new items from Lawn Fawn in the latest release? I couldn't resist getting this cute porcupine and its little cell phone! For my latest project with Pear Blossom Press, I wanted to make the cell phone flash light up so I used a One Light. You can see how I placed my One Light and foam tape for the "guts" of my card down below.

For my video below, I'm walking through the process of how I stenciled my background, stamped and colored my images, placed my One Light, created my sentiment and assembled the card together. I'd love to know which of the three projects I've made so far you like best - EZ Lights, Twinkle Lights or One Light! Or what you purchased from the latest Lawn Fawn release!

VIDEO TUTORIAL


PIN THIS
SUPPLY LIST

Read More

Scorched Timber! New Distress Color from Tim Holtz & Ranger Ink

Saturday, January 13, 2024

It's new Distress Color day! I'm loving the brand new Scorched Timber (it's very nature-y - you'll get it when you watch my new video today) and I'm grateful to Scrapbook.com for sending me a box full of goodies including all the different mediums of this new Distress Color! I have swatched all the different mediums out and you can see them in the picture below, but make sure to watch my video below to see the unboxing and swatching process.

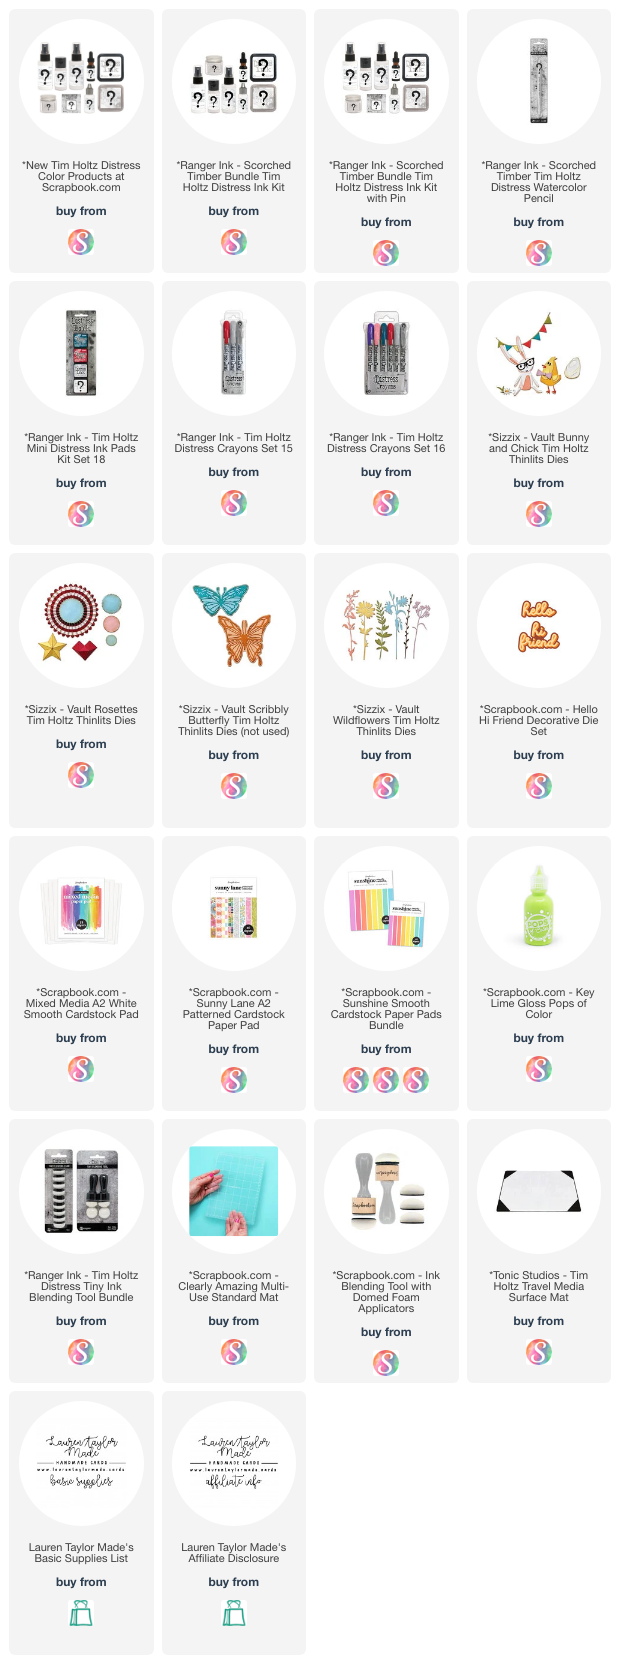
After swatching, I used different mediums of Scorched Timber on a spring inspired card! I was gifted Tim Holtz + Sizzix Thinlits from Scrapbook.com as well so we're going to use a few of them with the new Distress Color to make a card. I used Distress Ink to distress the edges of the patterned background as well as all of my die cuts. The Distress Spray Satin added splatter to my background and my little bunny was colored with the Distress Watercolor Pencil and Distress Crayon. There's a little of the Saltwater Taffy Distress Crayon to add some pink.

Let me know which medium is your favorite in Scorched Timber in the comments! I love the Distress Ink, Distress Watercolor Pencil and I'm now obsessed with the Distress Crayons... Need to get more in my stash! Another HUGE thank you to Scrapbook.com for this amazing package and you can shop the new Distress Color products at Scrapbook.com here!

VIDEO TUTORIAL


PIN THIS
SUPPLY LIST

Read More

Metallic BetterPress Flowers & My First Wax Seal with Spellbinders

Thursday, January 11, 2024

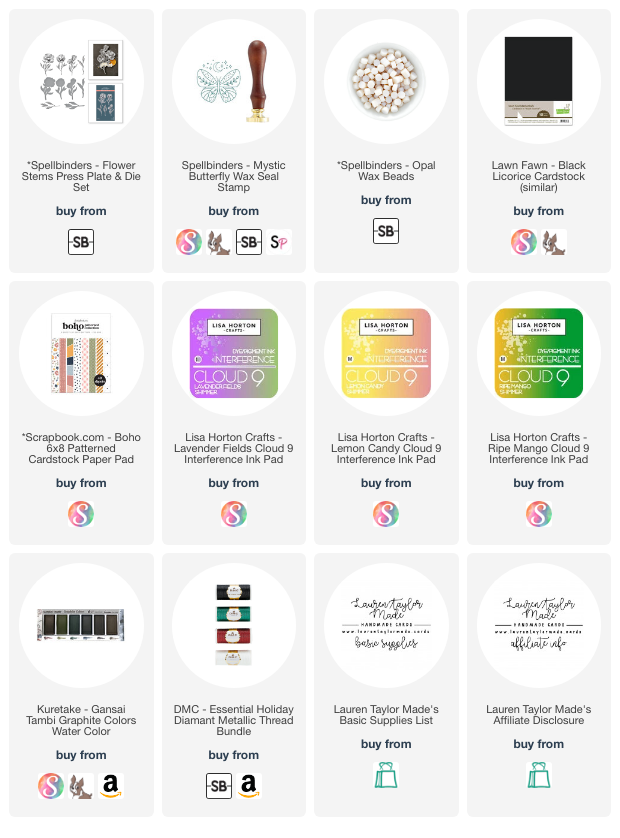
This card has been a card of firsts! I have been using my BetterPress inks for all of my plates and projects, but for this card I wanted to try something different. I have been loving my Lisa Horton Crafts Interference Ink Pads and wanted to give it a try with my Press Plates. I was gifted the new Flower Stems Press Plate & Die Set from Spellbinders and knew that this was the time! I used three different inks and it's so funny to see the colors on the plates in comparison to how the images turned out on black cardstock.

My also first was creating a wax seal... It was a journey! I love how pretty my card turned out and adding the Opal Wax seal just made it feel so elegant. I have a very cheap set-up because I was so nervous I would not like the process, but I actually had some fun and just love the touch of the seal on the card! So I'll be off to shop for the official Spellbinders set-up after I finish writing this post.

Check out my video down below to see my process of how I made this card and hop along with some of my fellow Spellbinders crafters as we show you how we used the new Core Collection items that were released this week!

VIDEO TUTORIAL


PIN THIS
SUPPLY LIST

Read More

Be My Valentine Floral Shaker Card with Pretty Pink Posh

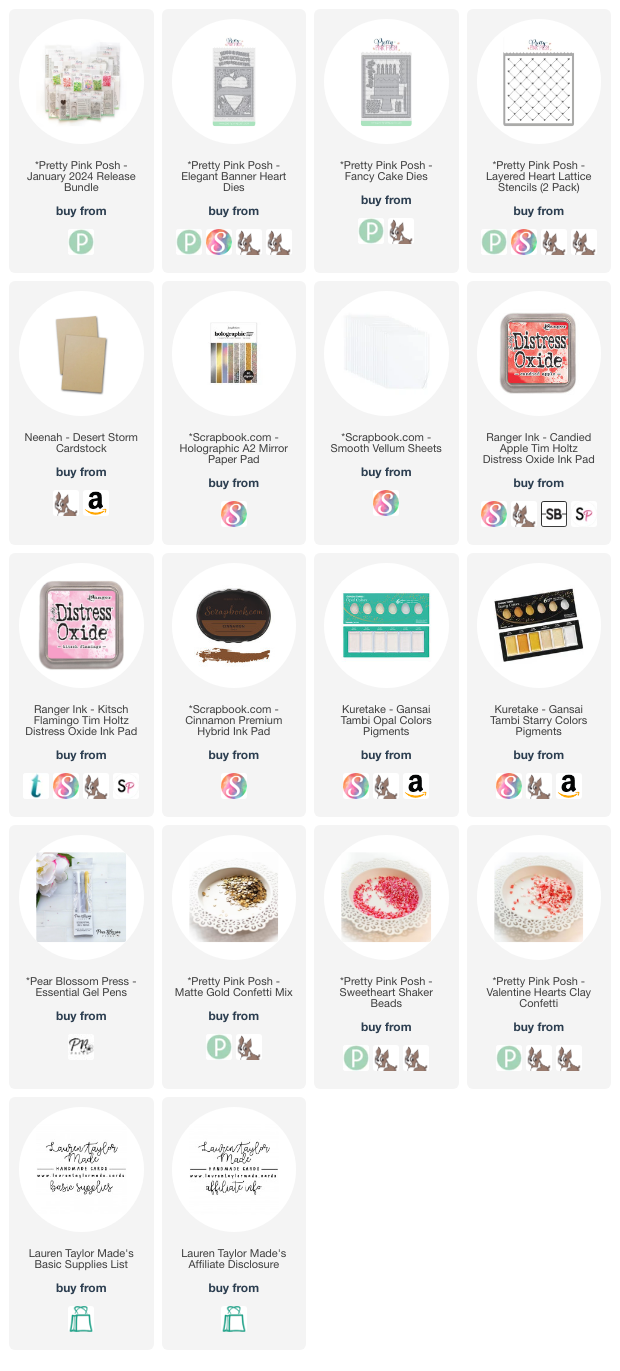
We're continuing the celebration for Pretty Pink Posh's new release with an Instagram Hop! I will admit, I had a hard time with this card... I kept going and adding things to this card and I'm not sure how much I like it. We all make cards that don't really feel like they're totally your style, but I still think it's pretty! I started with stenciling the Layered Heart Lattice stencil with brown and red inks, to be the back of my shaker with the Elegant Banner Heart Dies as the cover of the shaker.

The cover is an ombre of red and pink ink with the sentiment inlaid with gold paper. When I went to assemble my shaker together, I just did not like the busy shaker cover on top of the busy shaker back. So instead of acetate, I used vellum to create the shaker... Which unfortunately you can no longer see the pretty details of the background and the shaker bits. Then I felt like the card was too plain! So I added a frame in kraft cardstock and trimmed some of the flowers out of white cardstock to the card.

I wanted to add a little more detail, so I used a gold pen to add in details to the flowers and hearts as well as some Matte Gold Confetti in the centers of the flowers. I kind of wish I didn't add the gold pen details, but overall it still turned out pretty nice! Let me know what you would have done to - I think I should have made a busier background and left the cover white instead of adding pink and red inks. I'll try it again next time!

Make sure to head over to Instagram to hop along with Pretty Pink Posh and design team members for a chance to win a gift card and to get more inspiration using the new release!

PIN THIS
SUPPLY LIST

Read More

Wild Birthday Fandom Card with Kindred Stamps

Wednesday, January 10, 2024

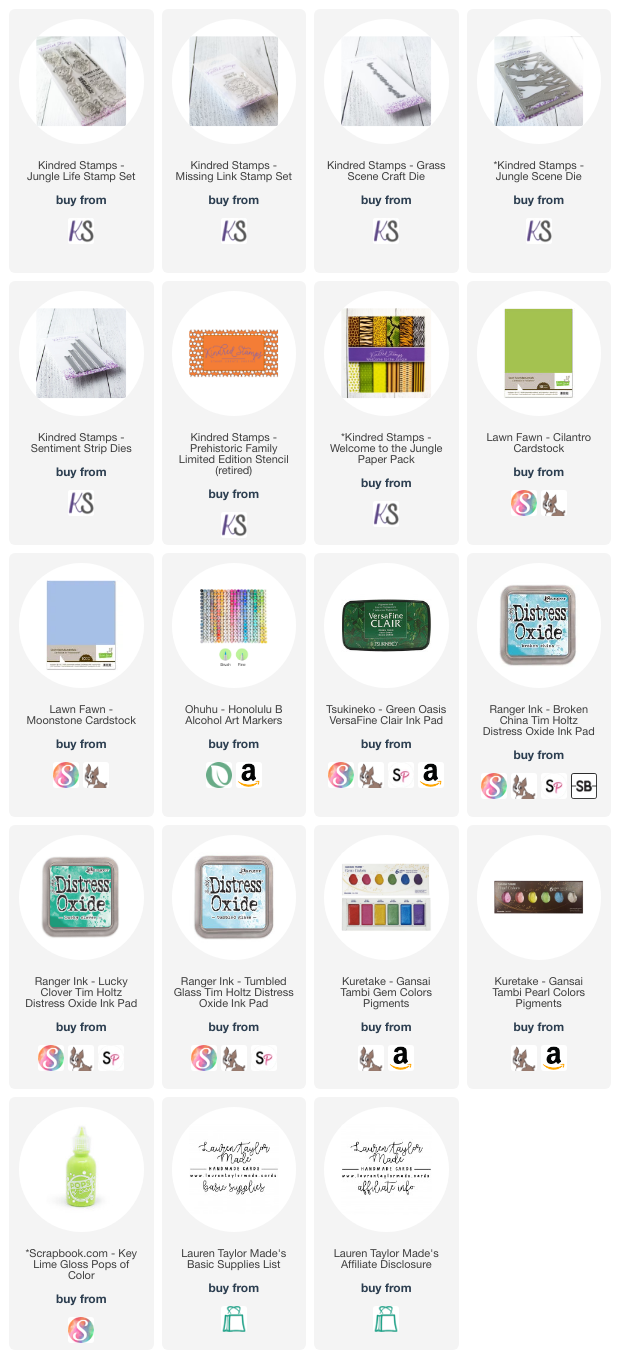
One of my favorite cartoon movies inspired the stamp sets I'm using for today's card! The soundtrack is the BEST and I just loved coloring these fandom characters. You can follow along with my process video down below, but I started with stamping and coloring my images. My swinging guy is from Missing Link and the rest are from Jungle Life stamp sets from Kindred Stamps. after I colored them, I fussy cut them and added some highlights.

To create the background, I stenciled a tone on tone blue sky with the Prehistoric Family Stencil since it reminded me of animal print. I darkened the sky with a darker blue ink and added watercolor splatter. I then die cut my Jungle Scene out of patterned paper and thought my scene needed more ground. I added green ink to the bottom of the die cut and also created a grassy border with green cardstock that I parked with the same green ink and a little watercolor splatter, too.

I built my scene background and die cut a banner for my stamped sentiment. I attached all of my images with a mix of liquid and foam adhesives as I popped up the jungle scene when assembling the card. After adding the card front to my card base, I added some Pops of Color to add a little more interest to the card. I hope you enjoy my video today - back to back Kindred fandom sets on my blog this week!

VIDEO TUTORIAL


PIN THIS
SUPPLY LIST

Read More

I'd Never Forget You with Kindred Stamps

Monday, January 8, 2024

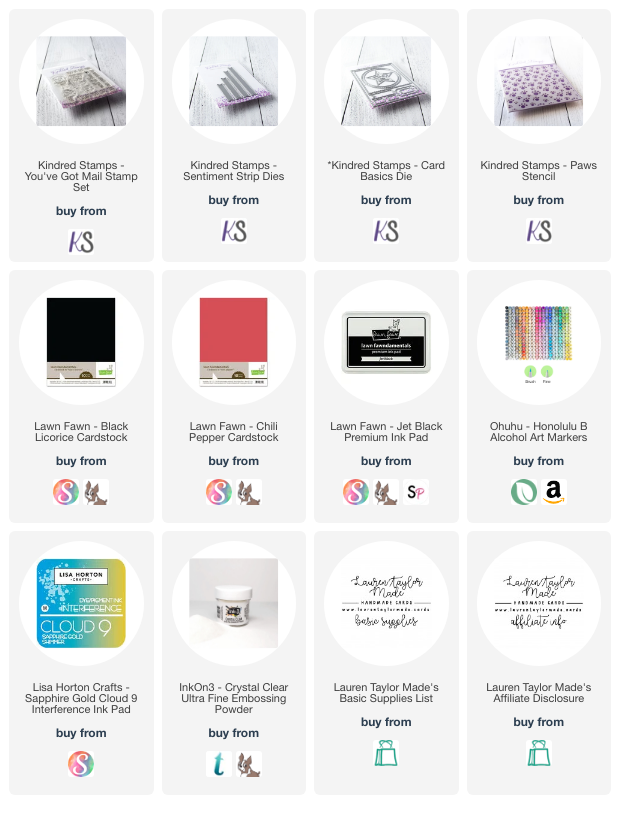
We're feeling nostalgic with Kindred Stamps today for last Friday's episode of Craft Roulette! You can see a quick video below of how I put the card together, but I started with stamping and coloring my fandom characters. I have my green striped guy and blue dog, then fussy cut them out! I stenciled my background with blue paw prints and layered circles in black and red to round up my colors for the card. I wanted to give the feeling of the red chair is behind my characters.

To bring in the celebration, I added three paw prints that I stamped and embossed with clear powder as my fandom characters found all three clues! For the final Craft Roulette parameter, I stamped a sentiment about preserving memories - "I'd never forget you" - and it's also such a throwback to my childhood (and my sister's). I hope you like this card that I made for Craft Roulette - I'd love to know if you have seen this children's show in the comments!

VIDEO TUTORIAL


PIN THIS
SUPPLY LIST

Read More