Heart Melt Fandom Birthday Card with Kindred Stamps

Friday, January 10, 2025

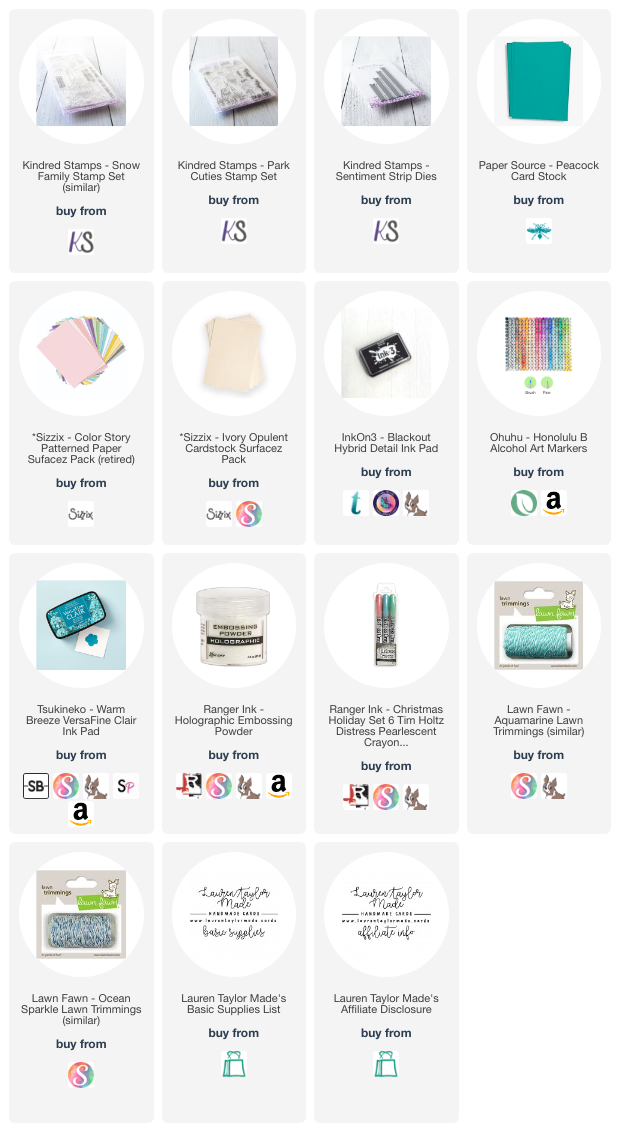
Hey friends, it's Fandom Friday! This week, I’m diving into a super fun card-making project featuring a magical ice castle and an adorable snowman. I used Kindred Stamps' retired Snow Friends stamp set (don’t worry, I’ve linked a similar option in my supply list) and the Park Cuties castle stamp to create this frosty scene. Plus, I was inspired by the very first “Show Us Your SheetLoad” sketch from Call Me Crafty Al—such a fun throwback!

To bring my ice castle to life, I stamped it on opalescent ivory cardstock using Warm Breeze VersaFine Clair ink, which paired beautifully with my patterned paper. After stamping, I added holographic embossing powder for a shiny, icy finish. For a pop of dimension, I used a distressed crayon in the shade Wonderland to add subtle shadows and depth. I love how easy it was to blend the crayon with just my finger, creating a snowy texture that feels effortless yet striking.

The snowman stamp was next! I used InkOn3 Blackout ink on alcohol marker-friendly cardstock and colored it with a mix of Ohuhu markers and one trusty Copic. To give him character, I added rosy cheeks, a carrot nose, and cute coal buttons. After fussy-cutting both the snowman and the castle, I assembled my card using double-sided adhesive and foam squares for added dimension.

I included a tag-inspired sentiment strip (crafted for last Friday's Craft Roulette challenge) and finished the design with baker's twine from my stash. This card became part of a set I made for New Year’s greetings and thank-you notes—because what better way to start the year than with handmade cards? Let me know if you’re inspired to try this design, and be sure to check out my YouTube video for the full tutorial. Happy crafting!

VIDEO TUTORIAL


PIN THIS
SUPPLY LIST

Read More

Valentine House Treat Box with Scrapbook.com

Thursday, January 9, 2025

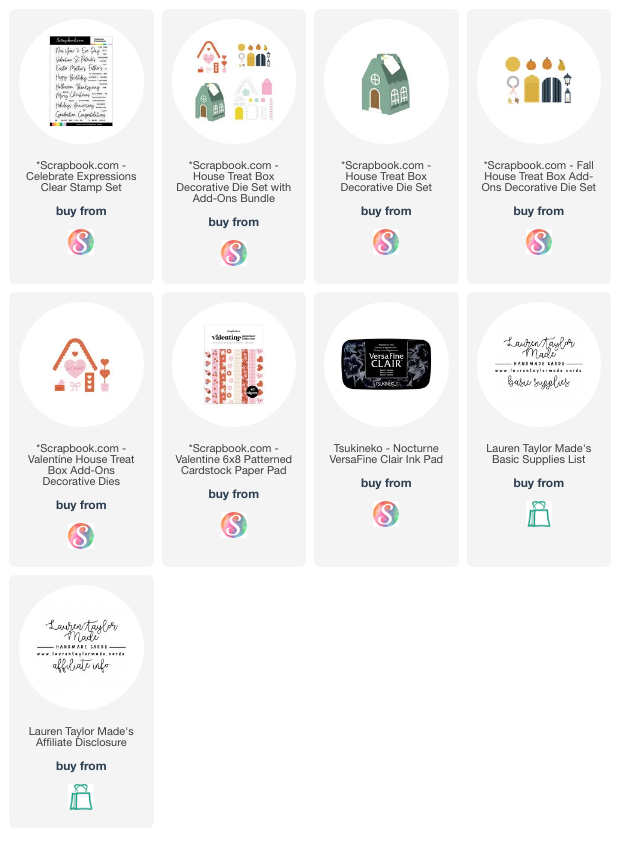
Valentine’s Day is right around the corner, and I’ve been busy crafting something extra special using supplies from Scrapbook.com and a few essentials from my stash. I’m thrilled to share my latest project: an adorable Valentine House Treat Box that’s perfect for gifting sweet treats or small surprises. With the Celebrate Expressions Stamp Set, House Treat Box Die Set, Fall and Valentine Add-Ons, and the Valentine 6x8 Patterned Paper Pad, this little box came together beautifully. Of course, my trusty Nocturne VersaFine Clair Ink Pad was the perfect finishing touch for stamping a sentiment.

To make the treat box, I started by die-cutting all the house pieces from a variety of Valentine-themed patterned papers. Once I had my pieces, I glued on the adorable decorative elements while the house was still flat, which made everything so much easier. For a sweet personal touch, I stamped "Happy Valentine's Day" on the back of the house in crisp black ink. Assembling the box was a breeze with a double-sided adhesive roll—it holds the sides and bottom securely. The end result? A charming little treat box that’s as fun to make as it is to give. I hope this inspires you to get crafty for Valentine’s Day!

PIN THIS
SUPPLY LIST

Read More

Shaped Valentine Food Truck Card with Scrapbook.com

Tuesday, January 7, 2025

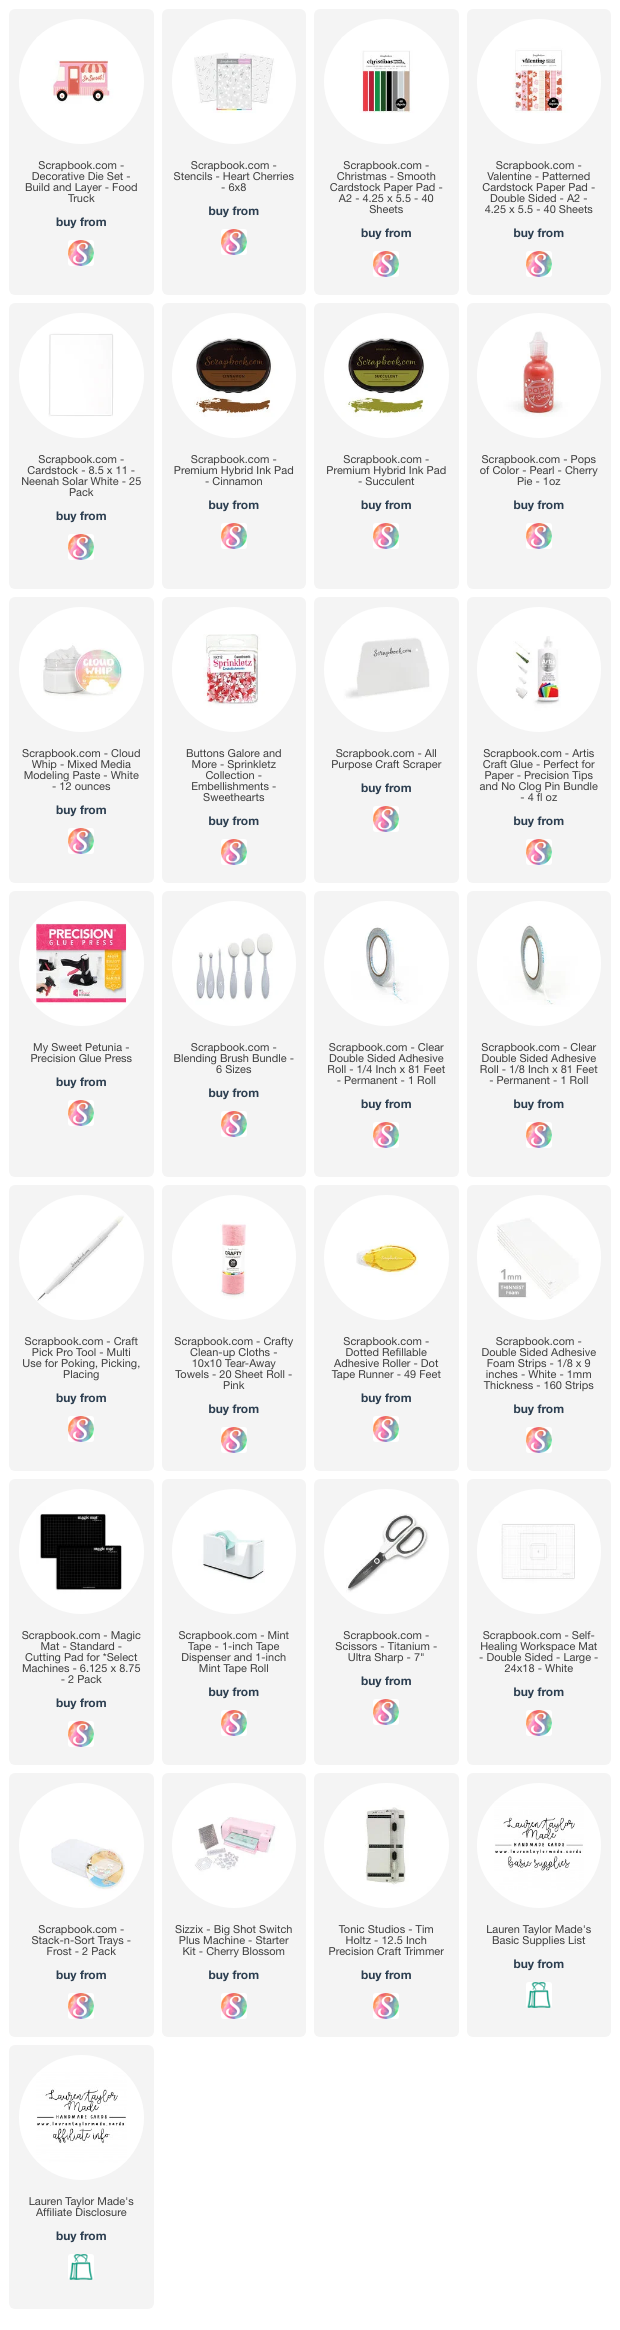
Hi, friends! I’m thrilled to share a project that’s been one of my most detailed and fun creations to date: a shaped Valentine food truck card! This design features a mix of stenciling, shaker elements, and a unique shaped card base—all using amazing products from Scrapbook.com. It’s full of Valentine charm but could easily be adapted for other themes, making it versatile and fun.

For the main focal point, I used the Build and Layer Food Truck Die Set, paired with the Heart Cherries Layered Stencils and the Valentine Patterned Paper Pack in A2 size. To start, I selected a pink striped paper from the pack, which served as the base layer for my food truck. I wanted to add custom texture and interest, so I stenciled the heart cherries onto the food truck using Succulent and Cinnamon Scrapbook.com Hybrid Inks for the stems and leaves. For the cherries, I created a custom stencil paste by mixing Cloud Whip with Cherry Pie Pops of Color, which gave the design a beautiful dimensional effect. The stencil reveal was so satisfying—it created a soft, cotton-candy-like look on the pink paper!

Next, I assembled the truck, adding wheels, an awning, and a fun shaker element. To create tiny shaker windows, I repurposed leftover packaging from a previous Scrapbook.com order. I filled the windows with Sweetheart Sprinklets, which added an extra dose of charm and movement. The process was detailed but well worth the effort, as these shakers added a playful and interactive element to the design.

To finish the card, I decided to turn it into a shaped card. I used the food truck die to cut the card base, allowing the top edge to stay intact for the fold. A matching sentiment, “So Sweet,” cut from the Valentine paper pack, tied the theme together beautifully. After a last-minute decision to swap the patterned door for a bold red one, I was so happy with how everything came together.

This card is packed with techniques—custom stenciling, shaker windows, and a shaped card base—but you can mix and match these ideas to fit your own projects. I’d love to see how you bring your own food truck cards to life, so feel free to tag me on social media! Thank you for stopping by my blog today, and I hope you’re inspired to get creative.

VIDEO TUTORIAL


PIN THIS
SUPPLY LIST

Read More

Sending Love with the New Release from Pretty Pink Posh

Monday, January 6, 2025

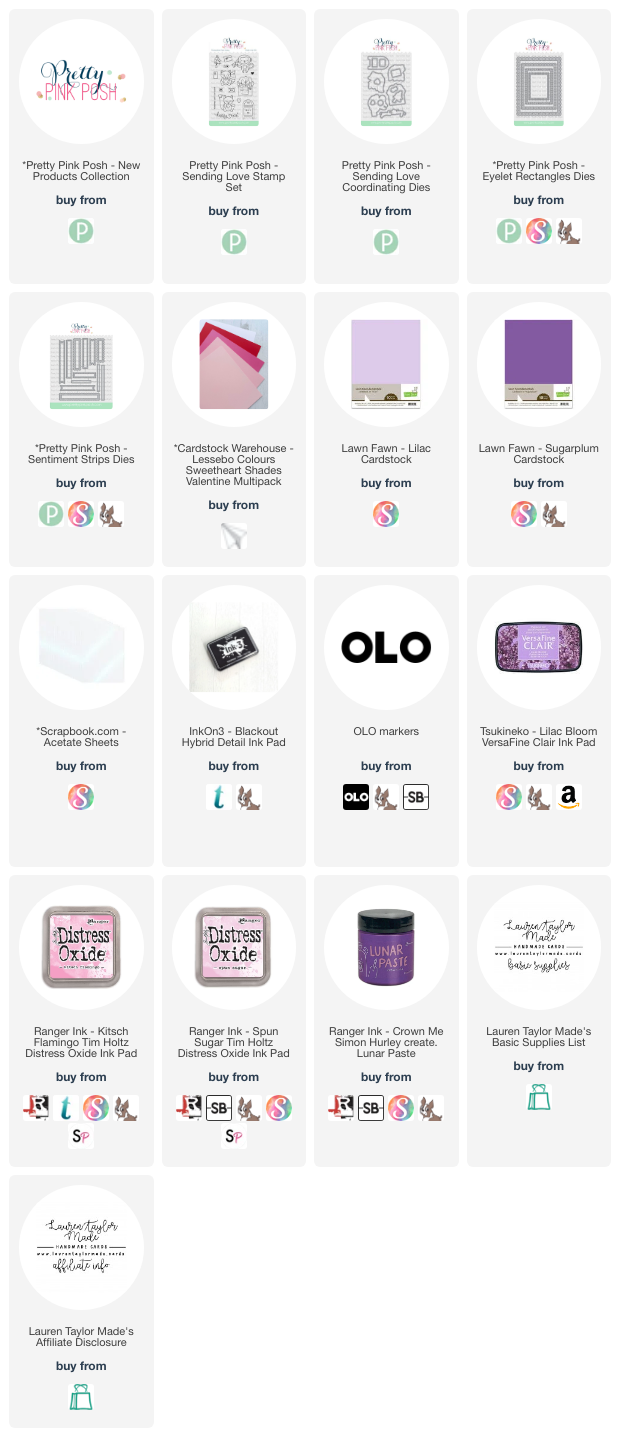
Happy release day, everyone! Pretty Pink Posh has just unveiled their newest collection, and I couldn’t wait to get my hands on some of their fabulous new products. Today, I’m sharing a love-filled shaker card featuring the Valentine Greetings stamp set and other gorgeous items from their latest release. I also brought in an older set callee Sending Love stamp set and coordinating dies. Let’s dive into the details of this fun and sparkly project!

I began by die-cutting white cardstock with the largest Eyelet Rectangle die to create the base for my card. Using the new Layered Heart Sprinkles stencils, I built a colorful and textured background. I started by blending Spun Sugar and Kitsch Flamingo Distress Oxides for the first layer. For the second layer, I used Crown Me Lunar Paste to add a pop of shimmer and dimension. This combo created a dreamy, love-themed backdrop that was perfect for my design.

For the focal point, I used the Love Word Shaker dies to create a bold and interactive sentiment. I die-cut the main “LOVE” from purple cardstock, then cut the individual letters from lilac, dark pink, and light pink cardstocks for a vibrant, layered look. The heart-shaped “O” was transformed into a shaker element by cutting it out of the purple base, adhering acetate behind it, and building a frame with foam adhesive. After filling the shaker with Be Mine Shaker Beads, I attached it to the stenciled background, which was mounted onto a light pink A2-sized panel and adhered to a white card base.

To add some extra charm, I stamped and colored images from the Sending Love stamp set using OLO markers and a black alcohol marker-friendly ink pad. Once die-cut with the coordinating dies, I adhered the images to the card using a mix of foam and liquid adhesive for added dimension. As a finishing touch, I stamped a sweet Valentine sentiment from the Valentine Greetings stamp set on the inside of the card. I’m absolutely in love with how this project turned out, and I hope it inspires you to explore Pretty Pink Posh’s new release and create something heartfelt this Valentine’s season!

PIN THIS
SUPPLY LIST

Read More

"Time Fries" Kids Meal Fandom with The Sassy Club

Saturday, January 4, 2025

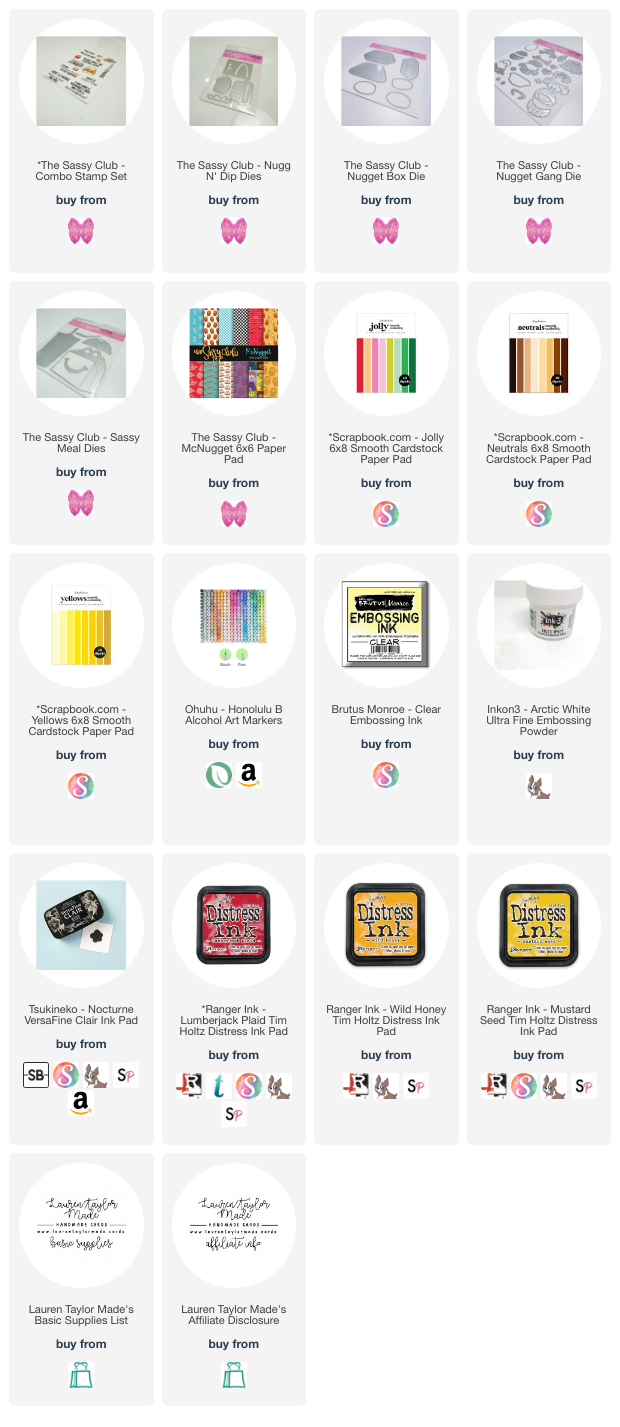
Hi, friends! I’m so excited to share today’s card—it’s a playful, fast-food-themed design made with The Sassy Club’s adorable dies and stamps. If you’re looking for a card that’s packed with personality and charm, this one will definitely bring smiles! To start, I cut strips of patterned paper from The Sassy Club’s McNugget 6x6 pad and adhered them to an A2 card base. This fun backdrop set the stage for my scene. 

Then, I got to work die-cutting all the pieces: the kids' meal box, nugget box, nuggets, and their quirky little faces from the Joyful, Neutrals, and Yellows paper pads from Scrapbook.com. Using Lumberjack Plaid, Wild Honey, and Mustard Seed Distress Inks, I darkened the edges of the red kids' meal box and yellow nugget box for extra dimension.

The nuggets were my favorite part to create! I cut them from brown cardstock and used Ohuhu markers along with distress inks to achieve that perfect golden-brown look. I added details to their eyes with markers and gave them a pop of personality with white gel pen highlights. The sentiment, embossed in white on red cardstock, added the perfect bold touch.

Once everything was ready, I assembled the card by gluing the kids' meal box to the base, popping up the nuggets in their box with foam adhesive, and adding the sentiment with the same technique. I stamped the remaining part of the sentiment on the inside of the card in black ink. This card was so much fun to make, and it’s a perfect way to show off the quirky cuteness of The Sassy Club’s dies. I hope it inspires you to create something fun, too!

PIN THIS
SUPPLY LIST

Read More

Driving By Birthday Card with Kindred Stamps

Friday, January 3, 2025

Hi friends! Welcome back to my craft room and another Fandom Friday post. This week, I’m driving into the world of Kindred Stamps with the Vroom stamp set. Although it's currently out of stock, be sure to keep an eye on their website for restocks! For today’s card, I also used the Desert Scene Craft Die, Card Basics Die, Sentiment Strips Dies, and Desert Scene Layering Stencil to create a birthday card that’s sure to make anyone's day special.

The project started with coloring my race car and tow truck stamps. I used OLO markers to bring my images to life, focusing on vibrant tones and shading for depth. Adding yellow and orange flames gave the race car an extra fiery touch, while the tow truck showcased a rustic orange and teal combination for a weathered, dusty look. Cool grays added dimension to the wheels, windows, and exhaust for both characters. The result? A vibrant duo that’s ready to roll into a fun scene!

Next, I tackled the desert backdrop with ink blending. Using the Desert Scene Layering Stencil, I created a stunning landscape. Tumbled Glass Distress Oxide set the tone for a bright sky, while Rusty Hinge and Crackling Campfire Oxides built up the rugged mountain layers. A few die-cut cacti added dimension, perfectly framed by the Card Basics Die. The whole scene came together with careful layering and positioning, ensuring everything aligned seamlessly.

Finally, I assembled the card, adding foam adhesive for depth and stamping the sentiment, “Driving by to say… Happy Birthday!” This thoughtful touch tied everything together. I love how this card celebrates this vehicular fandom while showcasing fun crafting techniques. Let me know in the comments what fandoms you'd like me to explore next for Fandom Friday! Until next time, happy crafting!

VIDEO TUTORIAL


PIN THIS
SUPPLY LIST

Read More

Day Takes Flight BetterPress Butterflies with Spellbinders

Thursday, January 2, 2025

Happy New Year, crafty friends! Today, I’m thrilled to share a card I made using the fabulous Spellbinders January 2025 Clubs. These kits are packed with creative possibilities, and I had so much fun experimenting with the BetterPress, Embossing Folder, and Clear Stamp Set. Let me walk you through the steps for this vibrant butterfly-themed card.

I started by stamping the butterfly BetterPress plates onto porcelain cotton cardstock using Monarch Versafine Clair ink. The crisp details were stunning! To add pops of color, I used the Caboodle bonus item to stencil the butterflies with Simon Hurley create. inks in Guppy, Love Struck, Game Over, and Crown Me. Next, I foiled the sentiment in matte gold onto Sugarplum cardstock—this shimmer against the purple is chef’s kiss! I cut out the butterflies and sentiment with the coordinating dies to keep everything neat and polished.

For the background, I embossed a 4" x 5 ¼" piece of white cardstock using the embossing folder, then added splatters of Wilted Violet Distress Spritz for extra texture. After gluing the background to an A2 card base, I adhered the smaller butterfly directly to the card and used foam adhesive for the large butterfly and sentiment to give the design some dimension. A sprinkling of gold gems completed the card with a touch of sparkle.

If you’d like to see these supplies in action and get more inspiration, check out the replay of my livestream! I crafted alongside other amazing Spellbinders influencers, who showcased the Small Die of the Month and a few other club kits. Trust me, you don’t want to miss it—it’s packed with ideas to jumpstart your January crafting. Happy creating!

VIDEO TUTORIAL


PIN THIS
SUPPLY LIST

Read More