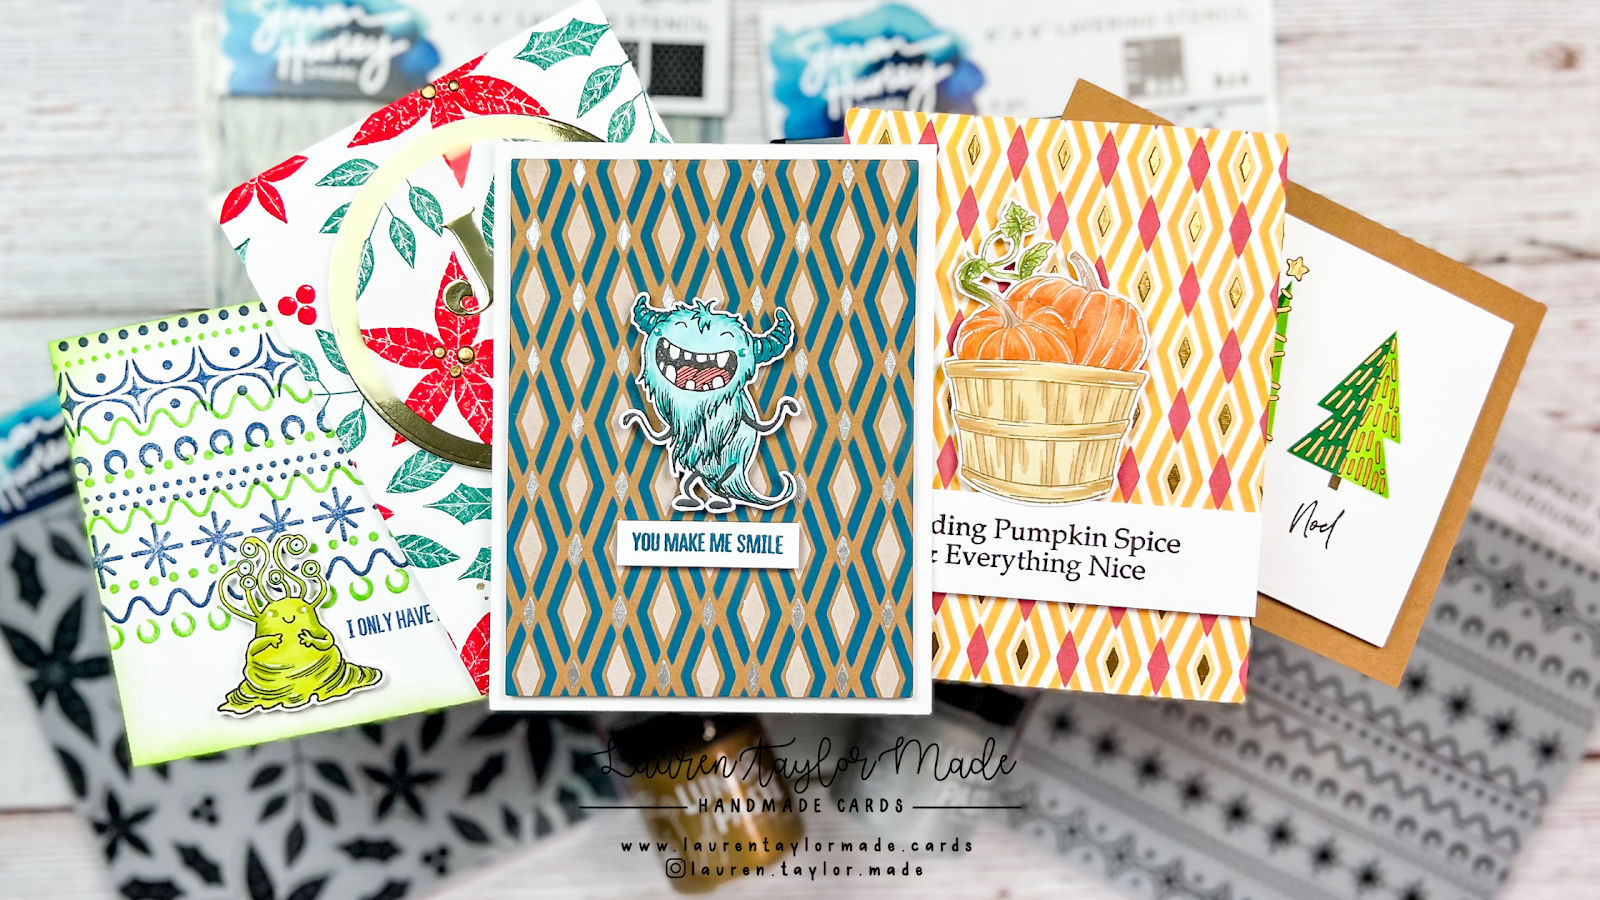
5 Card Ideas with the New Simon Hurley create. Release!

Friday, October 21, 2022

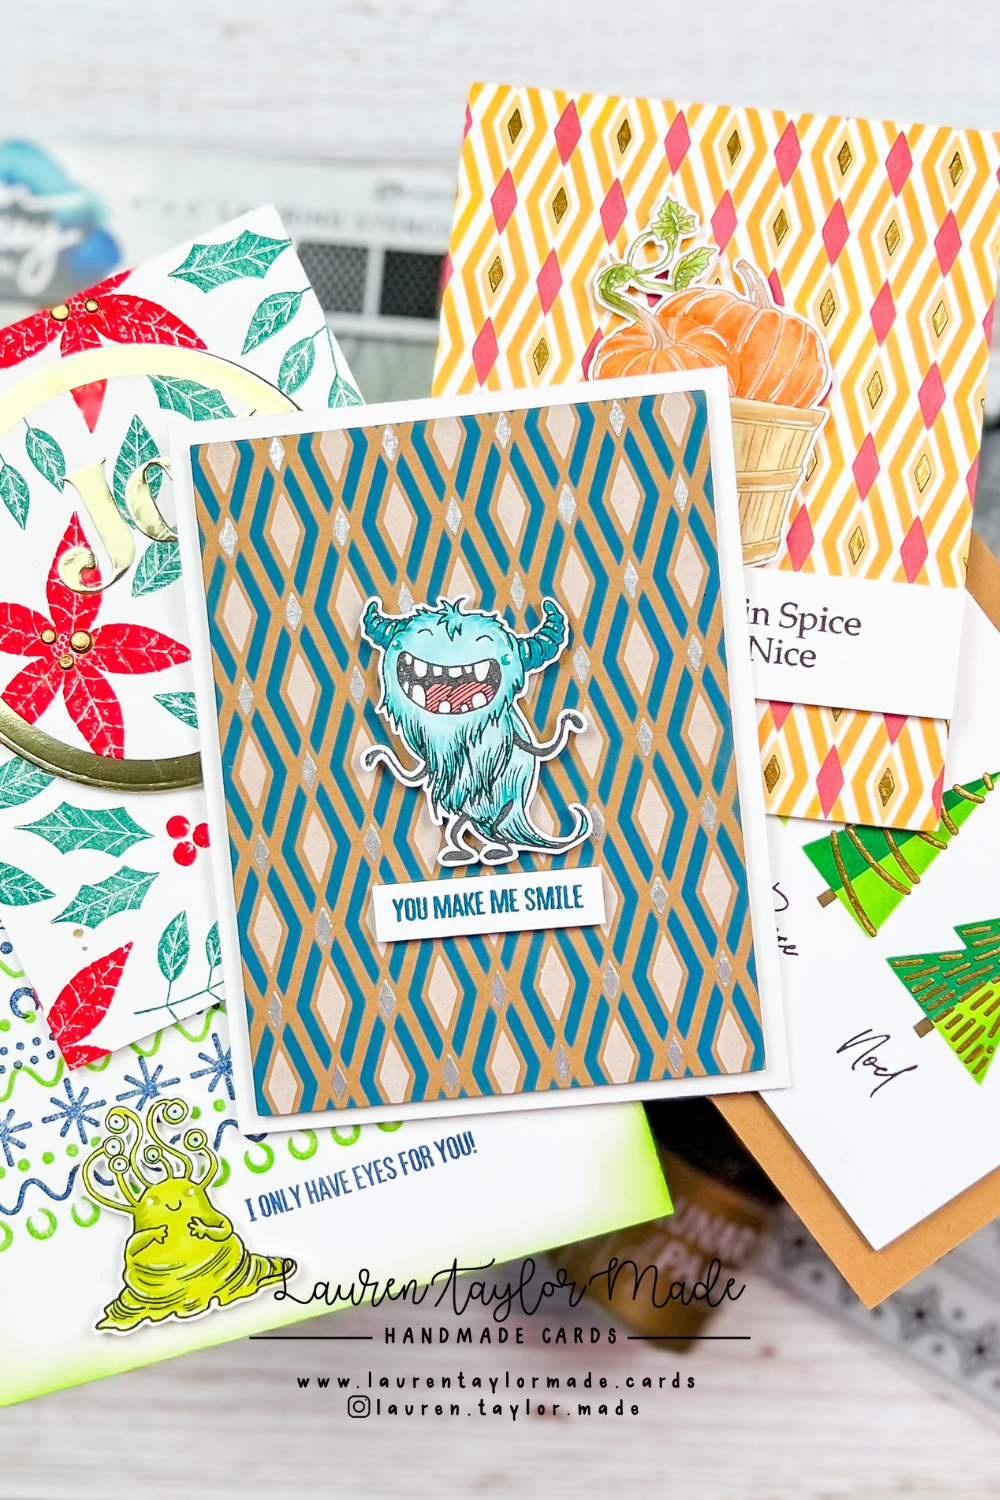
Simon Hurley create. has a new release today with Ranger Ink! There are new background stamps, stencils and magical Lunar Pastes and I was gifted a few products to play with and share some inspiration with you. I made FIVE cards - all with amazing backgrounds using these new products.

The Dazzling Diamond layering stencil set is my favorite! I love the different looks you can get with this stencil set and I created two different backgrounds along with the new Silver Lining and Gold Rush Lunar Pastes. The stencils were easy to use and line up, plus easy to clean! I have two different ways to create a background, so watch the video below to see how you can use the same stencils to create two different designs.
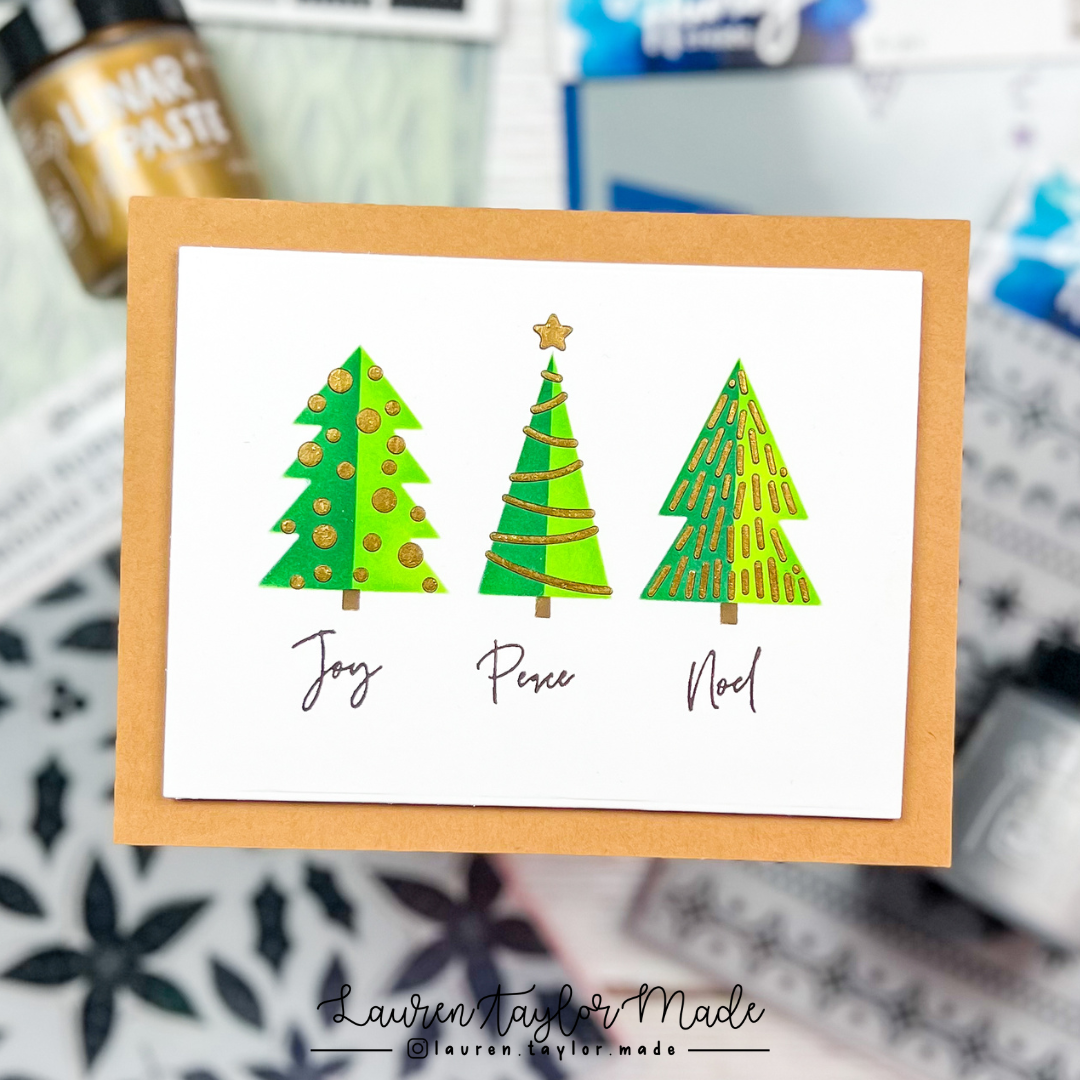
The Lunar Pastes are so SMOOTH, I'm definitely going to be collecting all the colors! In comparison with some other stencil pastes I've used, I think these are my favorite. The shine is perfect and it was so easy to spread and clean up after! I used more of the Gold Rush along with the Mod Christmas layering stencil. This stencil is going to be so wonderful to make quick and easy Christmas cards! I love the look of simple, green trees with some shine from the Lunar Paste - this card is my "Christmas on the 25th" inspiration this month... Just a little early! 😉

My last two cards are using two of the new background stamps that you can also peel a part, too. I used the Bold Holiday Blooms to create the poinsettia background; of course I added some Gold Rush Lunar Paste to add some shine to inside of the large poinsettias. The Magic Stripes background stamp is going to be so fun to make sweater designs and will go wonderful with the Plaid Builder background stamp... But I went with an "ugly sweater" kind of design that also felt very space-y to me so I added an alien in green!

Big hugs and thanks to Simon Hurley and Ranger Ink for sending me these and I hope you enjoyed the inspiration. Make sure to check out the new products by using the links down below, but watch the video to see how these card ideas came to life!
VIDEO TUTORIAL


PIN THIS
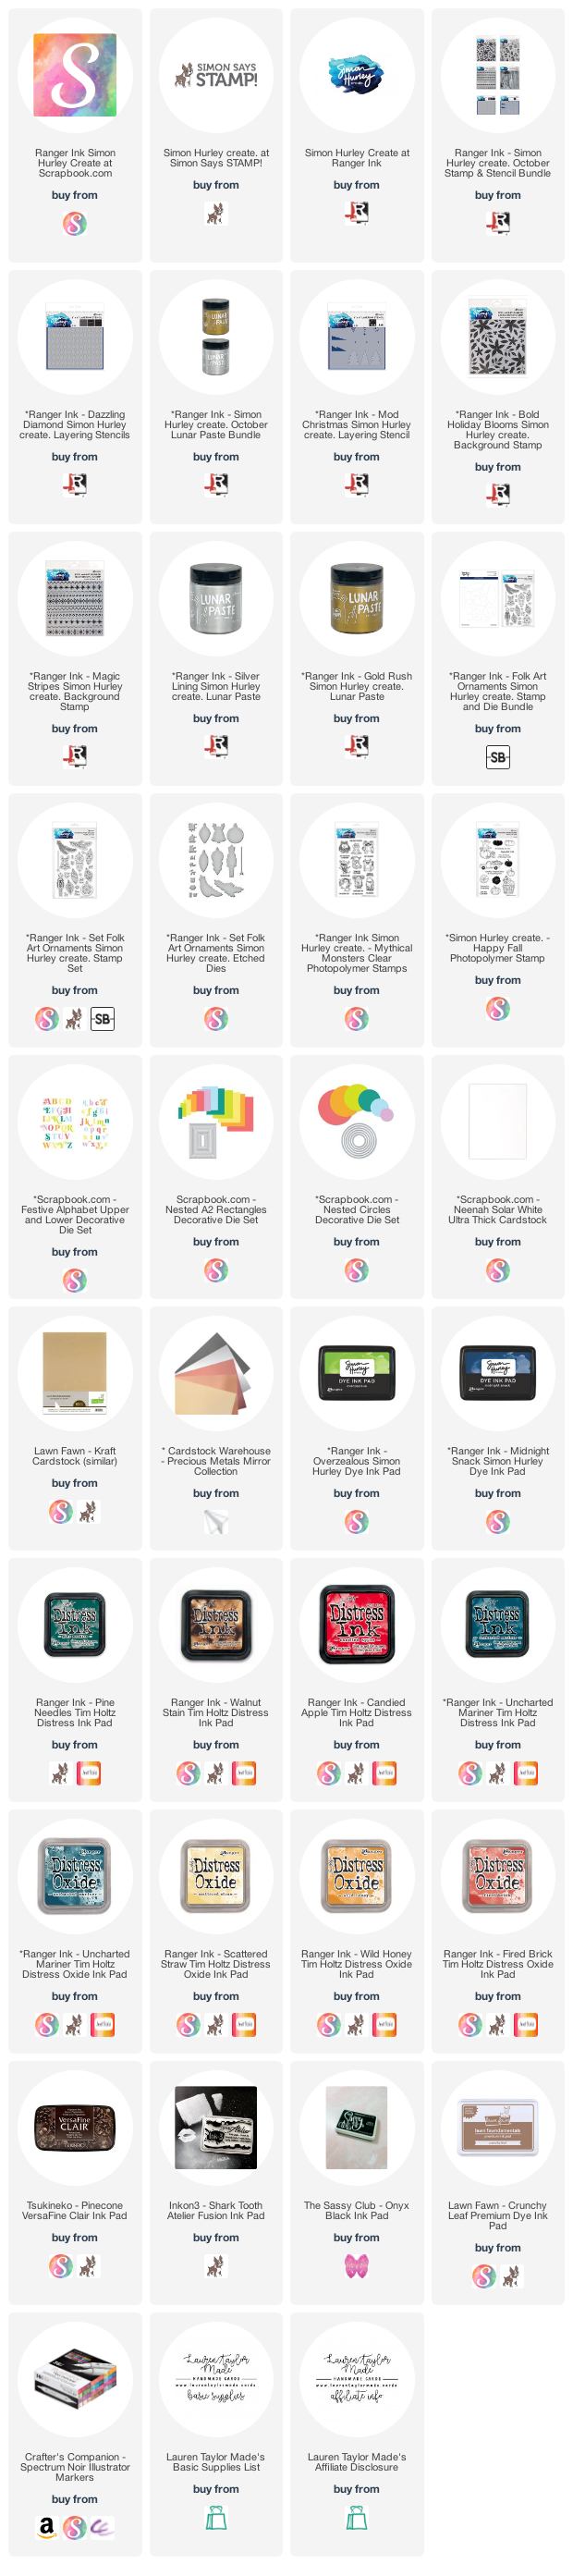
SUPPLY LIST

Read More

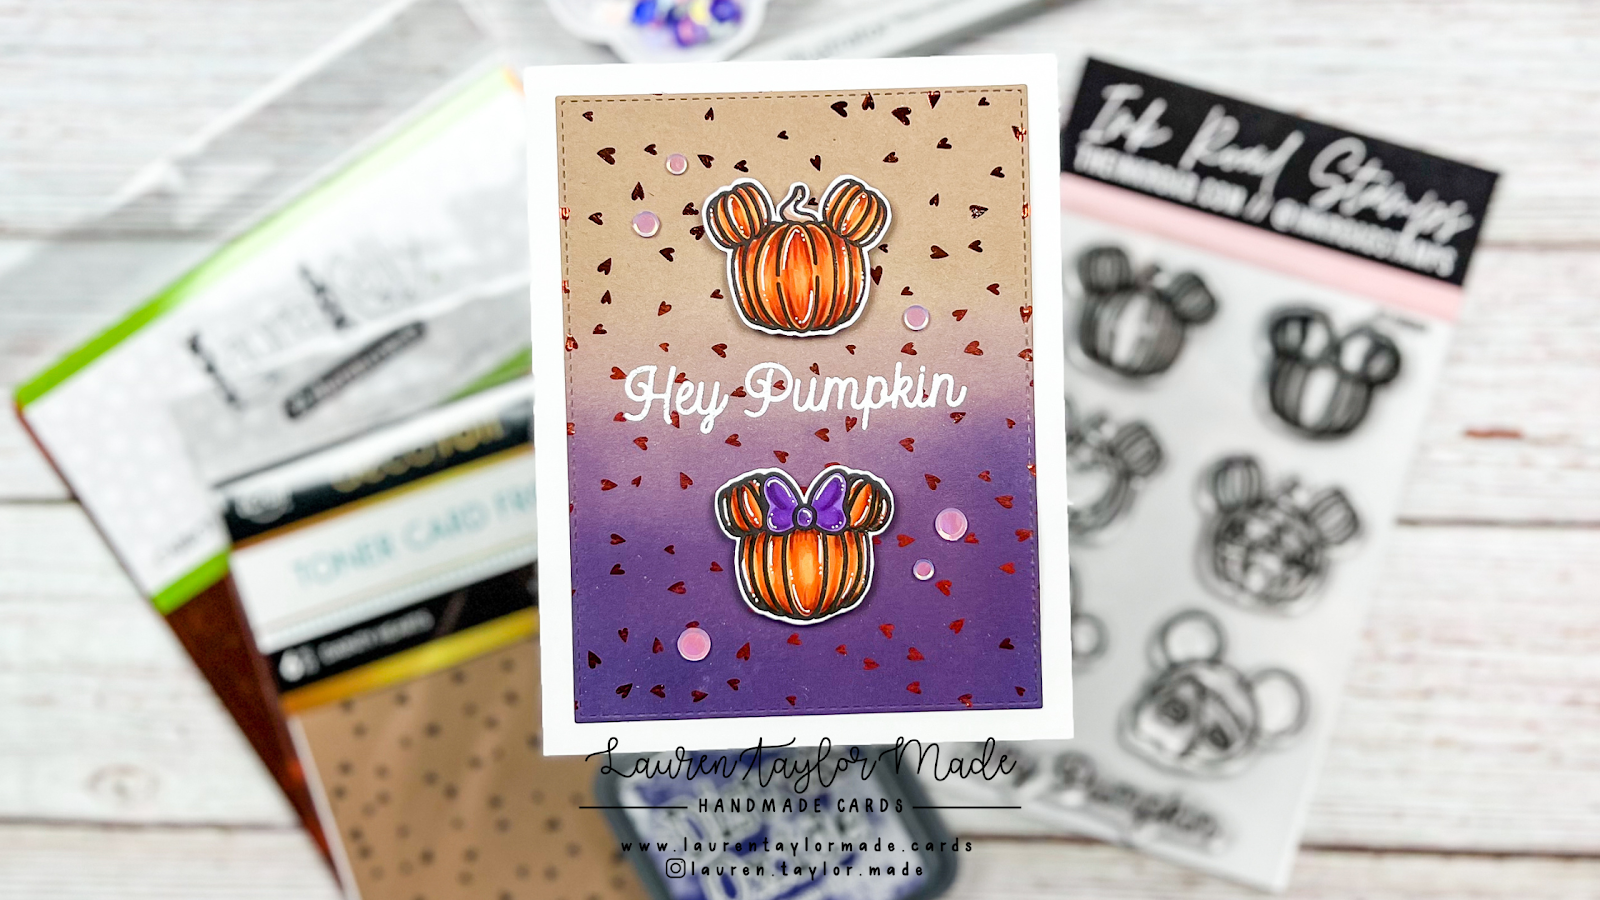
Hey Pumpkin Magical Mouse Inspired Halloween Card with Ink Road Stamps

Thursday, October 20, 2022

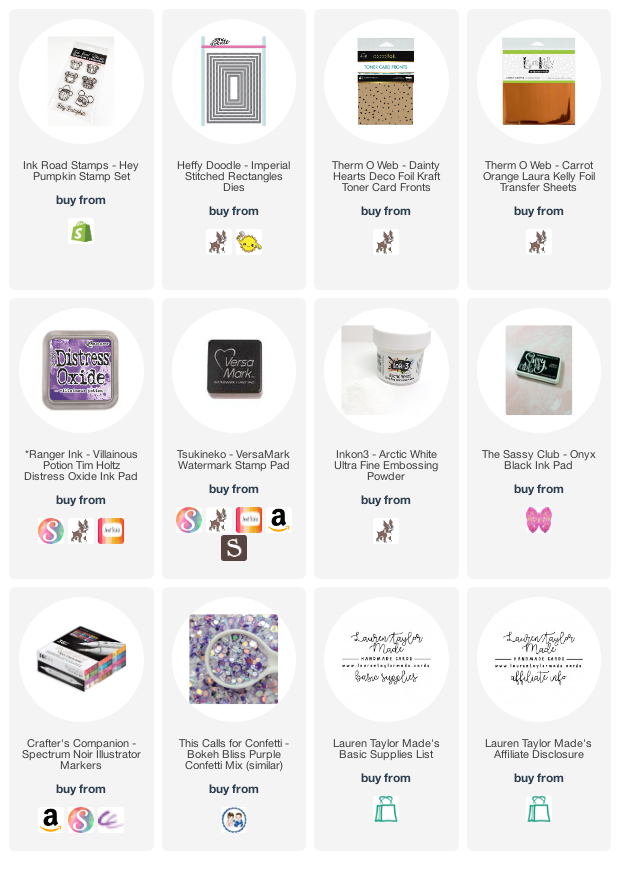
I was super lucky to win a prize from Therm O Web! One of the things I won was some orange heat transfer foil - perfect for the Halloween season. I also ended up placing an order (of course) and some of the item I bought were some card fronts. I really liked the Dainty Hearts on kraft and I added them to cart.

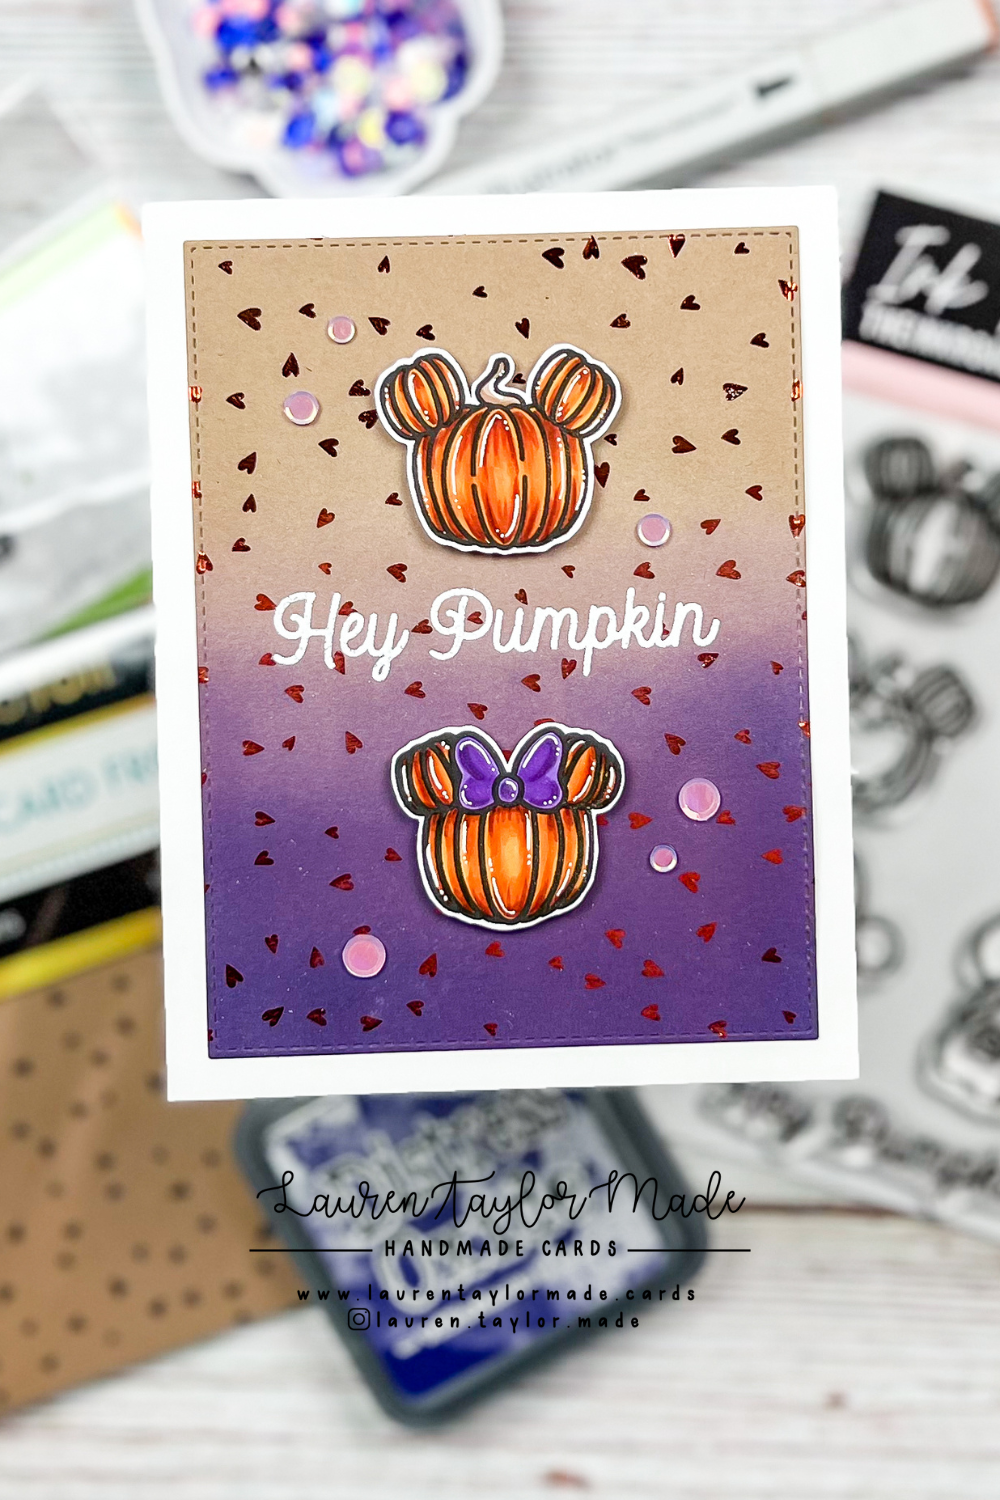
For the background, I used one of the card fronts with the Carrot Orange transfer foil, then trimmed it down with a rectangle die to fit on a card front so I can have a border showing from my card base. The purple was added with Villainous Potion Distress Oxide and I created an ombre look. The sentiment is embossed with white from the Hey Pumpkin stamp set from Ink Road Stamps.

The two Mouse shaped pumpkins are also from the same set! I stamped them with an alcohol marker friendly ink and colored them in with my Spectrum Noir Illustrator markers. There was definitely a lot of shine because of the heat foil, but I wanted to add some purple sequins to bring up the purple into the kraft.

It's a simple card, but it's a set I haven't used before and I think it turned out super sweet! If you'd like to see my process, I have a simple Instagram Reels down below (or you can find it on TikTok). 

VIDEO TUTORIAL


PIN THIS
SUPPLY LIST

Read More

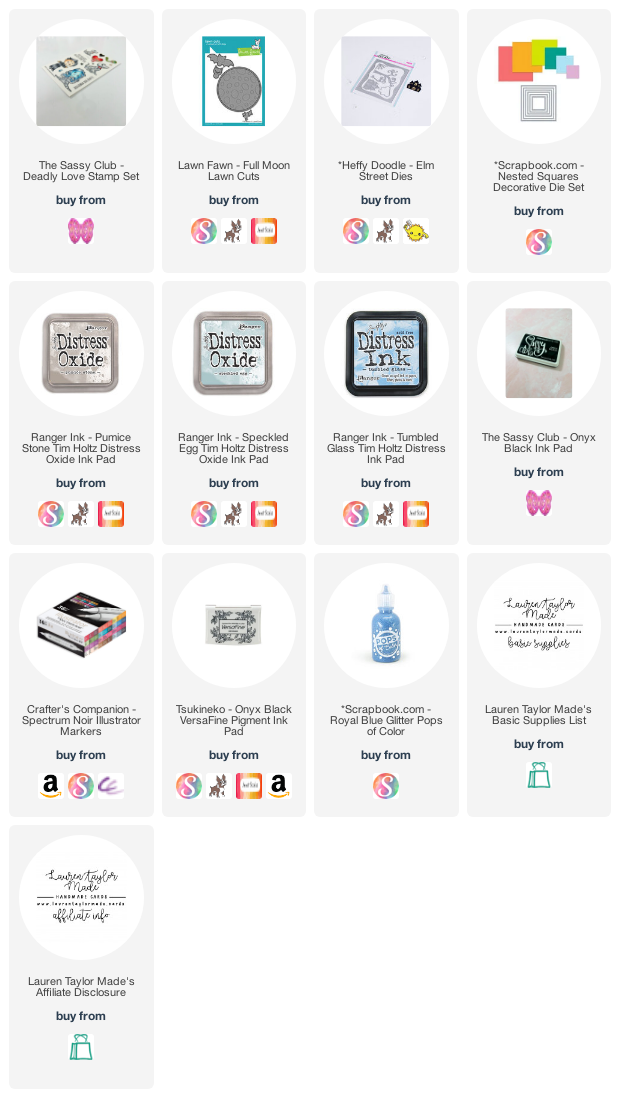
Deadly Love Square Card from The Sassy Club

Wednesday, October 19, 2022

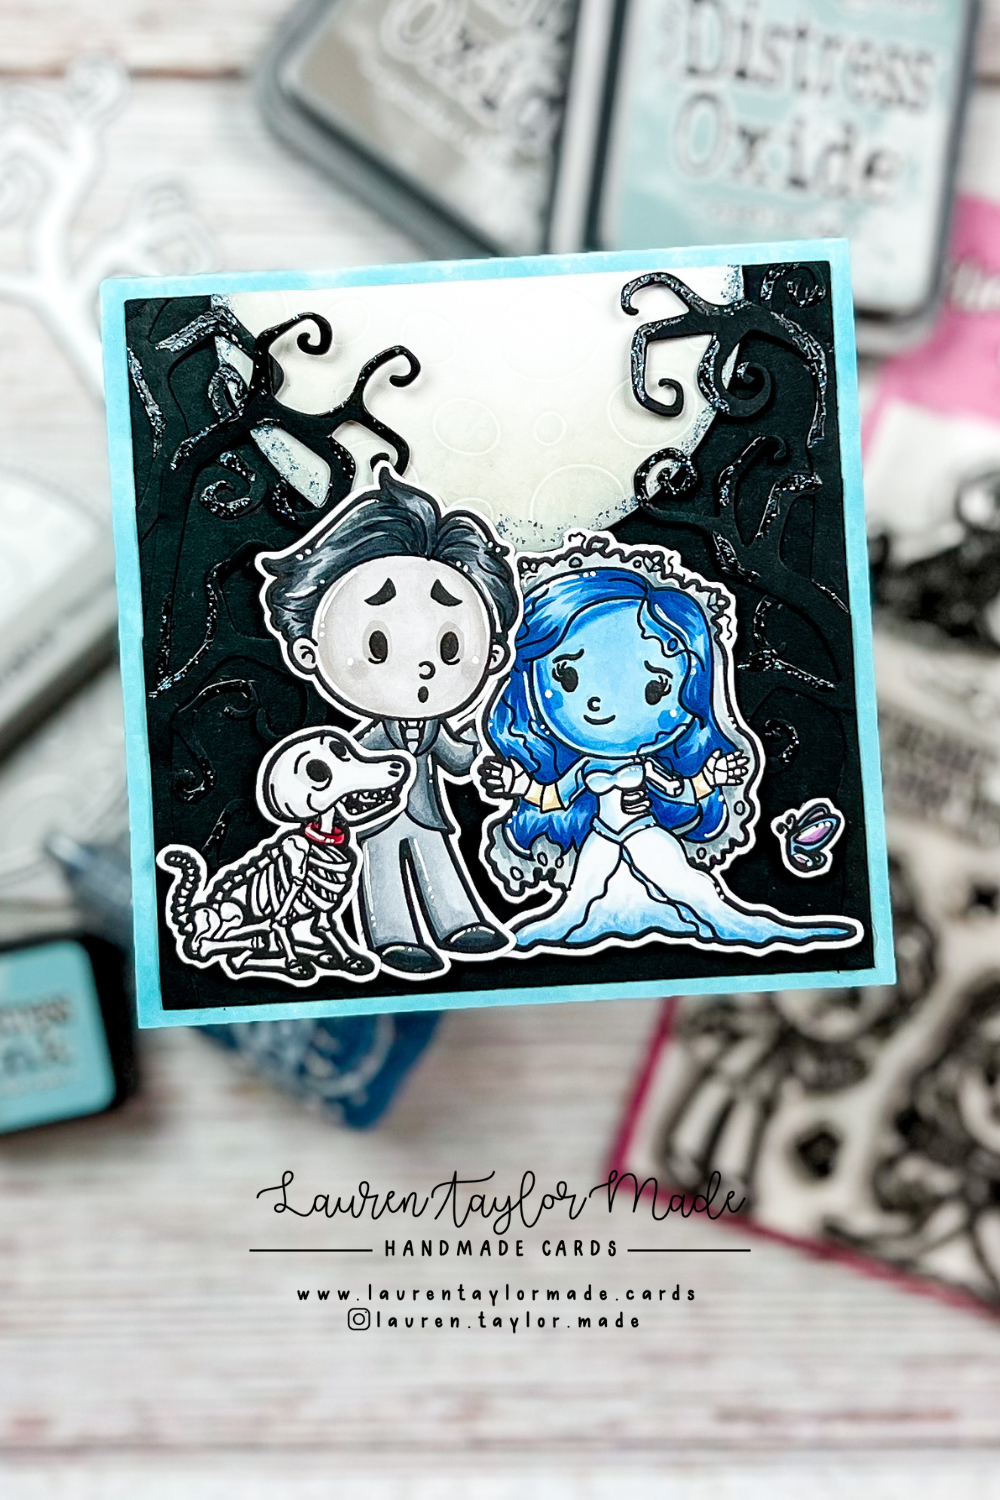
I am going to toot my own own horn here, but I love my coloring on this card! I have been working really hard at improving how I color so images turn out how I imagine them in my head and I just love this sweet Deadly Love card using The Sassy Club stamps.

My card was inspired by Craft Roulette and this last week's parameters were a square project; black background + 3; sweater(s) or jacket(s); and include marker(s). I went with a classic square card as the project with the dimensions of 4-1/4 x 4-1/4" so that way it would still fit in an A2 sized envelope.  While I did ink the edges of my card base with a blue ink, the background of the center of the card is black and I used shades of blue, red and green on my card (I cheated a little by using blue and red together to make purple on the butterfly).

The Lawn Fawn moon was die cut and I added grey and blue Distress Oxide inks to create a shadow and glow to the moon. I also cut out two trees from Heffy Doodle's Elm Street Dies and trimmed them in half to glue them to the edges of the black background. I kept trimming and adding the leftover branches to create a forest of spooky trees behind my characters and in front of the moon. My images were stamped and colored in with alcohol markers; my male character on the left is wearing a jacket and that covered the last two parameters!

I added some glitter Pops of Color using a thin paint brush along the edge of the moon and on edges of there trees to bring in more blue and to create a moonlight glow (and of course because I needed something to have sine). My card turned out so sweet and I just love it! How do you think I did with the parameters? Did you participate this week, too?

PIN THIS
SUPPLY LIST

Read More

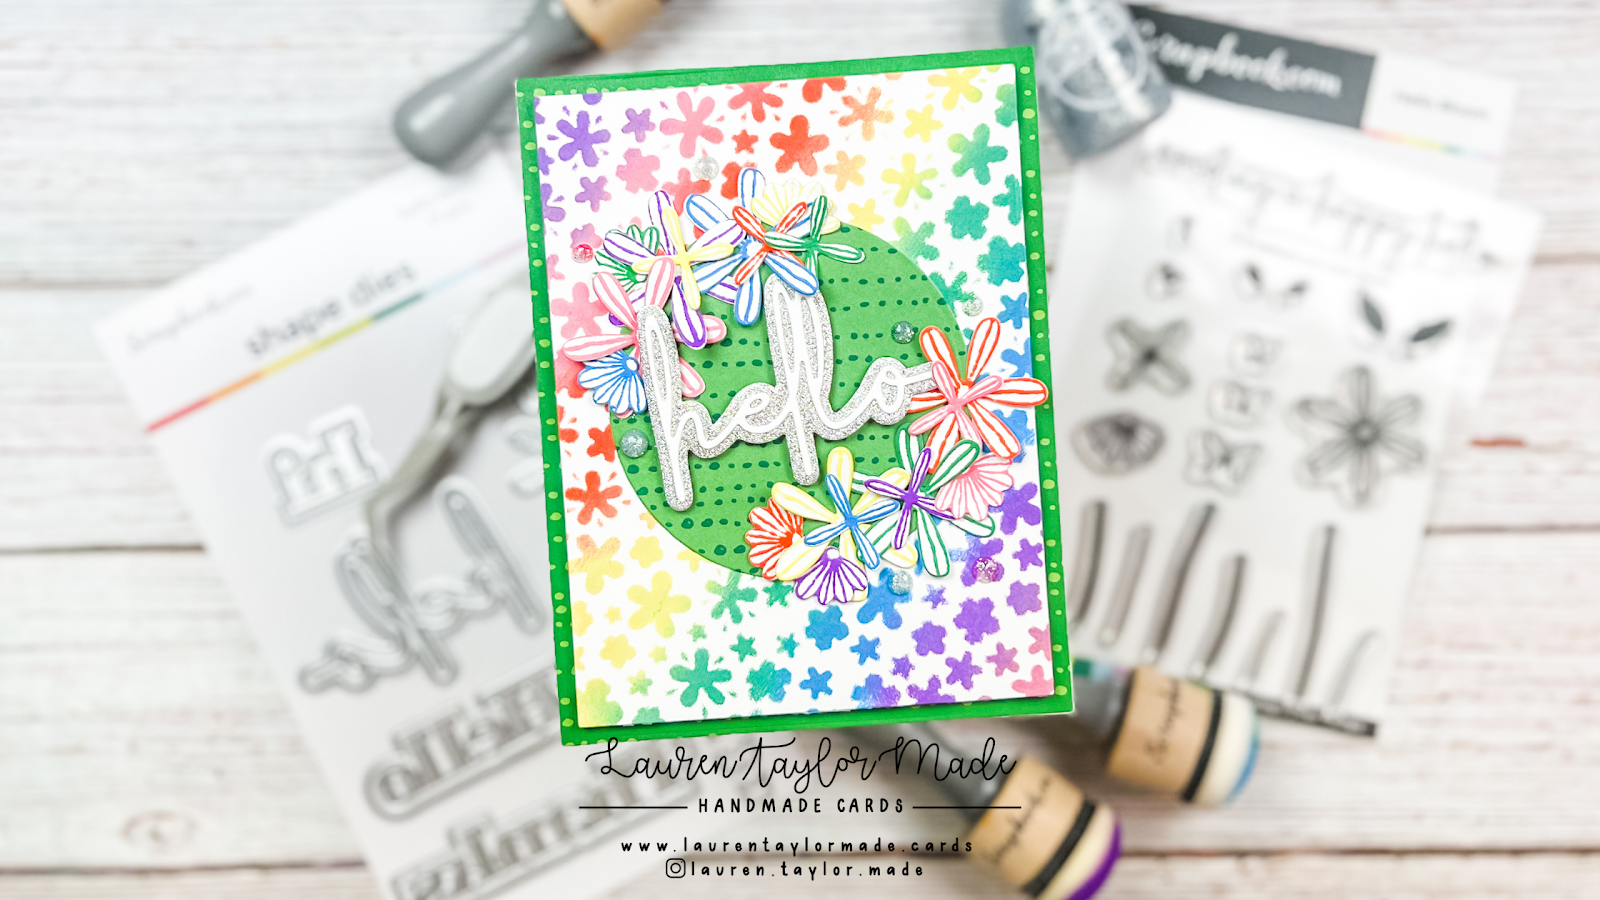
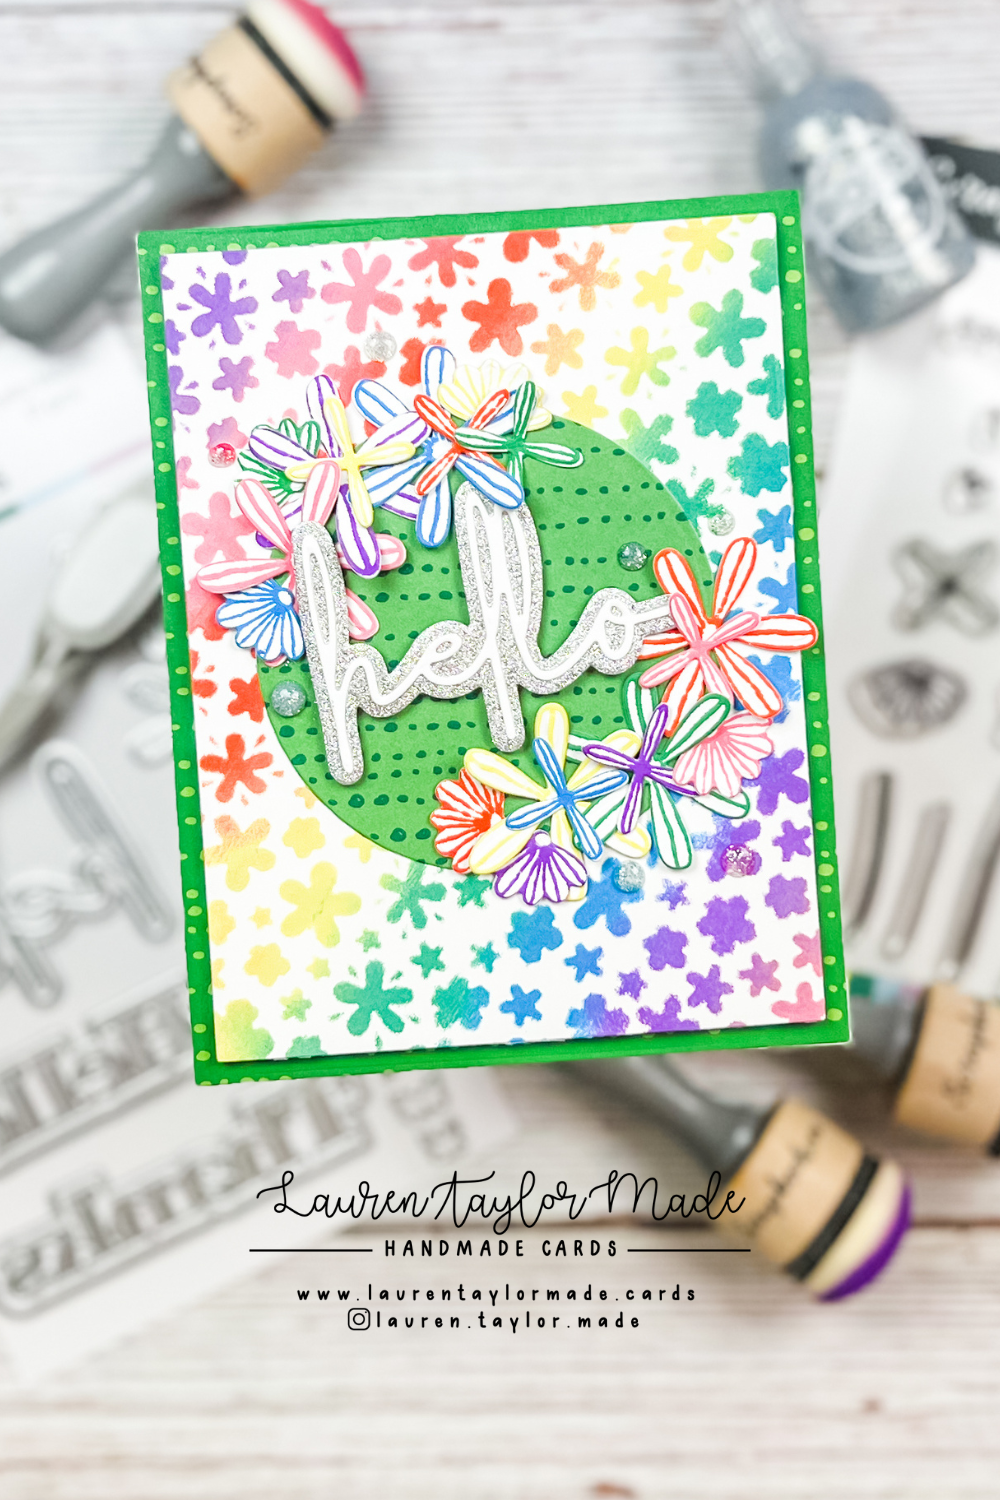
Bright Rainbow Hello Floral Card with Scrapbook.com

Tuesday, October 18, 2022

Do you have a card idea and it doesn't really come out how you were planning? But you go with it and even though it may not be your most favorite card you have ever made, it's got spunk and character so you keep it anyway? That's a bit what happened with this Hello card.

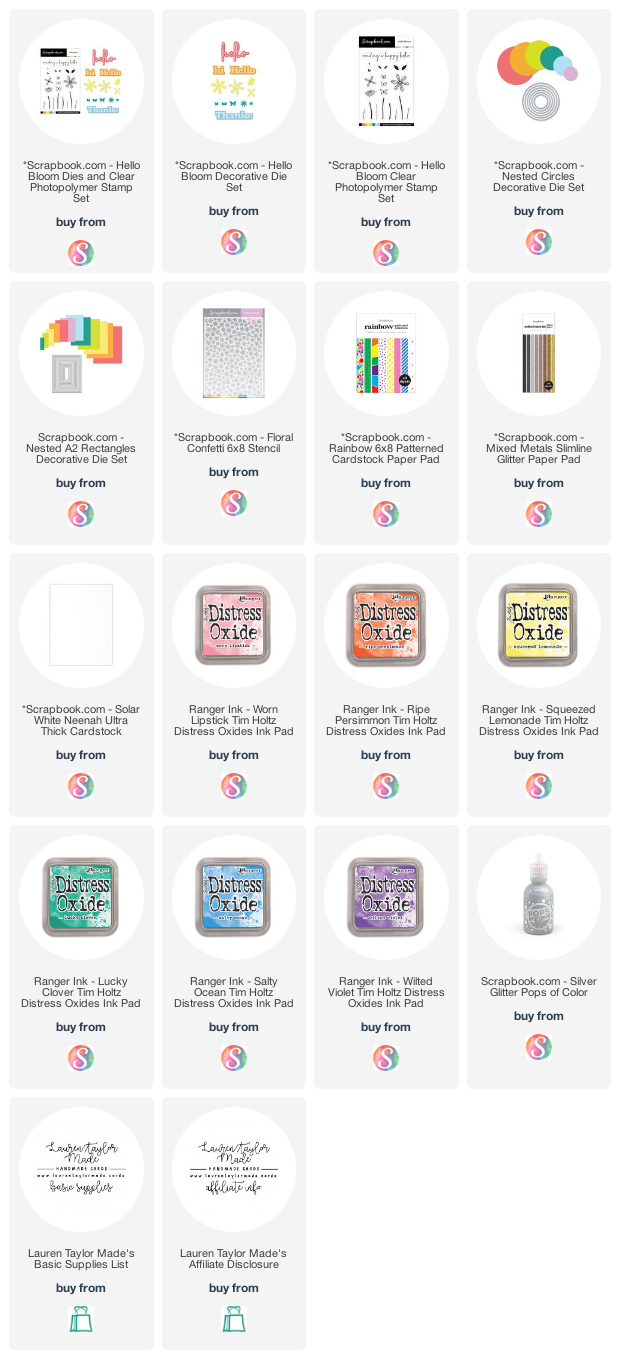
I wanted a rainbow, floral card and used the colors from the SBC Rainbow Patterned Paper Pad for inspiration. I also used the Hello Bloom stamp set that is coming soon to Scrpabook.com with the same colors - all the colors used are Distress Oxides. And this card is BRIGHT! The flowers I stamped and die cut didn't turn out how I was thinking originally, so I'm definitely going to try again on another card.

However, I still love how bright and happy this card is! Even though I might alter the flowers in the future (I can't leave well enough alone), I know this card would definitely lift someone's spirits. Here is how I put together my card:

The green background and circle are die cut from patterned paper and I layered the stenciled background with foam adhesive. The circle is glued directly to the stenciled background and I used thin foam strips to add the sentiment. "Hello" is die cut from white cardstock and the shadow from silver glitter paper. The flowers are then just added with adhesive around the circle to create a wreath look and of course added in some Pops of Color in Silver to giv eit a little more shine around the card.

Have you ever made a card that turn out how you expected? Do you keep going or do you start over?

PIN THIS
SUPPLY LIST

Read More

Color & Chat: Pastel Rainbow Pumpkins with Heffy Doodle

Monday, October 17, 2022

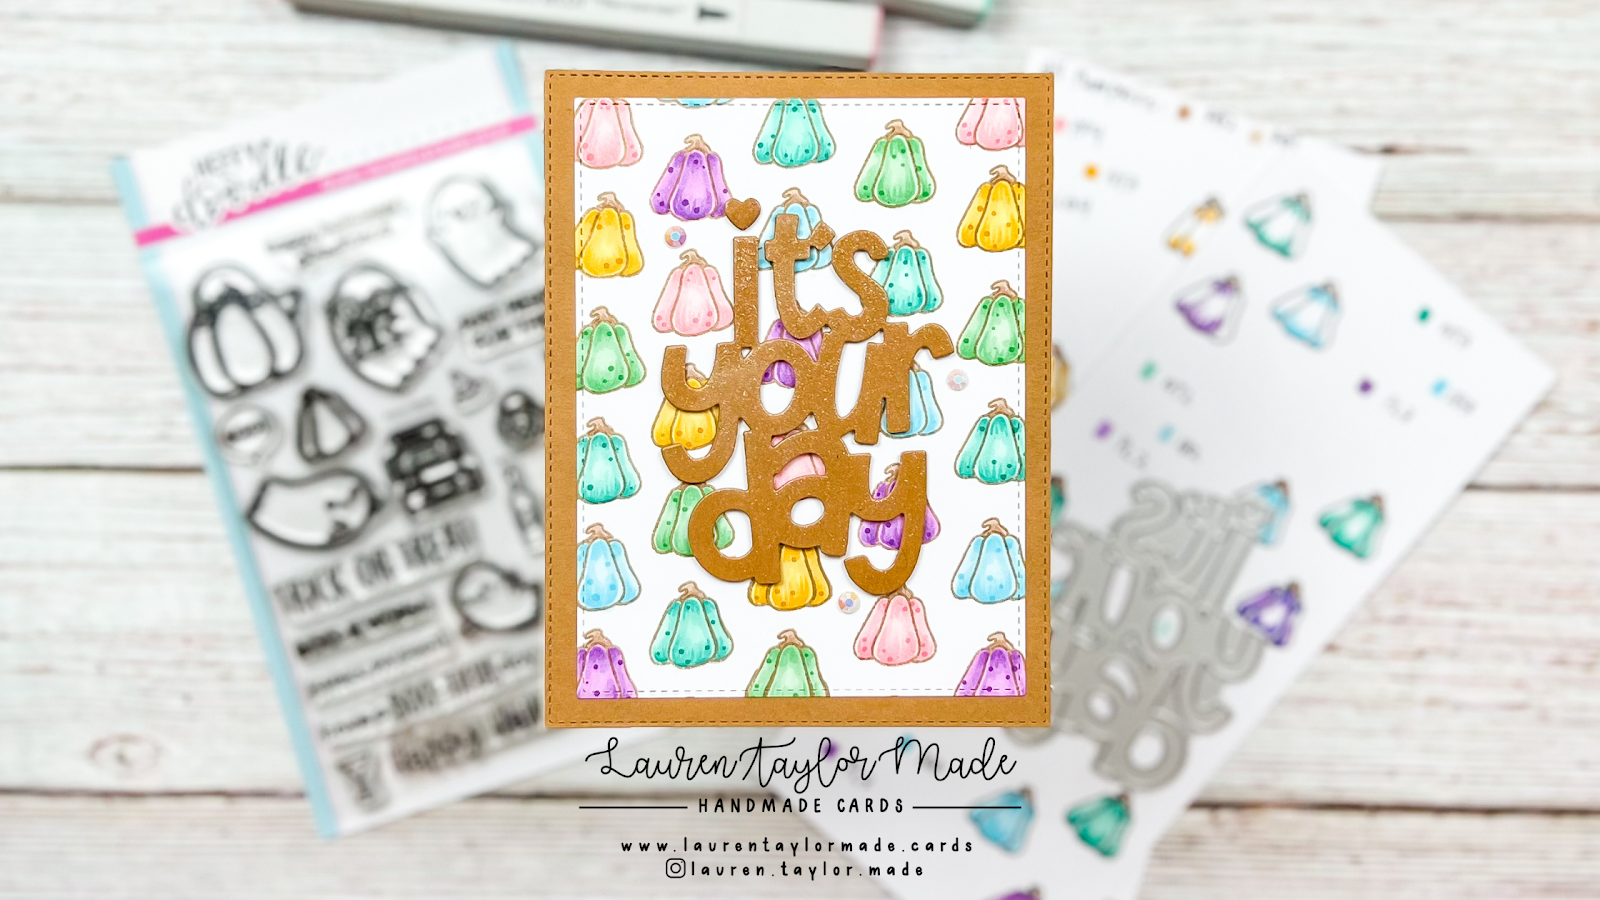
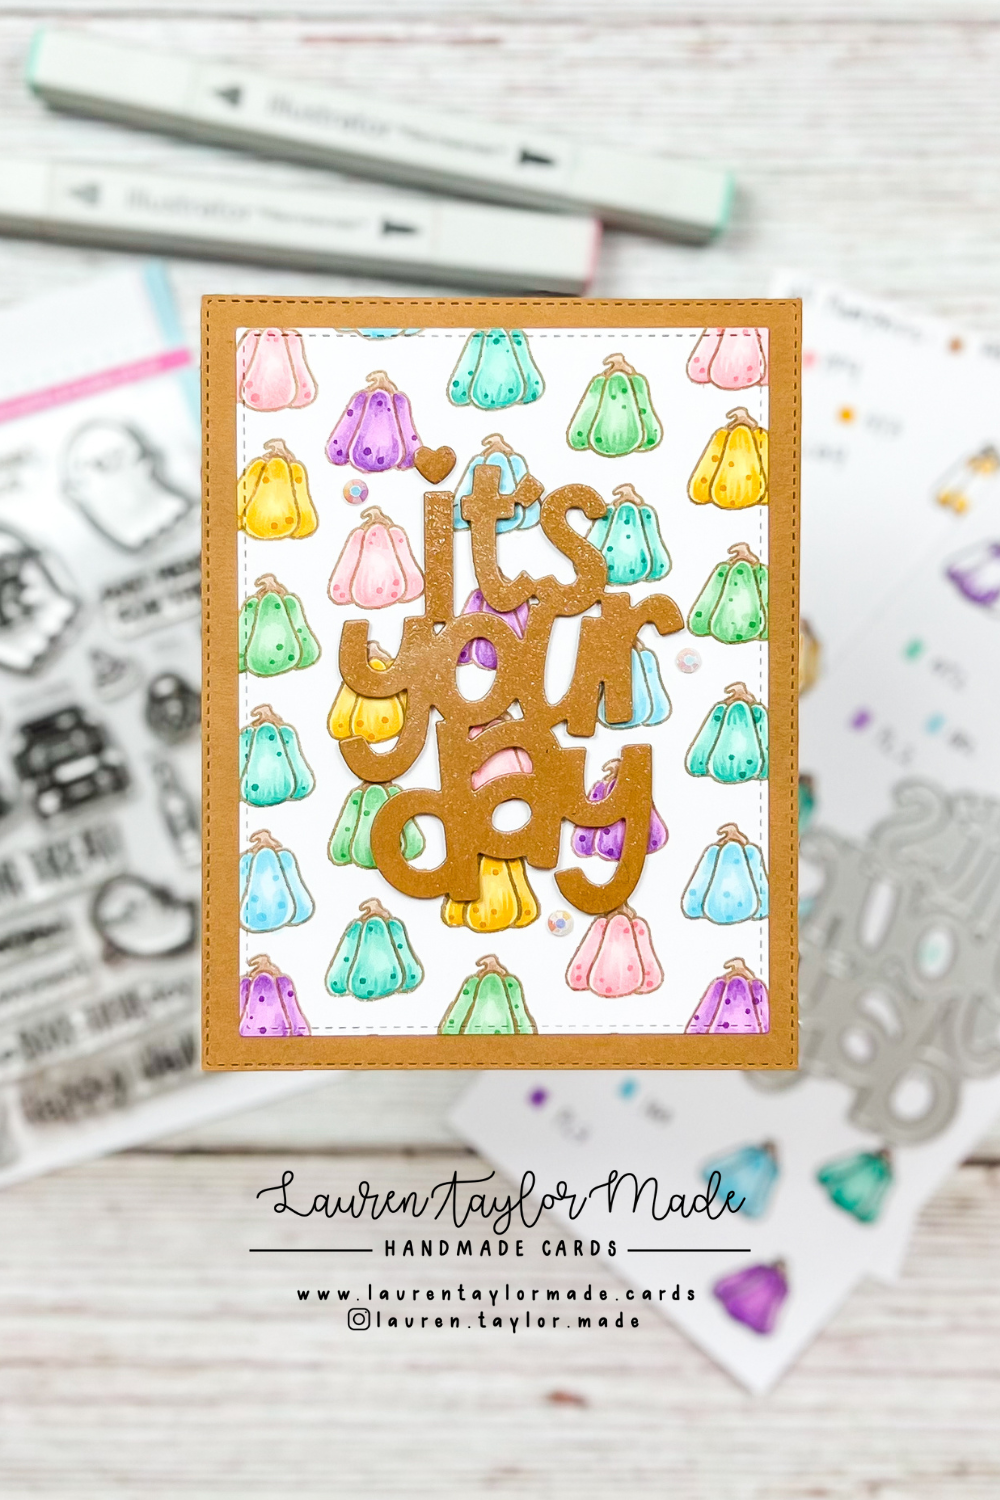
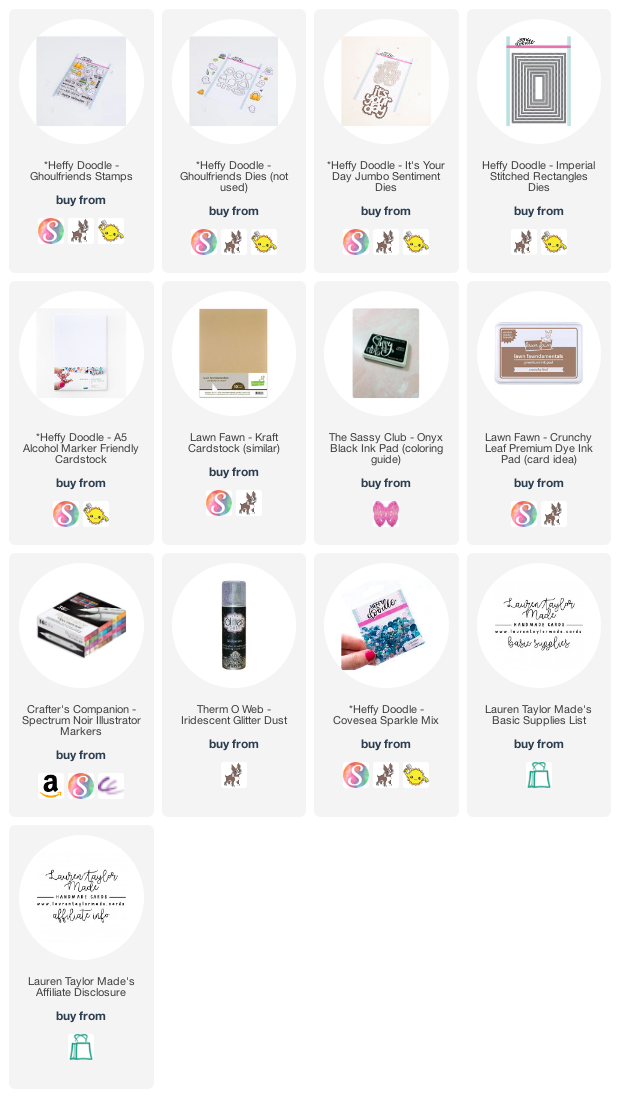
A little late this month, but I have a new coloring guide! I wanted to share my favorite combinations of Spectrum Noir Illustrator Markers for a pastel rainbow, and what better way to do that than with pumpkins. I'm suing Heffy Doodle's Ghoulfriends as there is a fun and smaller sized pumpkin to color and make a repeating background.

I have pink, golden yellow, light green, teal, light blue, and purple. I love these colors together - especially one I stamped and colored them in brown ink! You can save my coloring guides above so you can reference them later; they are also on Instagram where you can save them in your Coloring Guide Collection.

My card showing these pretty pumpkins is really simple as I wanted to make sure the pumpkins were the most colorful part of the card. Since I stamped the pumpkins with brown ink, I used kraft cardstock as the back layer behind the pumpkins and they are both die cut with Heffy Doodle's stitched rectangle dies.

The sentiment is also die cut from kraft a total of four times and glued together for to create dimension. The top layer of the sentiment is sprayed with Therm O Web's Glitter Dust in Iridescent! It's a new to me product that I won in a giveaway and now I want to spray all the things. I love the subtle shine it gave my cardstock and I went with iridescent to match the pastel pumpkins.

Enjoy the video below where I have my coloring in real time (just edited out any parts where I'm off screen) of these pumpkins and catch up with me on my latest news and other fun things in my life. Be sure to leave me a comment with any ideas of future coloring guides that you need!

VIDEO TUTORIAL


PIN THIS
SUPPLY LIST

Read More

Spooky BFFs with Kindred Stamps

Sunday, October 16, 2022

I colored these monsters from The Horror! by Kindred Stamps at the Kindred Stamps Crop Retreat last month and I wasn't too sure what I was going to do with them. I had some ideas, but today I settled on making some mini slimline cards! I was inspired by those Halloween t-shirts where it shows the monsters with funny sayings - since my cards were going to be smaller, I went with a "BFFS" acronym.

I used Distress Oxides to create my background and added some splatter on die cut slimline mixed media cardstock and the BFFs sentiments are die cut from black glitter paper. You can see how I created my backgrounds below and how I added my top card's sentiment. I hope you enjoy this cutie (and besides the coloring) simple cards!

VIDEO TUTORIAL


PIN THIS
SUPPLY LIST

Read More

Lawn Fawn Fans Fall Hop - Apple Picking Peekabook Card

Saturday, October 15, 2022

It's that time again... It's the Lawn Fawn Fans Hop and this time we're bringing you some Fall themed inspiration and/or using products from the latest Lawn Fawn Release (Fall/Winter). There are eight us of hopping this season and we hope you'll join us all and meet some maybe new to you crafters!

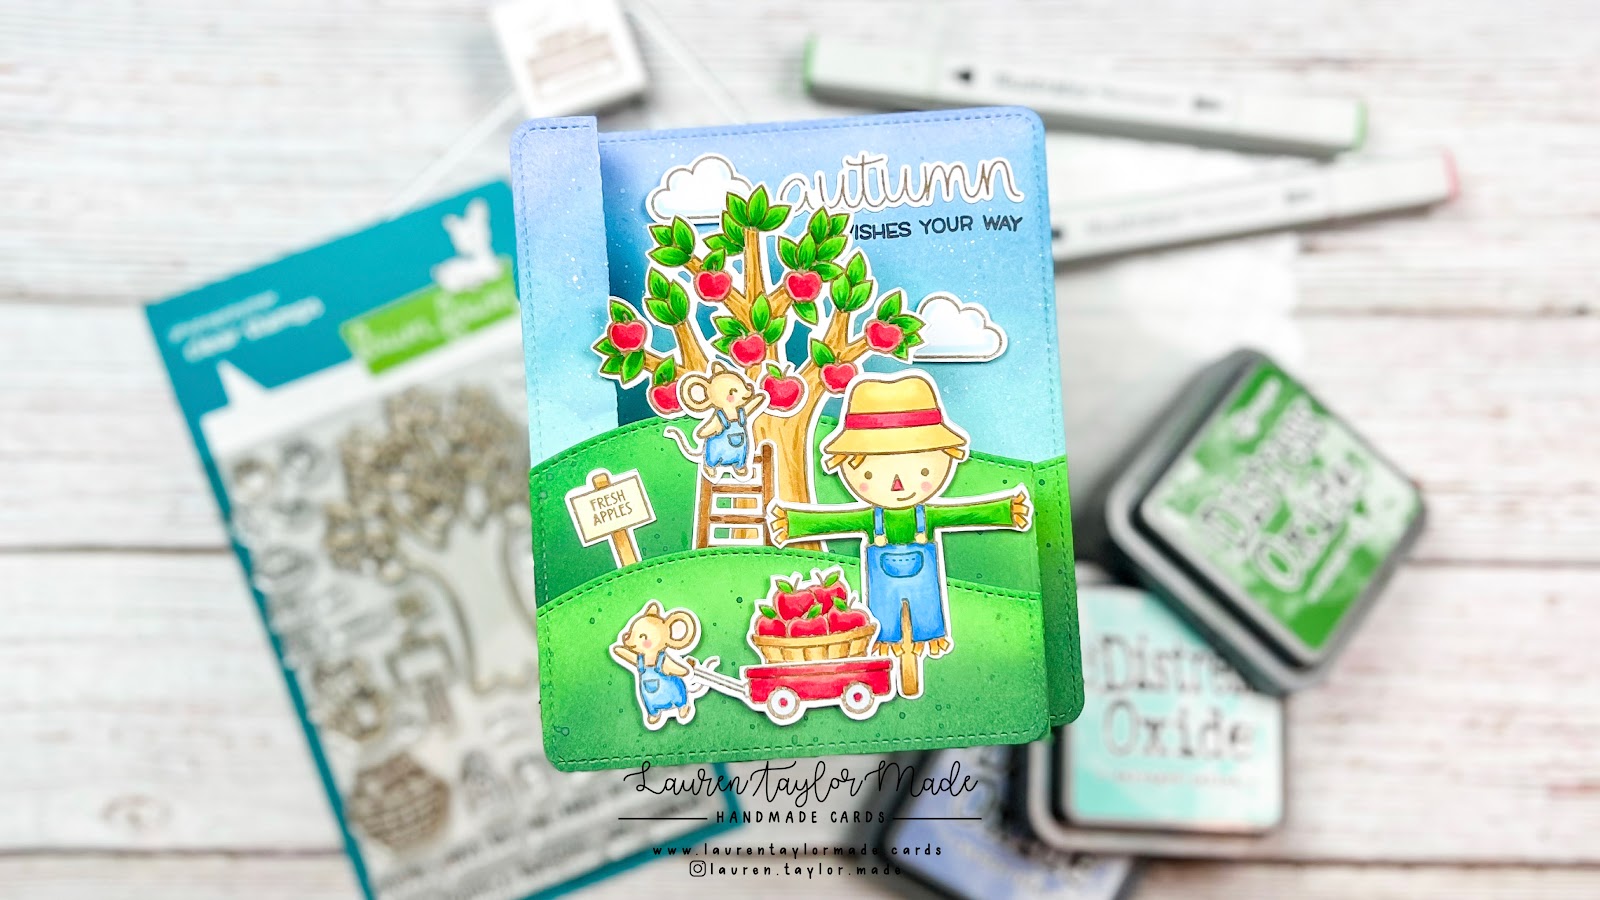
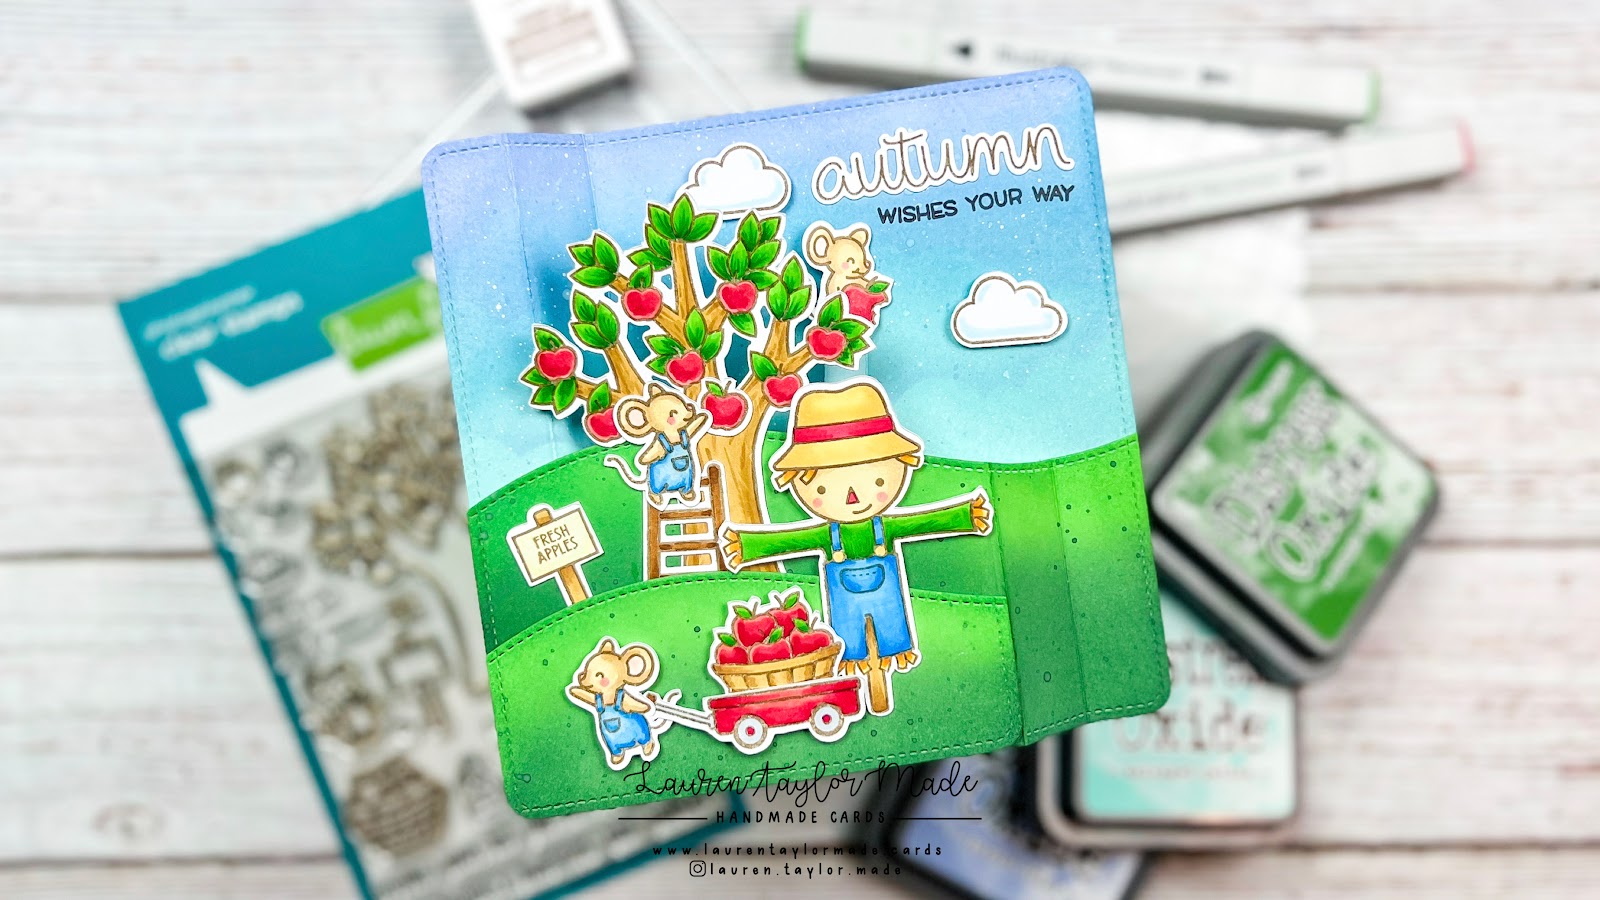
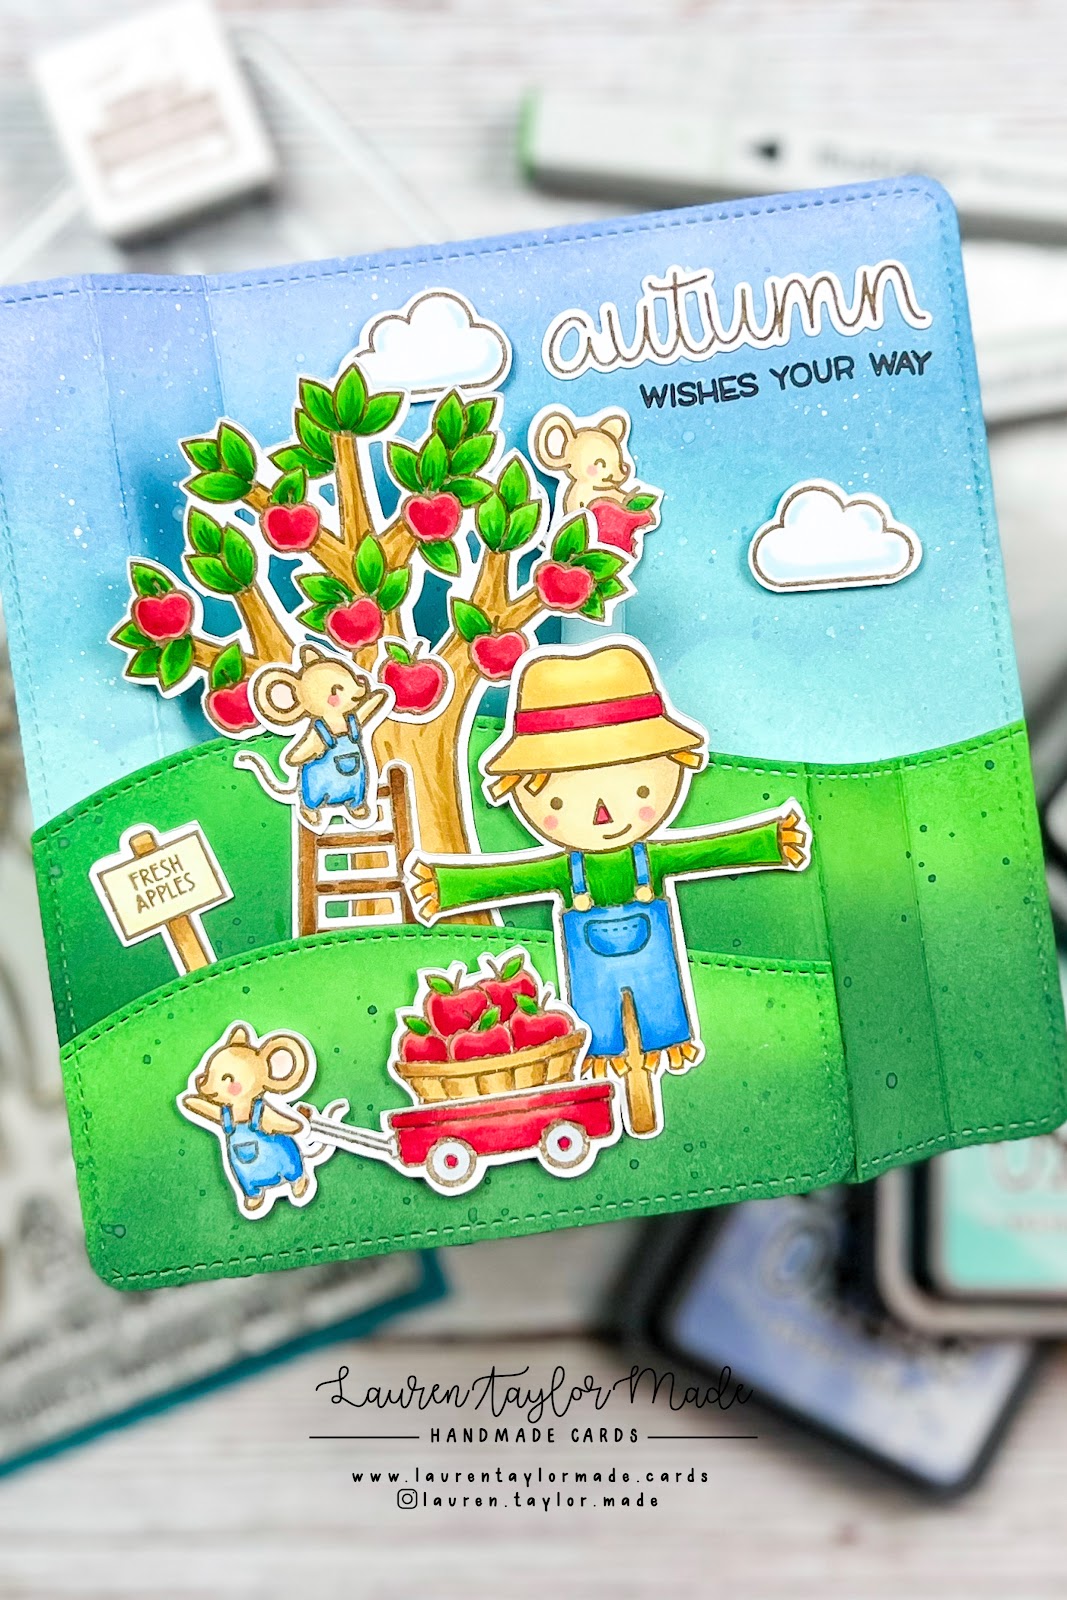
For my project this hop, I leaned into the Fall theme and created a Peekabook Pop Up card of some cutie mice picking apples from their apple tree. I have some layering on the front of the pop up card and incorporated lots of sets along with the new Apple-solute Awesome set from the late release.

When you pull open the card, the peekabook pop up mechanism pops up a mouse who is hiding in the tree and snacking on an apple! I thought it would be cute to show a little hidden image coming out from within the tree and this interactive die really brought my idea to life.

In the video today, I am only showing how I distressed my background and assembled the mechanism. As it is a hop, I didn't want to keep you too long so I colored and cut my images out before the video and talked through assembling each layer but kept the "watching me glue" to a minimum.

To get all the info about the hop (and our sponsored giveaway), make sure to watch my video over on YouTube so you can get the details and find the next crafter in the hop! 

VIDEO TUTORIAL


PIN THIS
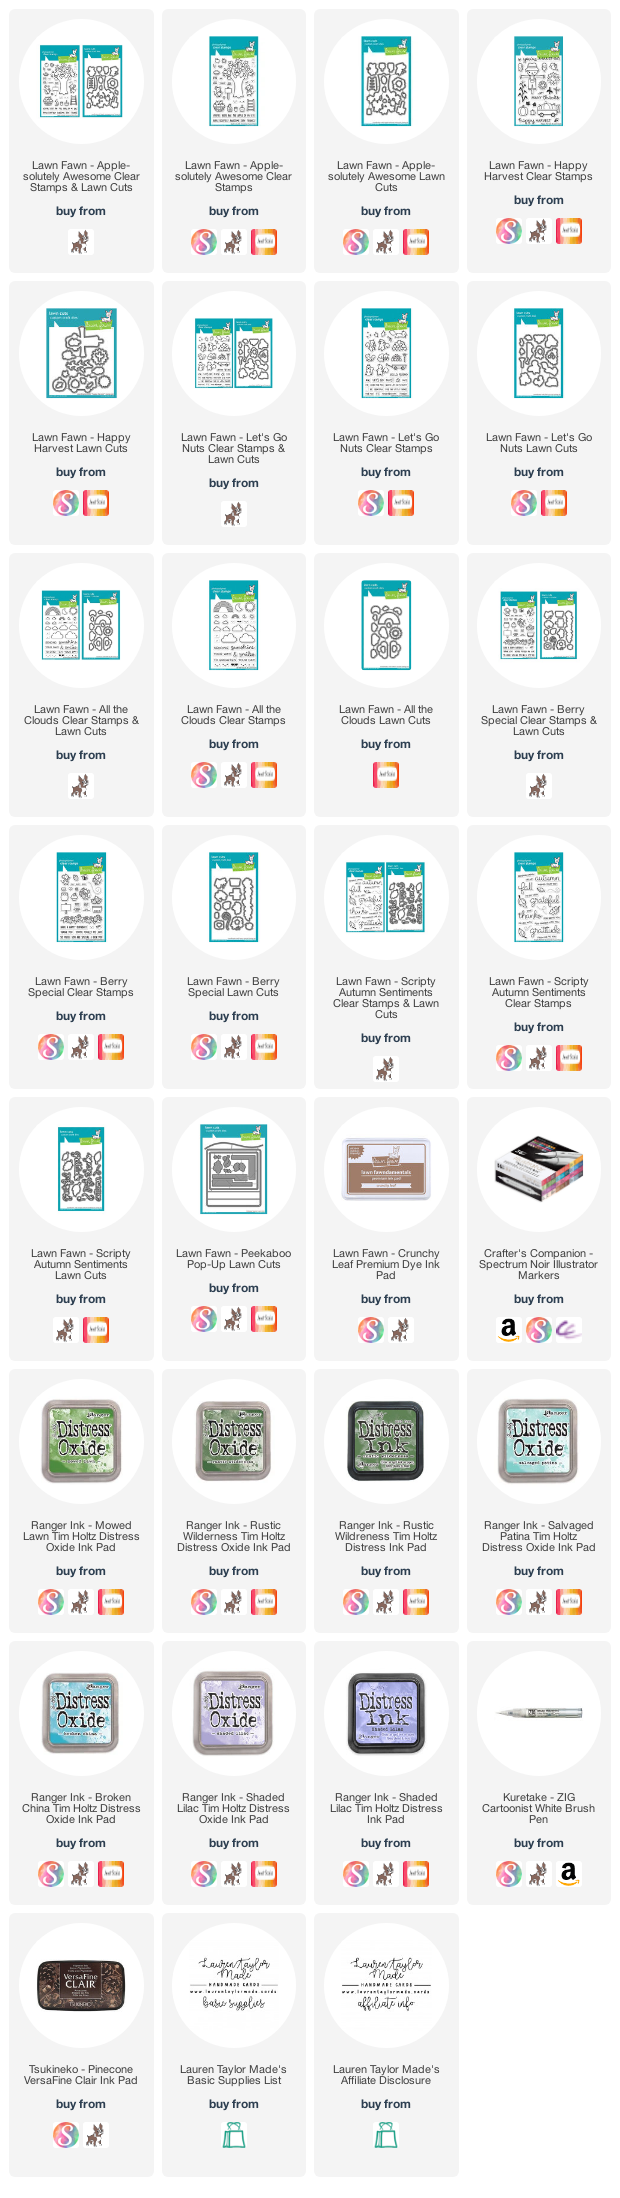
SUPPLY LIST

Read More