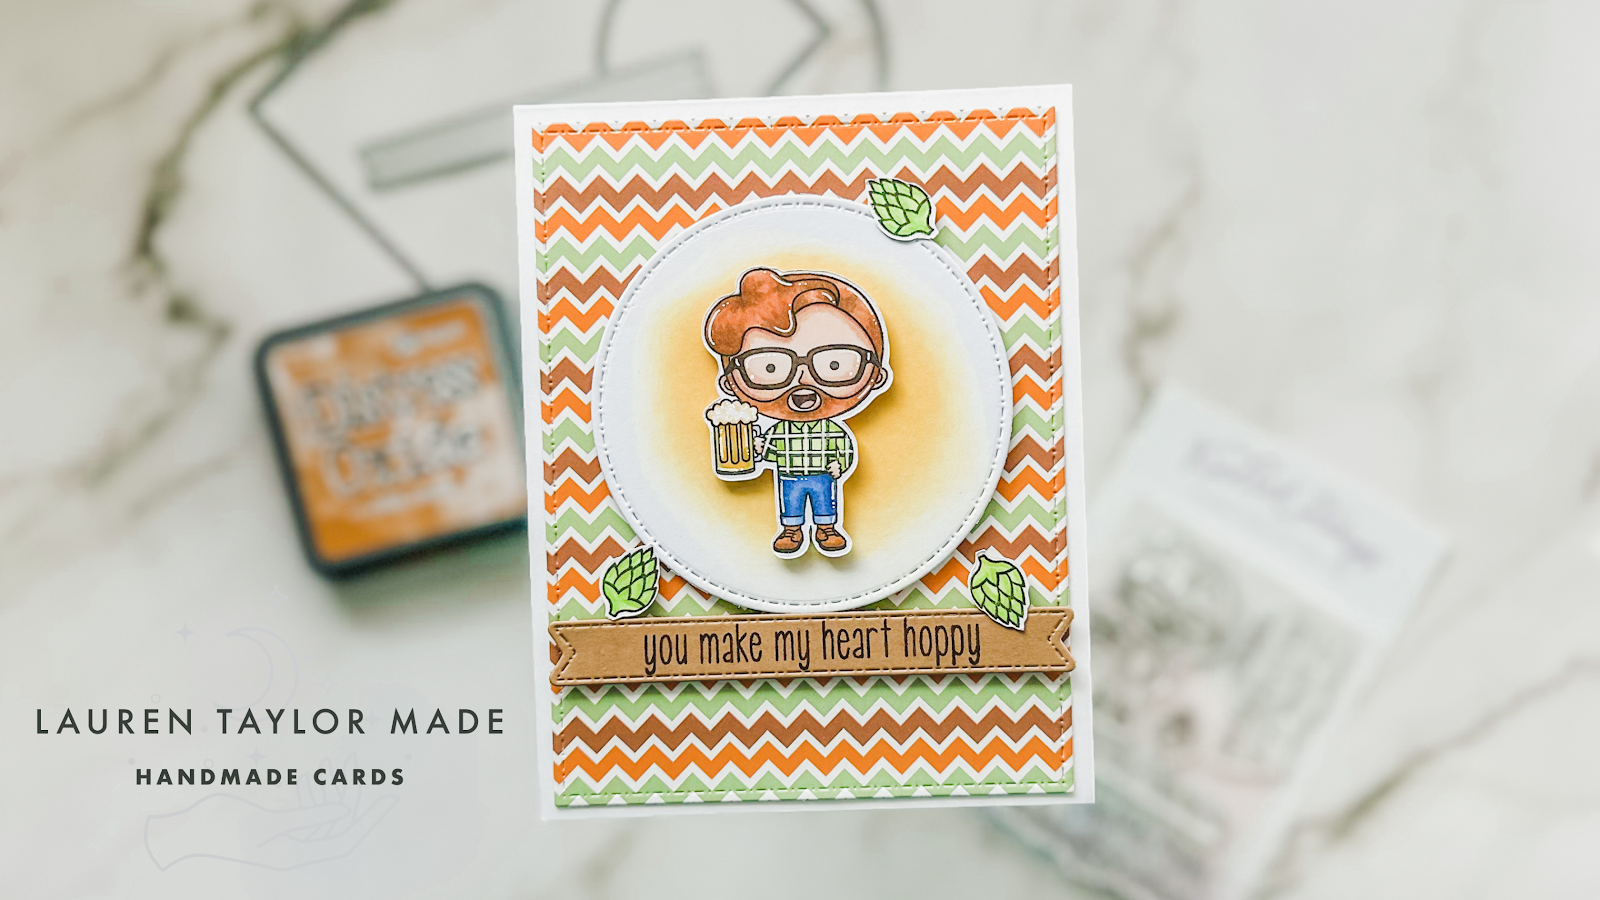
Make My Heart Hoppy with Kindred Stamps

Sunday, February 19, 2023

I was catching up on Friday's episode of Craft Roulette and I just loved this week's parameters! The project was a card for a friend (my husband bff), colors of blue jeans + 2 (green and orange + neutrals), starts with an "f" (foam on the beer), and stacks (stacks of zig zags on my background).

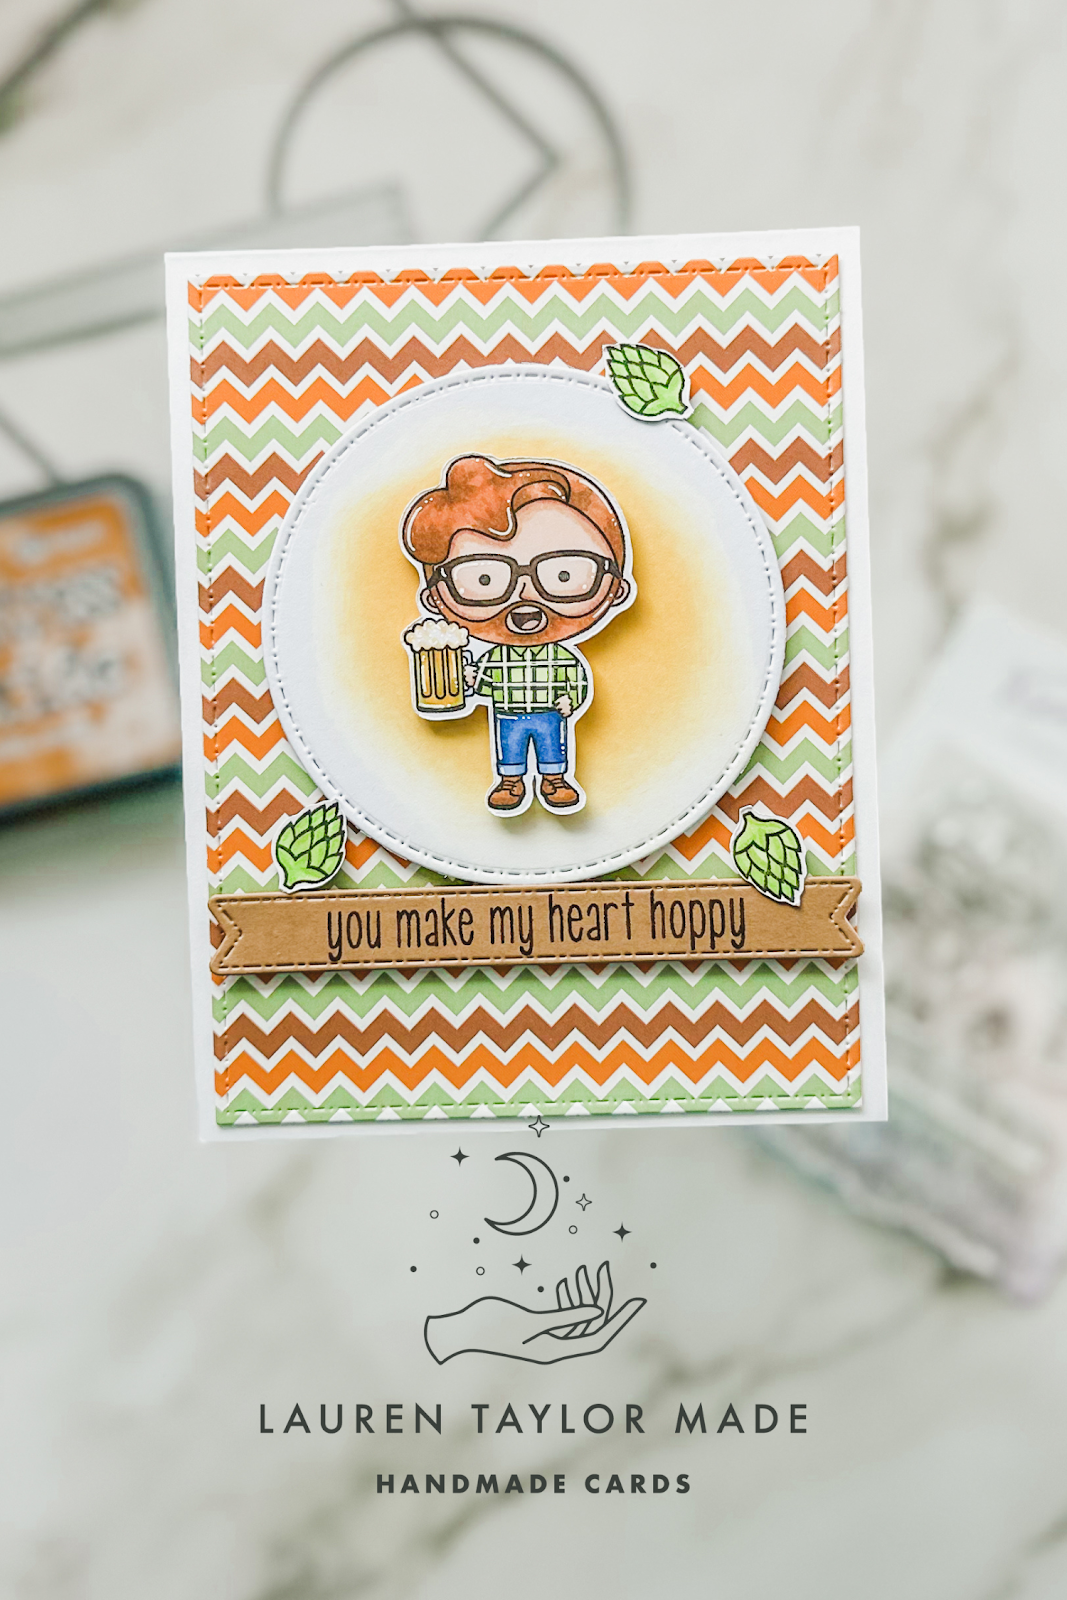
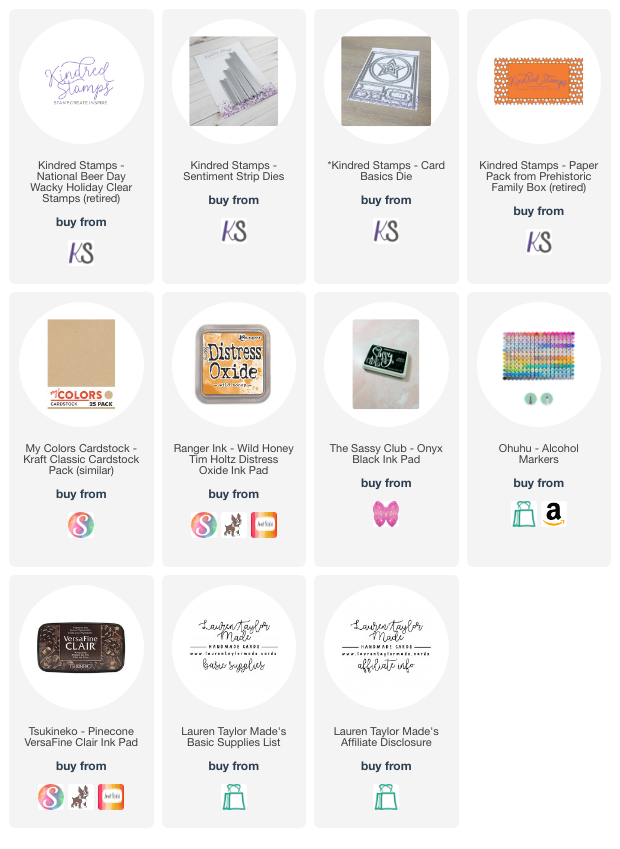
Using my Kindred Stamps Card Basics Dies, I dic cut my background from some patterned paper and glued it to the center of the card base. I then die cut out the circle and a banner from Sentiment Strips. I stamped my sentiment with brown ink and added some Wild Honey Distress Oxide to the center of my white circle die cut.

My image was stamped with alcohol marker friendly black ink and I colored him in with my Ohuhu Art Markers. I made the shirt look plaid instead of suspenders so it really looks like my husband. I popped up the beer guy with foam adhesive to the center of the rice and popped up the circle to the card base. I also added my banner with foam adhesive and placed three hops around the card.

I hope you like this quick and easy card - I just love how it turned out and I think I did a good job on this week's parameters. Did you play along?
PIN THIS
SUPPLY LIST

Read More

I Am Smiling with The Sassy Club

Saturday, February 18, 2023

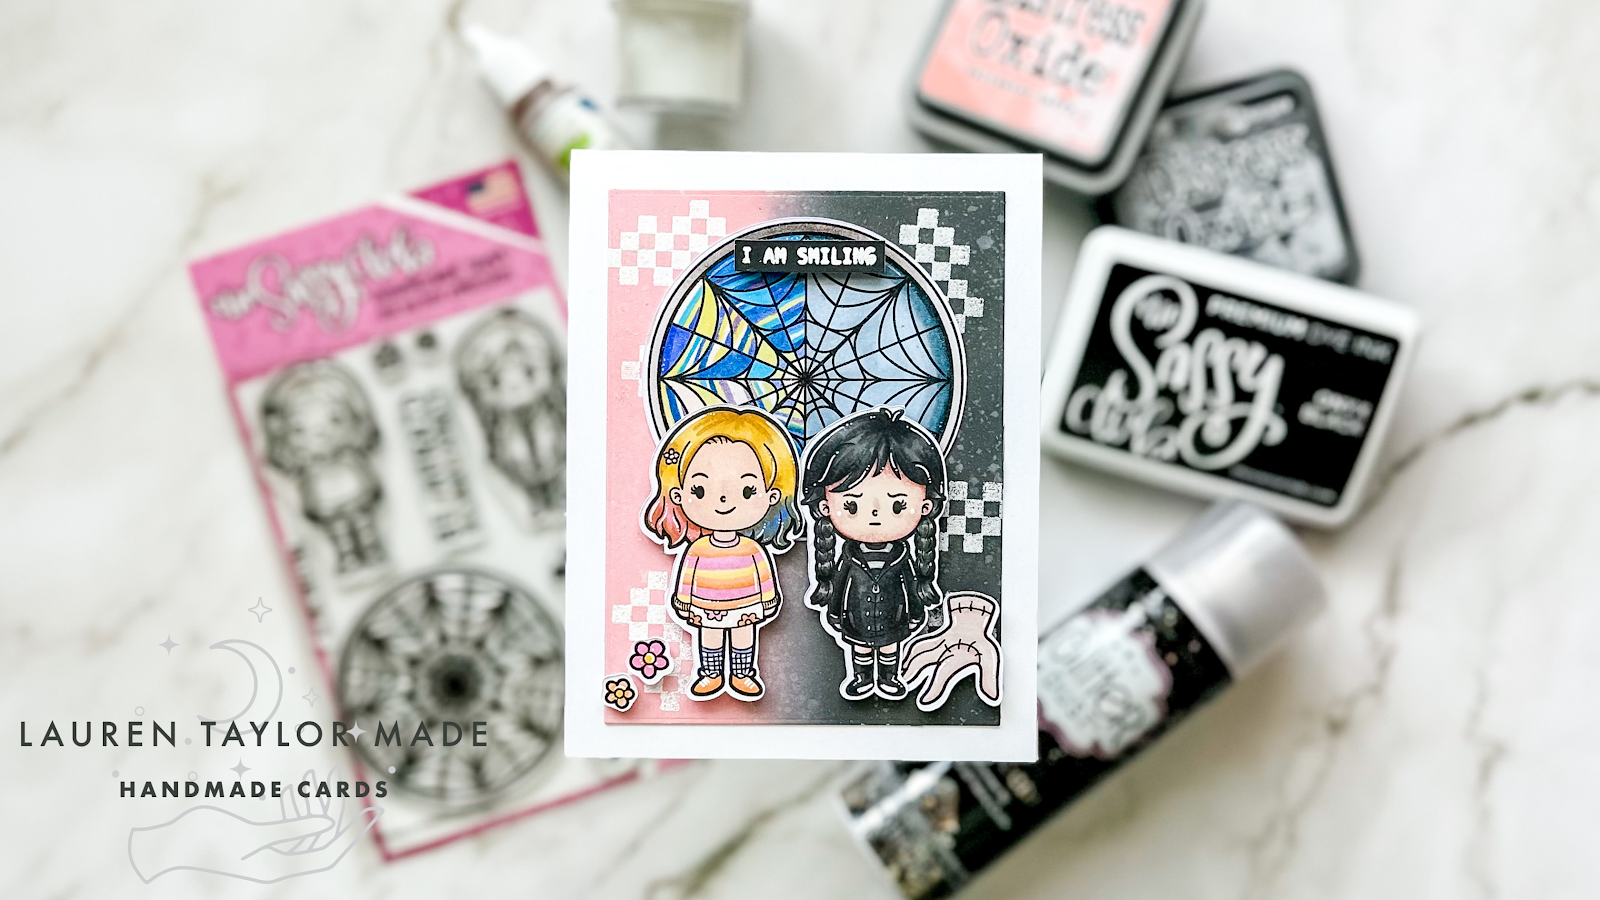
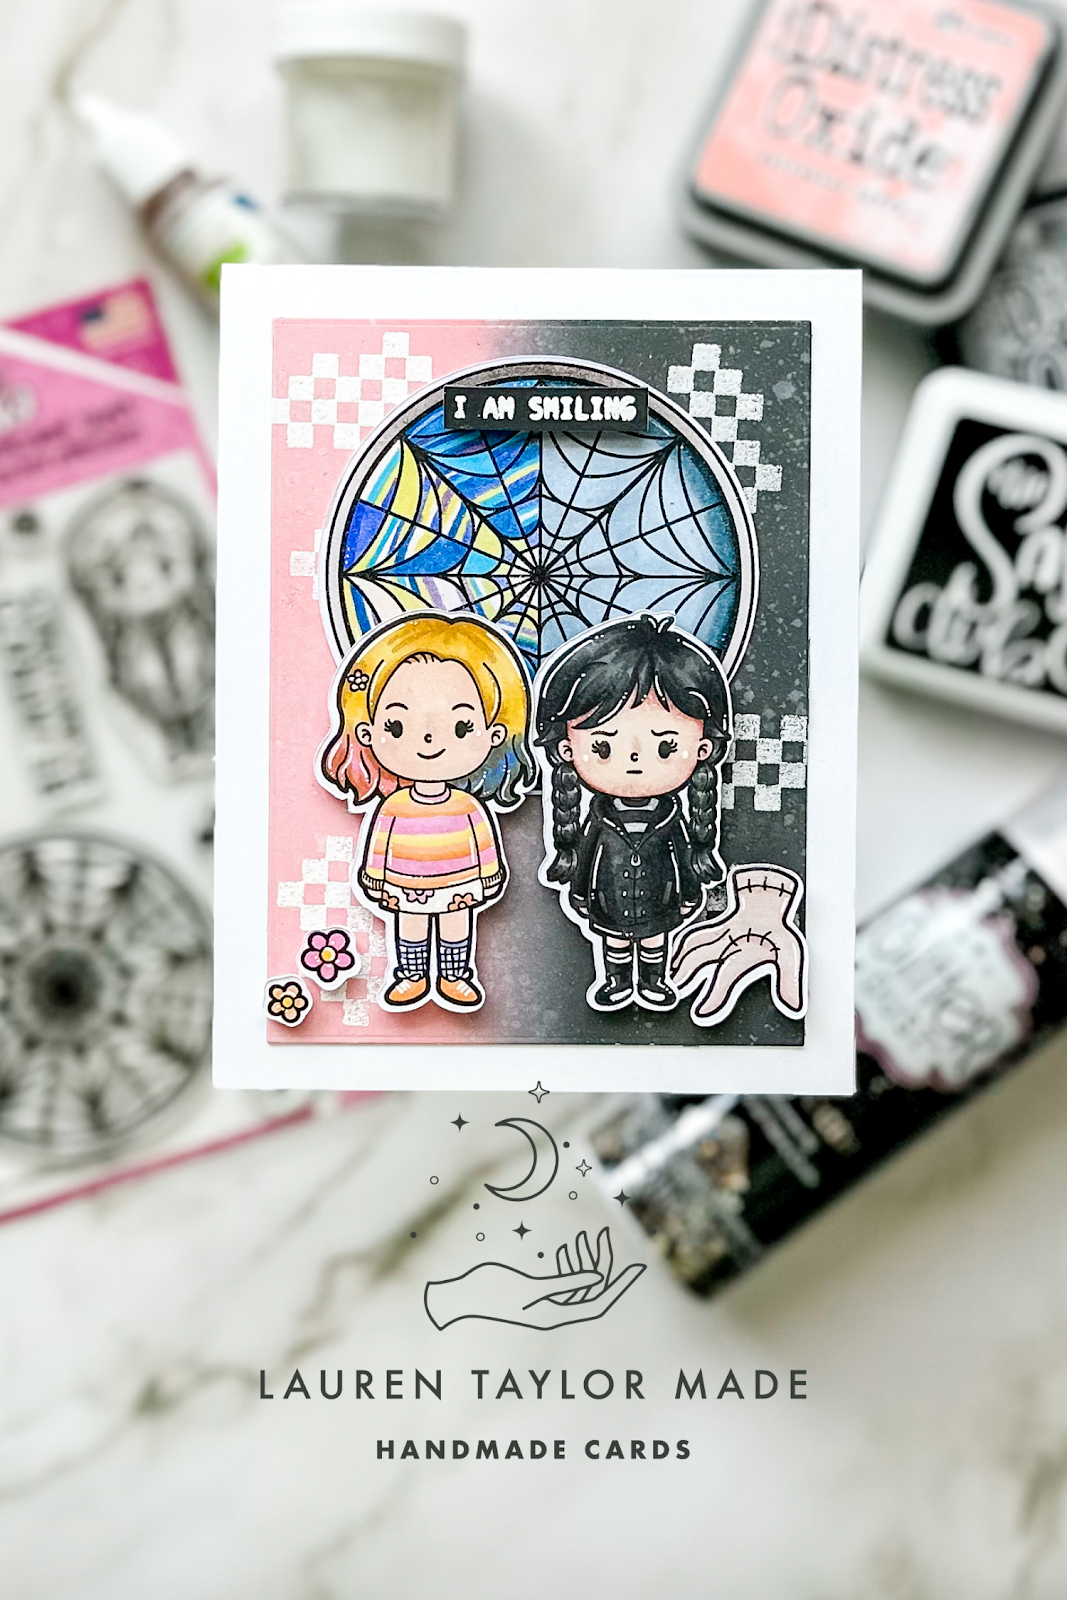
Did anyone else binge this streamed show in one night like me? It was so good and I just couldn't stop watching. When The Sassy Club showed the sneak for this stamp set I literally screamed with joy! I really took my time coloring the images from this set. I pulled up photos so I could try and get the coloring similar to the actual characters as well as their window!

I used my Scan N Cut to cut my images out (however it looks like I need to calibrate my machine...) and I sprayed some Iridescent Glitter Spray on my window. It's hard to see in photos, but under the right light, the window is so shiny and sparkly! I embossed the sentiment and some of the checkered print on the background. I used Distress Oxides to create a background to split up the card as well.

This latest release has been so fun and I hope one day more of the characters from this show will be released.

PIN THIS
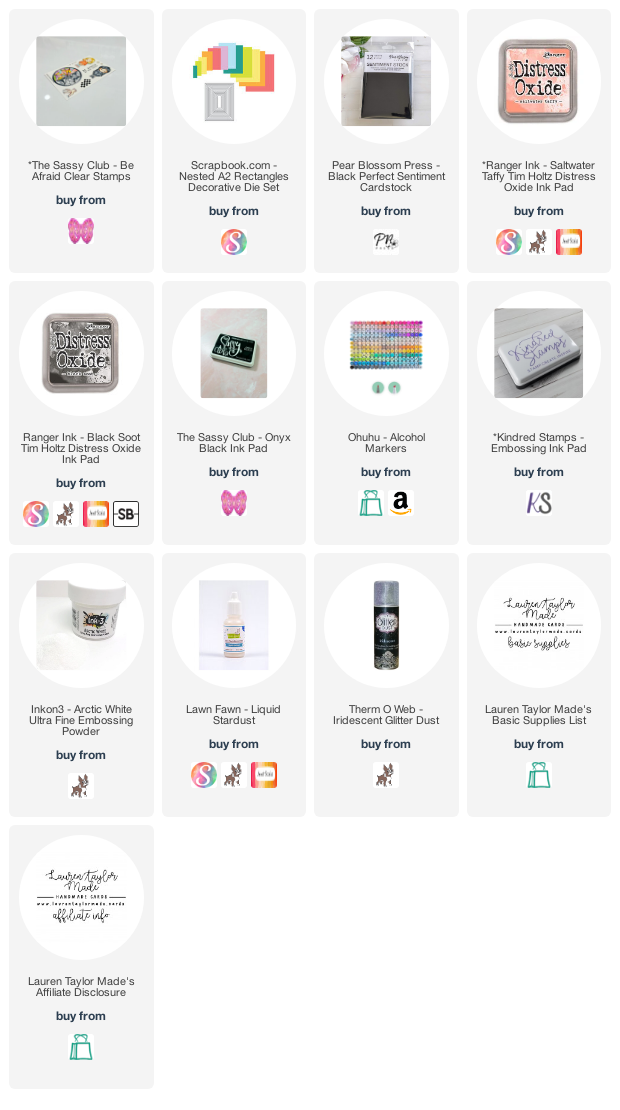
SUPPLY LIST

Read More

Adventure Bottled Cards with Maker Forte

Friday, February 17, 2023

I have a batch of cards that can be birthday or congratulations cards that I used February's Sheet Load of Cards by Call Me Crafty Al as inspiration. As with all of these videos, I use patterned paper that I have been hoarding in my stash and while I will link what I can below, if you feel inspired to re-create my cards, I hope that you also will use what you have!

The stamps I used for these cards are by Maker Forte and I have had them in my stash for some time and I finally opened them up! I used my Tim Holtz Distress Watercolor Pencils to color in a couple of the images and I think they turned out just so darn cute. Check out my video below to see my coloring and how my cards came together. The instructions make a set of 12 and I have 4 different card designs from switching up the patterned paper and stamped images.

VIDEO TUTORIAL


PIN THIS
SUPPLY LIST

Read More

Holographic Floral Birthday Cards with Scrapbook.com

Thursday, February 16, 2023

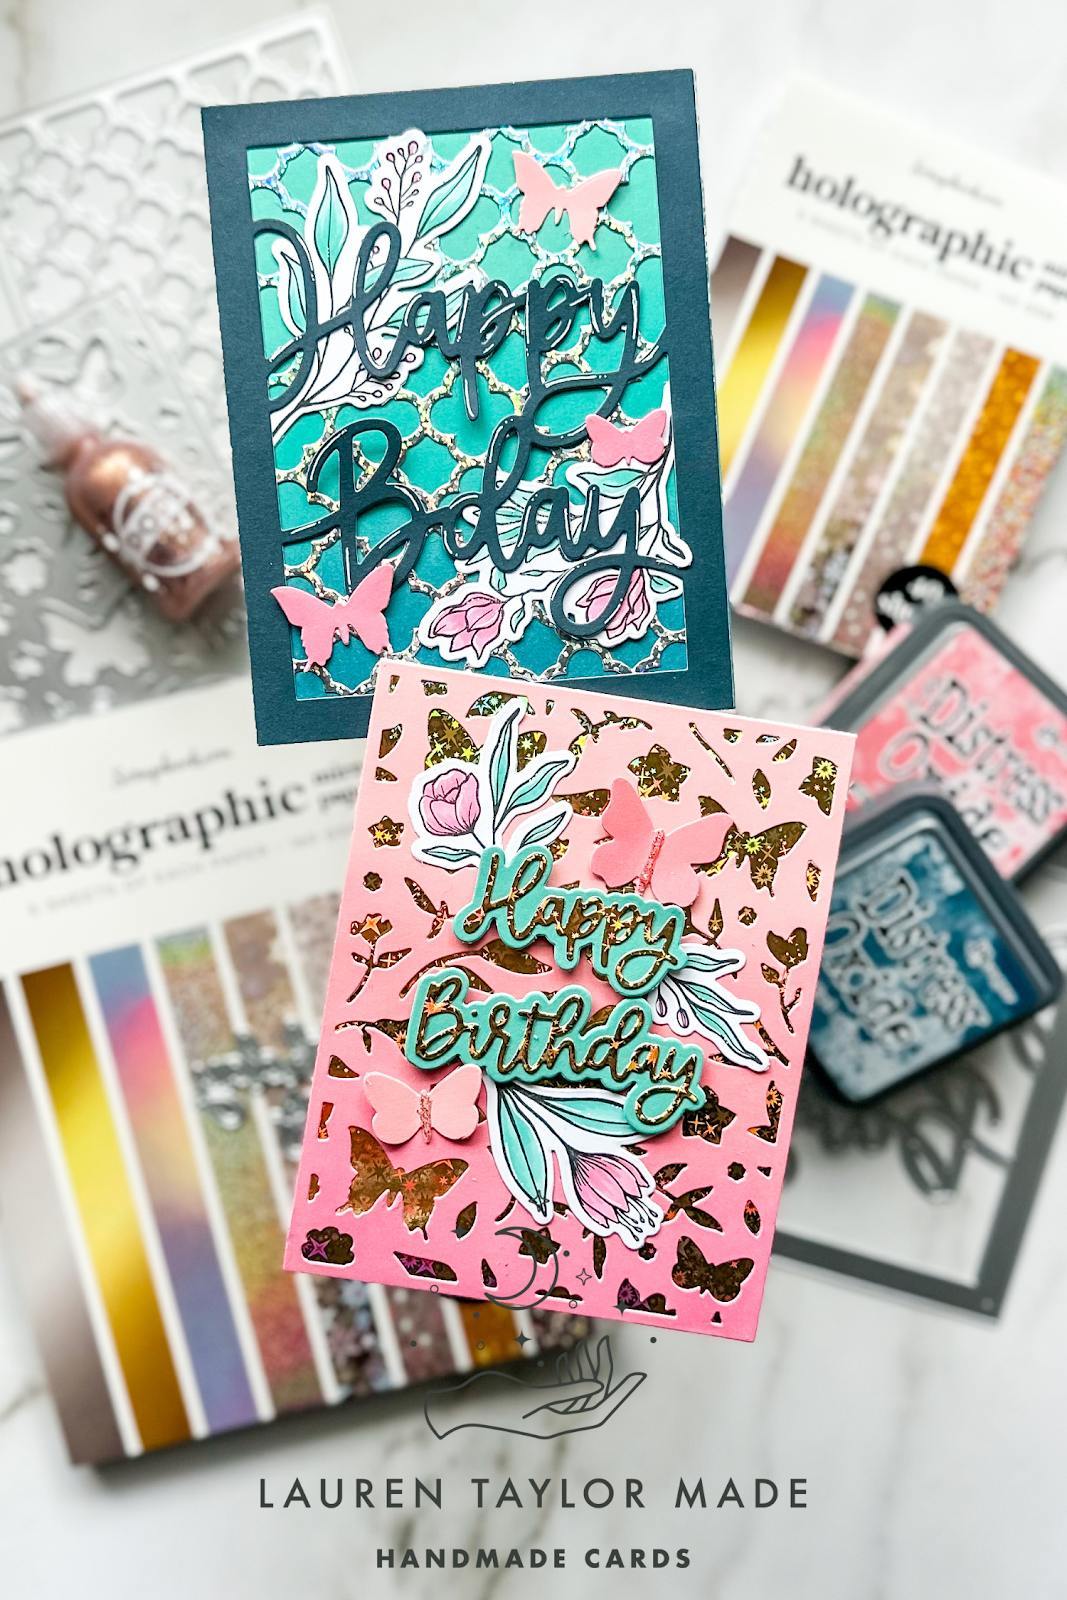
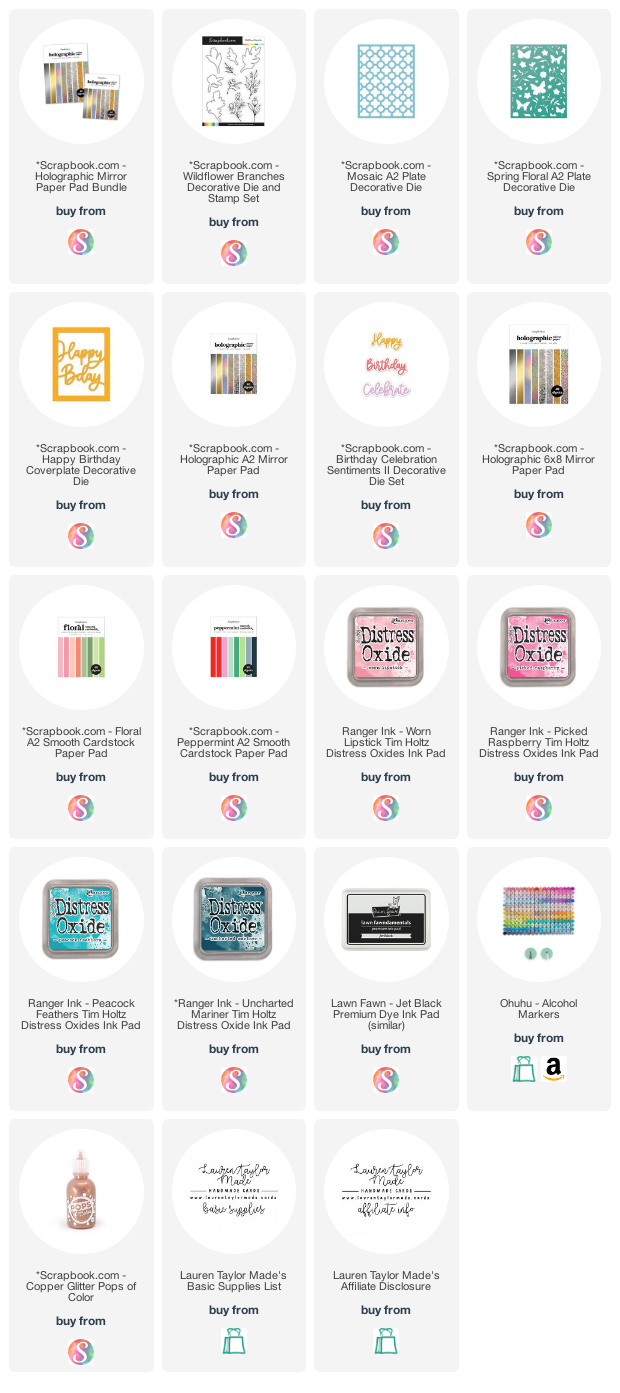
How beautiful are the Holographic Paper Pads from Scrapbook.com? They really pop and step up your projects. I have two projects using some of the glitter paper and I did some easy ink blending and die cutting to create beautiful backgrounds. I also have some stamped, colored and die cut floral images to tuck around my die cut sentiments.

For this blue and teal card, I ink blended my blue background with Distress Oxides and added an A2 cover plate die cut background - I think the holographic mosaic print is so pretty over the teals! I die cut my Happy Bday sentiment in dark blue cardstock and added it to the card. I tucked in some butterflies (extras from the card below) and a couple Wildflower Branches. To help the sentiment really pop, I also added some white gel pen as highlights on the script letters.

This card is so beautiful! I also ink blended on this pink paper and die cut it with a Floral cover plate and placed a gold star mirror sheet behind it - the gold shining through really makes the card magical. I die cut my sentiment out of mint green and more gold paper and added them to the card with foam adhesive. I tucked in more Wildflower Branches and added a couple butterflies from the die cut background. The butterflies looked a bit plain to me, so I added just a little Pops of Color to the center of them.

You can check out how my backgrounds came together down below, and make sure you check out today's bundle on Scrapbook.com - you can get the A2 and 6x8 paper pad a discounted price for just s short time!

VIDEO TUTORIAL


PIN THIS
SUPPLY LIST

Read More

Nom Nom Video Game with The Sassy Club

Tuesday, February 14, 2023

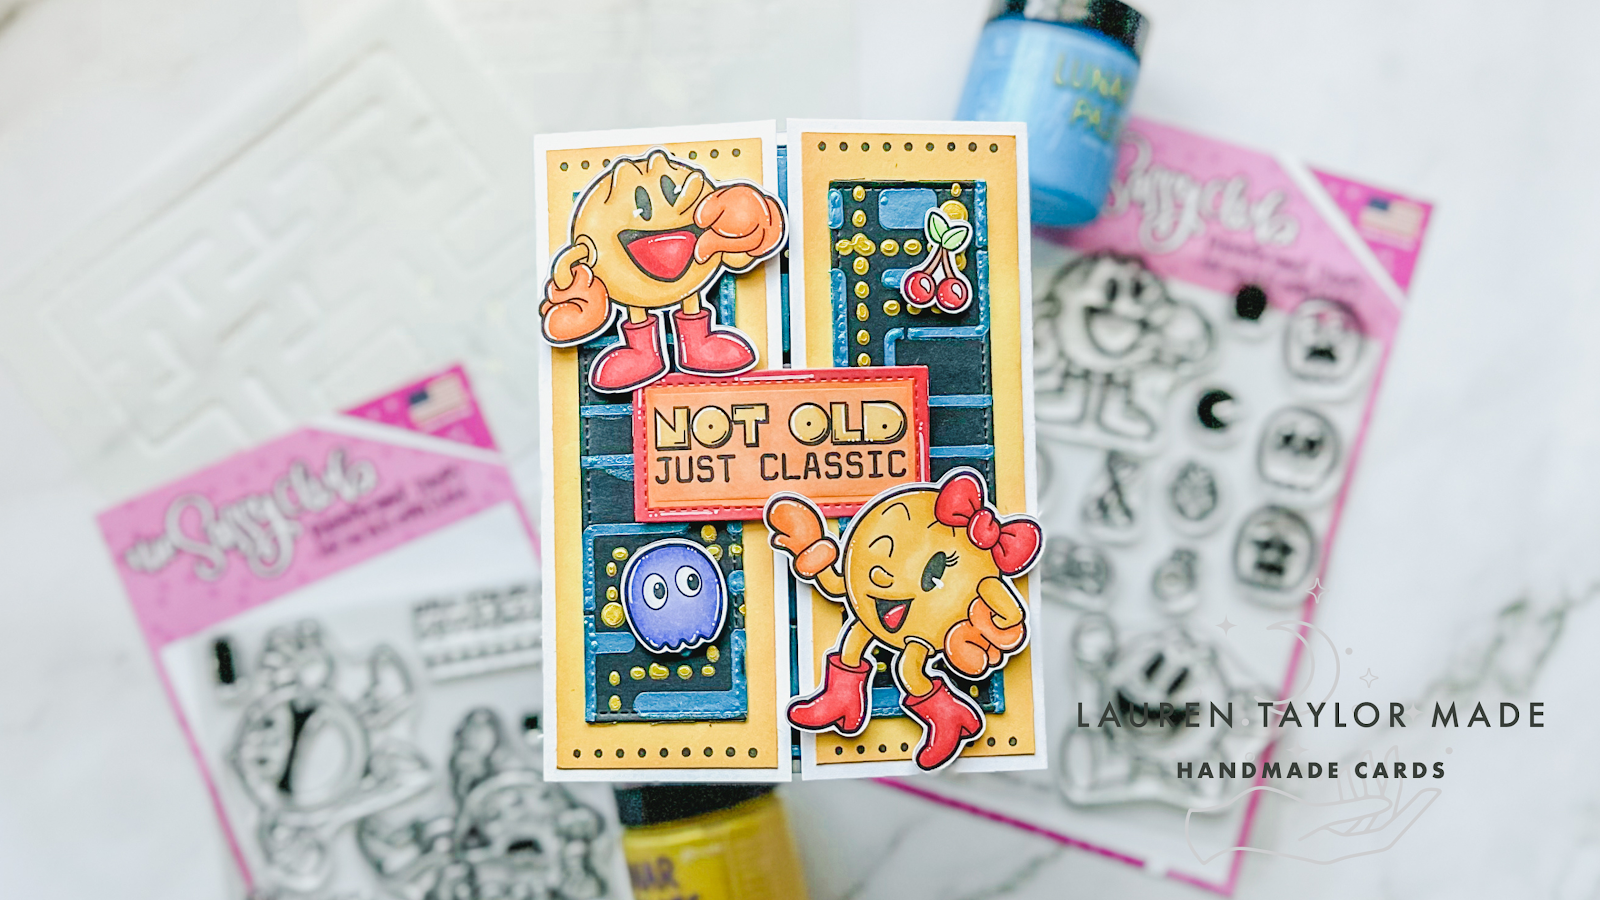
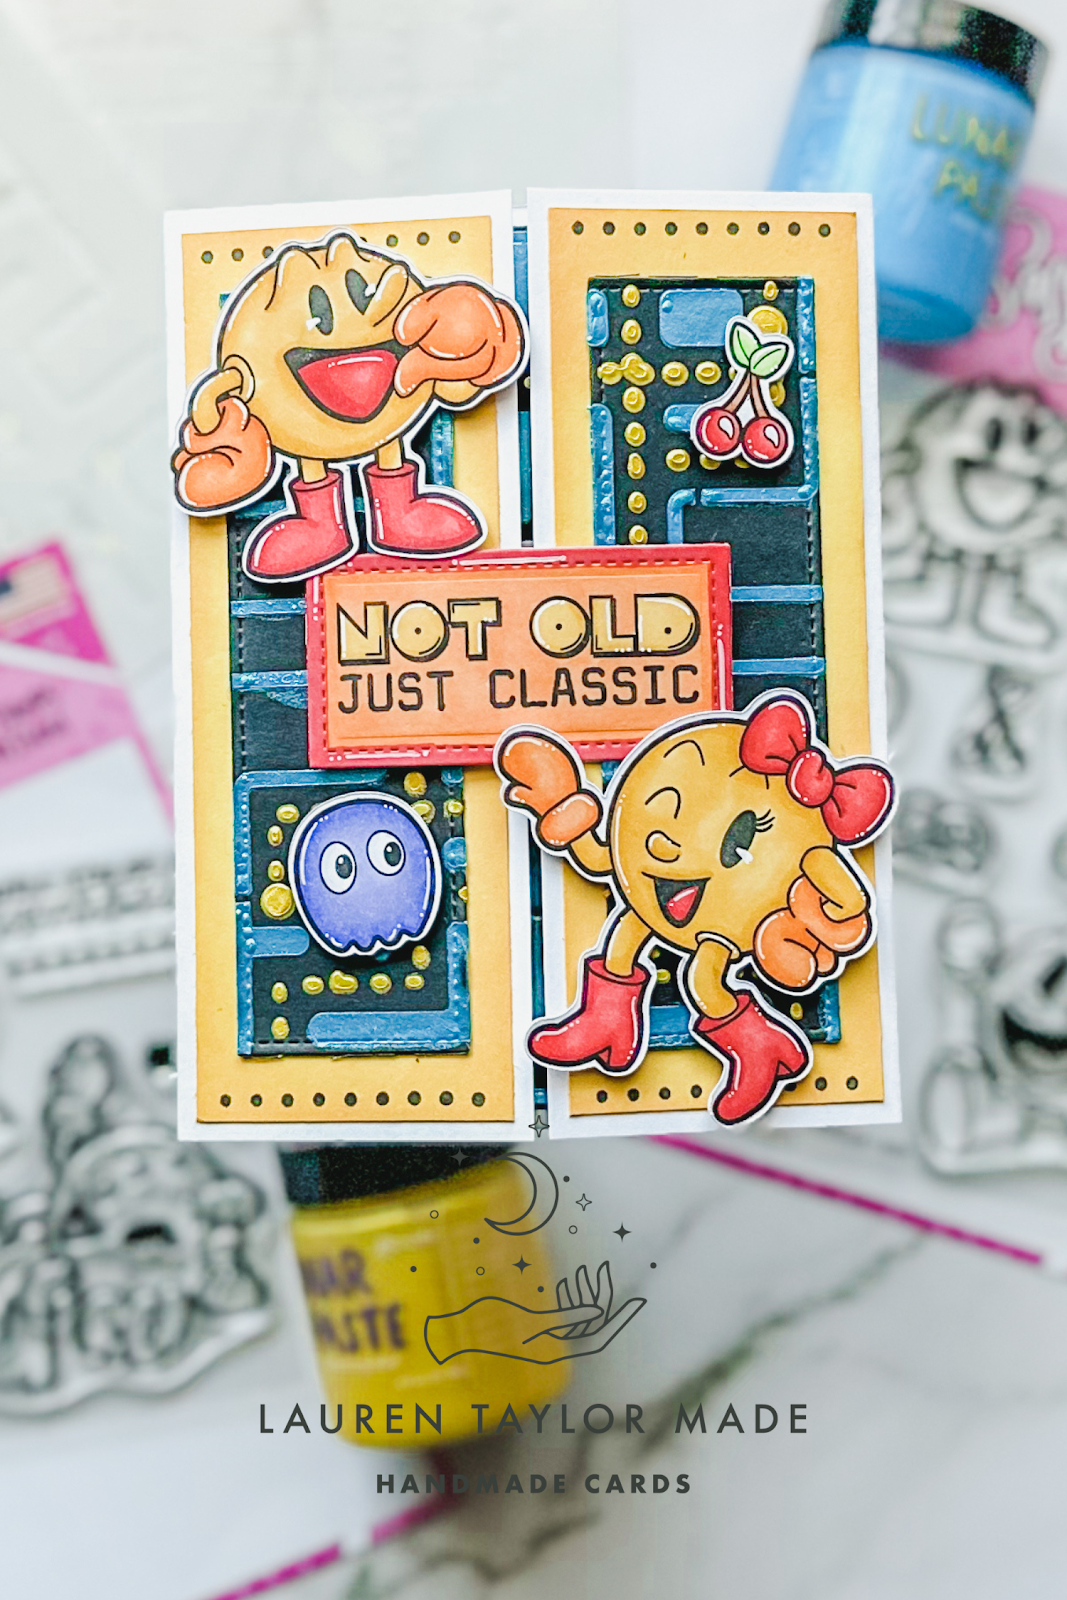
The Sassy Club has recently released adorable stamp sets and stencil set inspired by a classic video game! I used it and created a gate fold card inspired by last Friday's episode of Craft Roulette. I definitely had some trouble with using some stencil paste with the stencils - I should have used some Pixie Spray because I had some leaking - especially with stenciling the second layer of color when there is already some texture from the first layer. But I still love how it turned out and I think it's so fun!

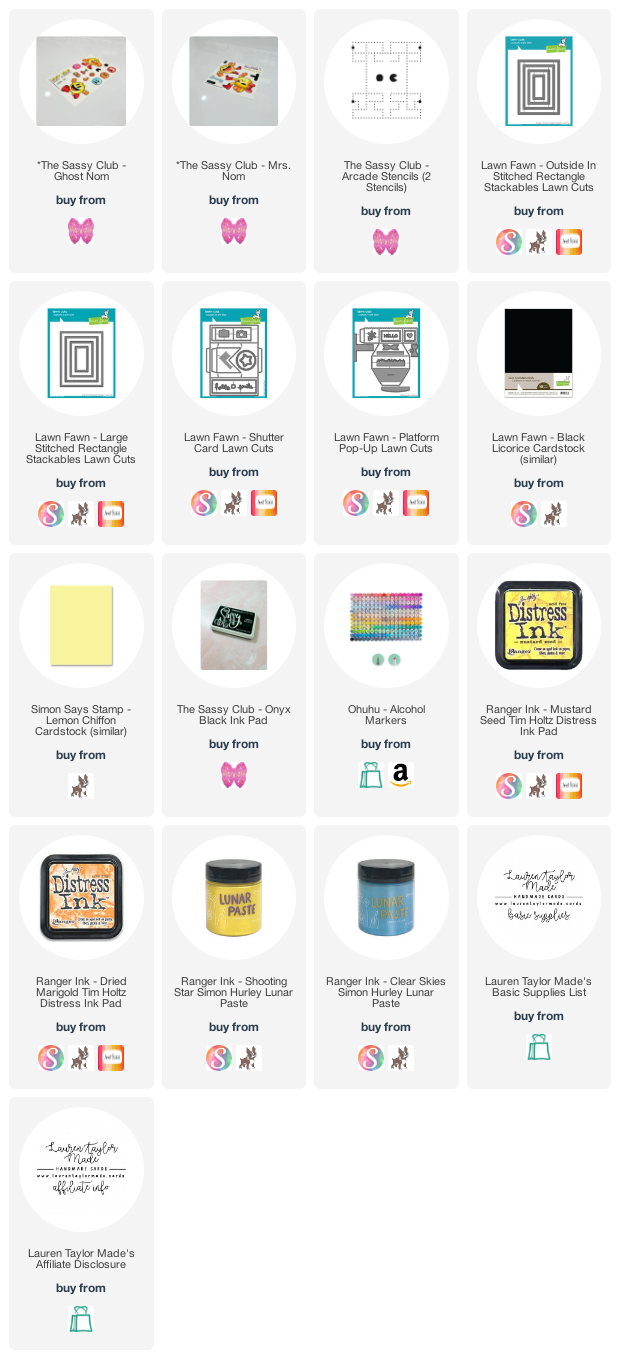
I started with coloring all of my images - I stamped them in Sassy Club's black ink and used my Ohuhu Art Markers then used my Scan N Cut to cut the images out. I used some Lawn Fawn dies to cut out panels out of black cardstock and used the Arcade Stencils with Lunar Paste to create the backgrounds for my images.

The two yellow panels on the front are a pastel yellow paper and I added some Distress Ink to darken up the edges to match the yellow nom nom characters. I also added some dots along the top and bottom of the yellow panels as there was some extra space and wanted the black panels to look centered. Once all of the panels were dry, I glued the large panel on the inside of the card and the two smaller panels to the outside, layering them with the yellow cardstock. The card base is 8.25x5.5" with scoring at 2.125" and 6.375" - basically half of the 4.25" on each side.

I glued in a white label so I can sign the card and some of the ghosts and food items with wet glue as I did not want too much dimension on the side of the card. But all of the images on the front are added with foam adhesive I only used foam adhesive on the left, back of the sentiment label so that way I can still open the card and it tucks in behind my Ms. on the bottom.

I'd love to know what you think of this card... Do you think I was too lenient with some of the parameters this week? Or do you think it meets the Craft Roulette parameters just right? 

PIN THIS
SUPPLY LIST

Read More

Best Day Ever Balloon Shaker Card with Pretty Pink Posh

Monday, February 13, 2023

I am excited to be a part of the Pretty Pink Posh Instagram Hop today to celebrate Pretty Pink Posh turning 9 with a release packed full of birthday products. Come hop along for inspiration that is sure to inspire your birthday projects year round!

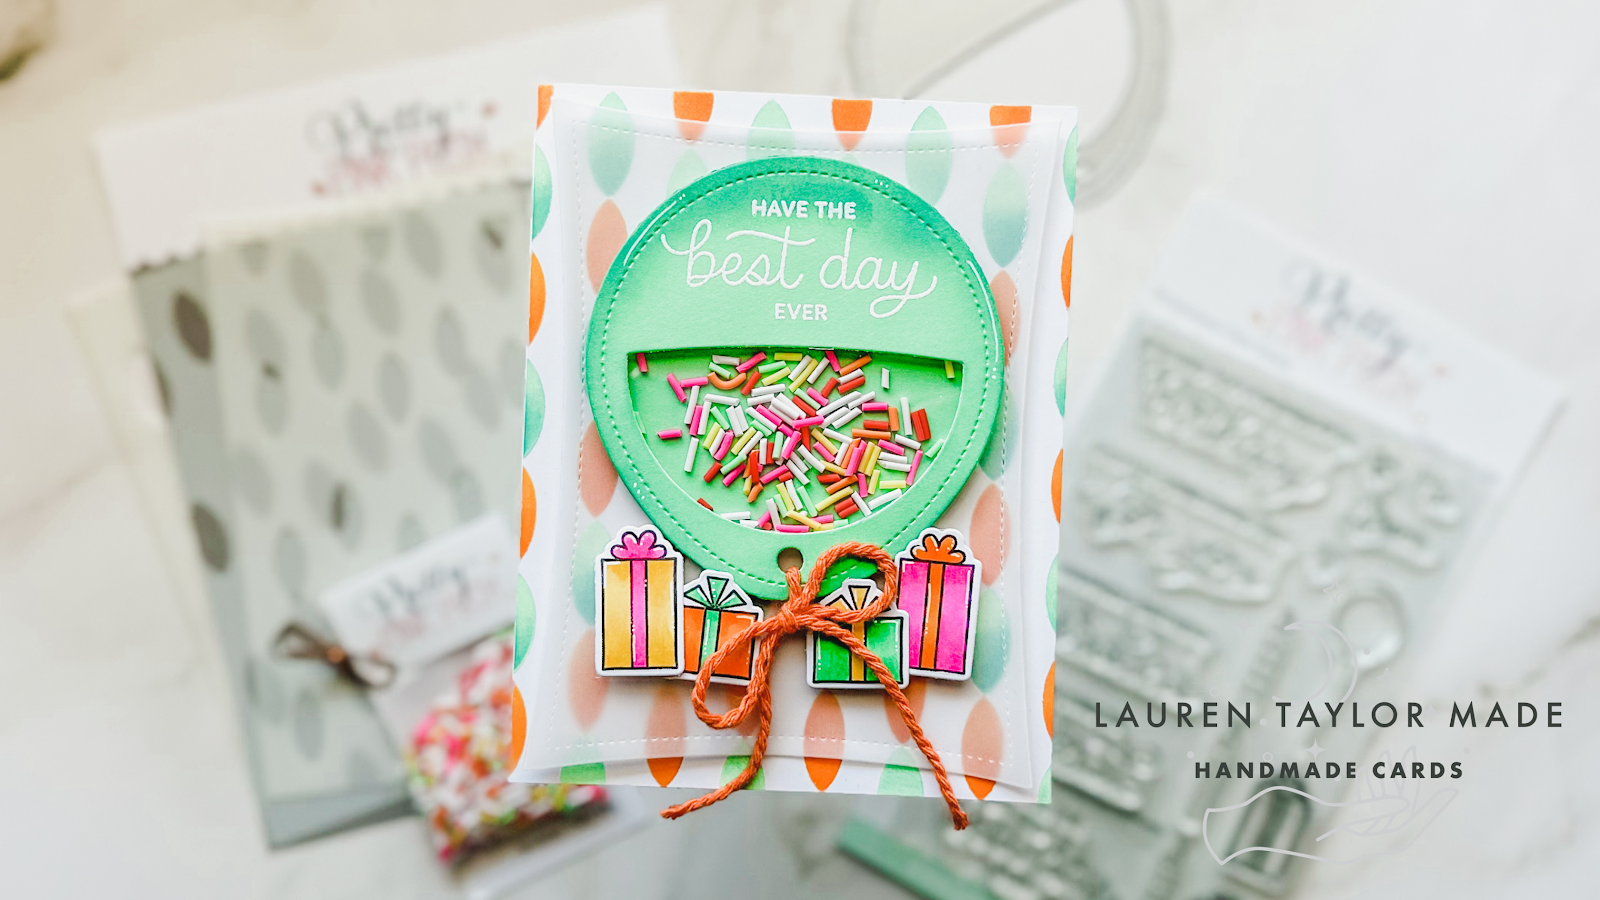
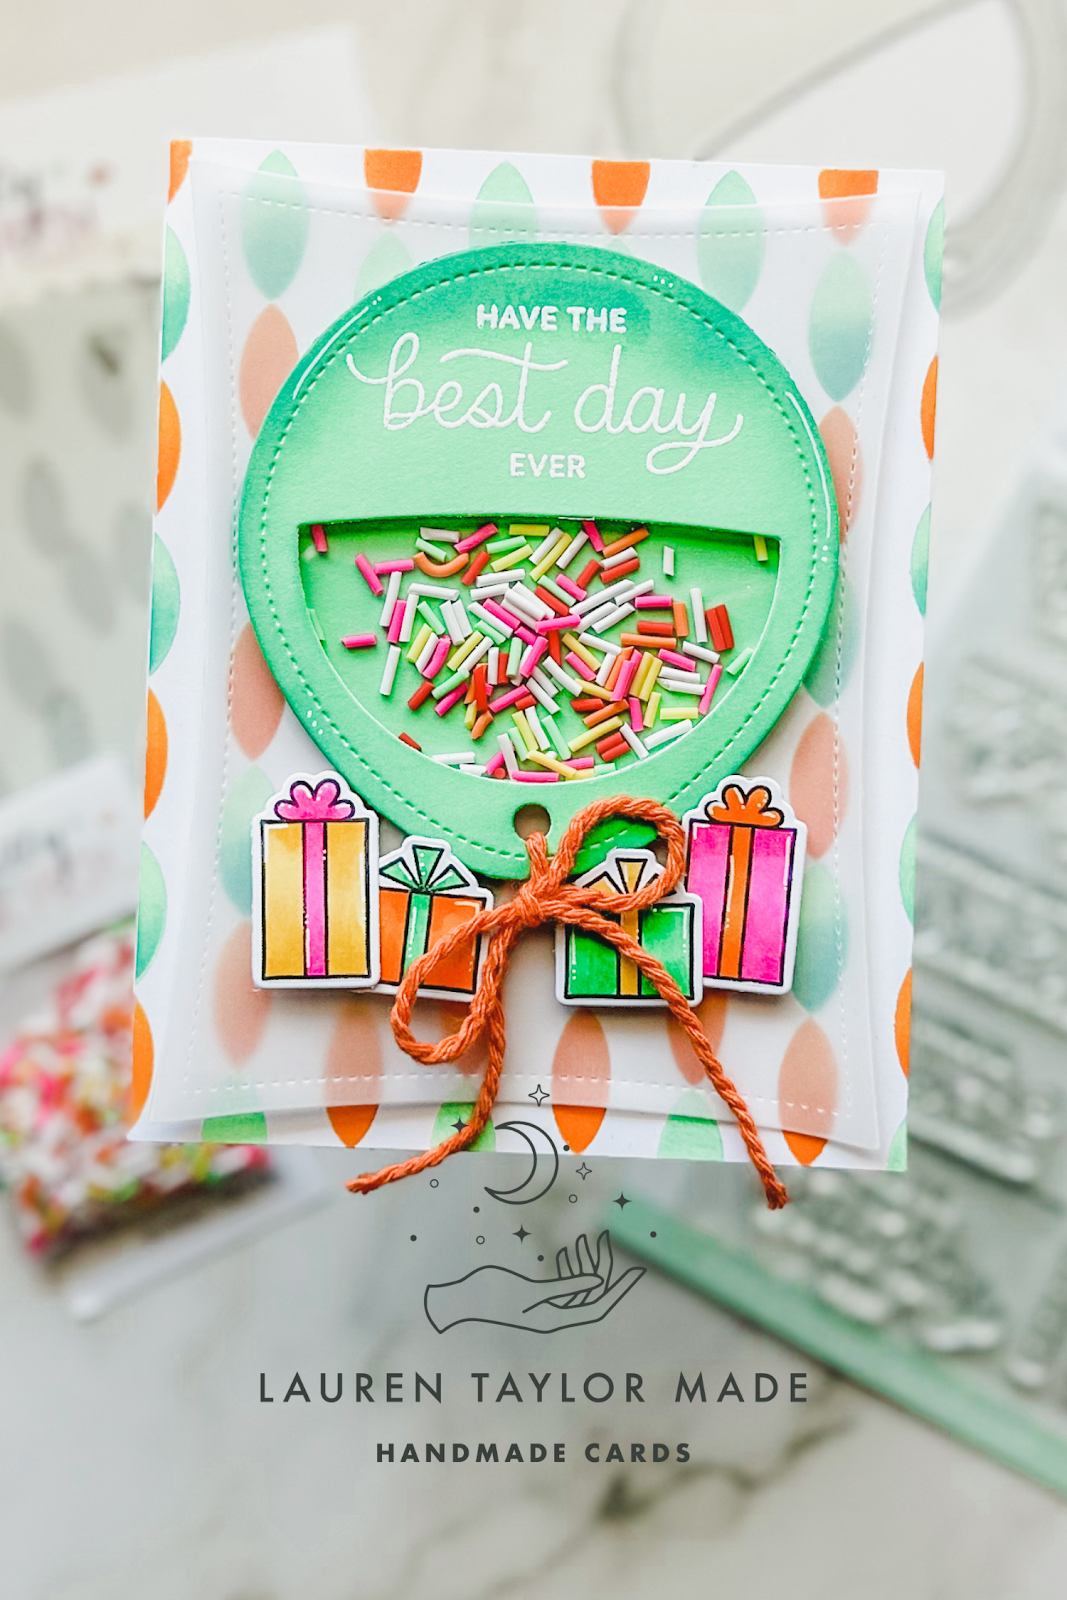
For my card, I started with stenciling streamers onto my background with orange and green Distress Oxides. I layered a piece of vellum paper that was die cut from a Wonky Stitched Rectangle. I created a balloon shaker using Birthday Sentiments Dies and I stamped a sentiment from the stamps and embossed it with white embossing powder.

To give a string to my balloon, I added some orange twine that was in my stash and tied it into a bow. The presents were stamped, colored and die cut using colors inspired by the sprinkles in the Birthday Cake Clay Confetti. It's a bright and colorful card that tI just love how it turned out. I want to make all the balloons with this tag die!

If you would like to see more inspiration using the new release, make sure you're checking out Pretty Pink Posh's Instagram hops (click on the Instagram Hop image above). There is even a chance to win a $30 gift card! So head on over and hop to see this sweet release and so much amazing inspiration!

PIN THIS
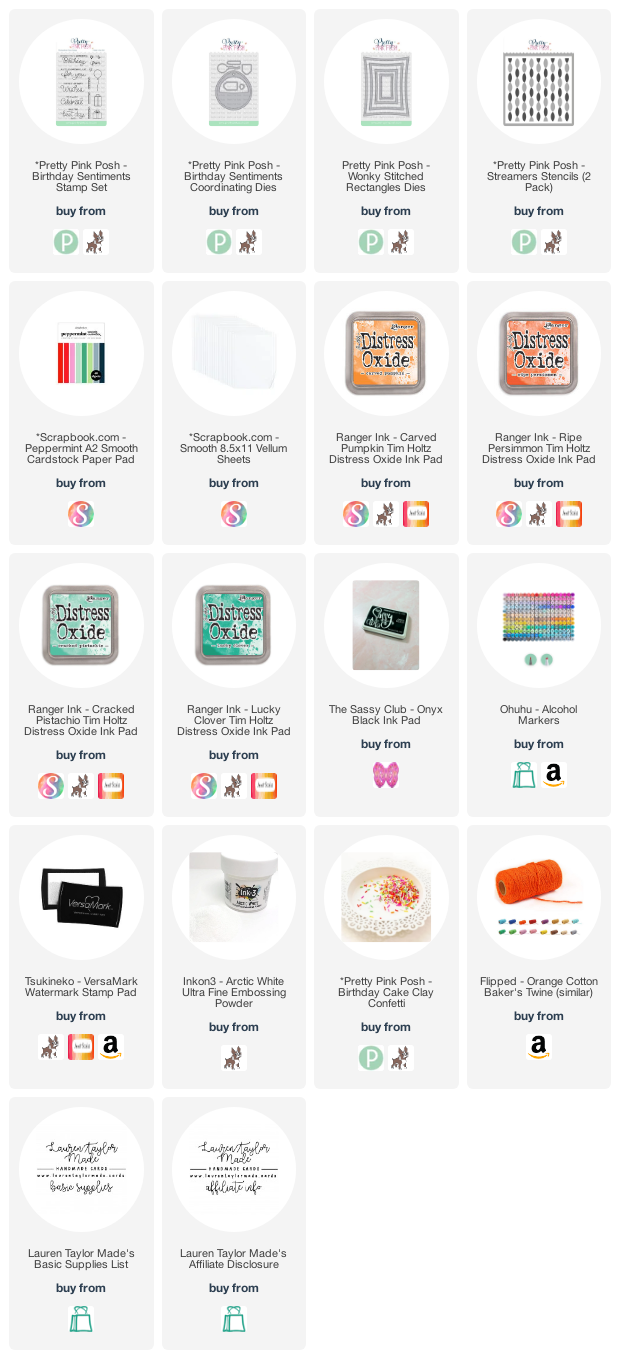
SUPPLY LIST

Read More

Theme Parks Album - Universal Studios

Sunday, February 12, 2023

The next theme park trip has been added to my Theme Parks Album was our half day trip to Universal Studios in January to celebrate Abigail's birthday! She decided on a "yes day" instead of a birthday party and part of her choices for the day was to ride a few attractions at Universal Studios. I actually did not take very many photos and a few of my photos are actually stills from some video I took that day.

So I have mostly photos and not much paper crafting, but I'm just proud of myself for actually printing photos and getting them in a scrapbook! I also stamped and embossed some of my Social Paper Plan stamps of adorable magic icons. Our next theme park trip was Disney's California Adventure for Lunar New Year, so I'll definitely have more photos to document for that trip!

PIN THIS
SUPPLY LIST

Read More