Happiest Valentine Wishes with Pretty Pink Posh

Wednesday, February 7, 2024

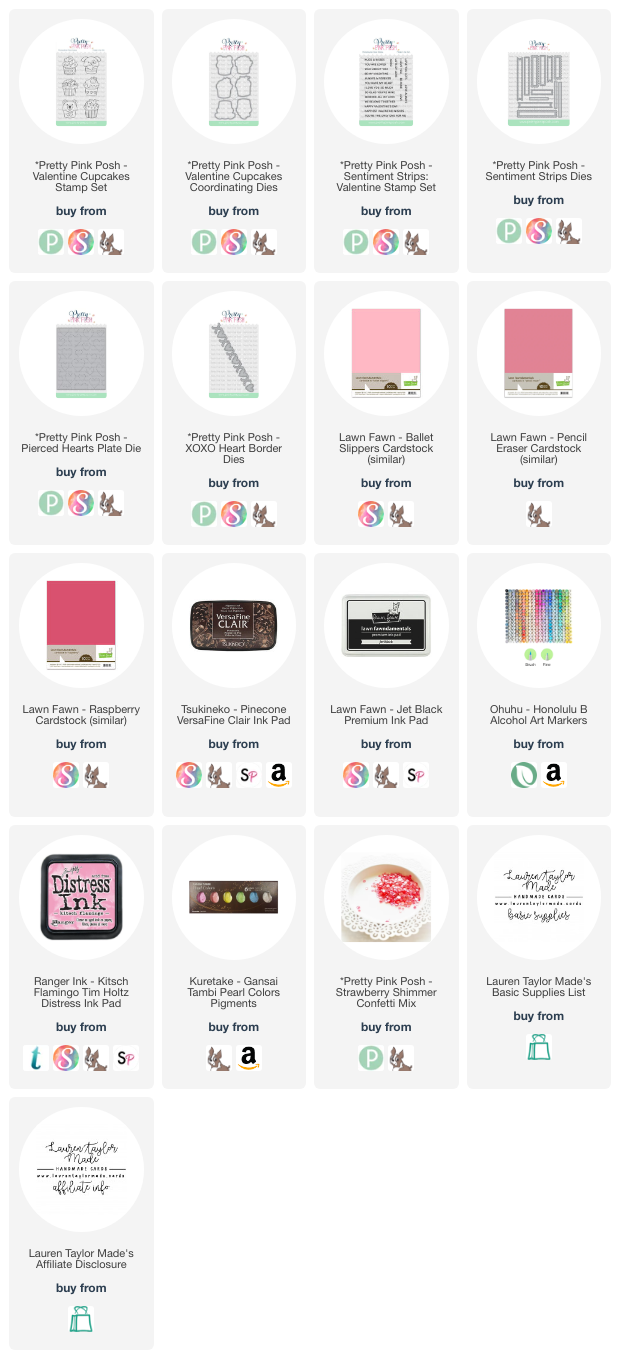
Last month I head my Galentine's Day Crop and I think it was a fun success! My card today is inspired by the make and take from the Crop using Pretty Pink Posh. You can follow along in my video down below, but here is an overview of how I assembled my card! I started with die cutting the Pierced Hearts Plate Die out of light pink cardstock. Using an ink blending brush, I added Kitsch Flamingo Distress Ink to darken the edges of the A2 background.

Next I cut the XOXO Heart Border Die from pink cardstock with the separate heart die three times from dark pink cardstock. I glued the dark pink hearts to the first three hearts on the XOXO border. Using liquid adhesive, I glued the XOXO Heart Border to the Pierced Hearts background a little more than half way down the A2 background so that the three hearts are centered. I used a metallic pink watercolor to add splatter to the background and once everything was dry, I trimmed off the excess XOXO border from the sides of the background.

Next I stamped three of the Valentine Cupcakes Stamps in an alcohol marker friendly black ink and colored them in with my Ohuhu Art Markers. They are also cut out with the Valentine Cupcakes Coordinating Dies. I also used a white gel pen to add a few highlights and to cover up anywhere I colored outside the lines! My sentiment is stamped in a brown ink on white cardstock from the Sentiment Strips: Valentine Stamp Set and I used the Sentiment Strips Dies to cut out the sentiment as well as the coordinating stitched rectangle in pink and scalloped rectangle in dark pink. They are all glued together to create a pretty layer of the scallops peeking out behind the rectangle.

The cupcakes and sentiment are added to the card with foam adhesive to add some fun dimension to the card. I also added some Strawberry Shimmer Confetti around my card with liquid adhesive to add more shine! I hope you enjoyed this card and let me know which cupcake is your favorite from the stamp set!

VIDEO TUTORIAL


PIN THIS
SUPPLY LIST

Read More

Hello Spring! BetterPress of the Month from Spellbinders for February 2024

Tuesday, February 6, 2024

It's the 6th of the Month! The new Spellbinders Clubs are now available to purchase! Today I'm sharing the February 2024 BetterPress of the Month Club as well as the special, extra BetterPress Plate when you subscribe to the Deluxe Caboodle Club (which is all the Clubs in one, discounted bundle). I have been seeing hummingbirds around my yard and they are a beautiful iridescent color!

You can follow along in my video tutorial down below, but I started with making the impressions and colored my images in with Distress Watercolor pencils. I used the coordinating dies to cut out the birds and sentiment - I love when I have dies for my BetterPress sentiments! I then did die cuts of my background with ovals and layered it with purple and green to make a shaped card.

Make sure to watch the video on YouTube so you can get the details of our Spellbinders Creators hop - there are no giveaways, but lots of inspiration to inspire you while you wait for your Clubs to arrive in the mail!

VIDEO TUTORIAL


PIN THIS
SUPPLY LIST

Read More

May All Your Wishes Come True! with an Pear Blossom Press EZ Light

Monday, February 5, 2024

I love making projects for Pear Blossom Press as it allows me to combine different products from different companies to make one card! I have lots of fun different brands for this card and it's even more special since it lights up with a PBP EZ Light. You can follow along in my video below to see how I put the card together, but let's talk about the different products on the card. I have stamps from Simon Says Stamp, Stencil from Scrapbook.com, dies from PopsicleSticks and rhinestones from Trinity Stamps!

What's even more exciting is that I was able to complete this project with inspiration from last Friday's episode of Craft Roulette! It's a kid's card with my cartoon movie inspired princess, the colors are inspired from Abigail's new pink and opalescent snow goggles and there is a button to press to activate the EZ Light! I just love this card and I think I want to do another princess for my next PBP video...

VIDEO TUTORIAL


PIN THIS
SUPPLY LIST

Read More

You're So Sweet Mini Slimline Card with Kindred Stamps

Sunday, February 4, 2024

Did anyone else have a character they just had to be when playing this game? I love this frosty princess from Kindred Stamps and have been dying to color her! She's colored in with alcohol markers and I fussy cut her out. I used dies from Popsicle Sticks to cut out my mini slimline layers - the background patterned paper is super old but it's a mint blue stripped pattern.

Using Distress Oxides and a cloud stencil,  made my candy bubble inspired background! I also colored up my two ice cream cones and popped them up onto the card. My sentiment and princess were also added with foam adhesive. For some final touches, I added heart embellishments from Trinity Stamps - I thought they looked pretty close to pink bubbles added the cutest touch to the card.

Check out my quick video below to see my process!

VIDEO TUTORIAL


PIN THIS
SUPPLY LIST

Read More

We Just Click Instant Camera Shaped Card with Trinity Stamps

Saturday, February 3, 2024

I was so excited when I saw this adorable die set from Trinity Stamps! I just love that you can make a paper version of the instant camera. I definitely want to make a mini album with this die set for my kiddo as she has my Instax Camera now and loves to take photos with her friends! But today my project is using the Insta-Snap Instant Camera Die Set to make a shaped card and I added some pretty flowers from the Wildflower Clippings Die Set.

You can follow along, but I did all my die cutting and added some ink to my Wildflower Clippings die cuts. I glued my card together and popped up a couple of the flowers and sentiment. I used the large die to cut a shaped card base, making sure to leave a little gap at the top for the fold in the card. There are a few rhinestones in the center of the flowers to add a little shine! Let me know what you think about the card in the comments.

VIDEO TUTORIAL


PIN THIS
SUPPLY LIST

Read More

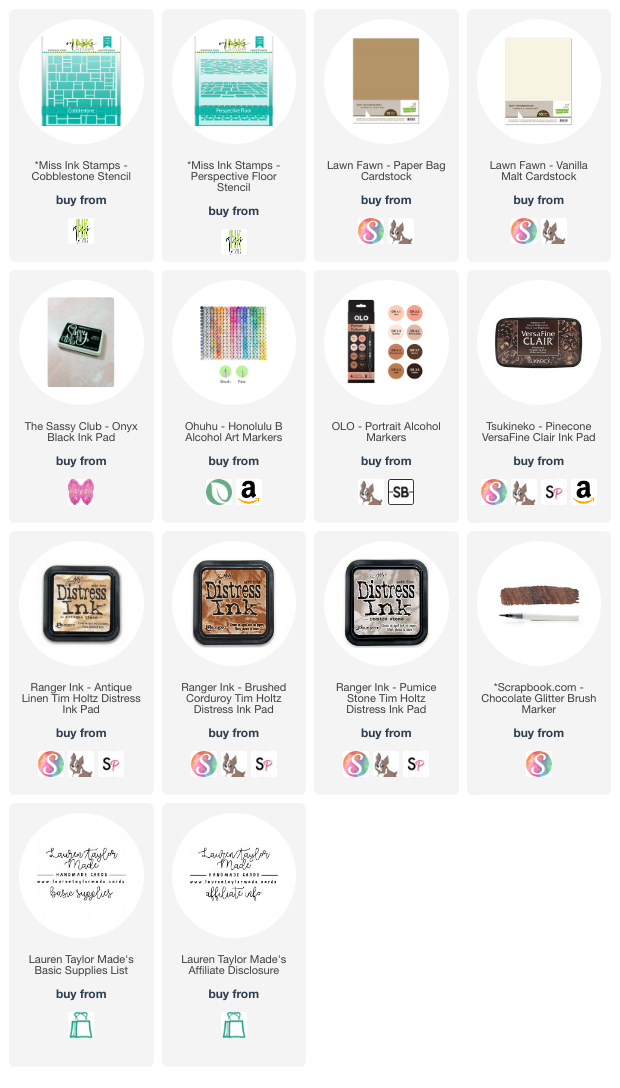
Up to Something - New Release from Miss Ink Stamps

It's a new release day from Miss Ink Stamps! There is a new stamp set, coordinating dies and scene building die set (the sentiment set from my sneak peek is next release - sorry!) to add to your Magical Collection. For this card I mixed in a couple stencils from previous releases to build my scene.

I started with stenciling - I used Distress Inks on mixed media cardstock for my background and floor. I die cut the building from vanilla cardstock and added a little ink to give it some dimension. I used a brown glitter brush to colorer the border and adhered it to the background. Then I puzzle pieced in some of the dies onto the background to complete the scene.

Next I stamped and colored my images with Ohuhu Art Markers and I tried Olo Markers for the first time for my professor's skin! I used the coordinating dies to cut them out and used foam adhesive to adhere them to the background. Finally, I stamped the sentiment on kraft cardstock with brown ink and trimmed around it to add to the upper left corner.

Let me know what your favorite product its from the new release! I think the porcupine is so darn cute, too.

PIN THIS
SUPPLY LIST

Read More

Always Fandom Card with Miss Ink Stamps

Friday, February 2, 2024

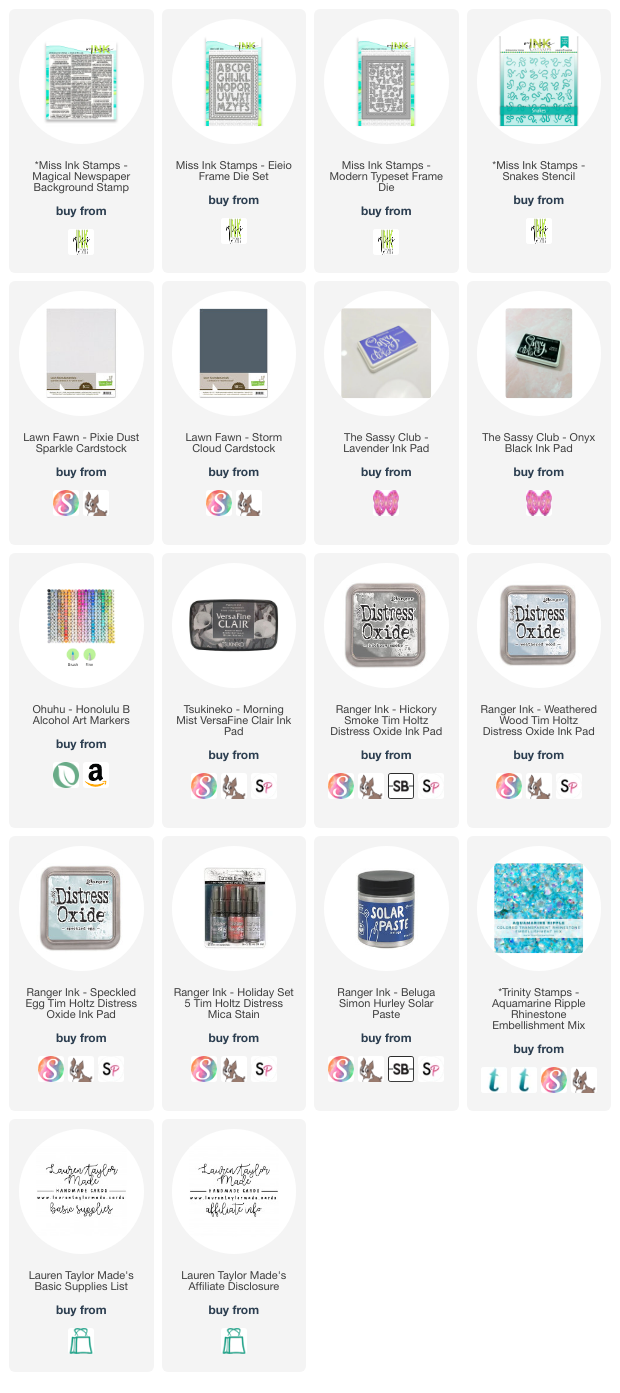
I'm so excited for more stamps and dies from Miss Ink Stamps in the Magical Collection! I'm sharing a new stamp set and sentiment die set that will be available on Saturday. I'll update my supply list below once they're released! I die cut the "Always" sentiment from grey and white sparkle cardstock (note, this die set has been pushed to the March release after I made my card - so just have to wait a little longer for this one). I used the same grey cardstock to cut out the frame die from Modern Typeset Frame Die Set. My images were stamped with alcohol marker friendly ink and colored in with Ohuhu Art Markers. There is a coordinating die set for the new stamp set, too!

My background was actually made first and I used current products from Miss Ink Stamps to make it. First I stamped the Magical Newspaper Background Stamp with grey ink, used Distress Oxides to blend the edges of the paper and finally stenciled the Snakes Stencil with Solar Paste. When it was dry I die cut the center out with the stitched rectangle die from Eieio Frame Die Set. I layered the outer stenciled frame onto the card base, popped up the grey frame and the center stenciled piece.

The sentiment and images were popped up onto the card and then I added a ton of rhinestones to try and give the look that my character is casting a spell where a light, blue doe is coming from the wand. I can't wait to show you more on release day!

PIN THIS
SUPPLY LIST

Read More